
If you crochet amigurumi, balls or other 3-dimensional bodies in spiral or joined rounds, you will usually have an opening at the end of the work which you have to close.
The following technique shows you how to close this opening without it being visible afterwards or standing out noticeably from the rest of your work.
Close Openings
Needed Materials and Tools
To order the materials click on the respective link (affiliate link).
- Colors: green
- This pattern was crocheted using the “Schachenmayr Catania” yarn (100% Cotton, Meterage: 125 m, Yarn Ball Weight: 50 g, Yarn Weight: Sport – 5ply / Fine (2)) in the following colors:
- Golf Green (Golfgrün (241))
- 2.5 mm Crochet Hook
- Tapestry Needle
- Scissors


How to Close Openings Invisibly
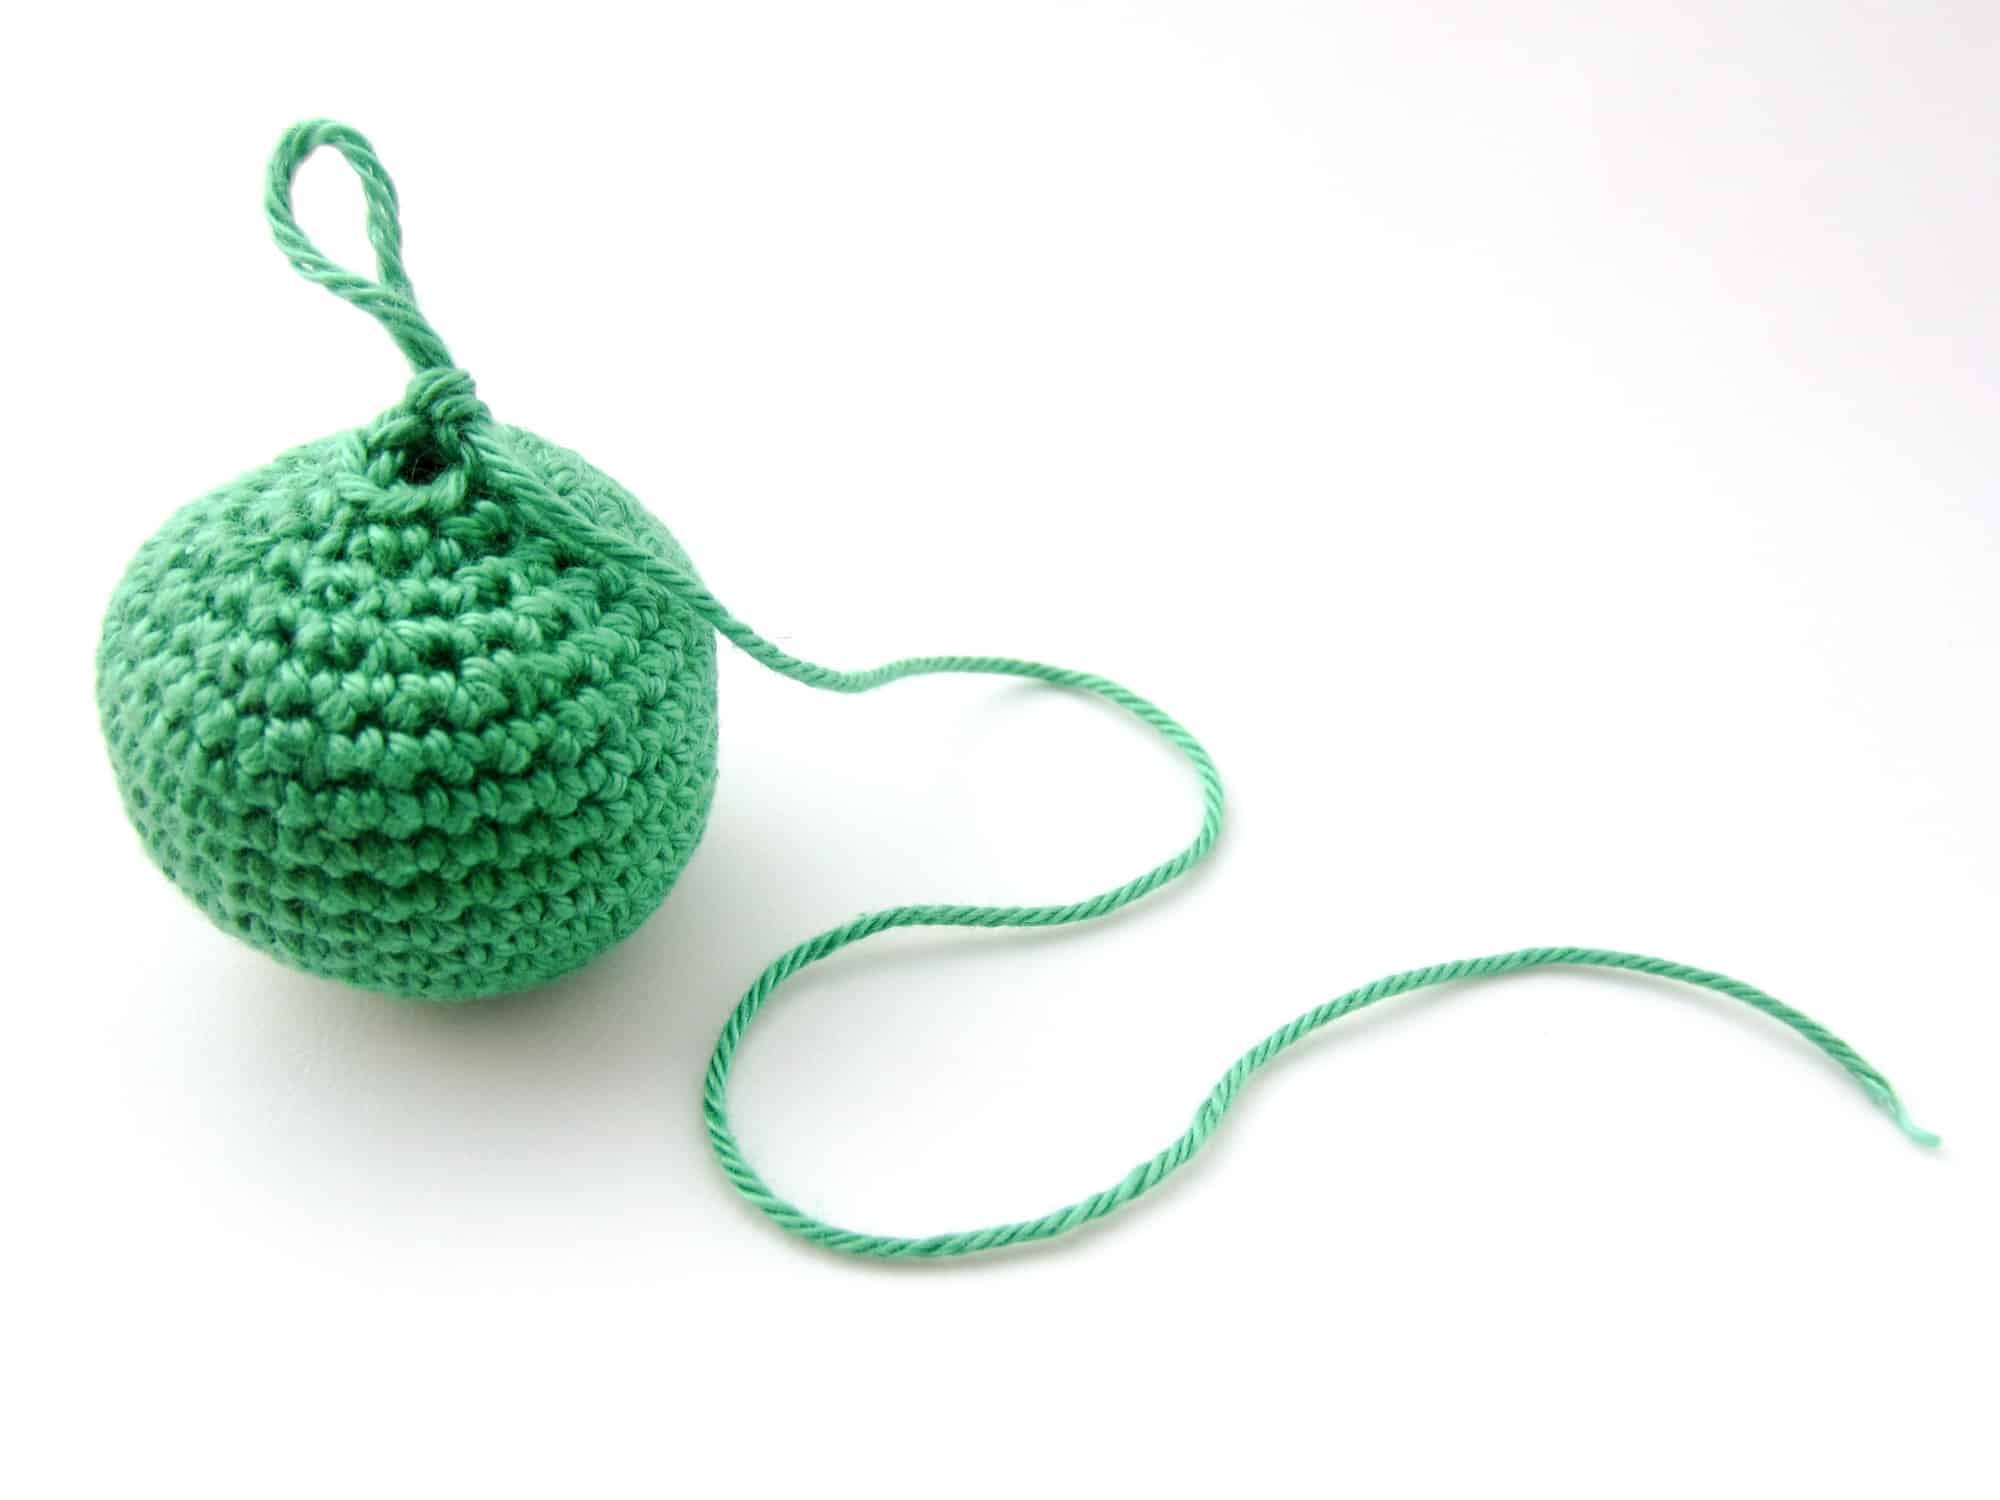
In this example a ball crocheted in spiral rounds with single crochet stitches is closed. The ball has 6 stitches in the last round.
It does not matter if you have an opening with 6 stitches, more stitches or less stitches at the end, the procedure remains the same.
Use the check boxes to mark your finished rounds, rows and steps.
- Step 1: You have your crocheted work in front of you, crocheted the last round and now you want to close the opening. First cut off the thread generously, with that you will close the opening. Now pull the loop until the cut thread goes through the last stitch.

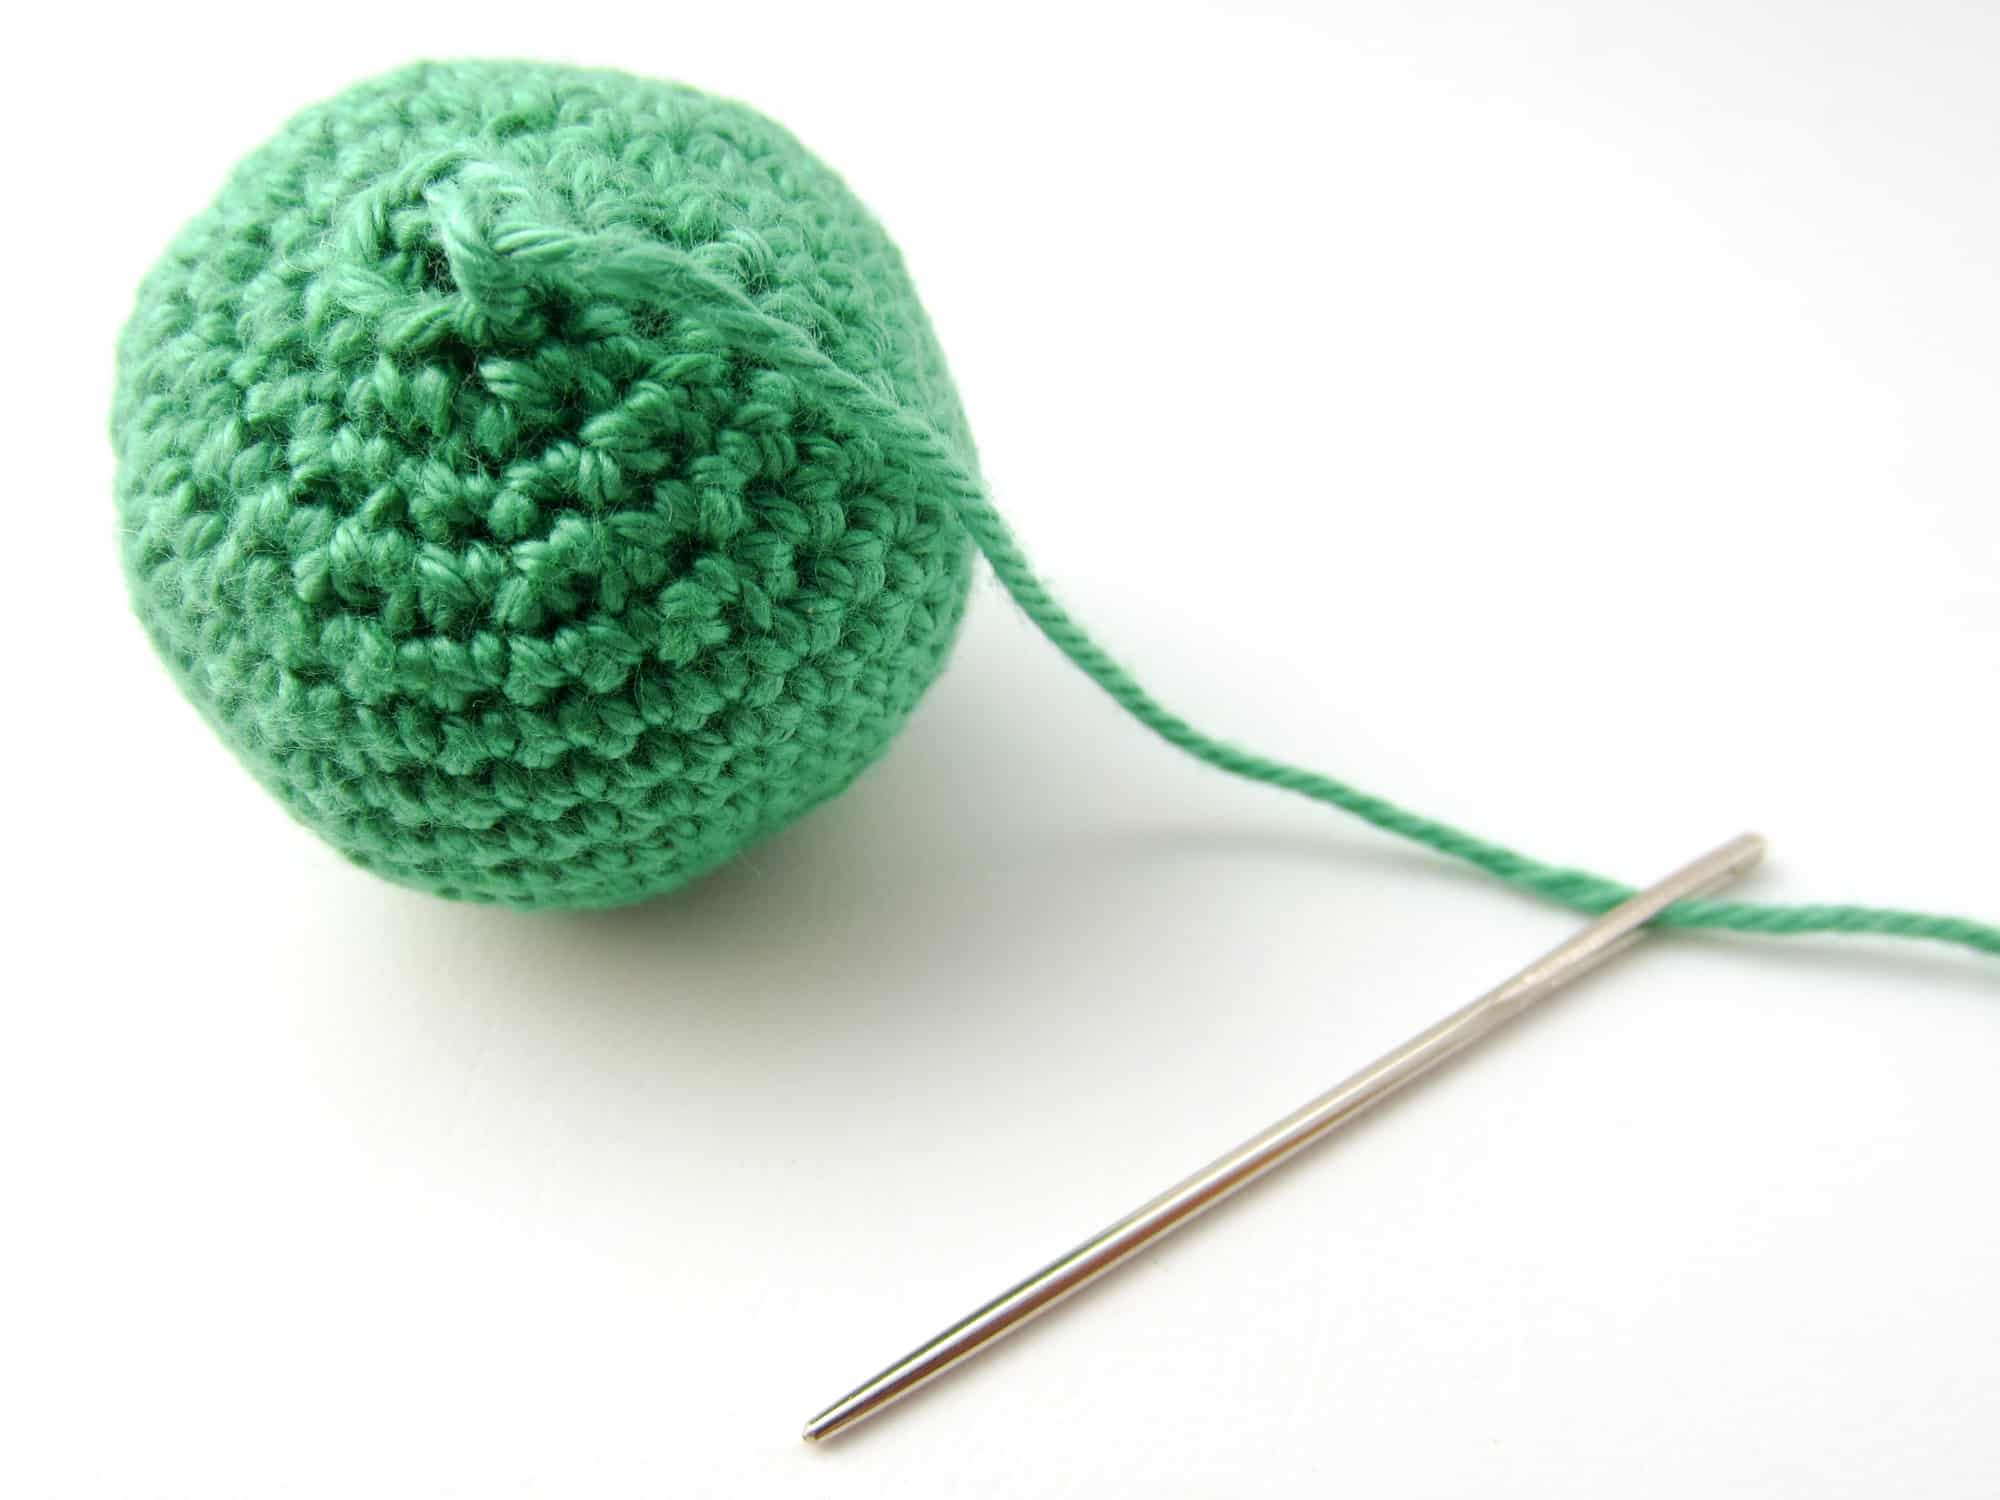
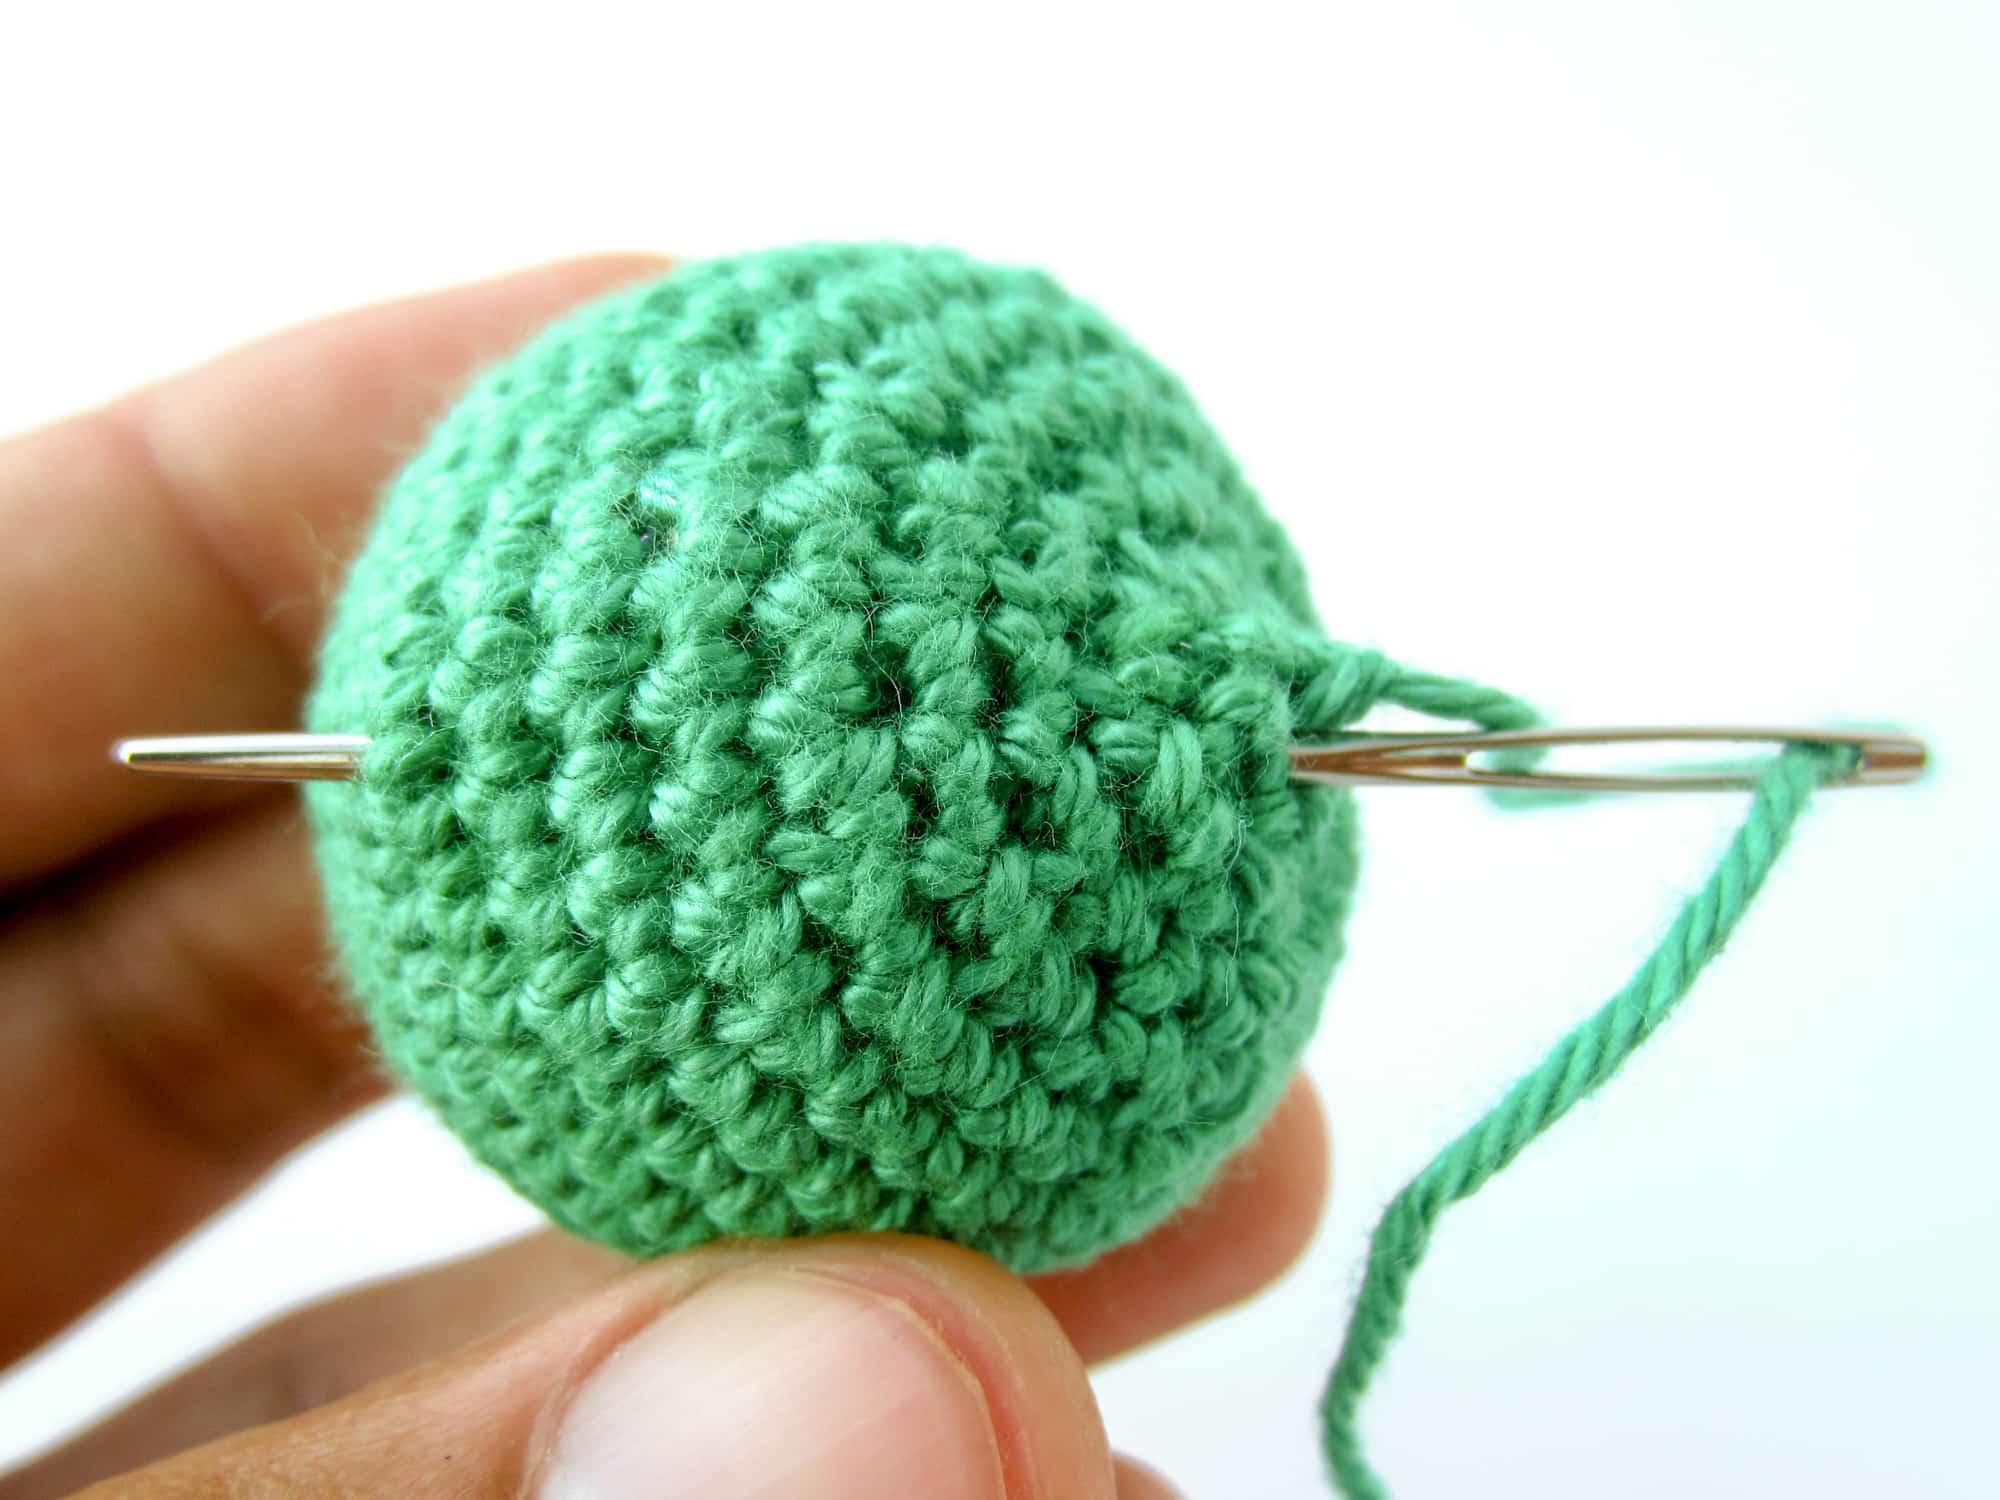
- Step 2: Take your tapestry needle and pull the thread through the eyelet on the needle. If you have problems getting the thread through the eyelet, first make a small loop, push the loop through the eyelet and then pull the thread through the loop. This is usually much easier than threading the end of the thread through the eyelet.


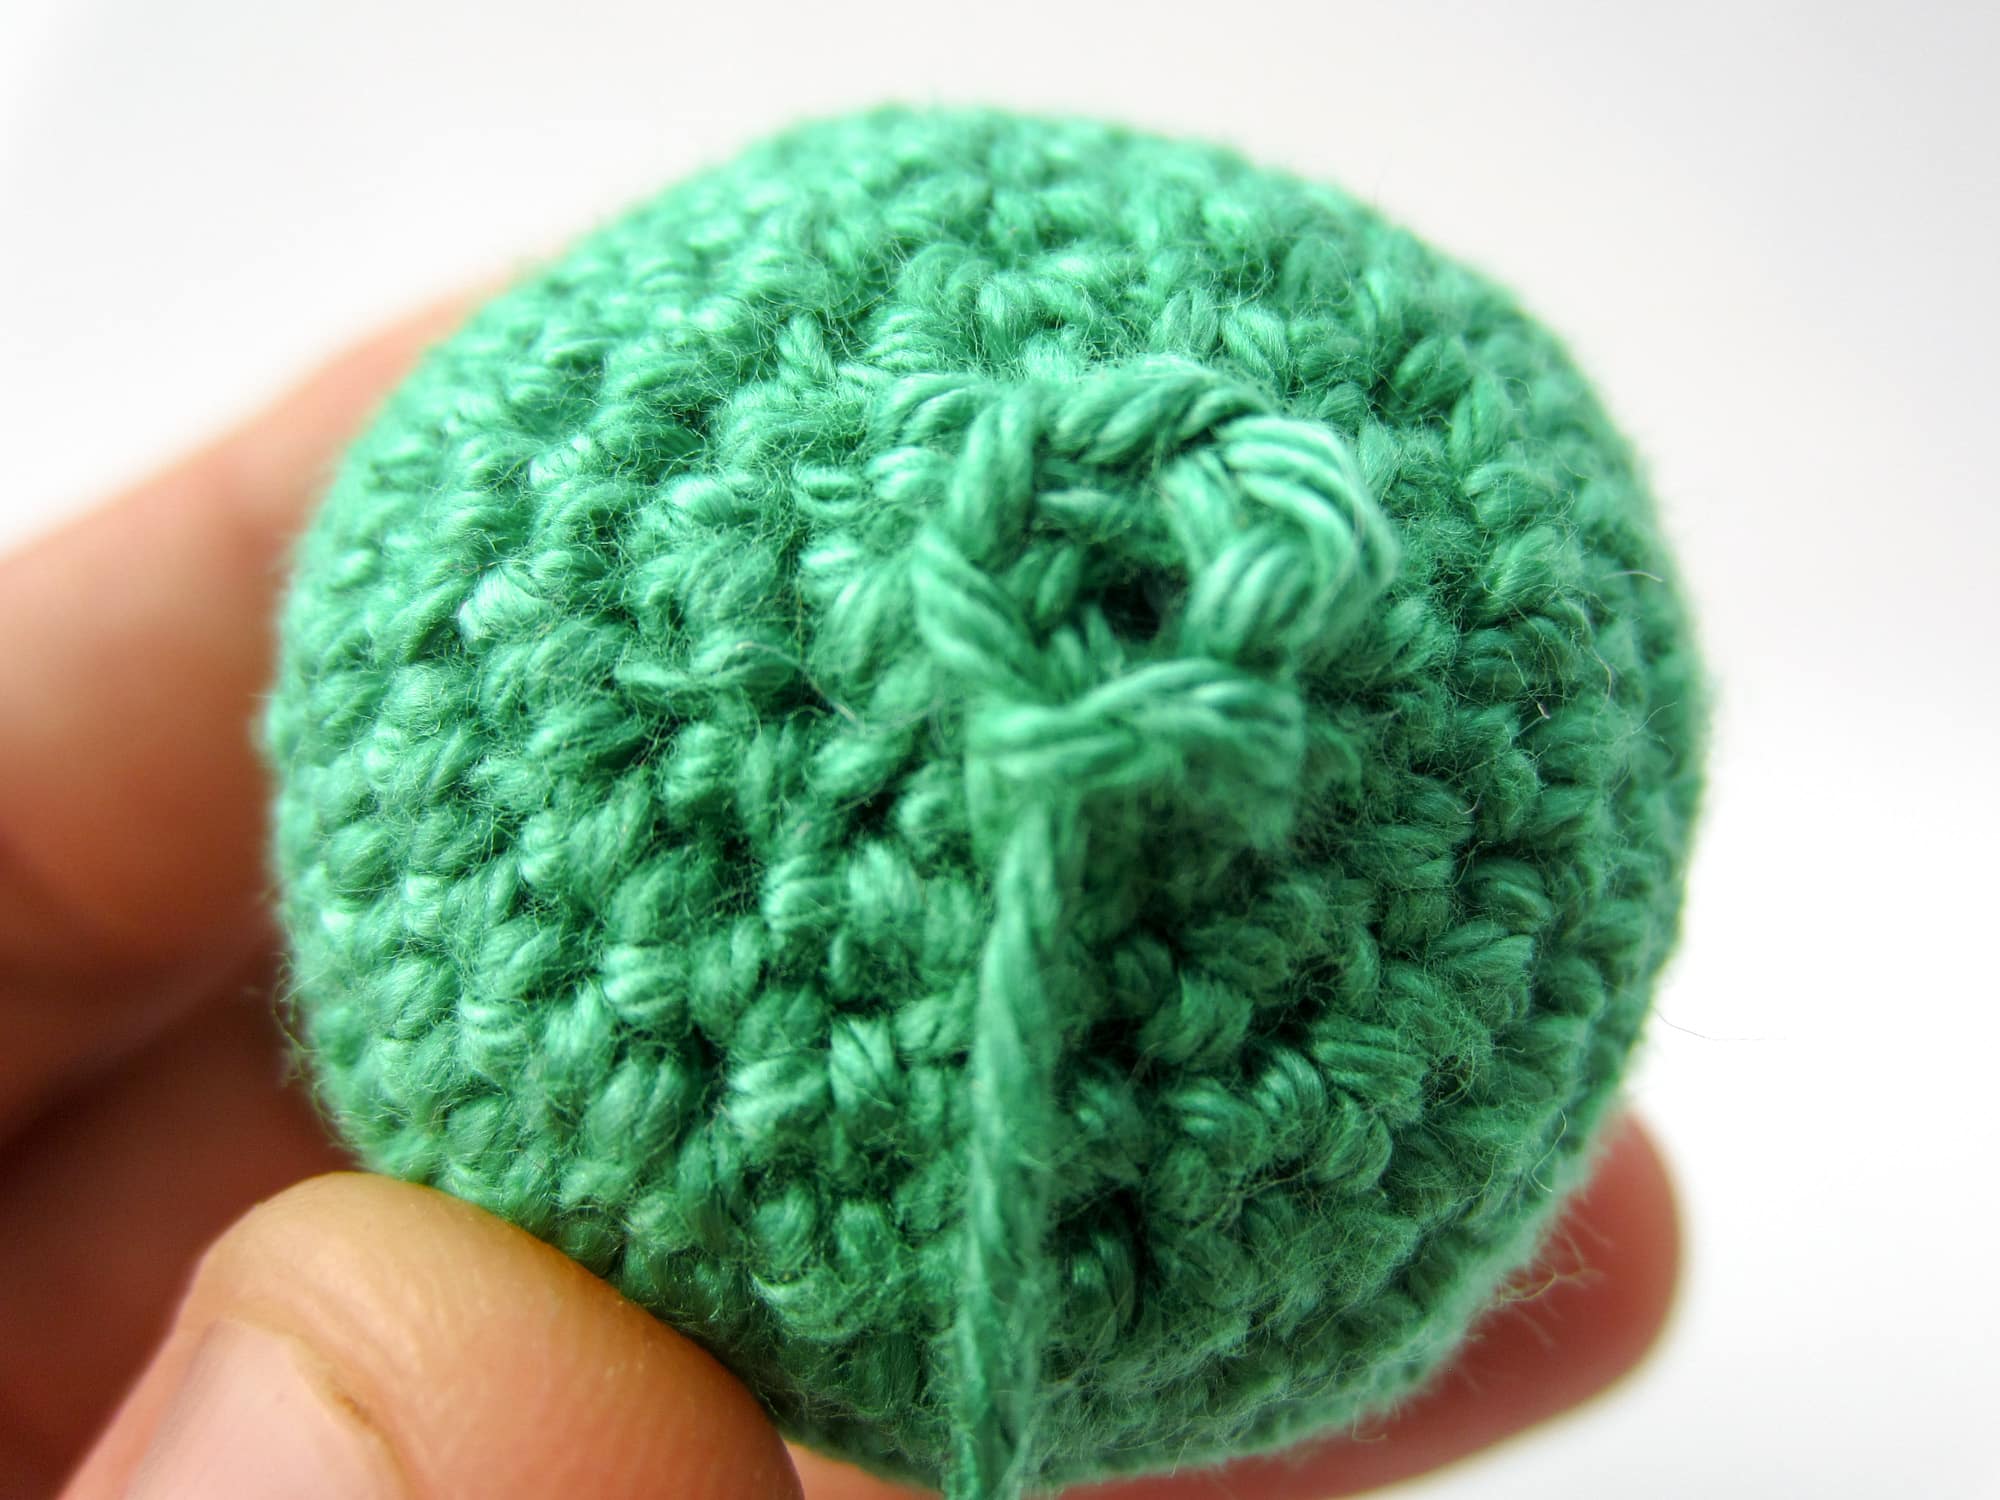
- Step 3: Let’s move on to the actual closing of the opening. Instead of pushing through the stitch from the front, as if you would when you crochet a new stitch, you now push the tapestry needle from behind through the front loop of the stitch so that it comes out towards you. The front loop is the loop that is closer to you. Do not pull the thread too tight after you have pulled it through.

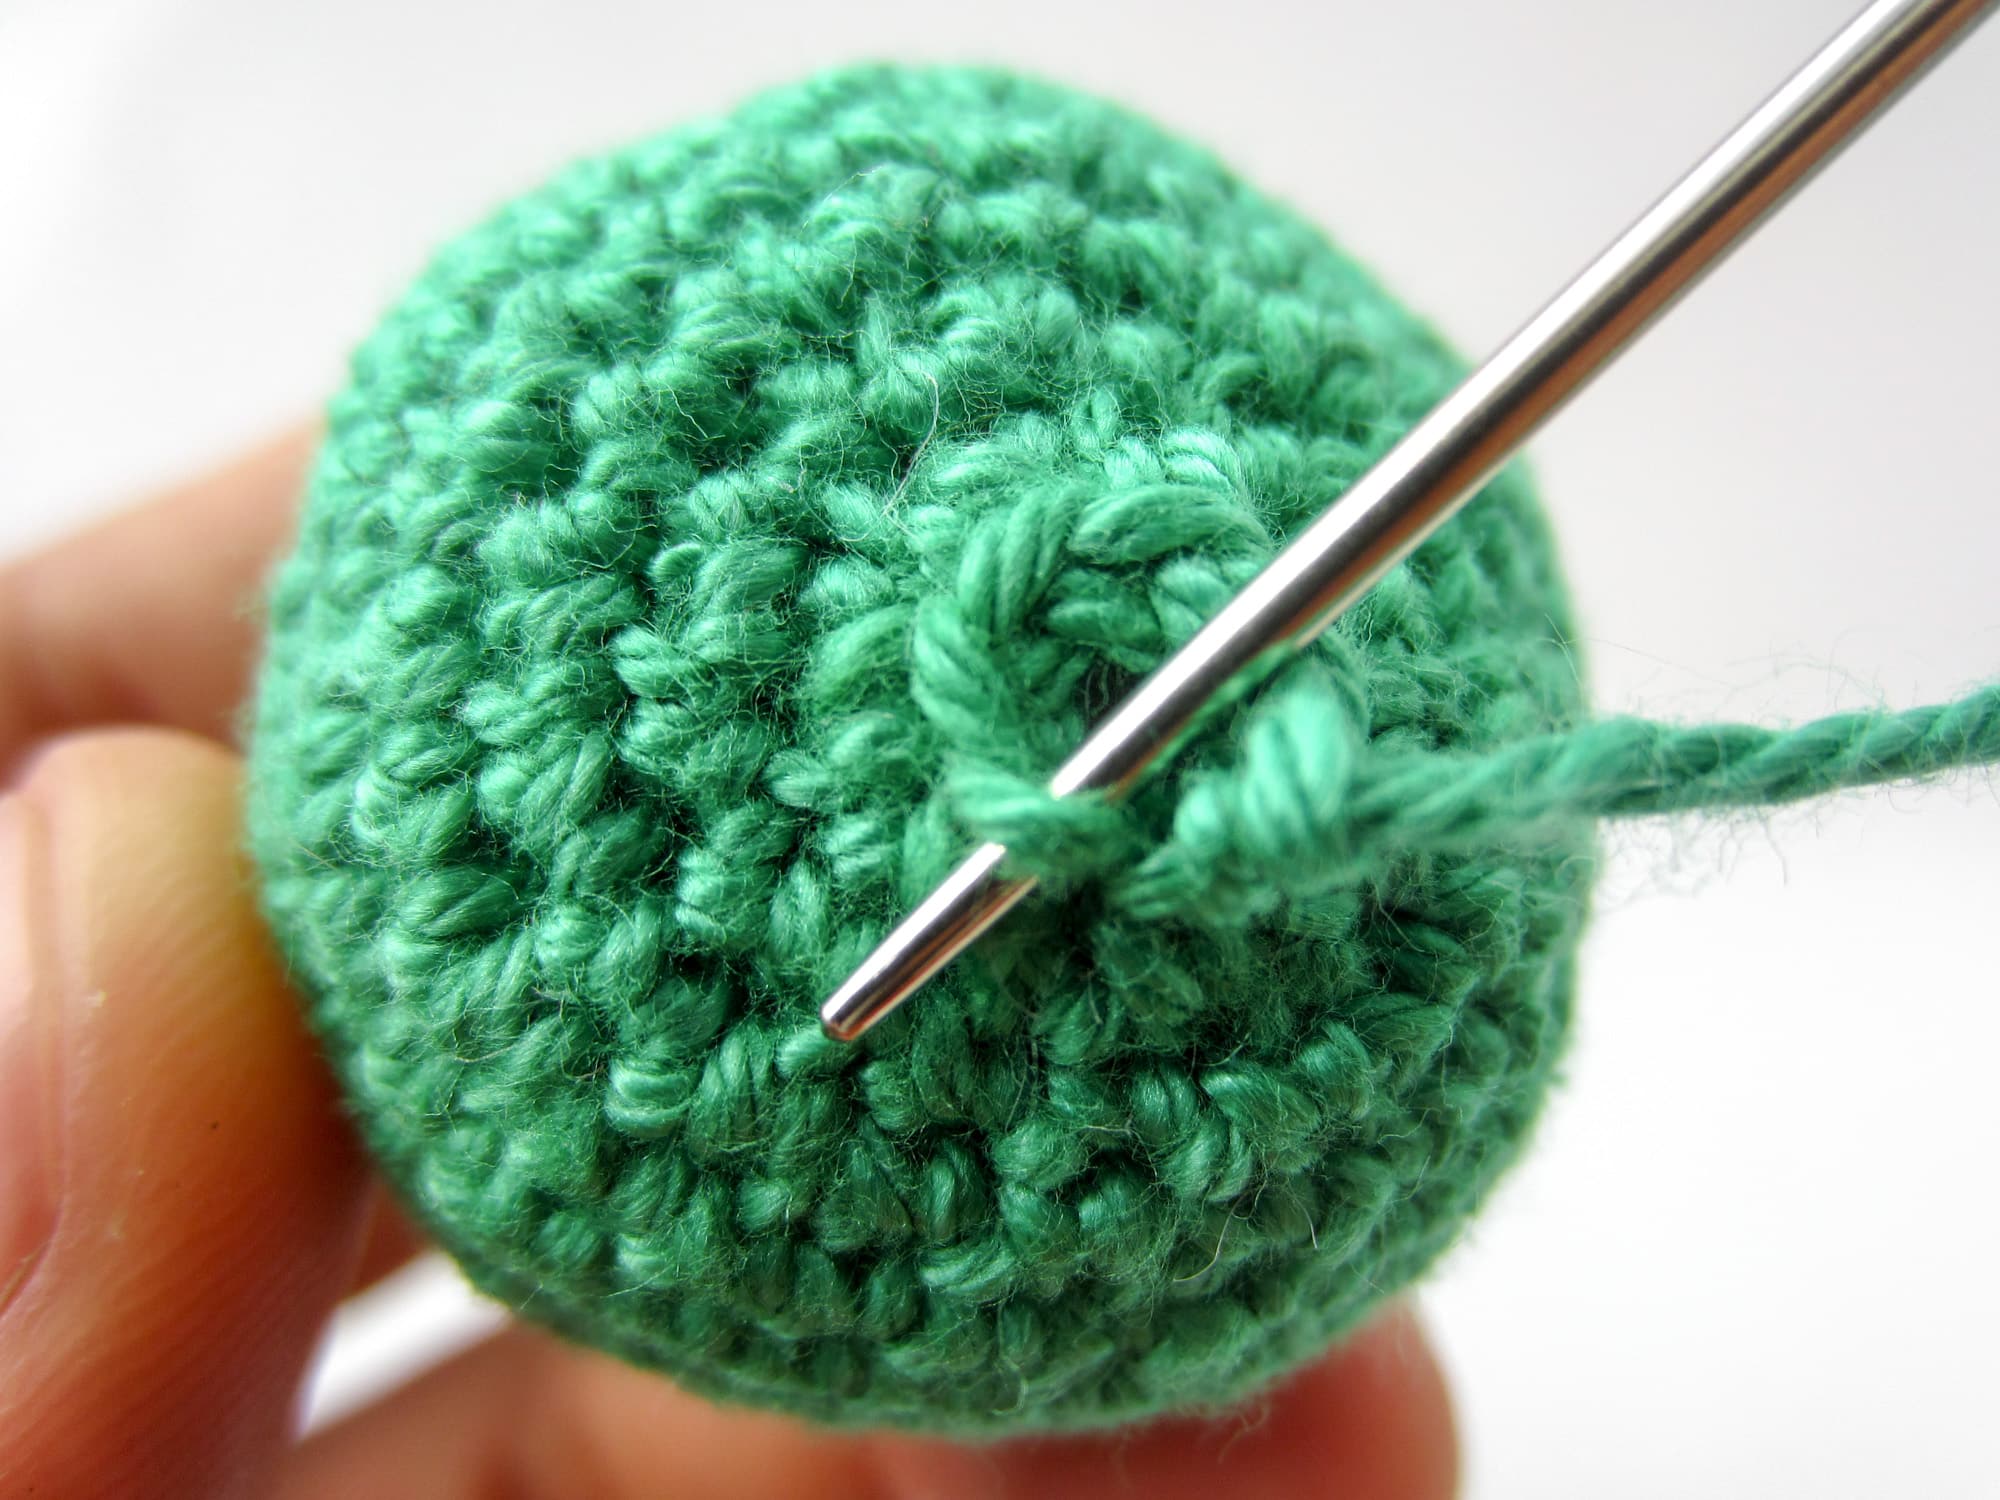
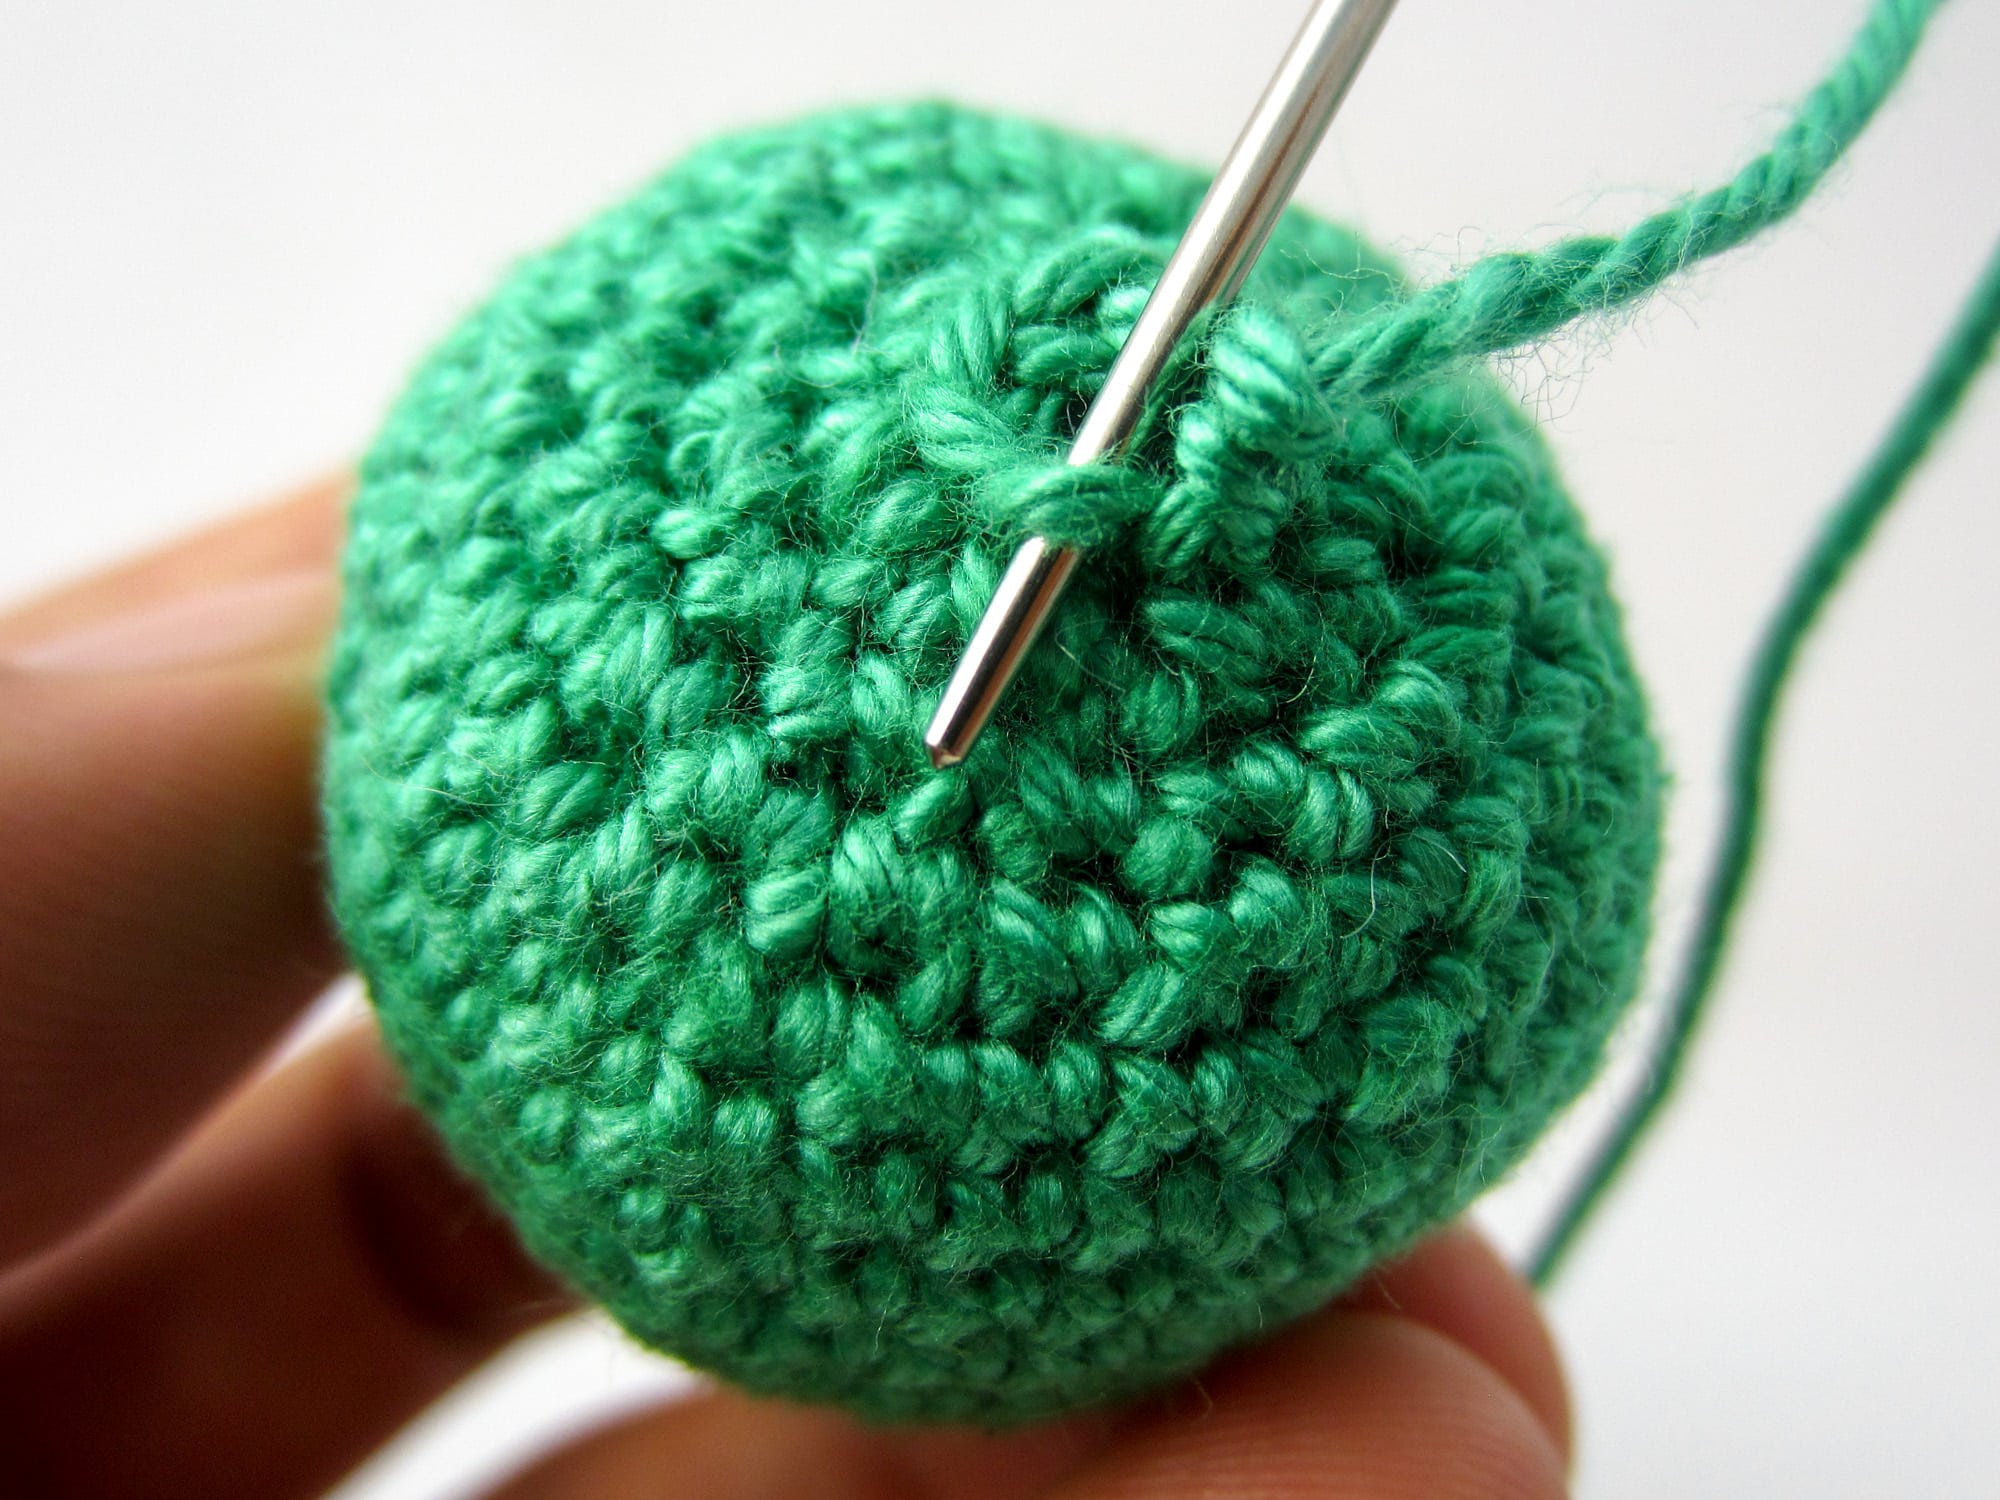

- Step 4: Now repeat this for the next 5 stitches. If you have more or less stitches in your last round, repeat this for the number of stitches in the last round. So again push from the back only through the front loop. Remember to pull the thread not too tight.


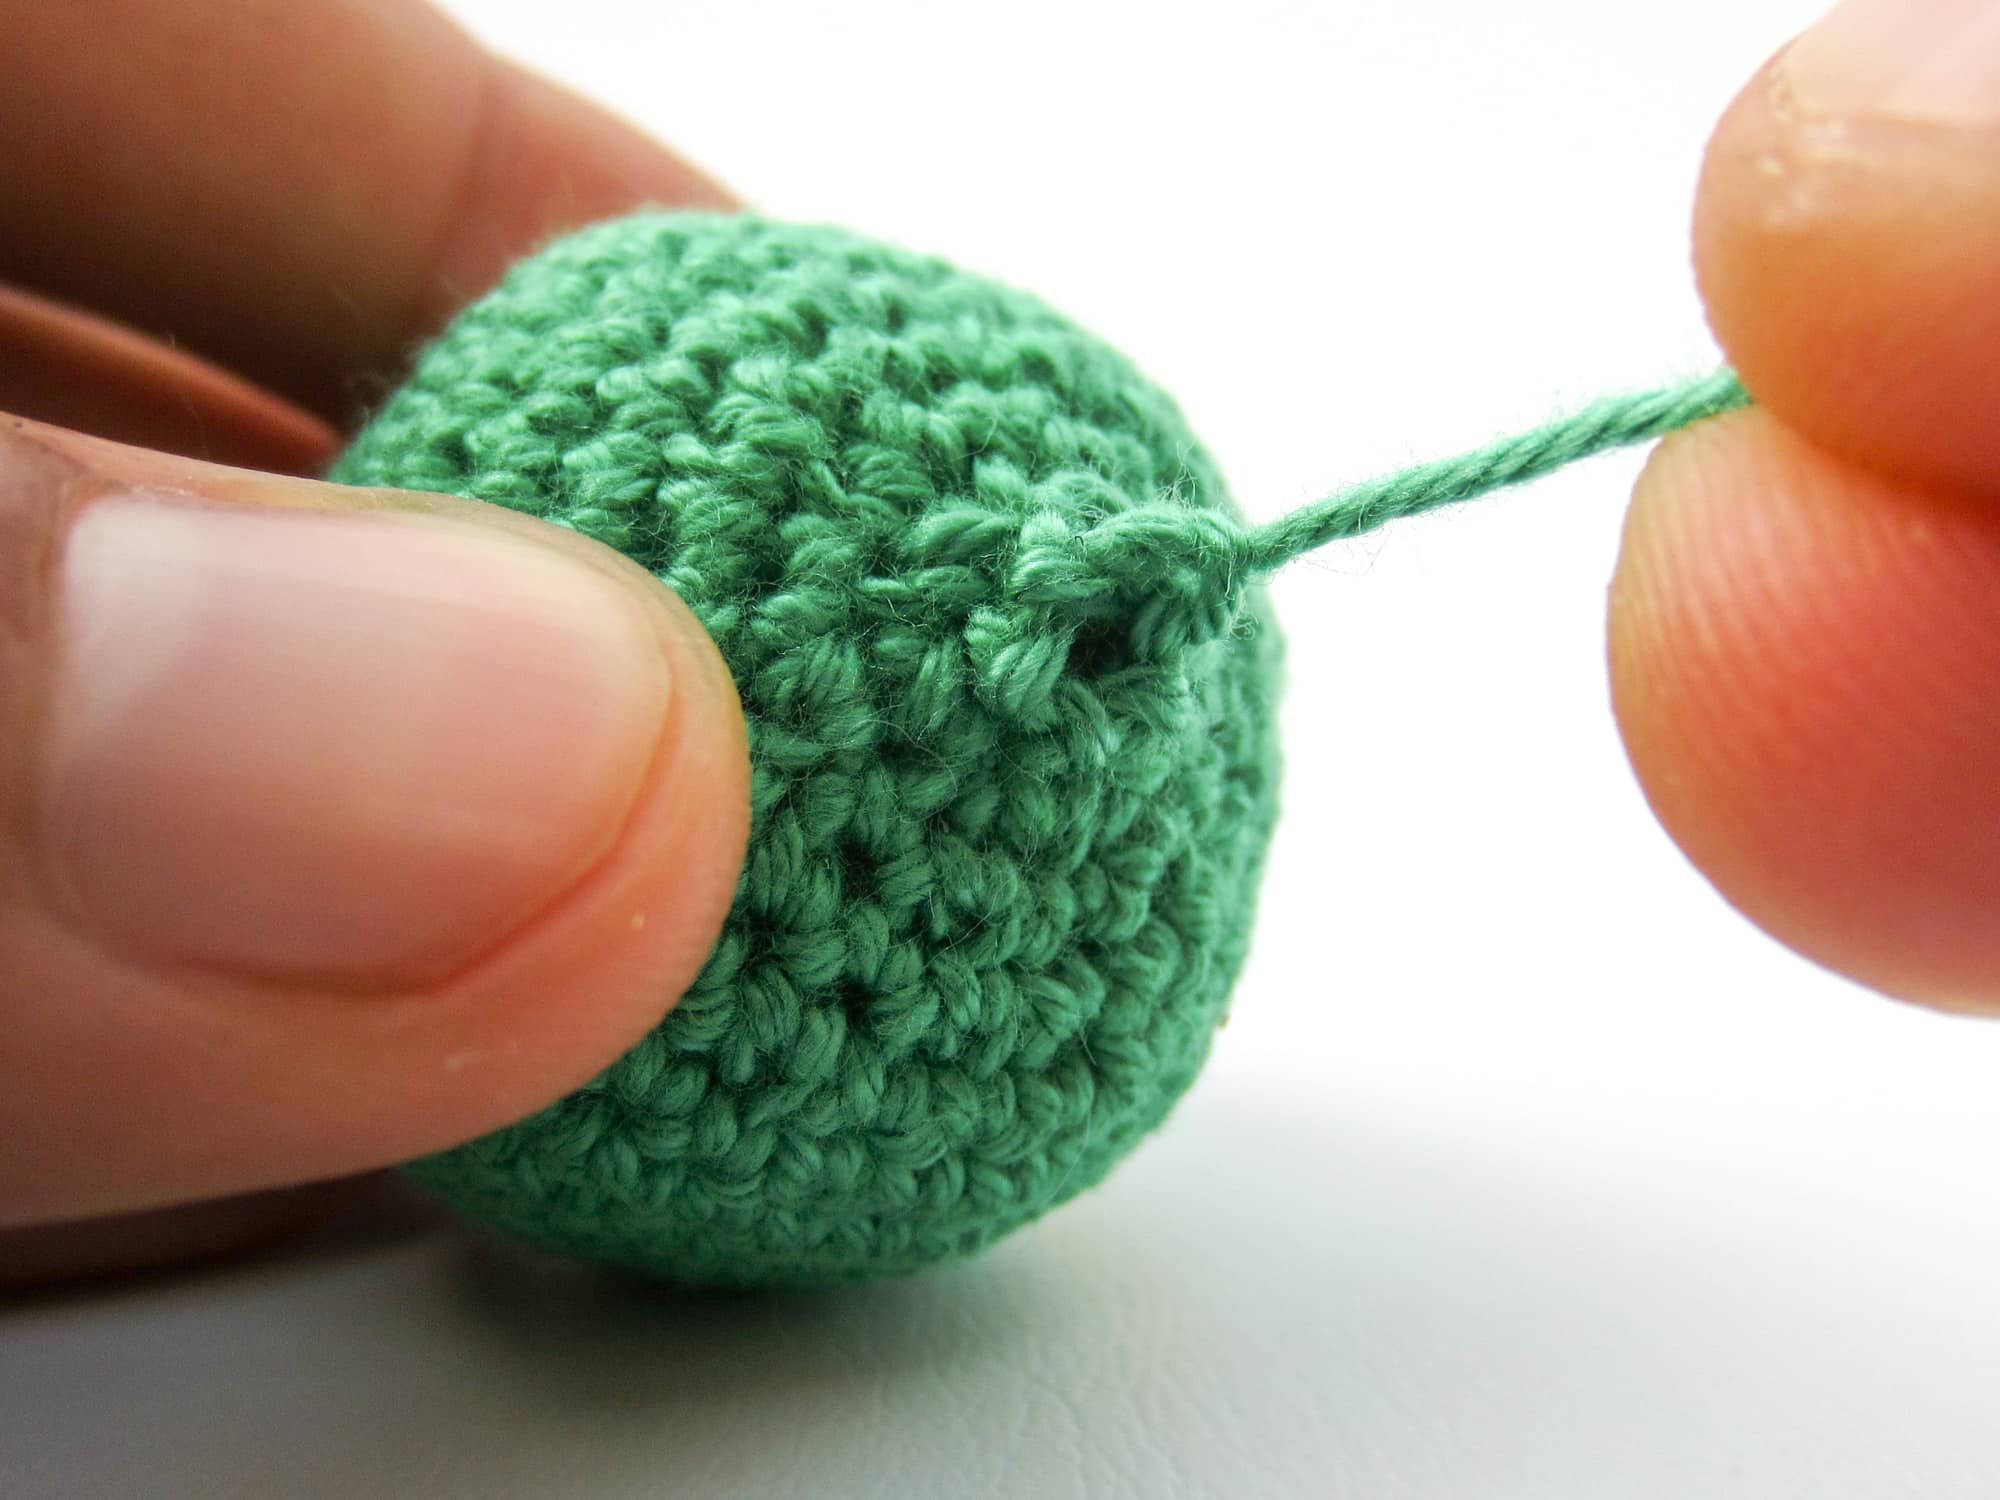
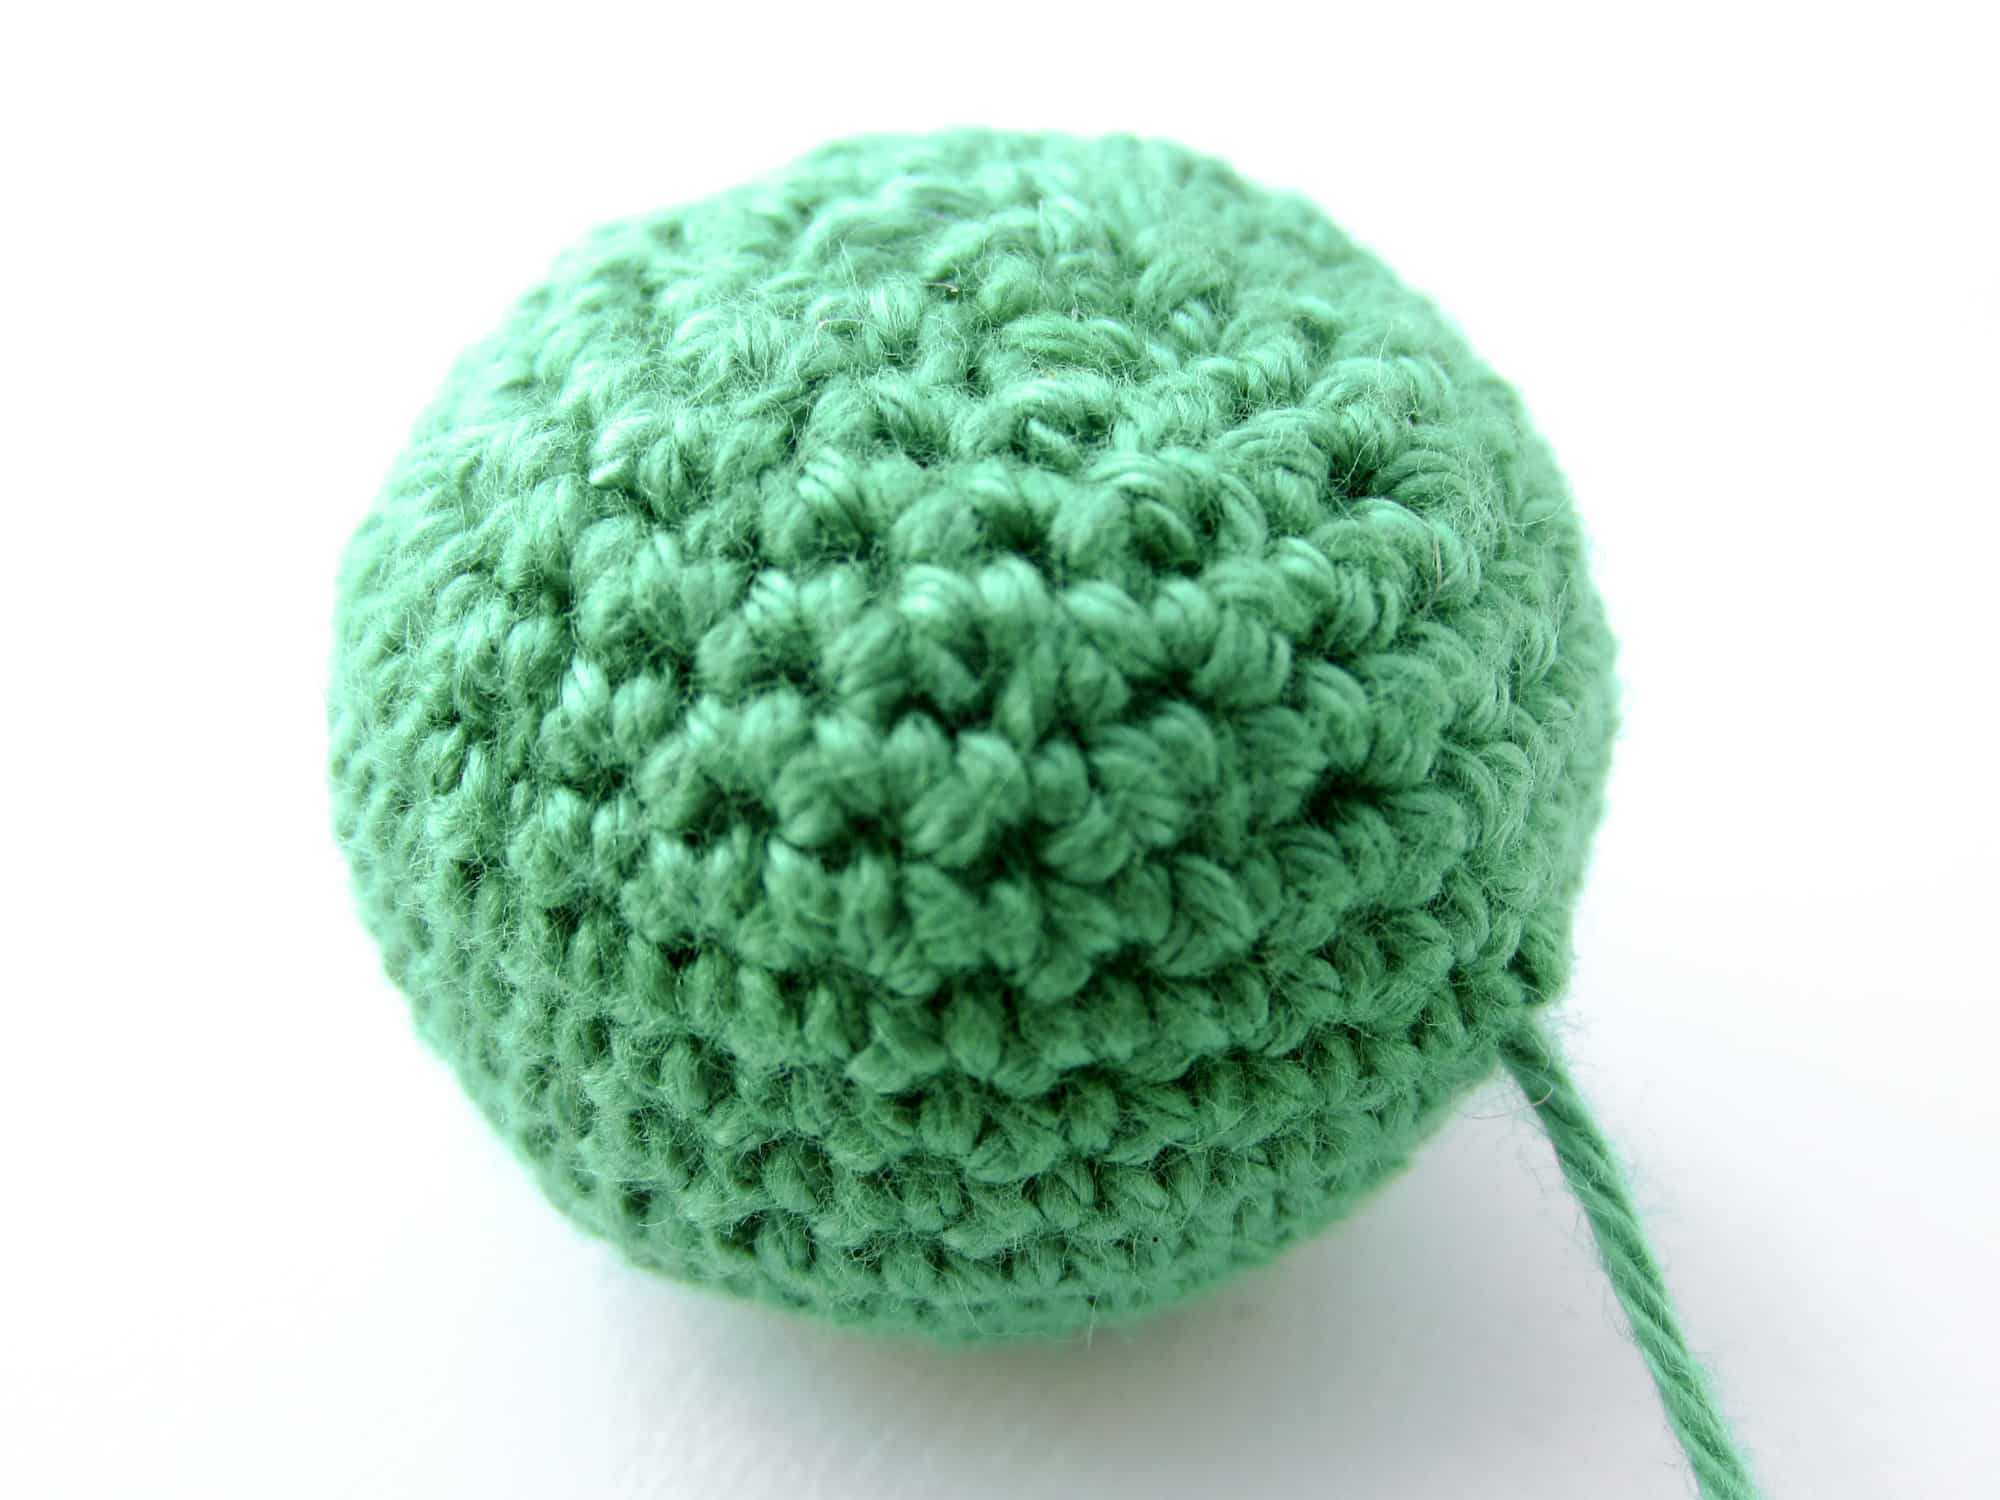
- Step 5: After you have repeated this for all 6 stitches, pull the thread tight and the opening should close.
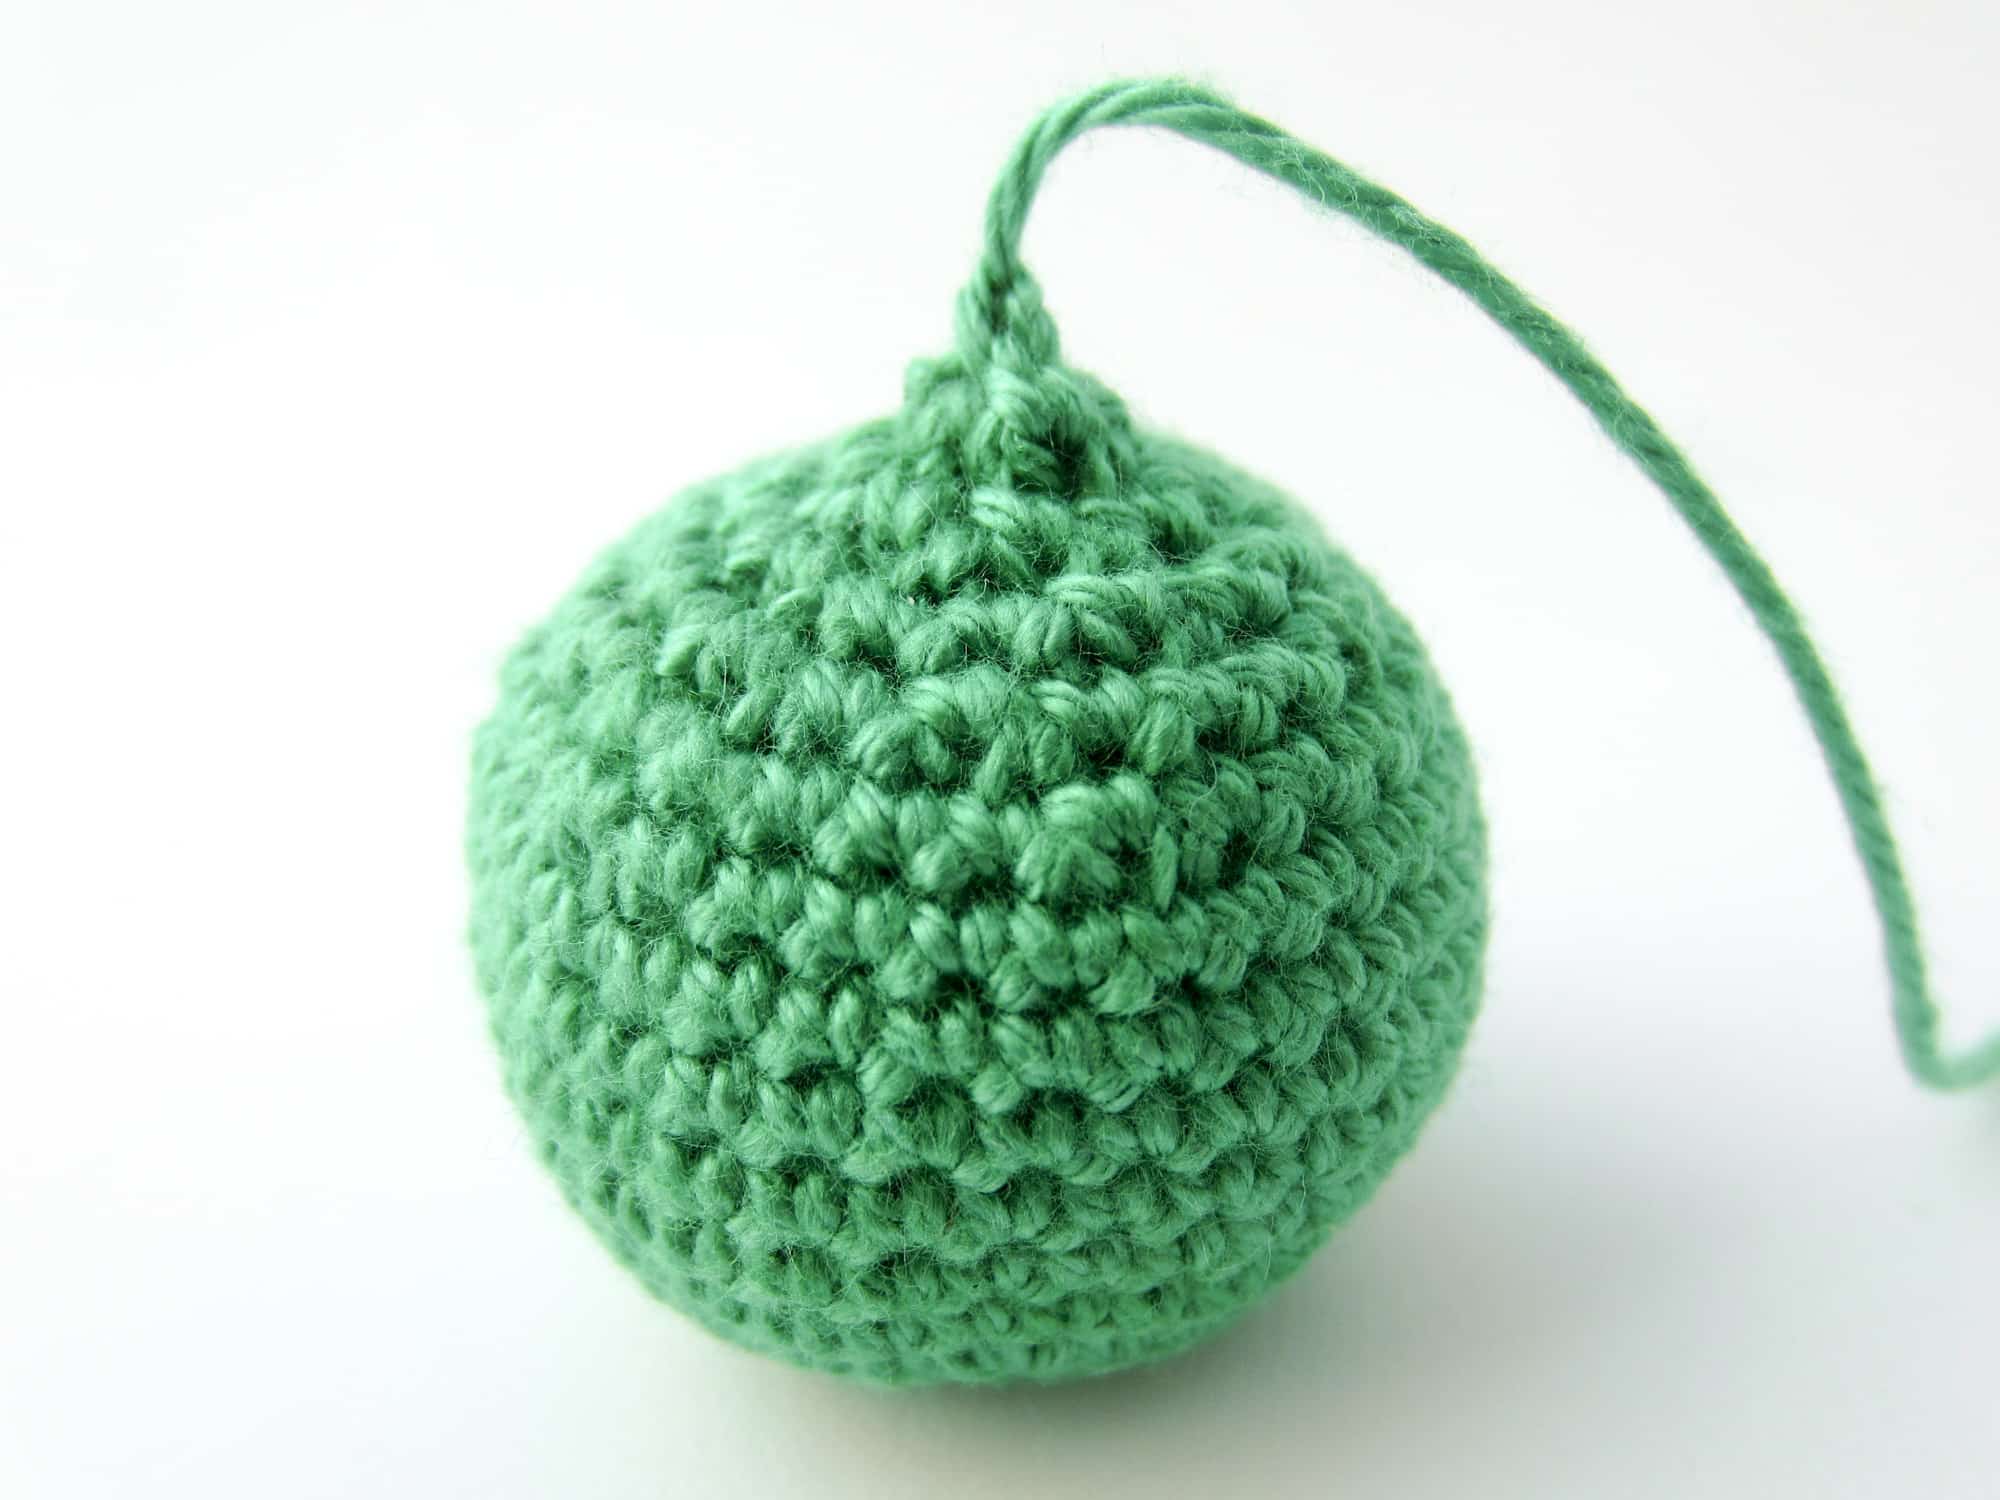
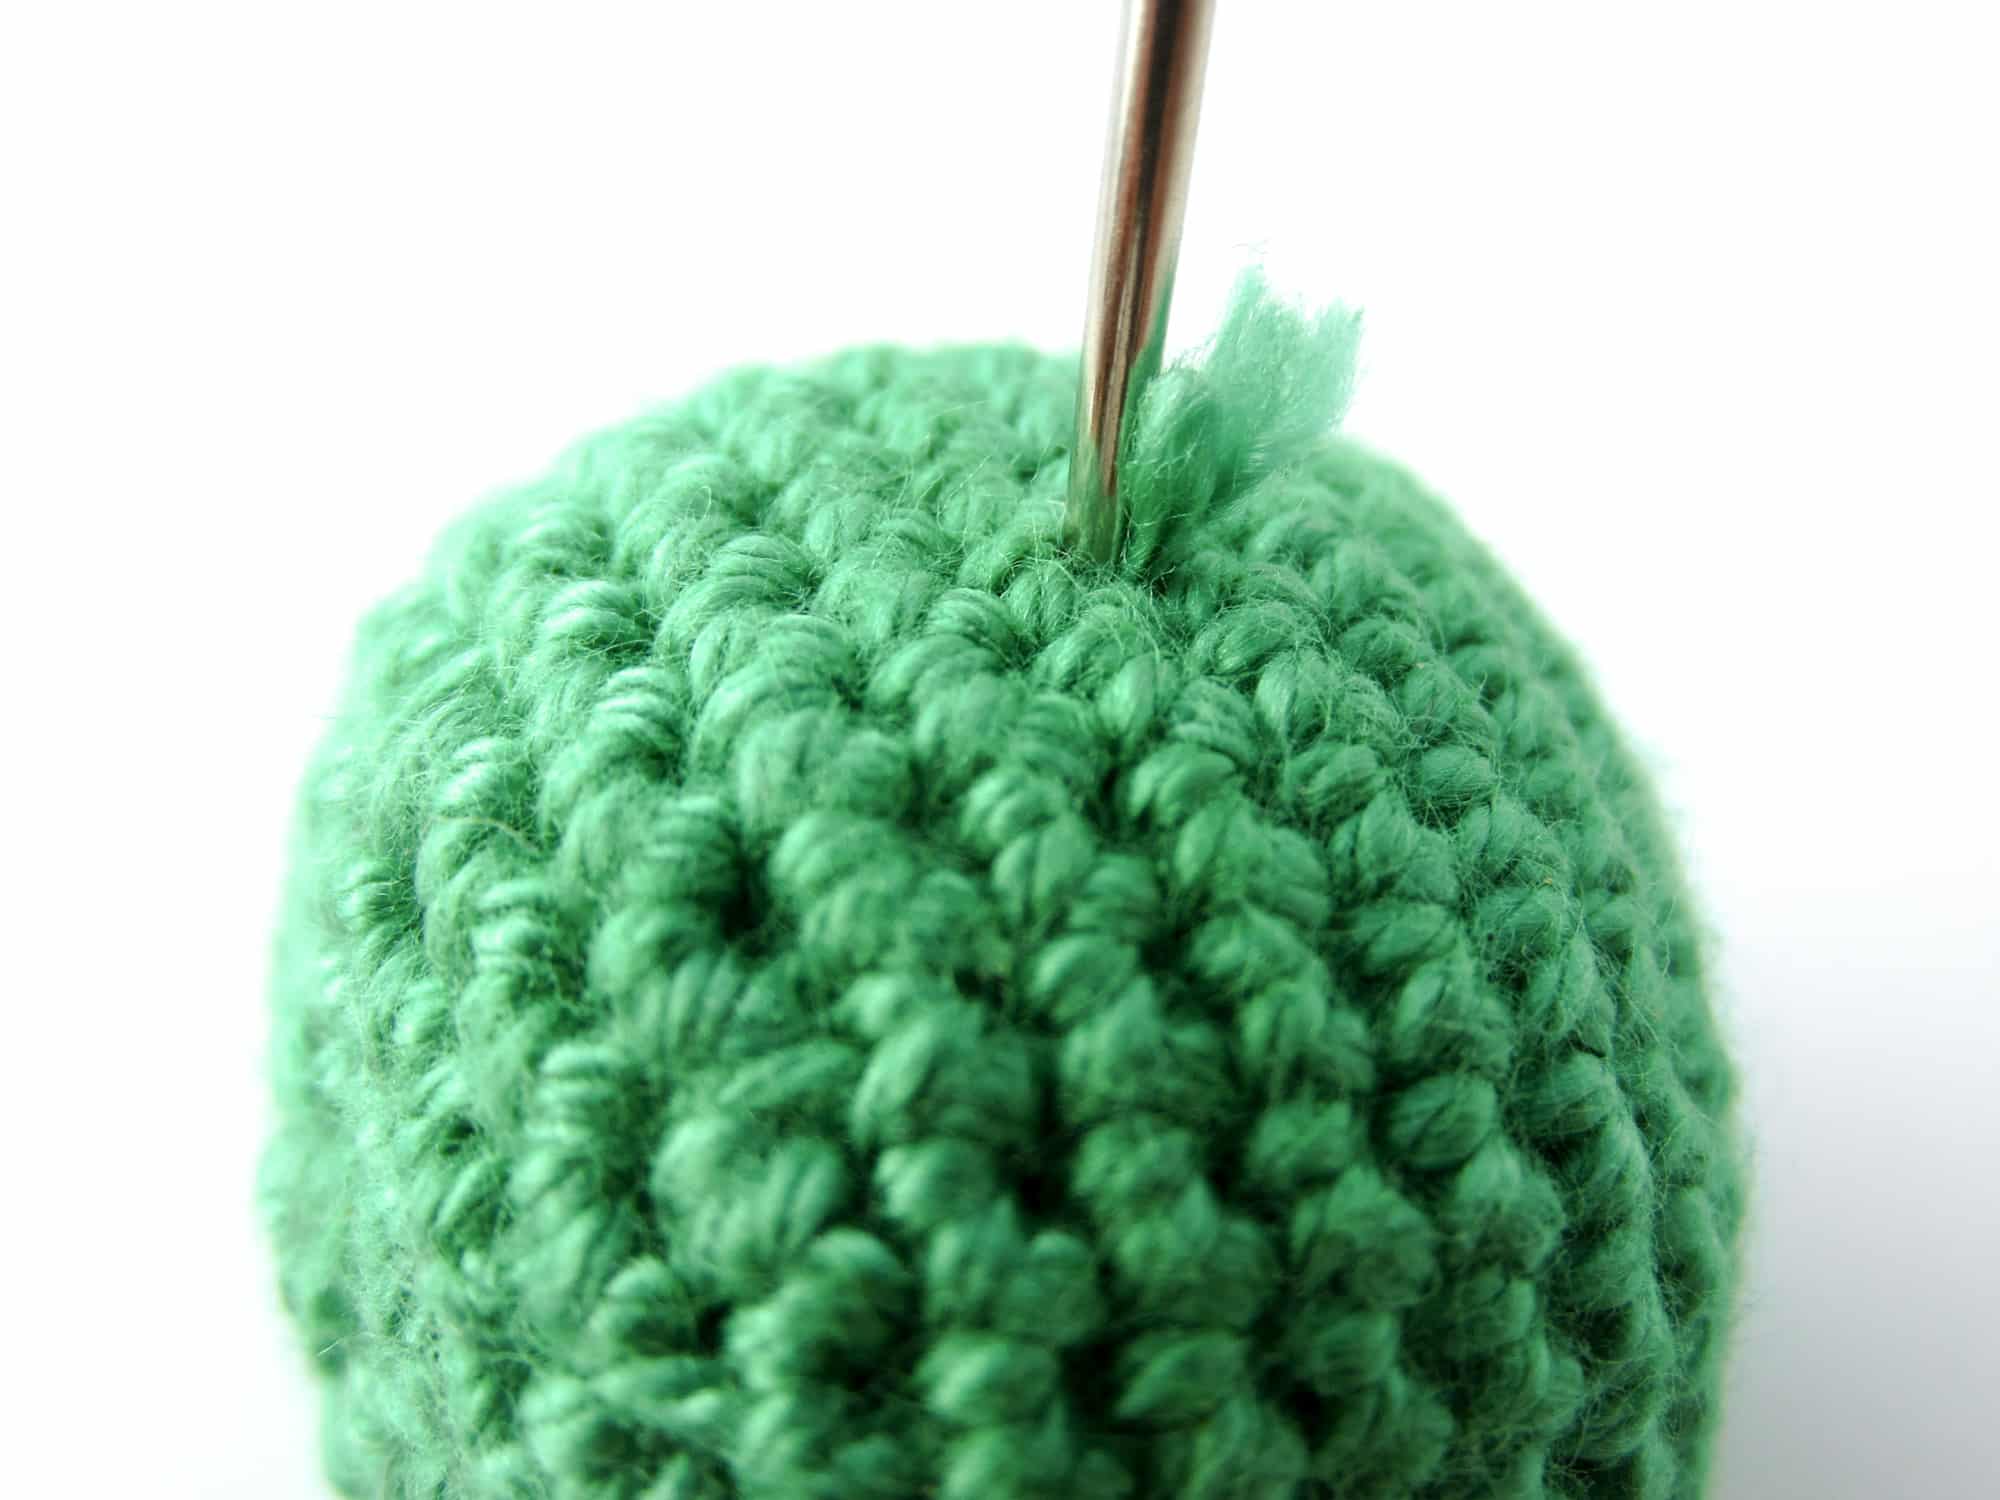
- Step 6: After closing the opening you now have an unsightly bulge. To remove the bulge, push the tapestry needle, which should still hold the thread, through the middle of the just closed opening and let the tapestry needle emerge at any point with sufficient distance to the closed opening. Pull firmly on the exited thread and the bulge at the former opening is pulled inwards and disappears.
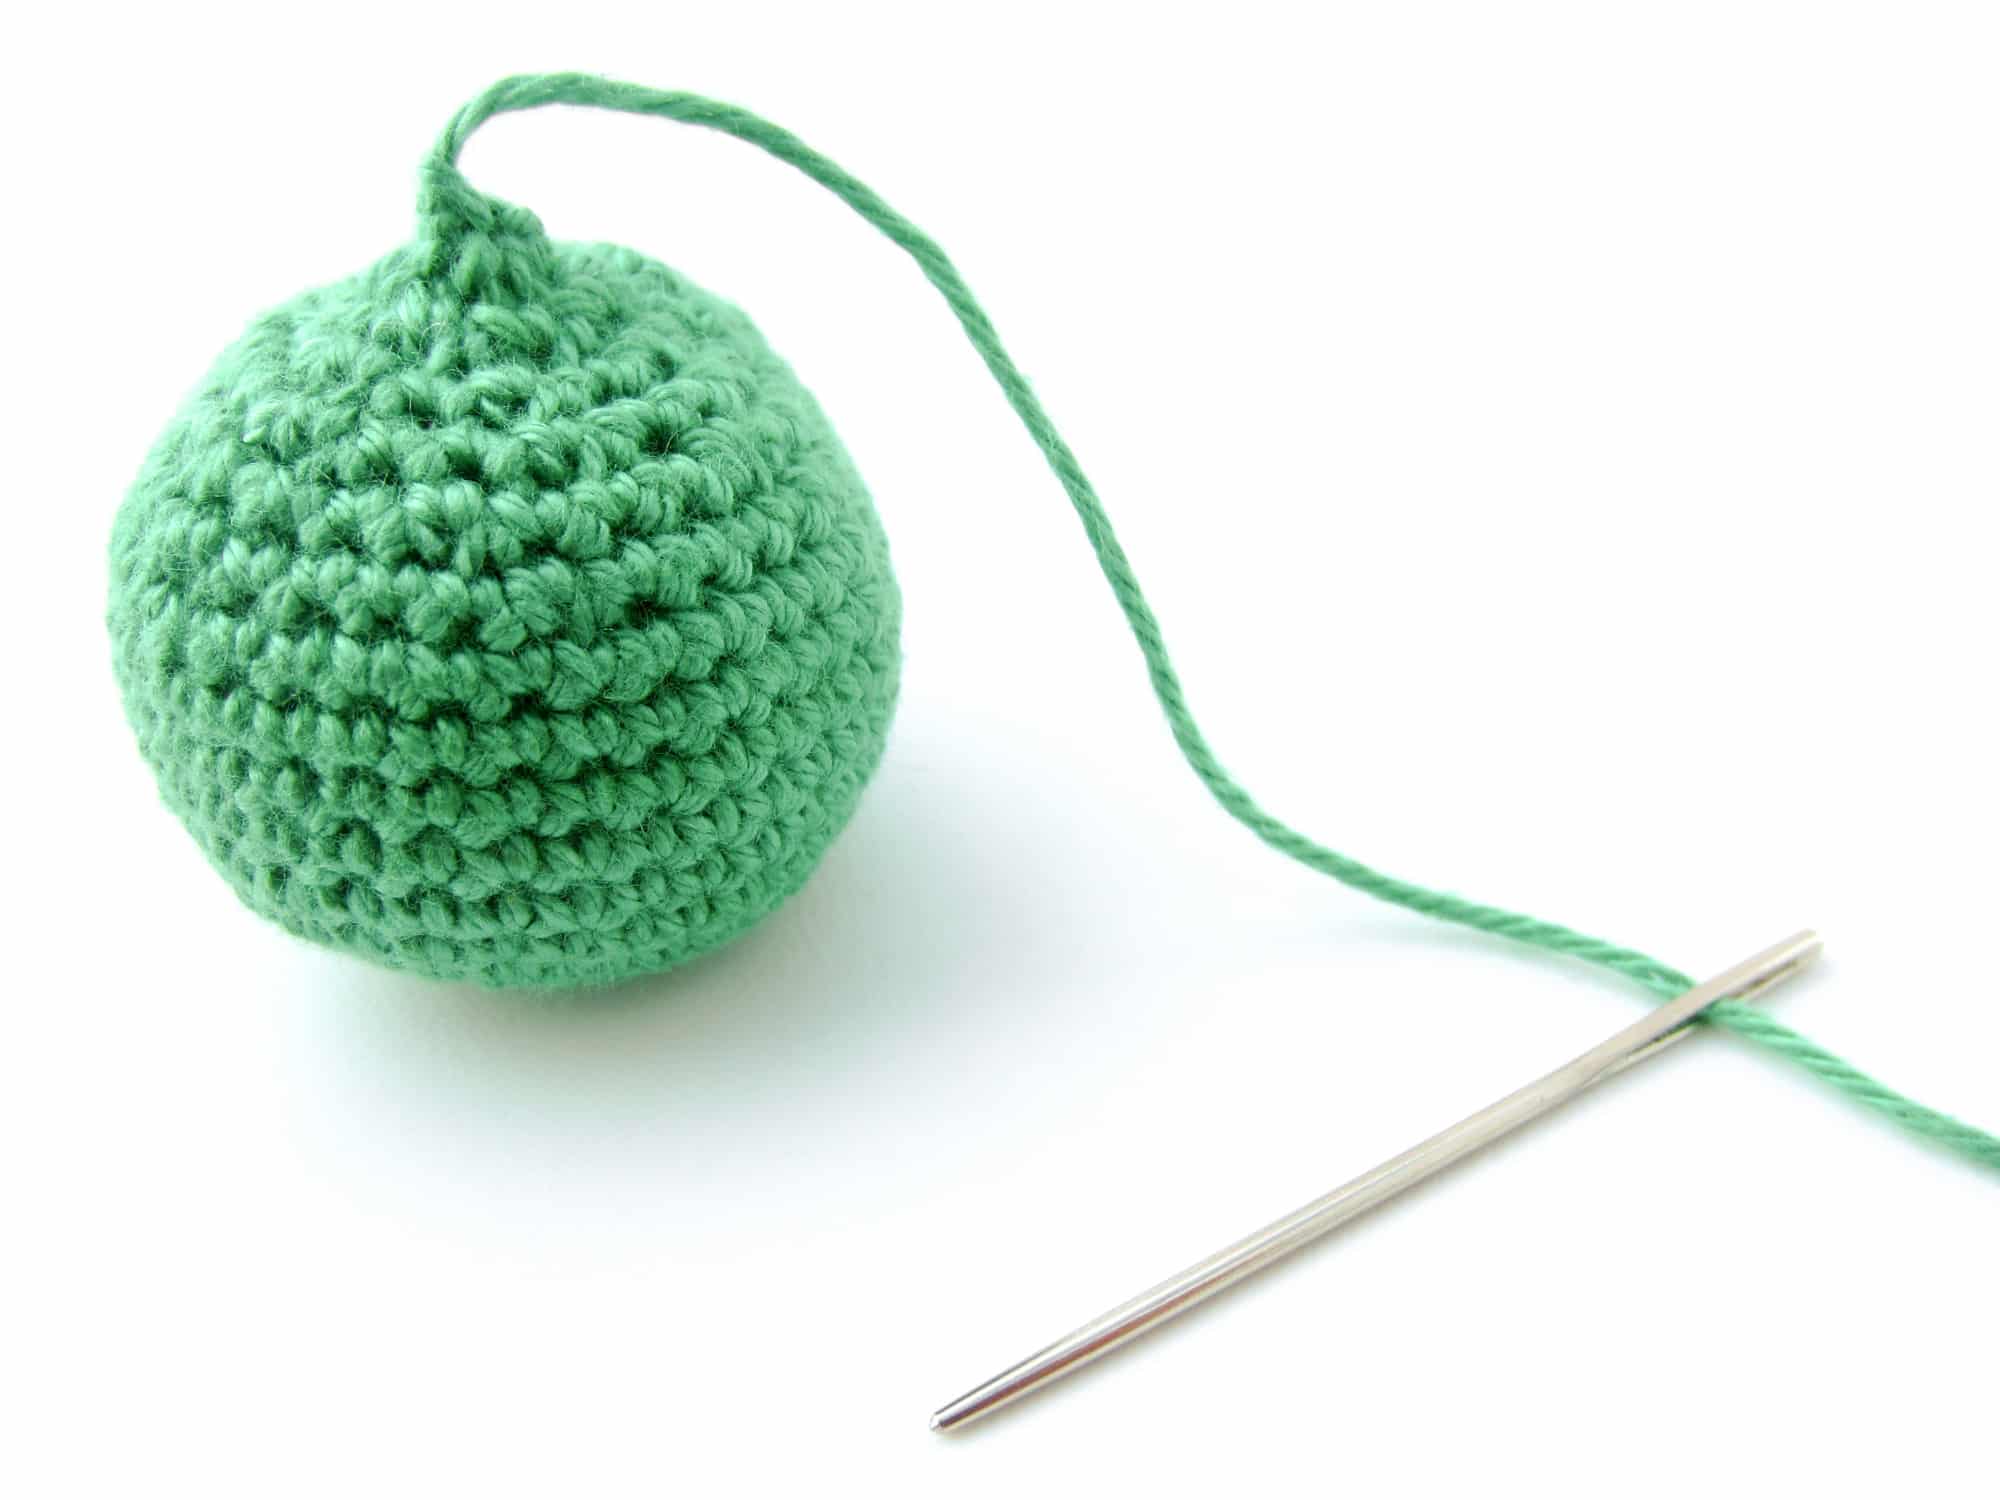


- Step 7: Before you cut the emerging thread, tighten it again and cut it off near the point of emergence. Because of the tension the thread should pull itself into the inside of your crochet work and thus be hidden safely. If not knead the crochet work a little bit so that the thread is pulled in and disappears. Alternatively you can use the tapestry needle to stuff the thread into the inside of the crochet work.


You now have successfully, cleanly and nearly invisibly closed your crochet work.