Chain stitches are usually the first and the easiest stitches you learn when you start crocheting.
Chain stitches are especially important when you crochet “in a row” or “in rows”, because when crocheting in rows the first chain (several chain stitches in a row) are the basis of your crochet work. Also the initial length of your chain usually determines how wide your crochet project will be at the beginning.
You should already know how to hold your yarn and crochet hook and how to make a slip knot on the crochet hook. If not, please check the links below.
This lesson has been crocheted with the “Schachenmayr Catania” yarn with a 2.5 mm crochet hook.
Chain Stitches
Needed Techniques
Needed Materials and Tools
To order the materials click on the respective link (affiliate link).
- Colors: green
- This pattern was crocheted using the “Schachenmayr Catania” yarn (100% Cotton, Meterage: 125 m, Yarn Ball Weight: 50 g, Yarn Weight: Sport – 5ply / Fine (2)) in the following colors:
- Golf Green (Golfgrün (241))
- 2.5 mm Crochet Hook
No products found.
Crochet the First Chain Stitch
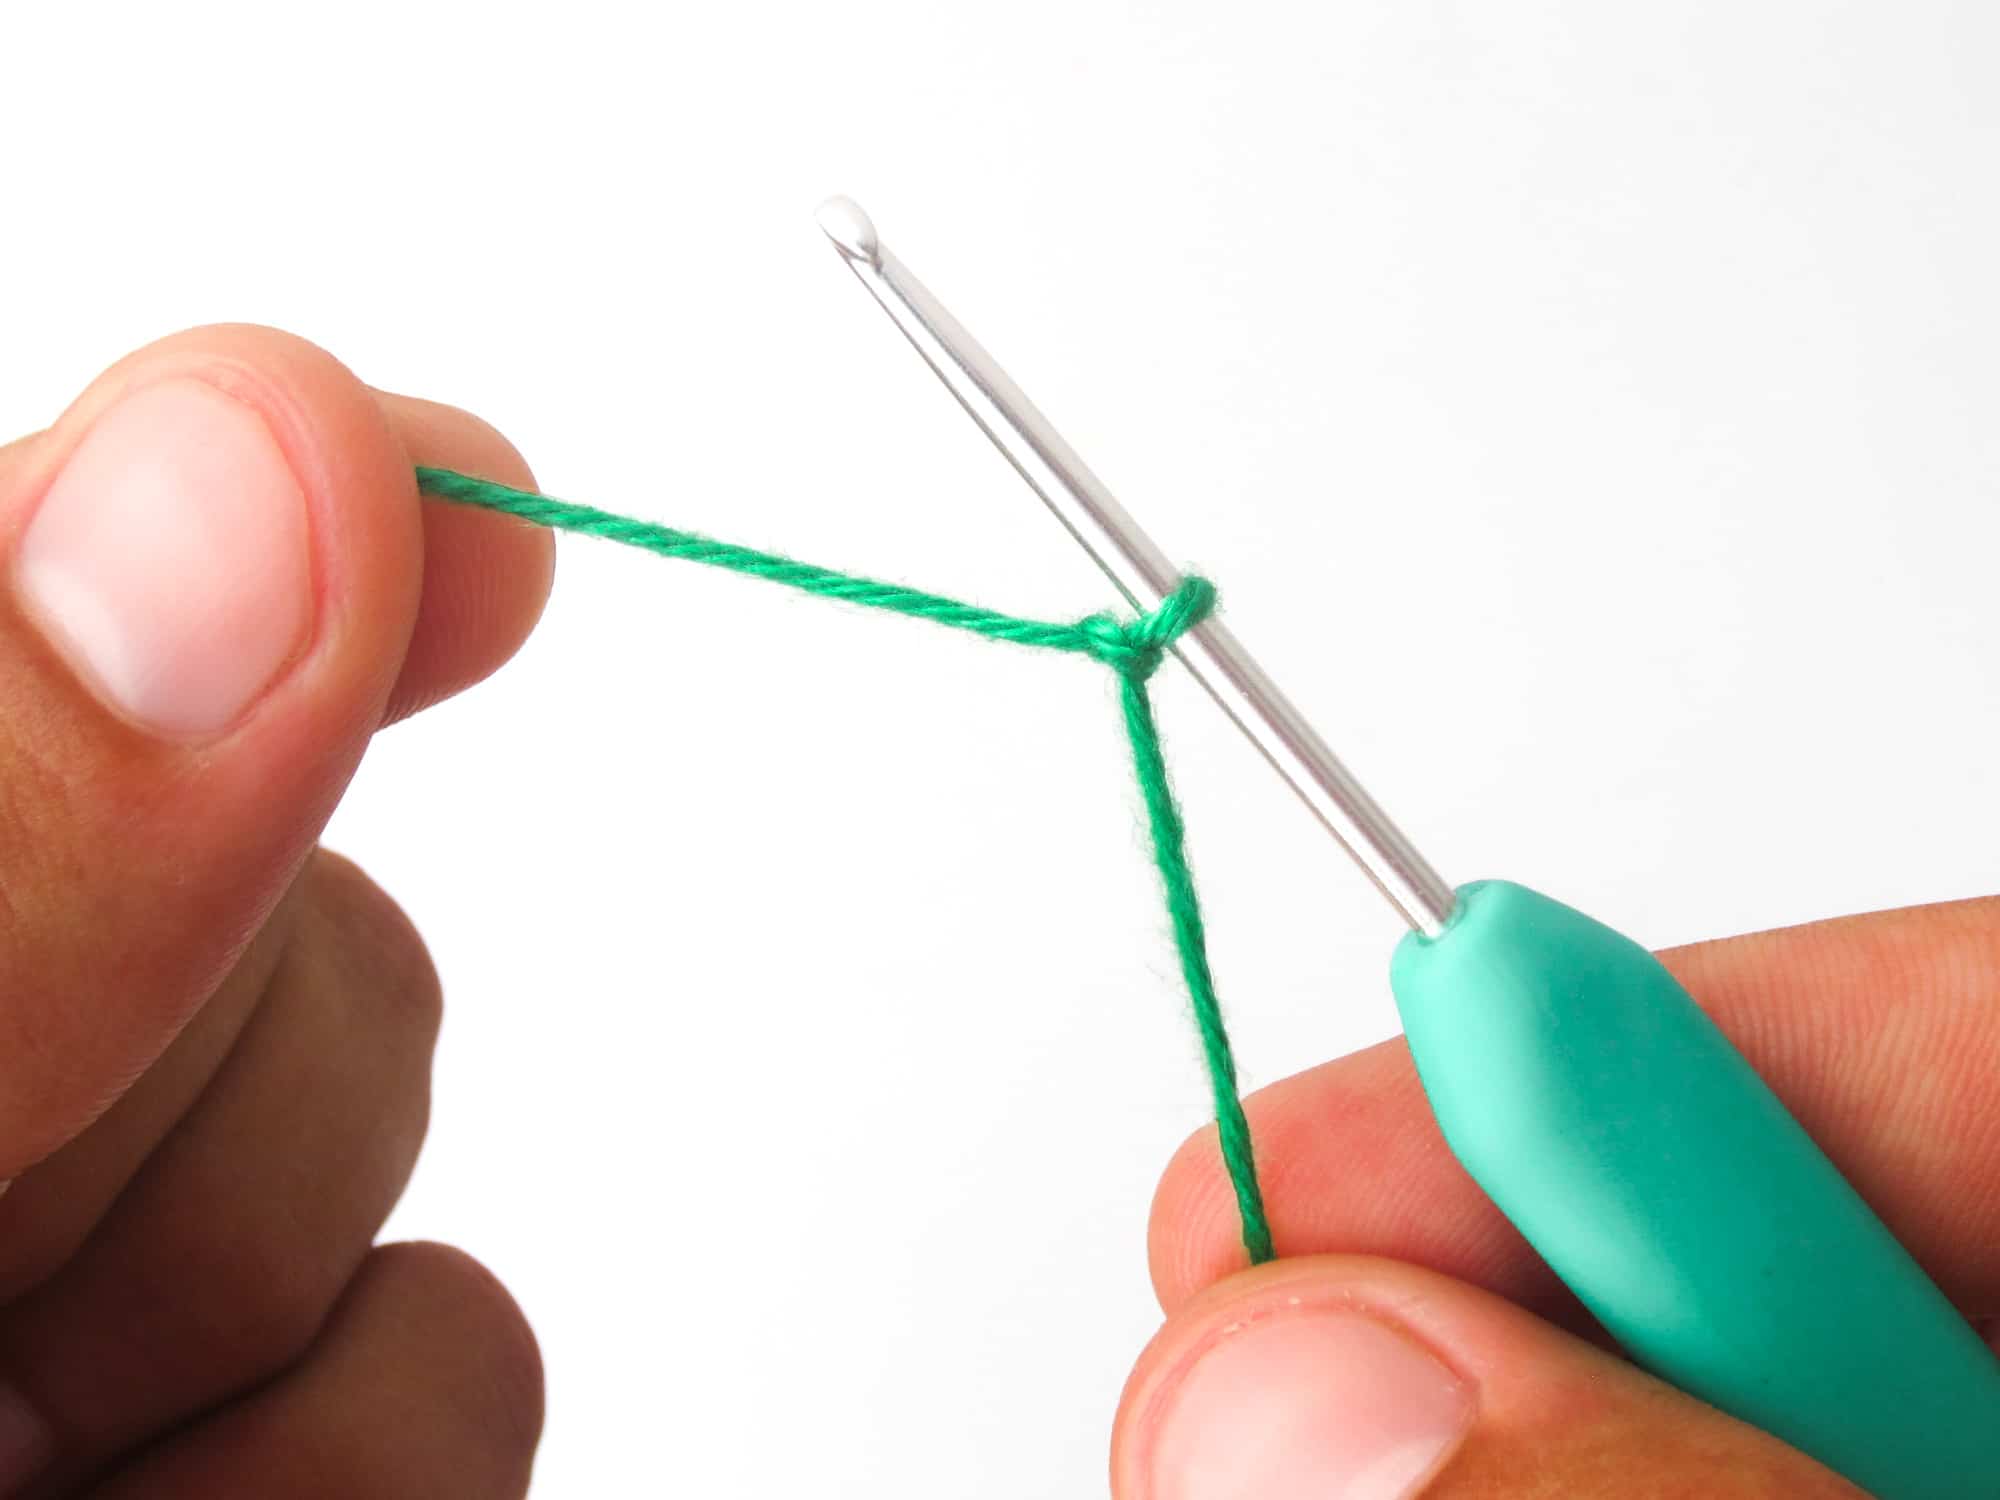
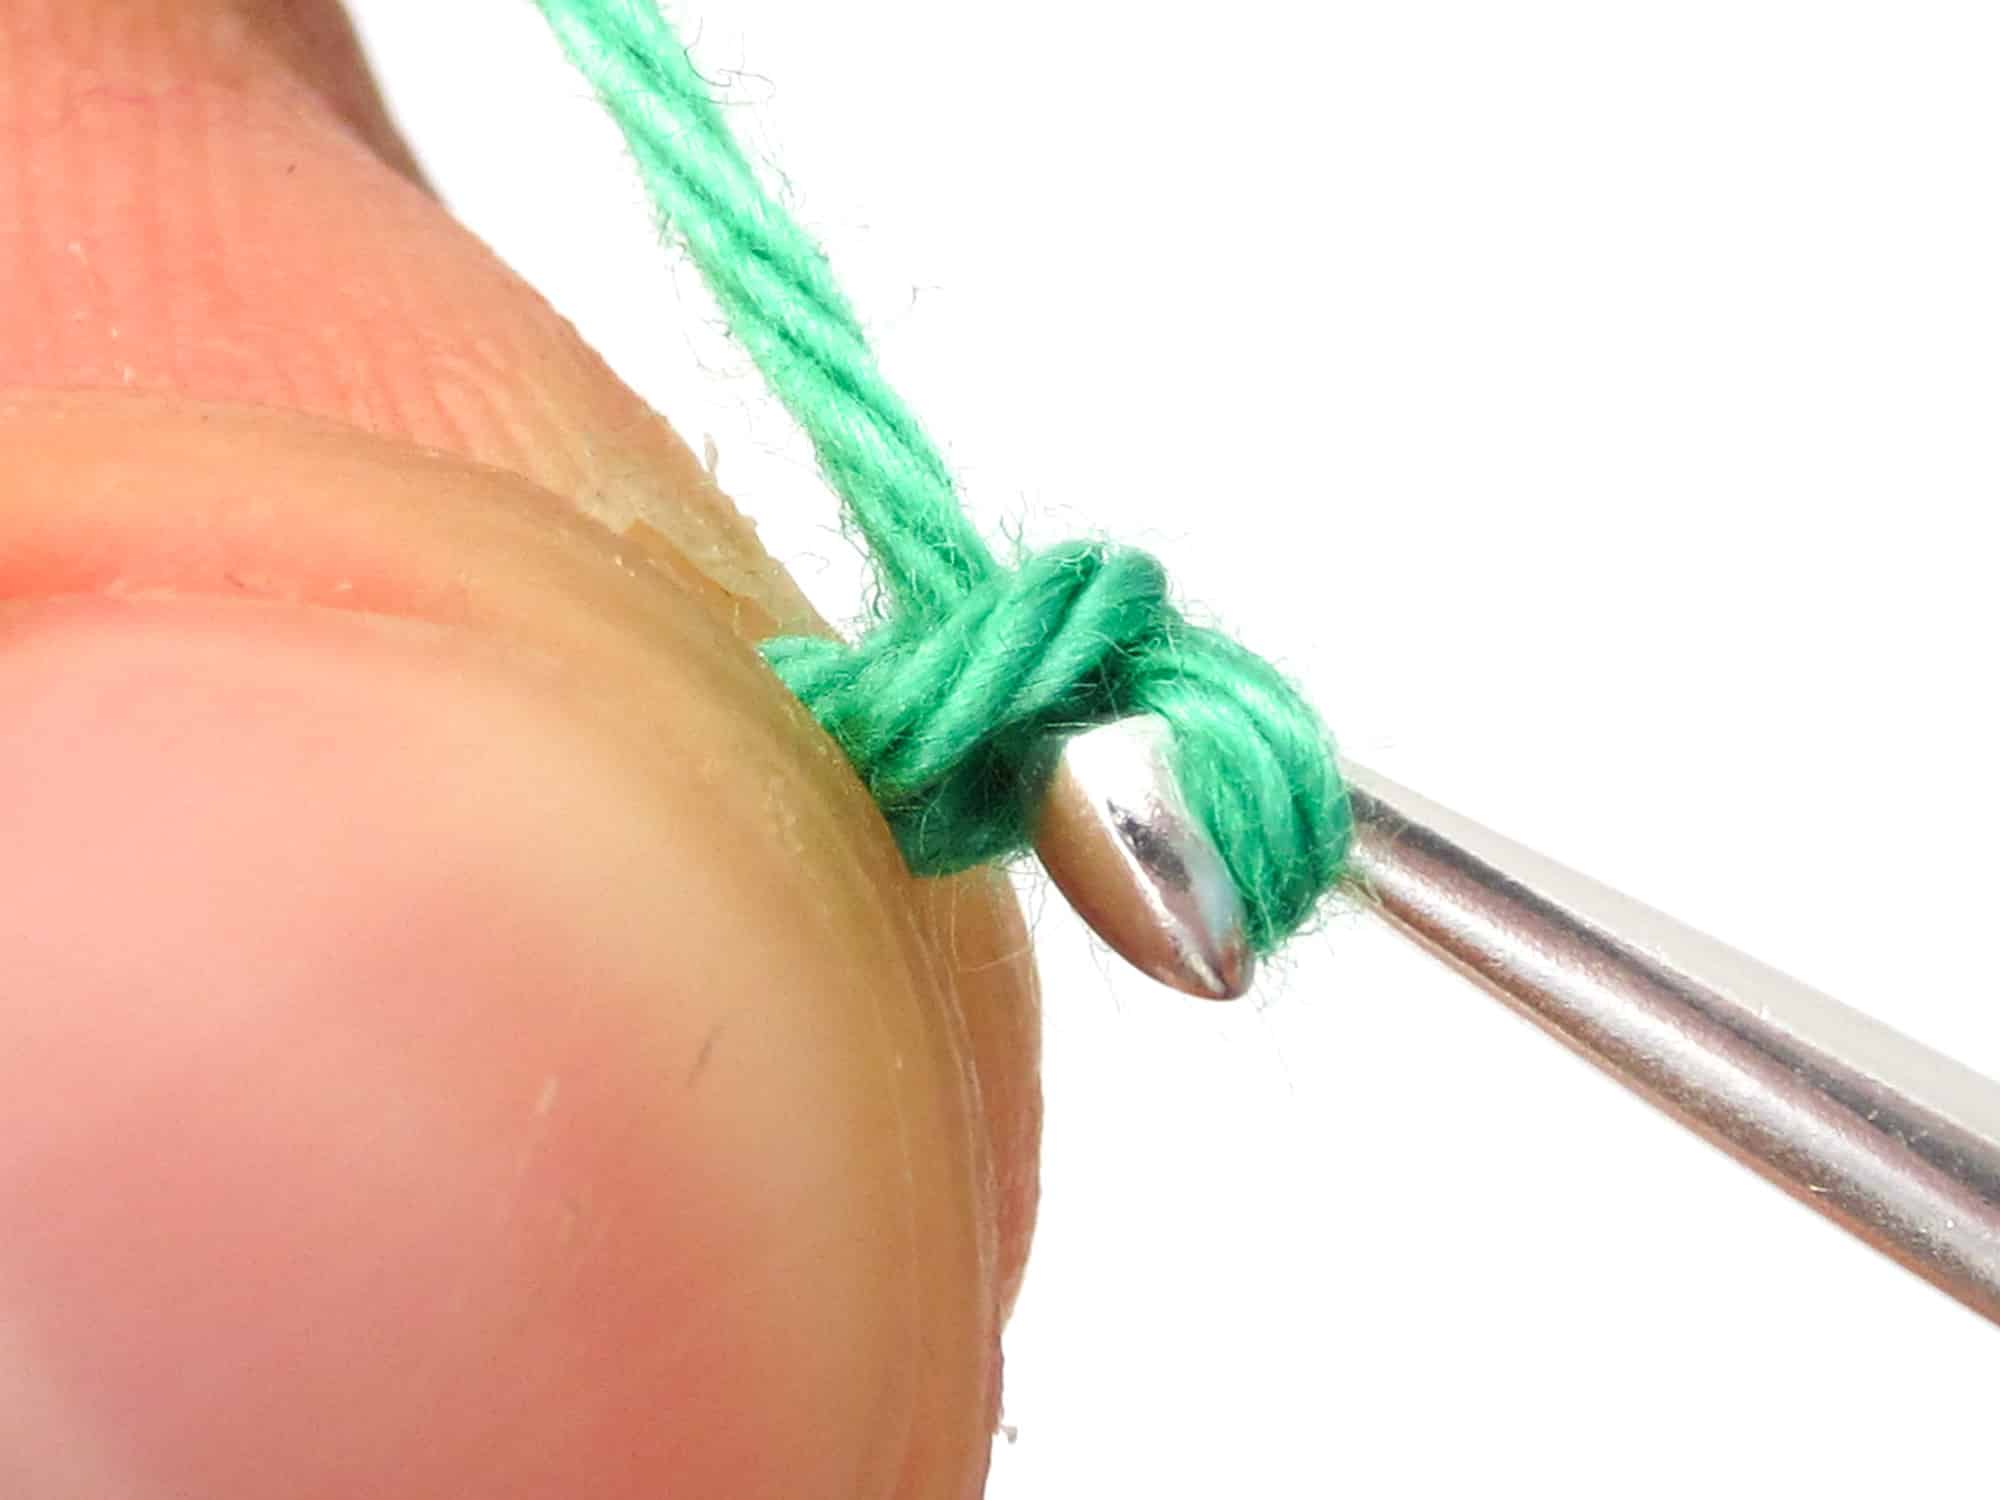
- Step 1: Take your yarn and a matching crochet hook and start by making a movable slip knot on your crochet hook. Hold the slip knot with the thumb and the middle finger of the left hand (or with other fingers, depending on how you prefer to hold the thread).
- Make sure you hold on to the loop as close as possible to the crochet hook. If you crochet some stitches, always adjust your grip to hold your work with your left hand close to the loop on the crochet hook. This is important so that you have enough tension on the thread to be able to crochet stitches at all.
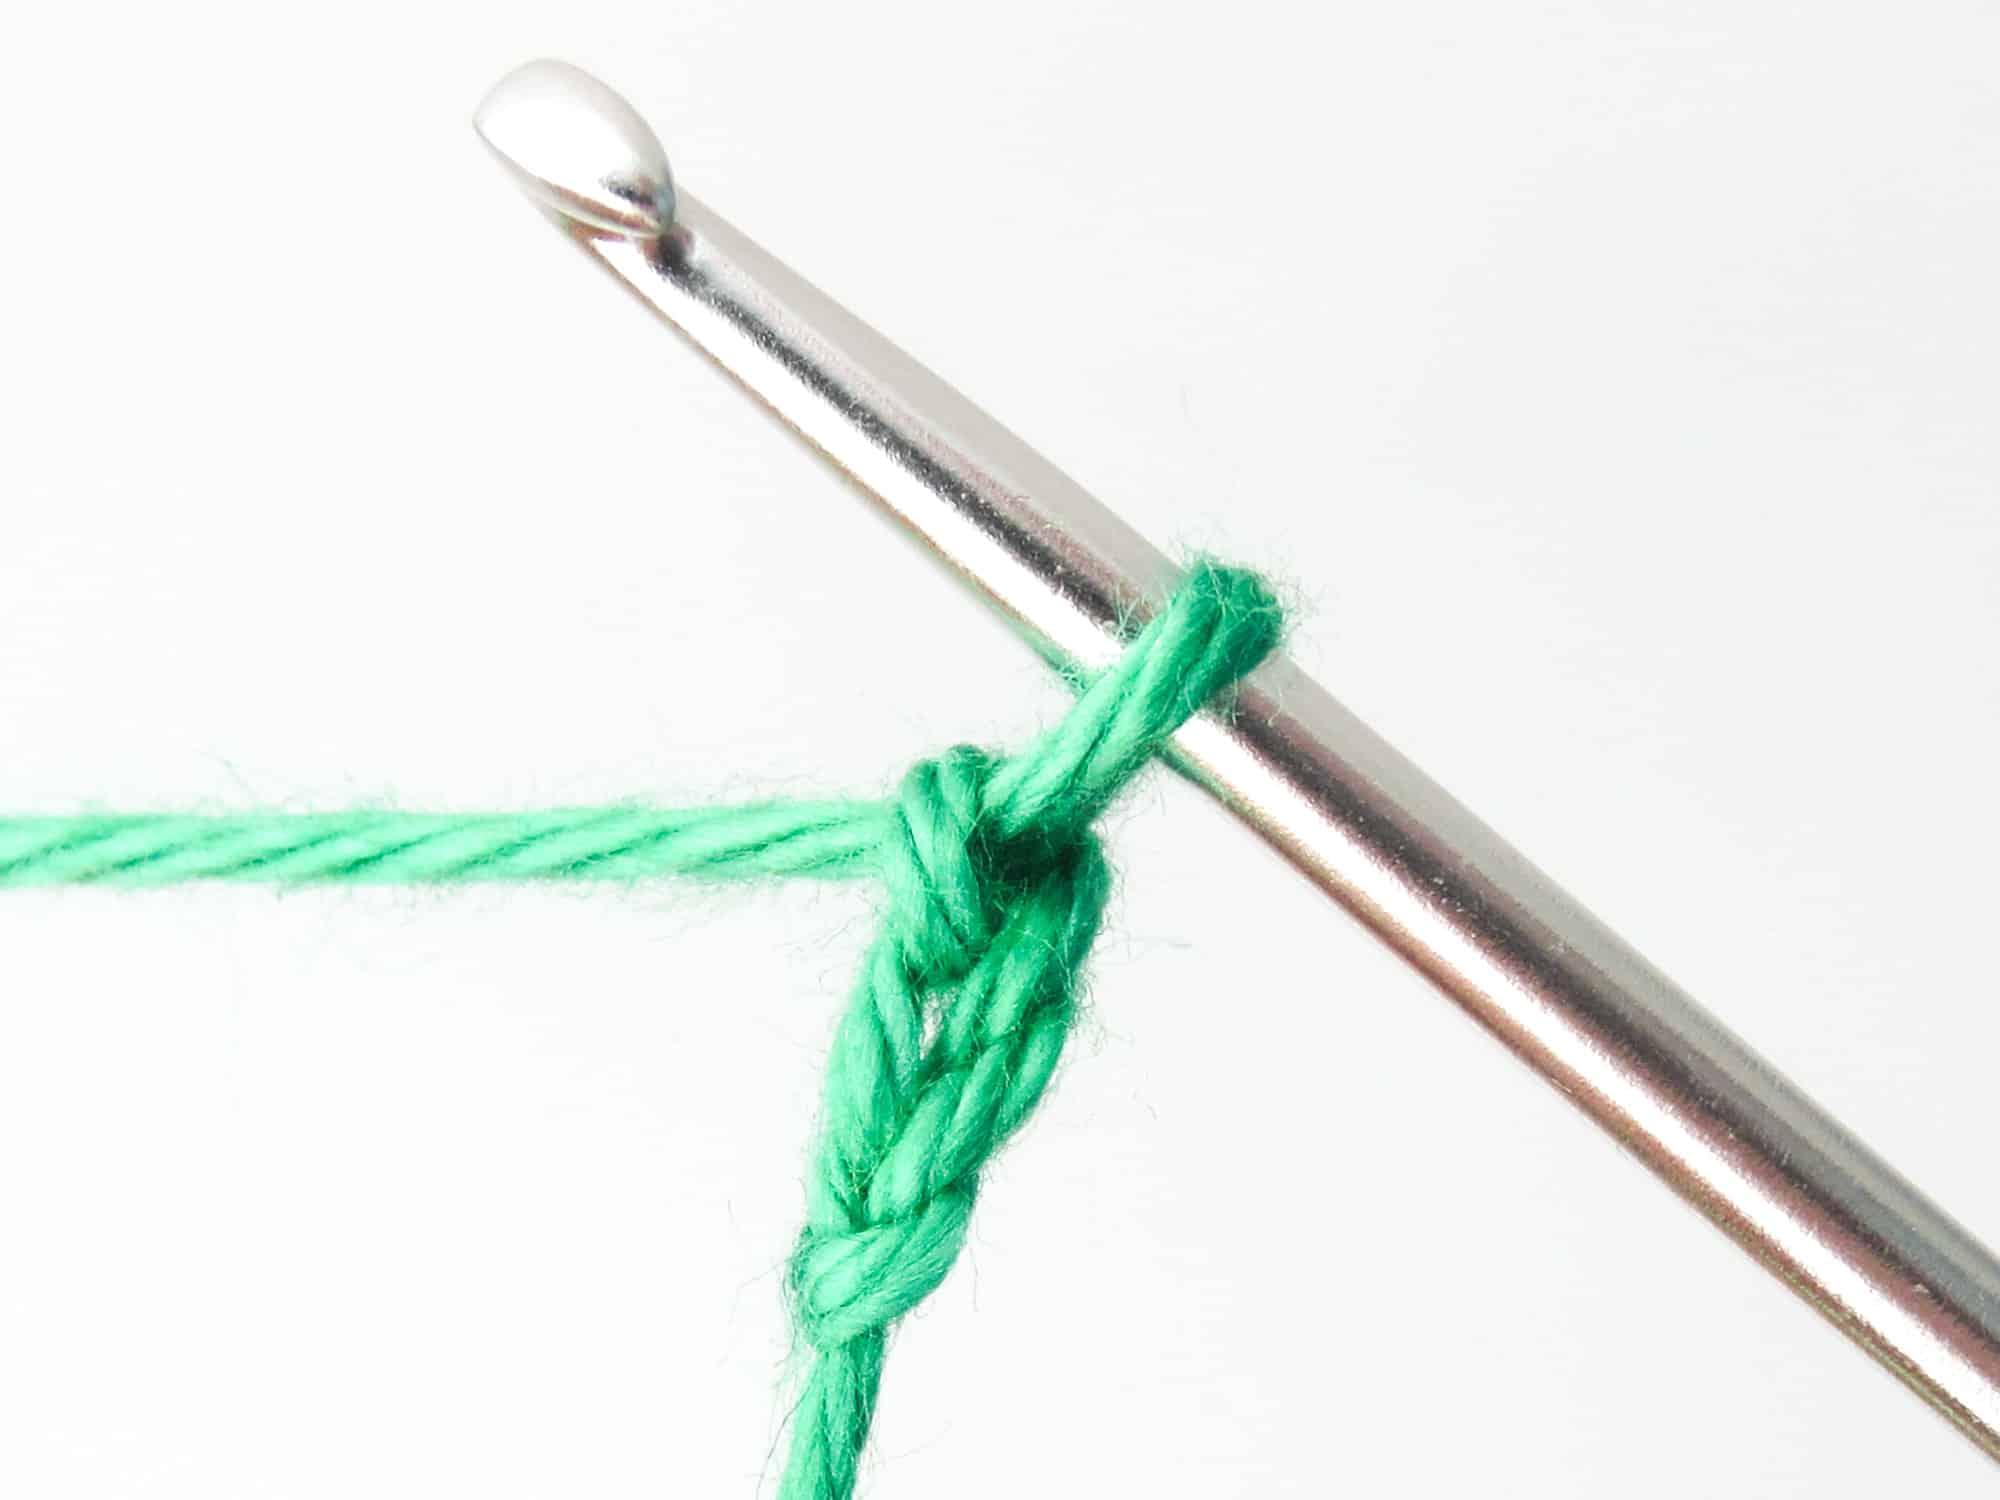
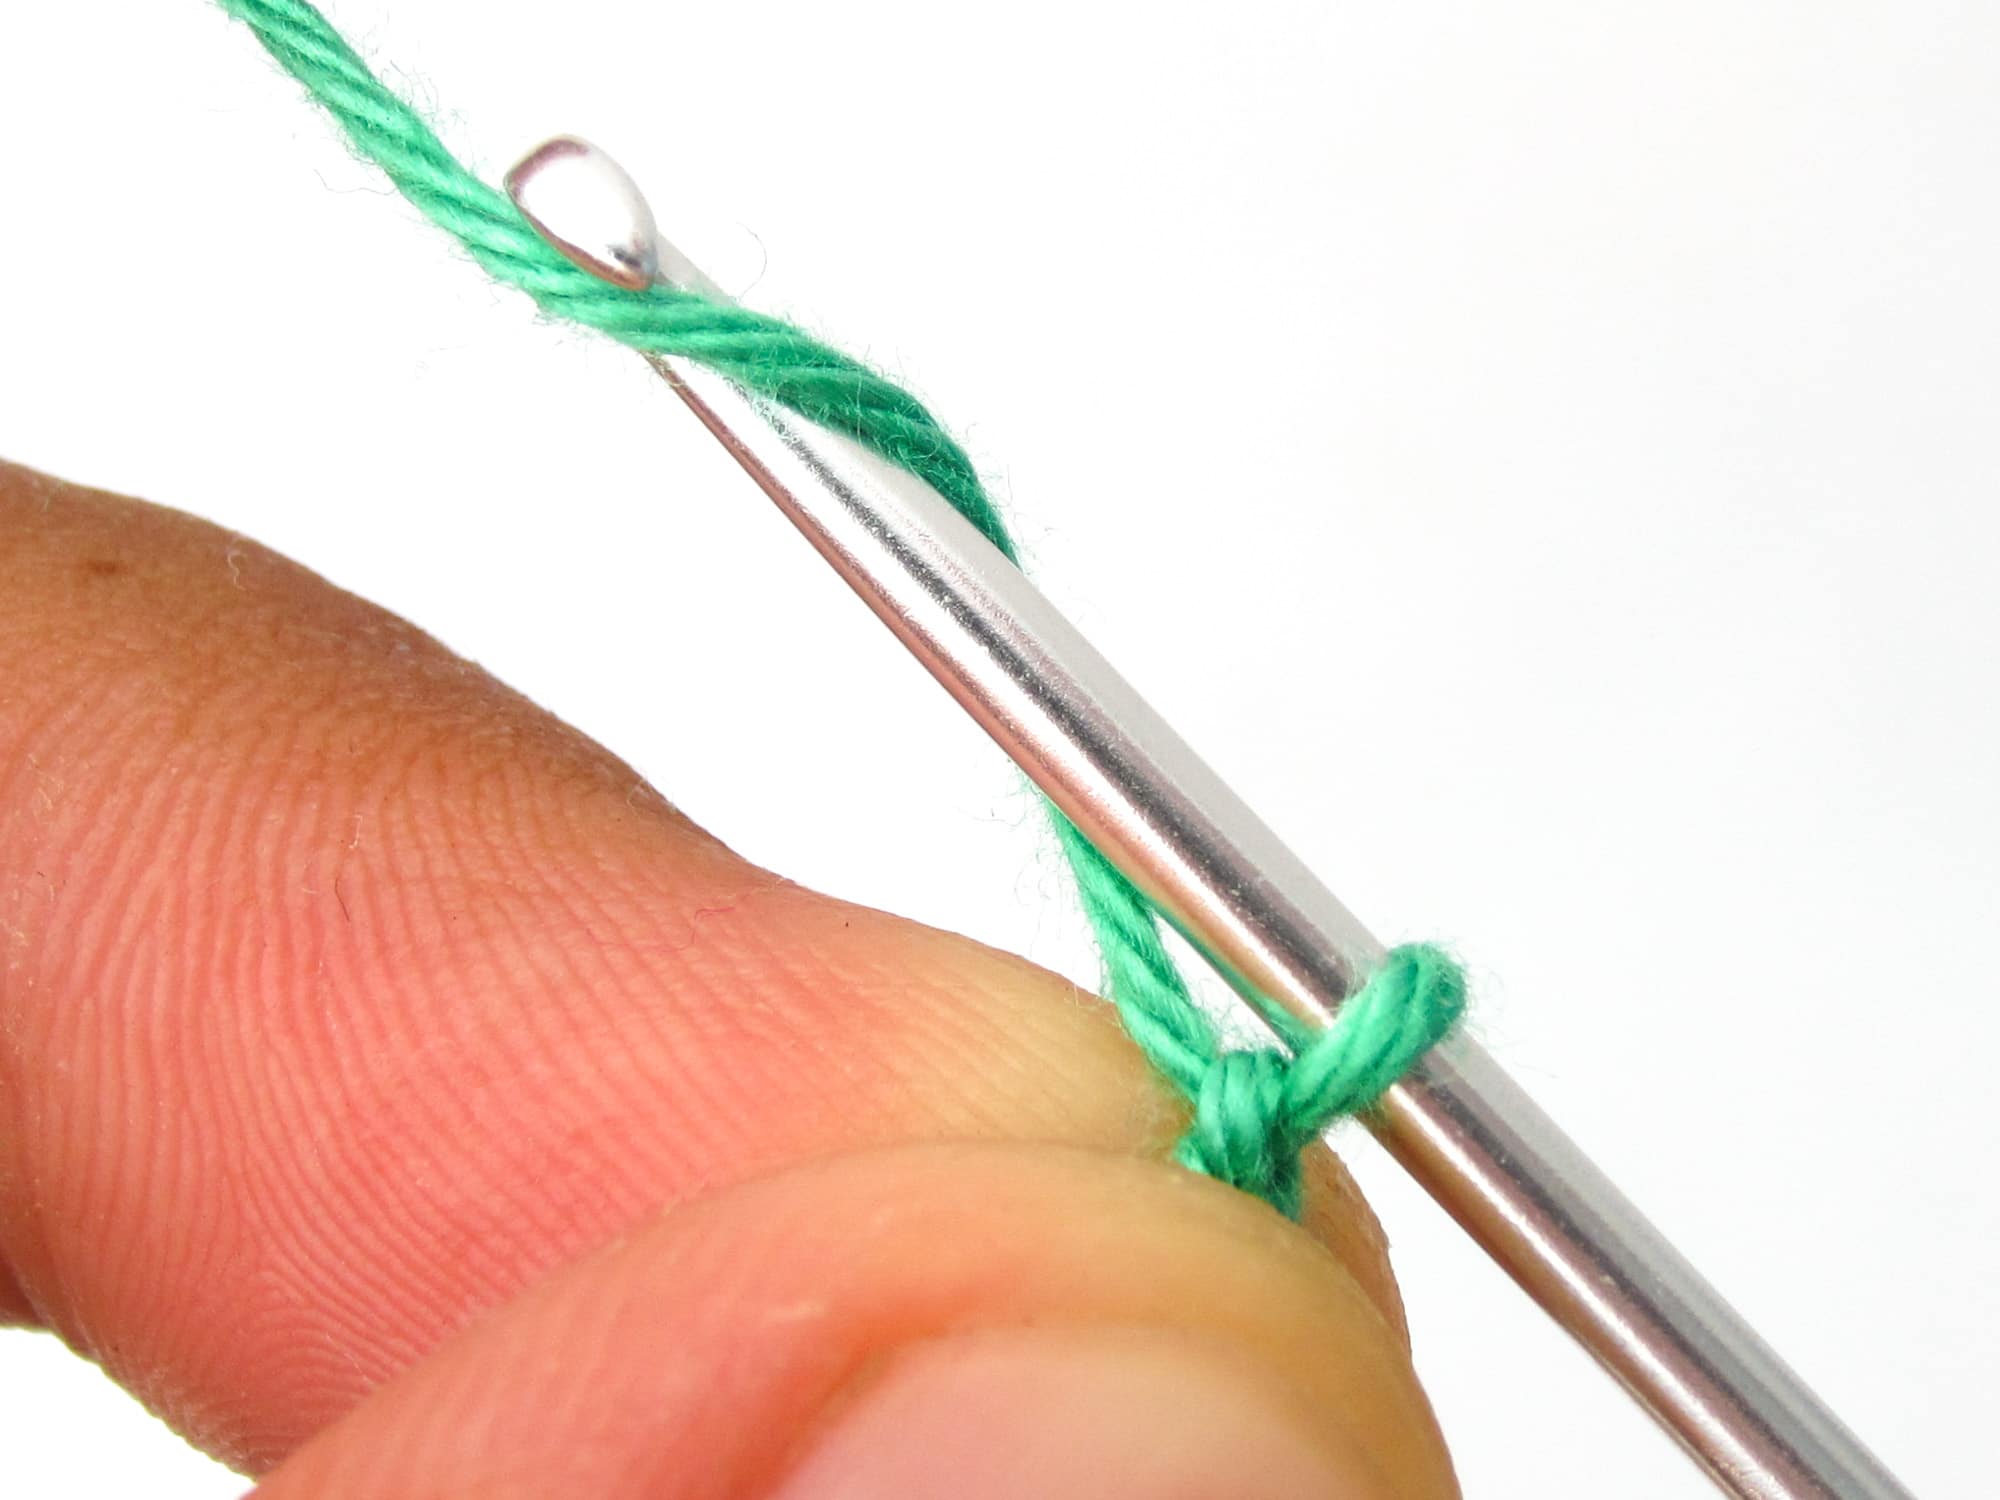
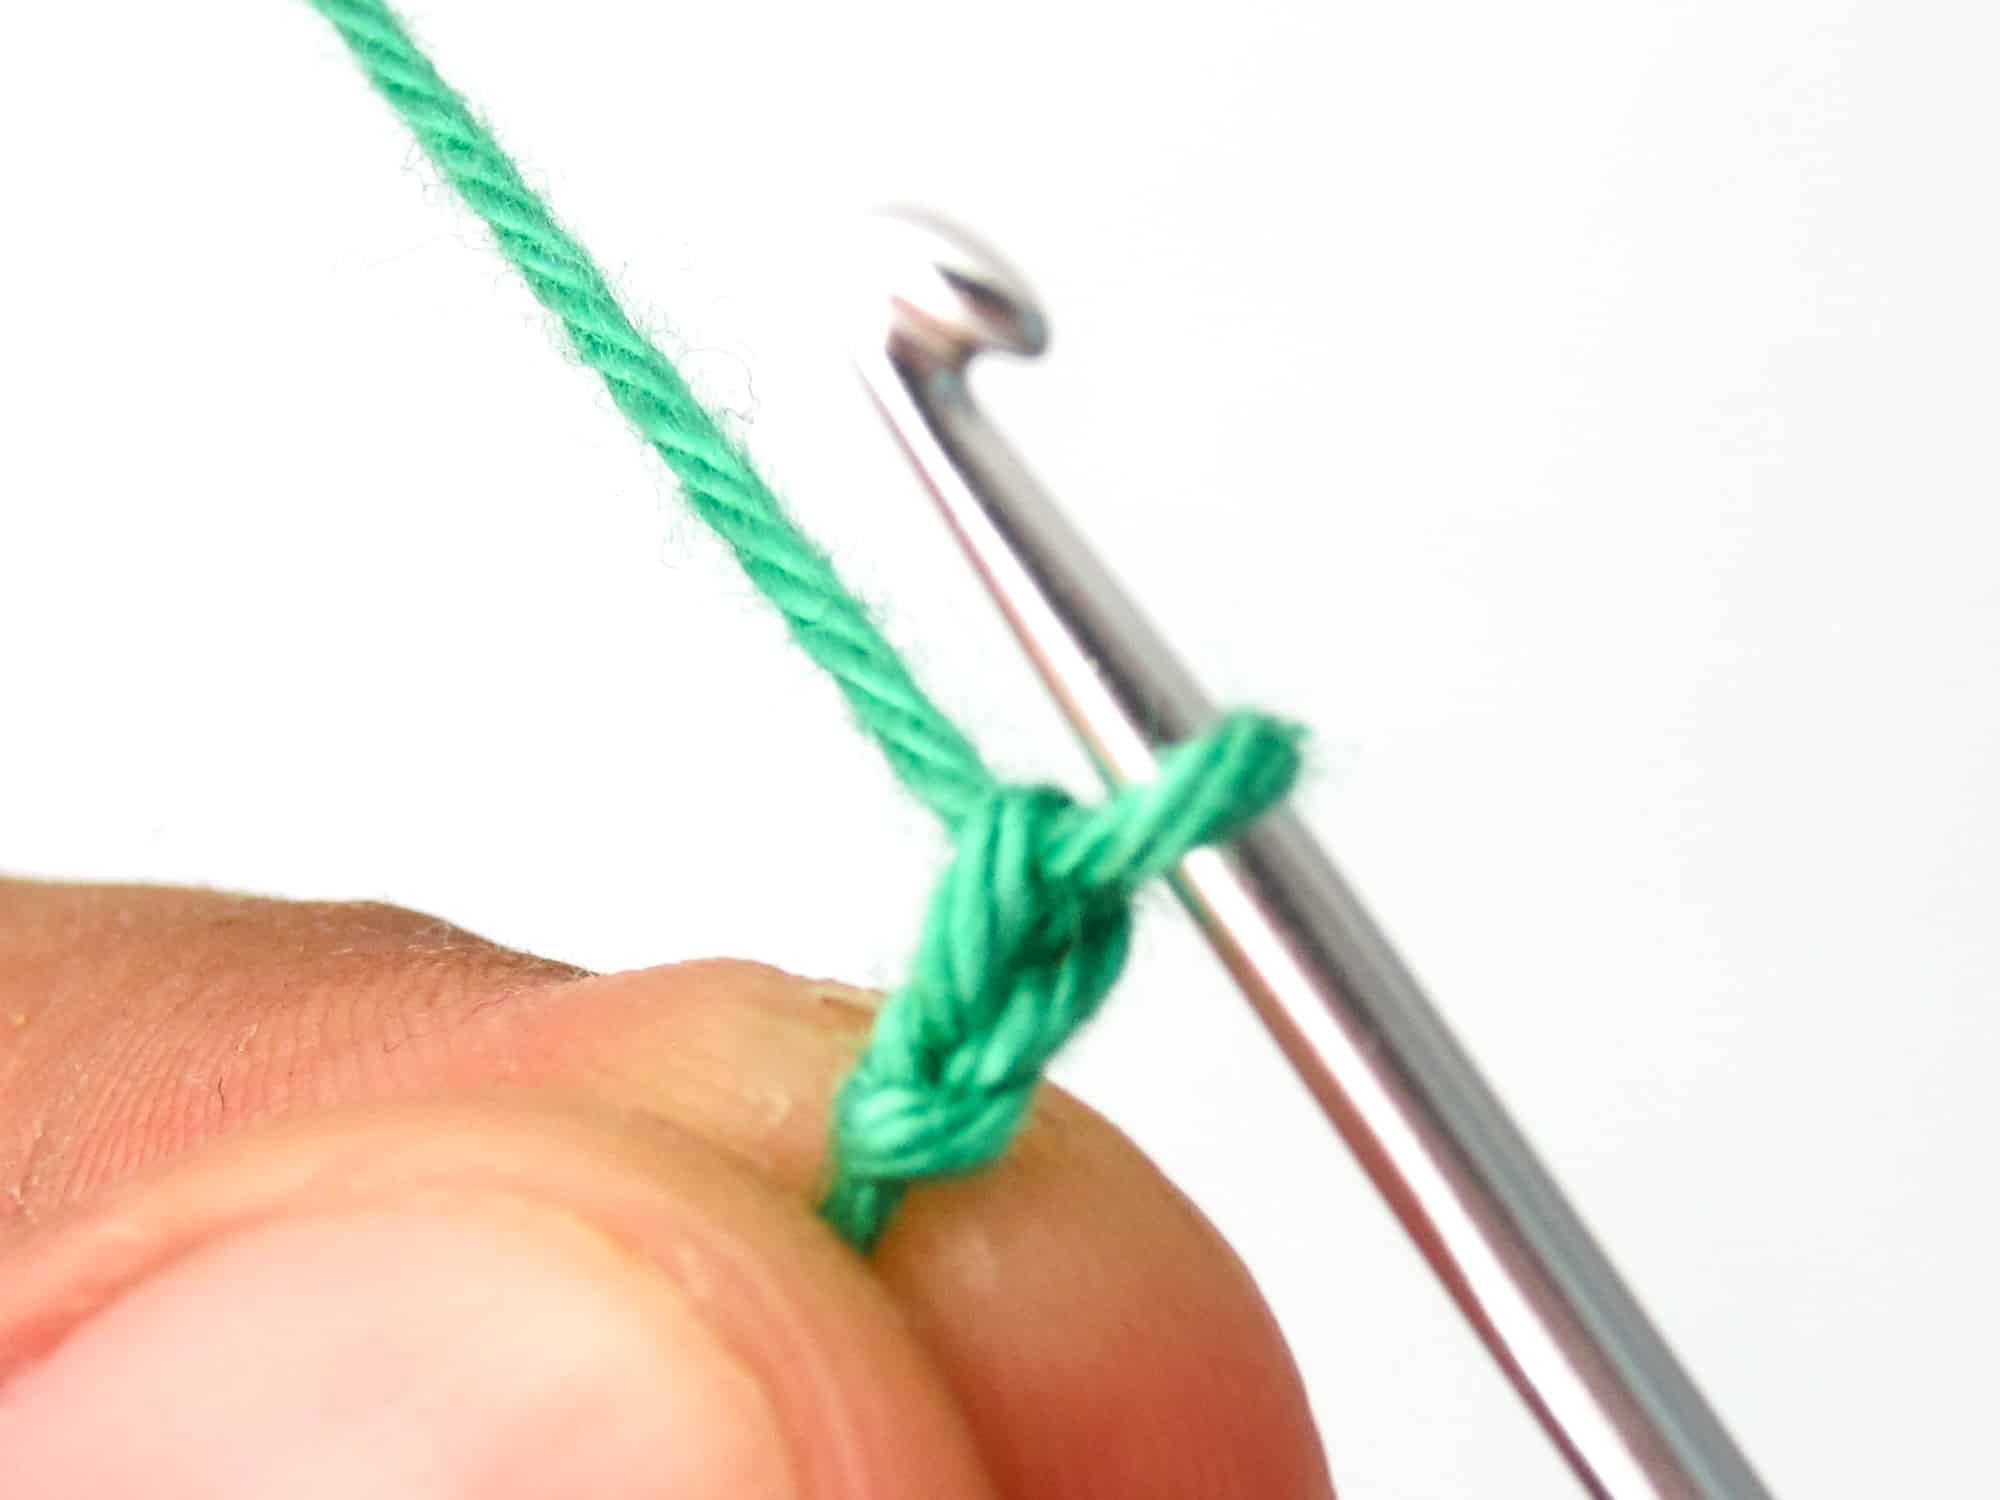
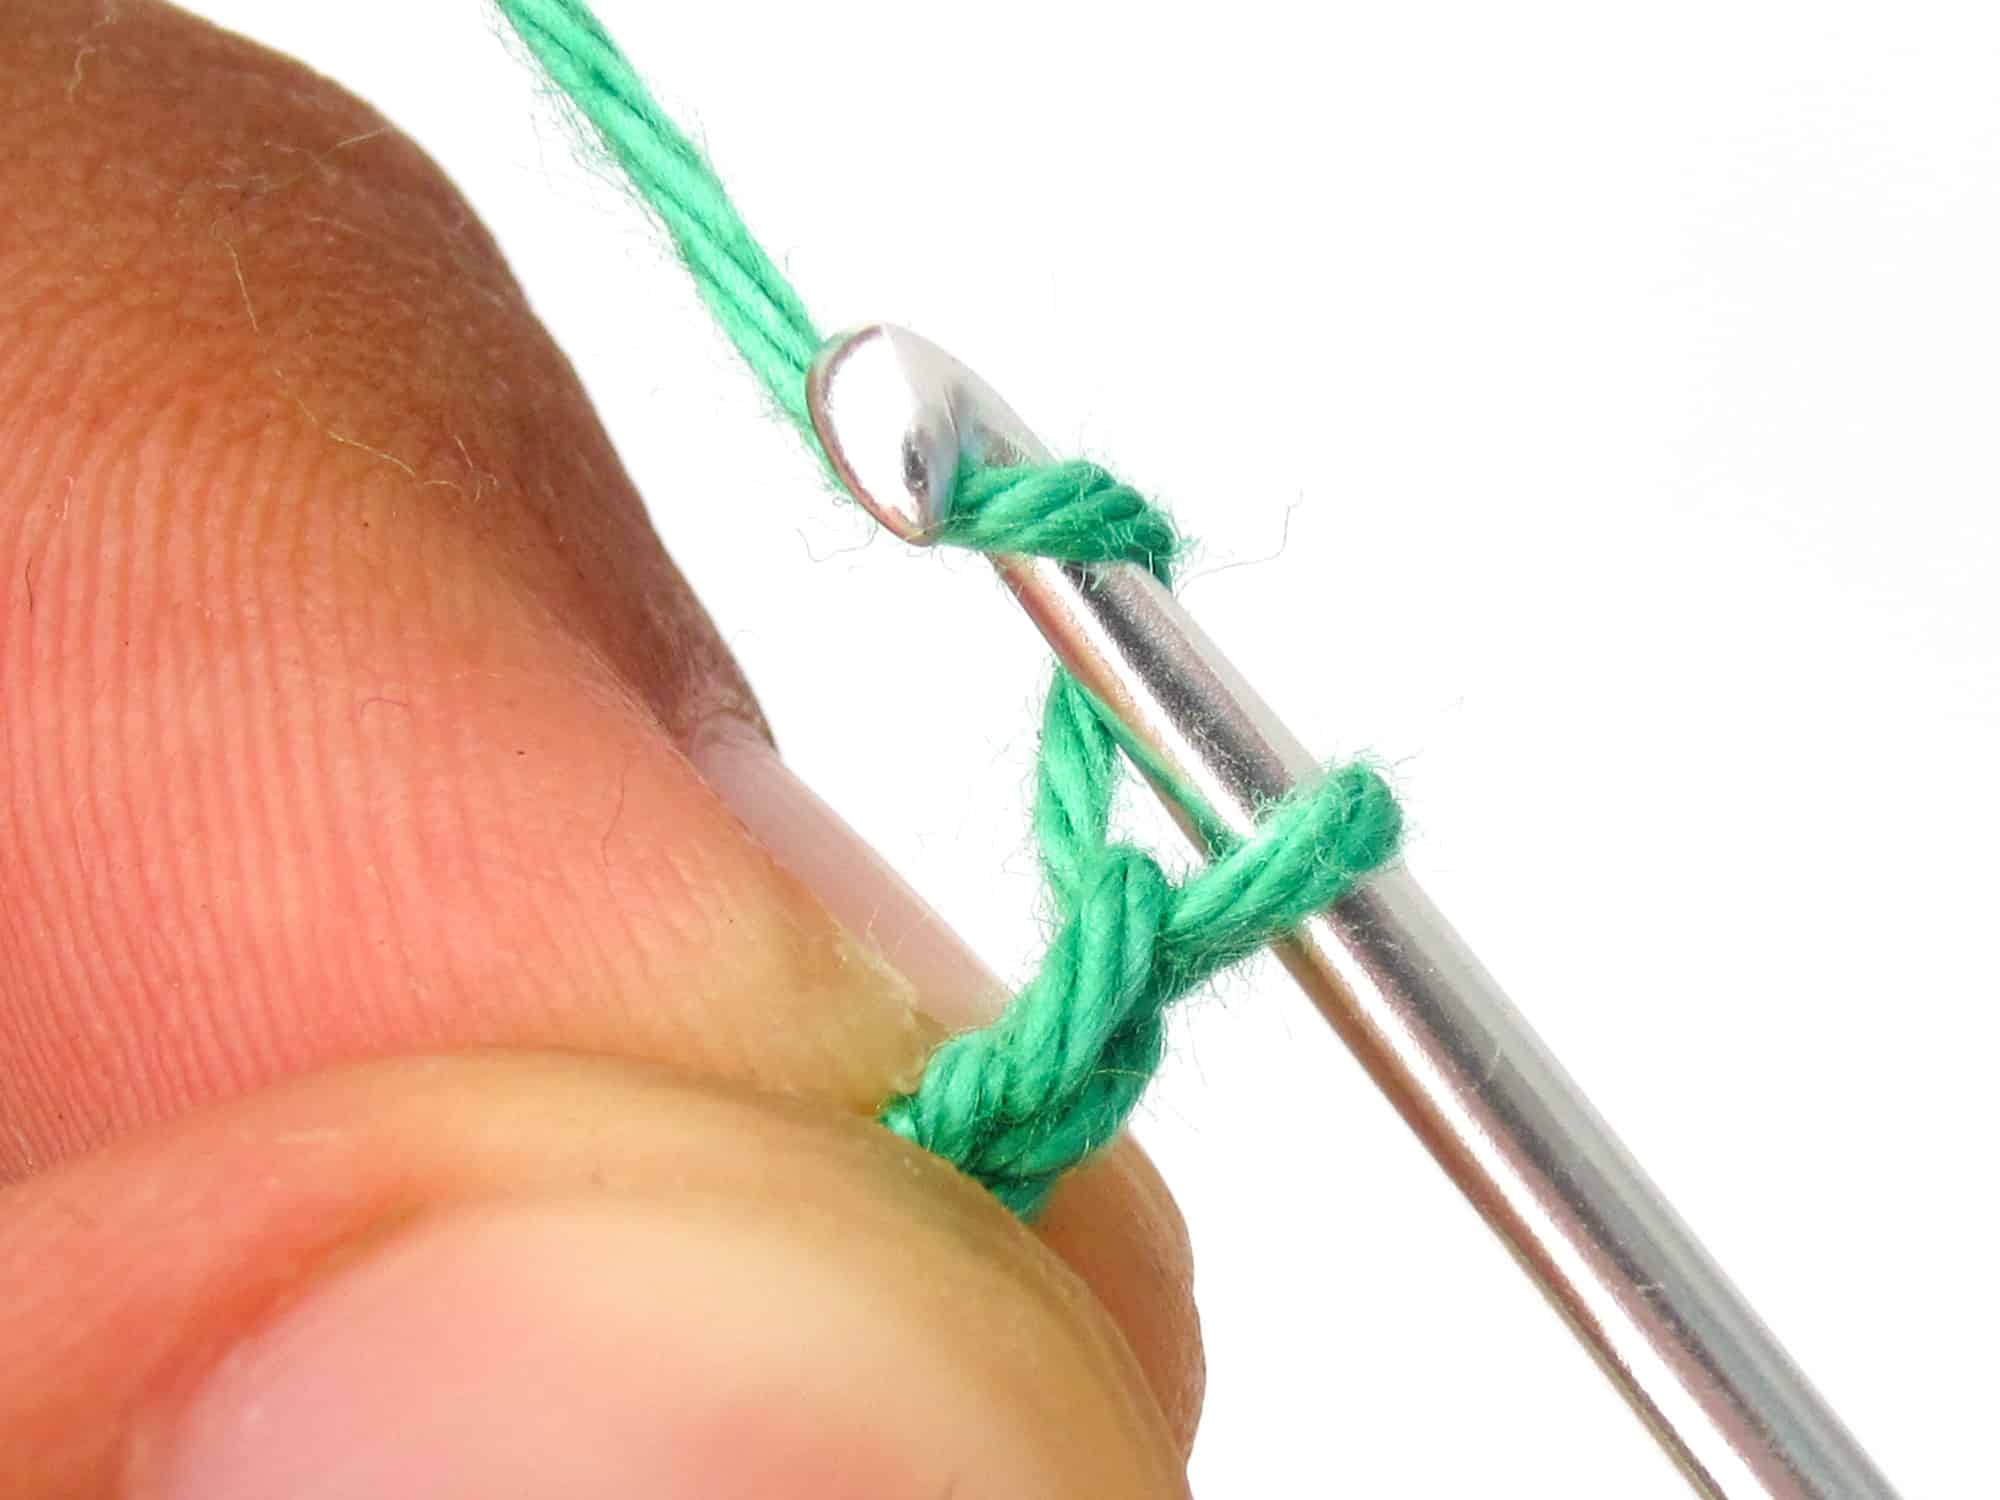
- Step 2: Now we come to the actual crocheting of the chain stitch. You have your crochet hook in your right hand. Now yarn over the thread that runs to the ball of yarn.
- “Yarn over” means to wrap the thread once around the crochet hook. This term will come up again and again, because you always have to pick up the thread one or more times for any stitch.
- Yarn over: You pick up a thread by guiding the crochet hook under the thread and then turning the crochet hook counter-clockwise to grip the thread with the hook.
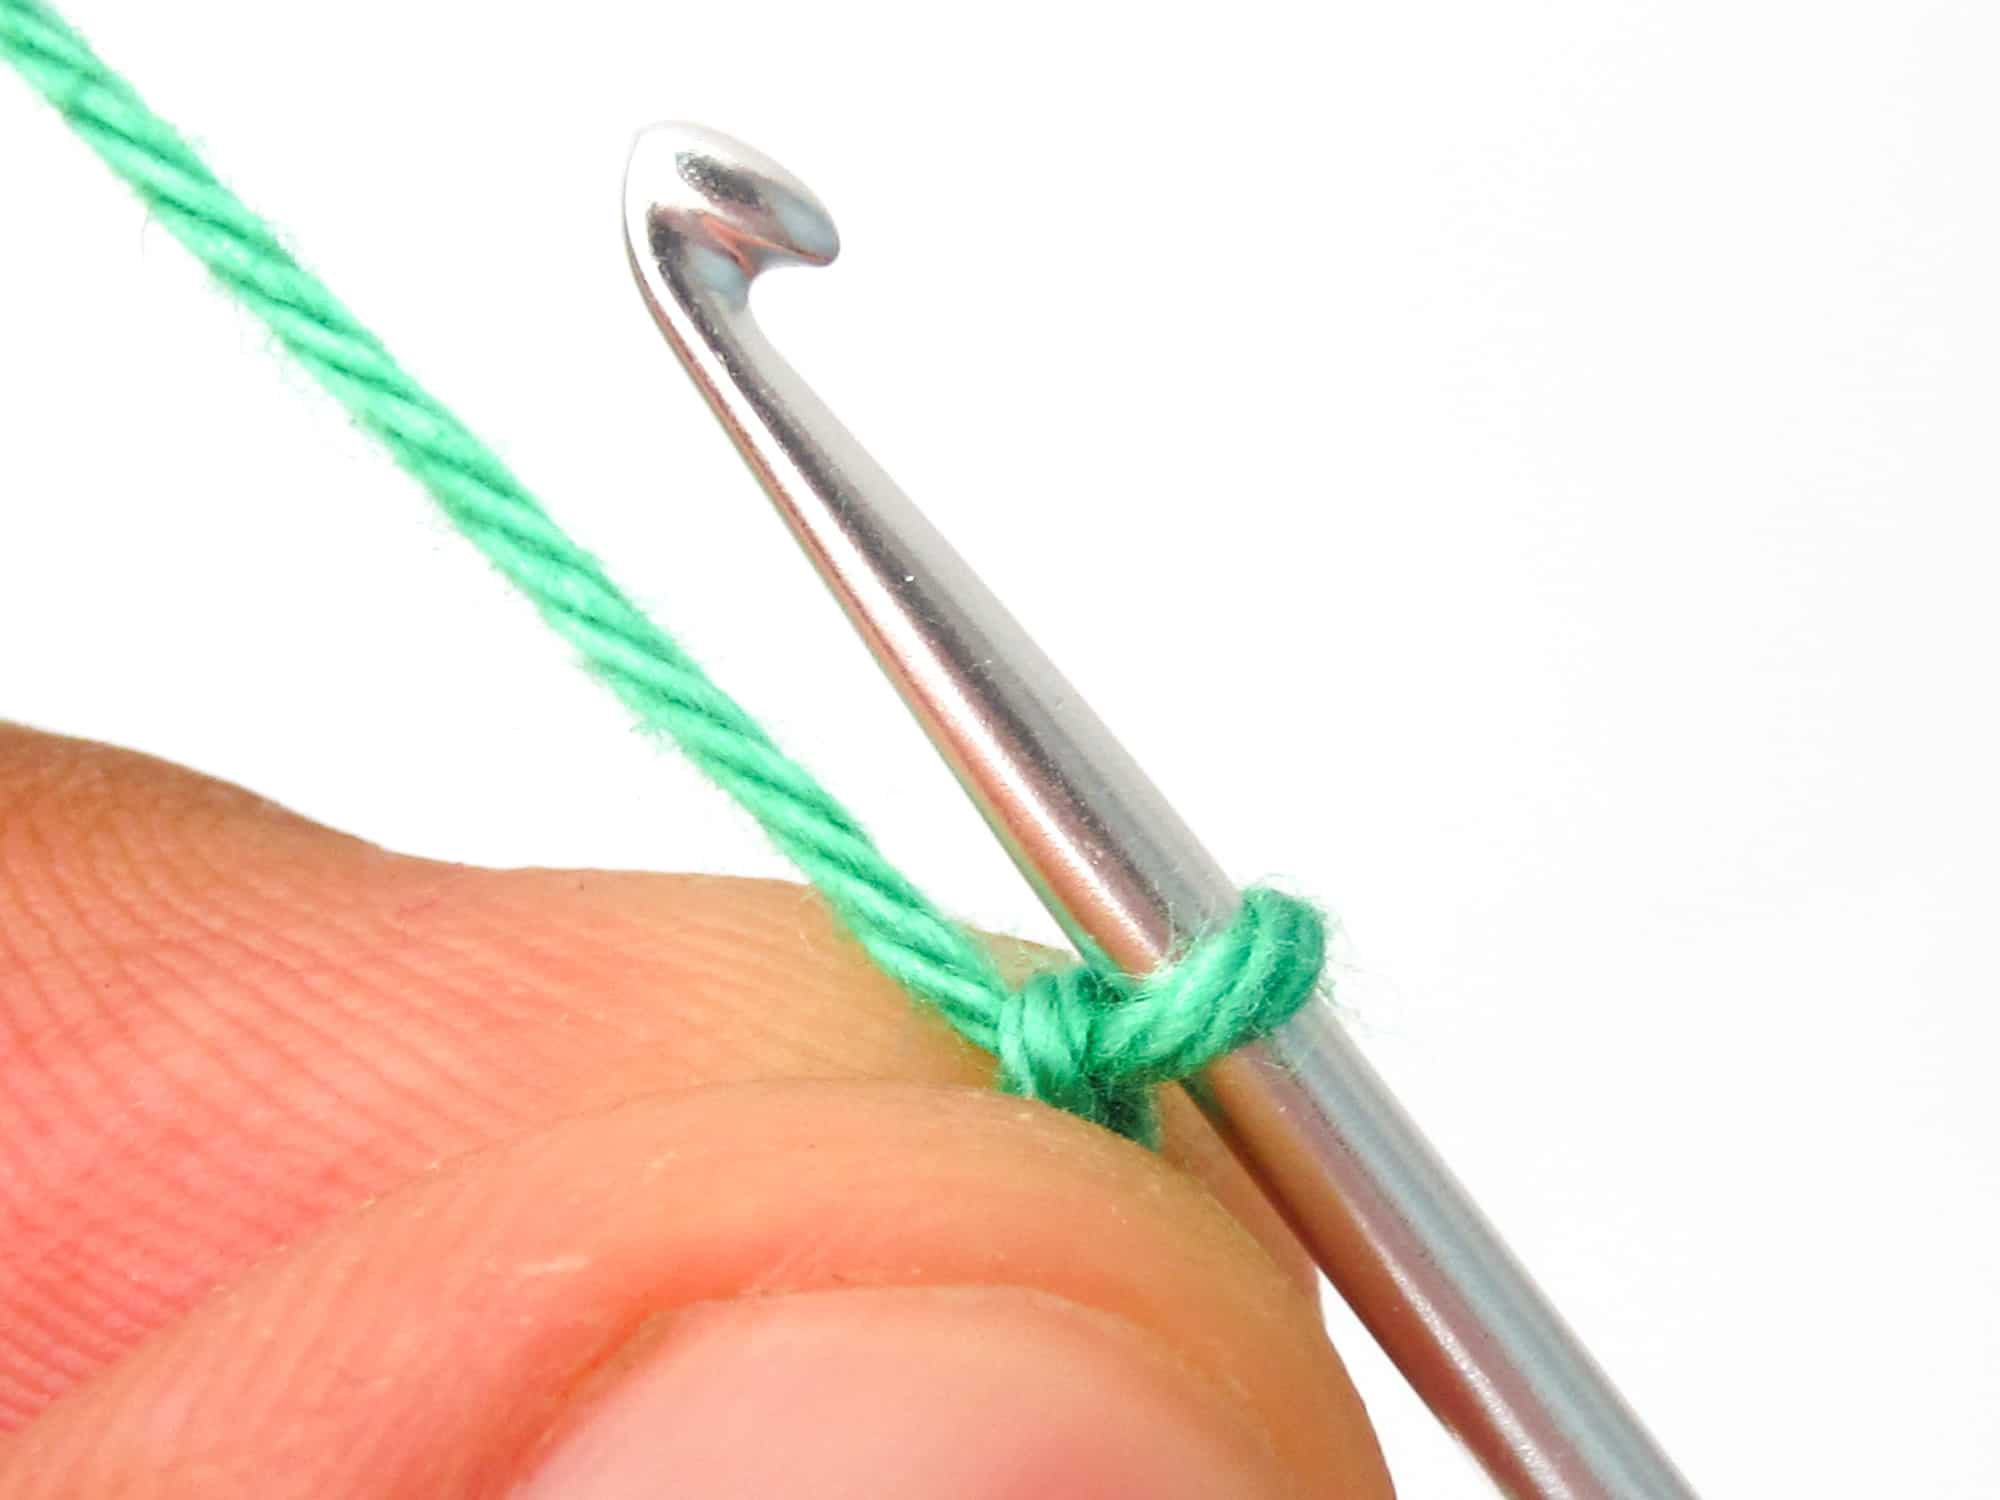
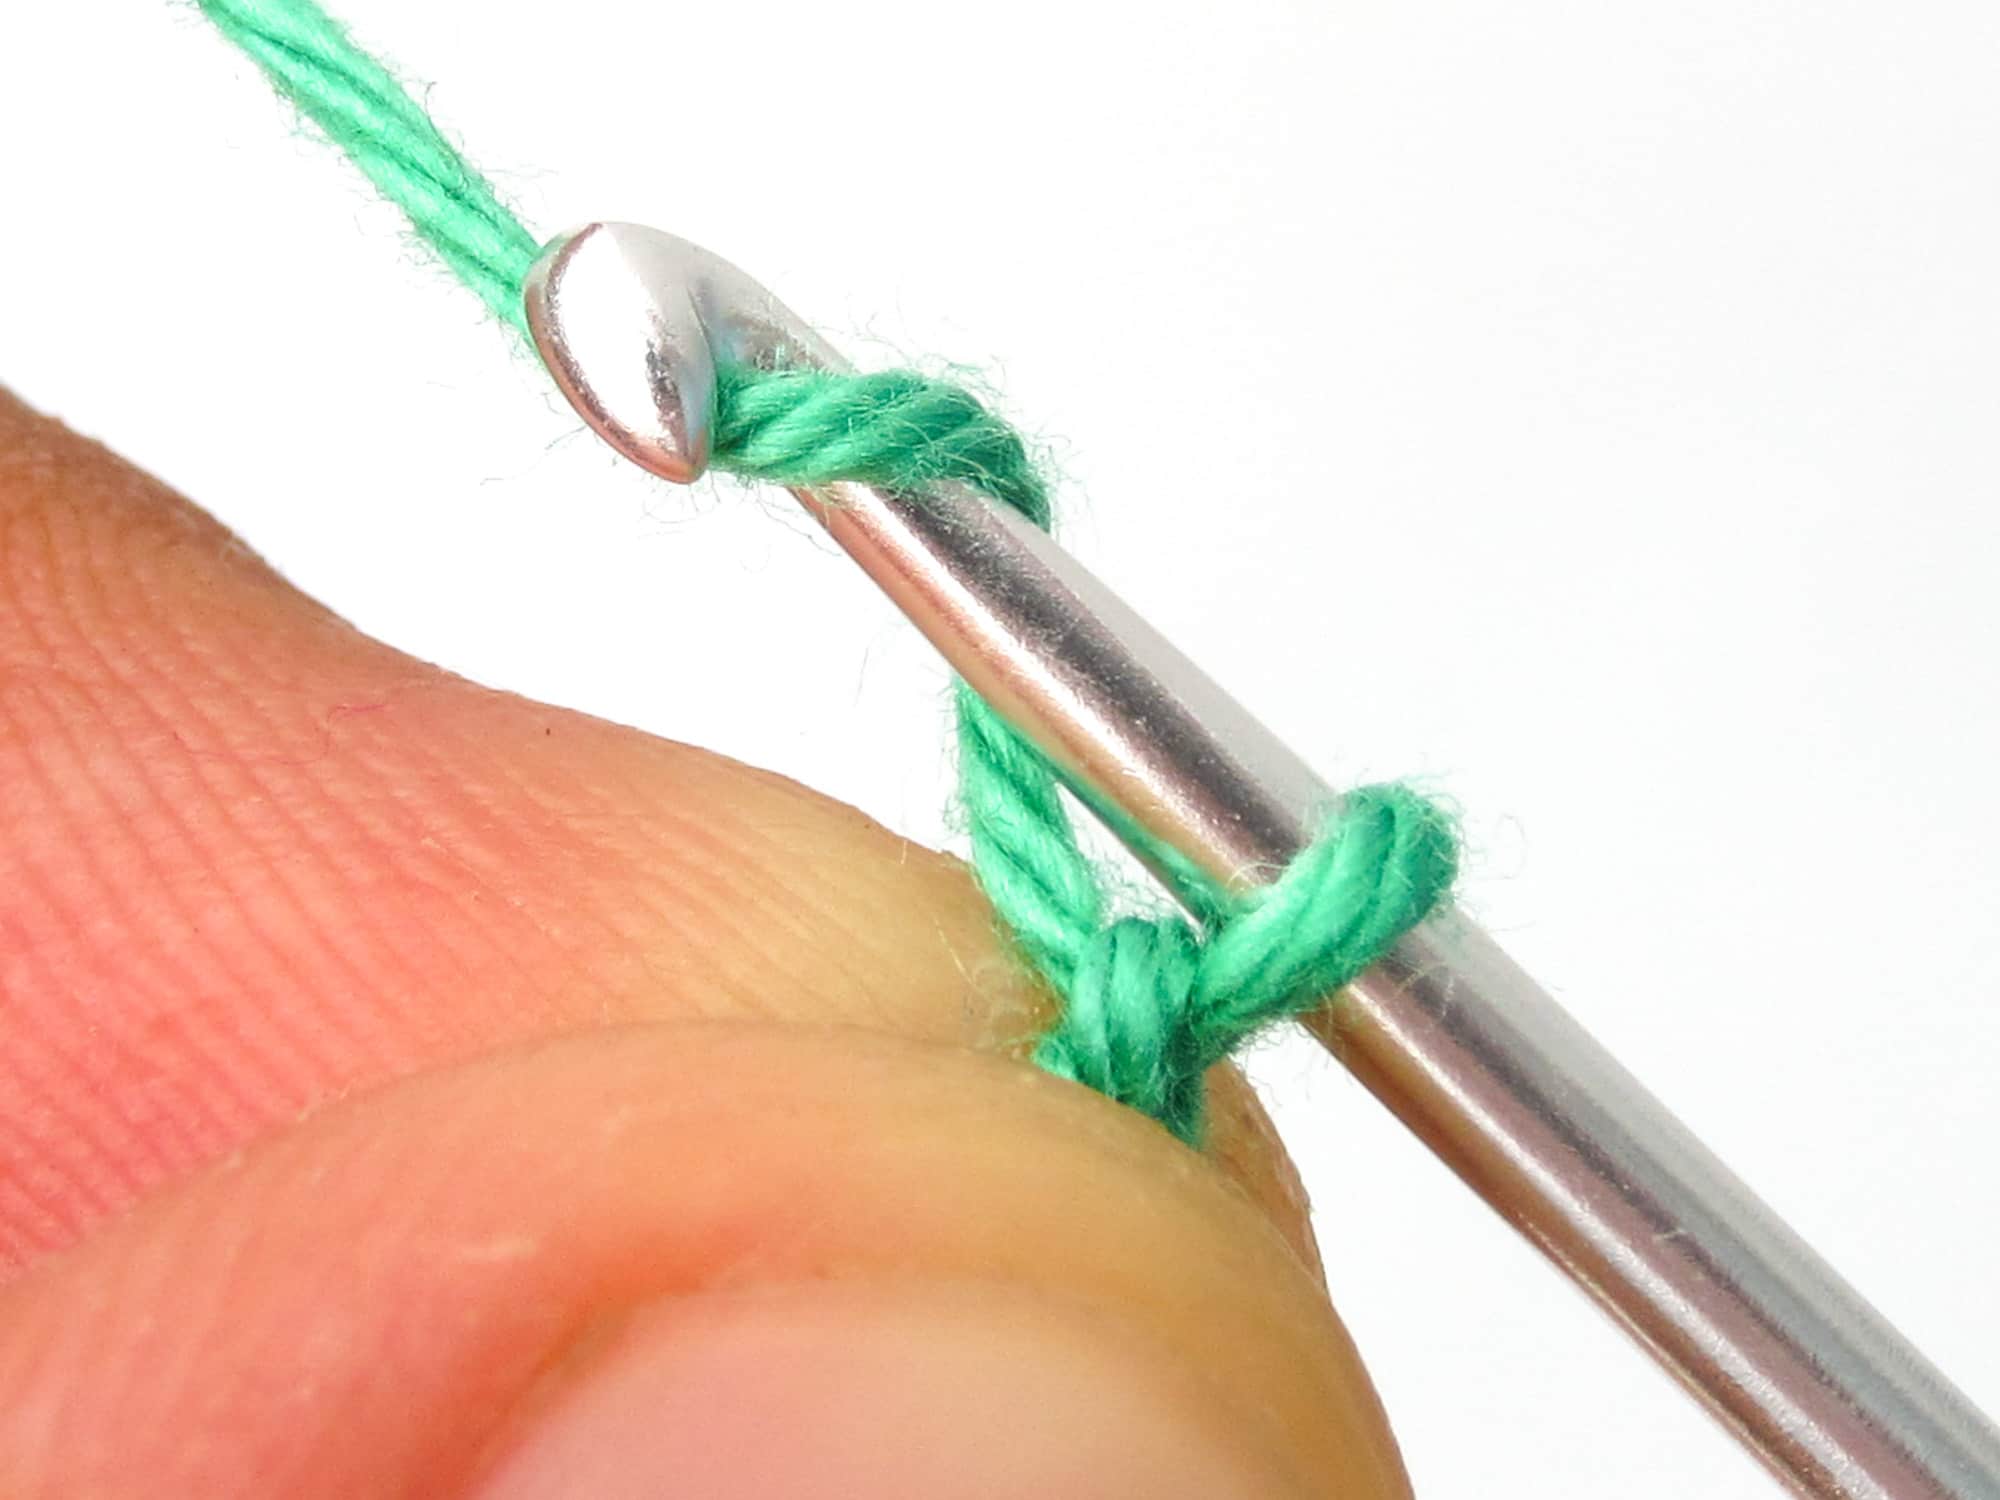
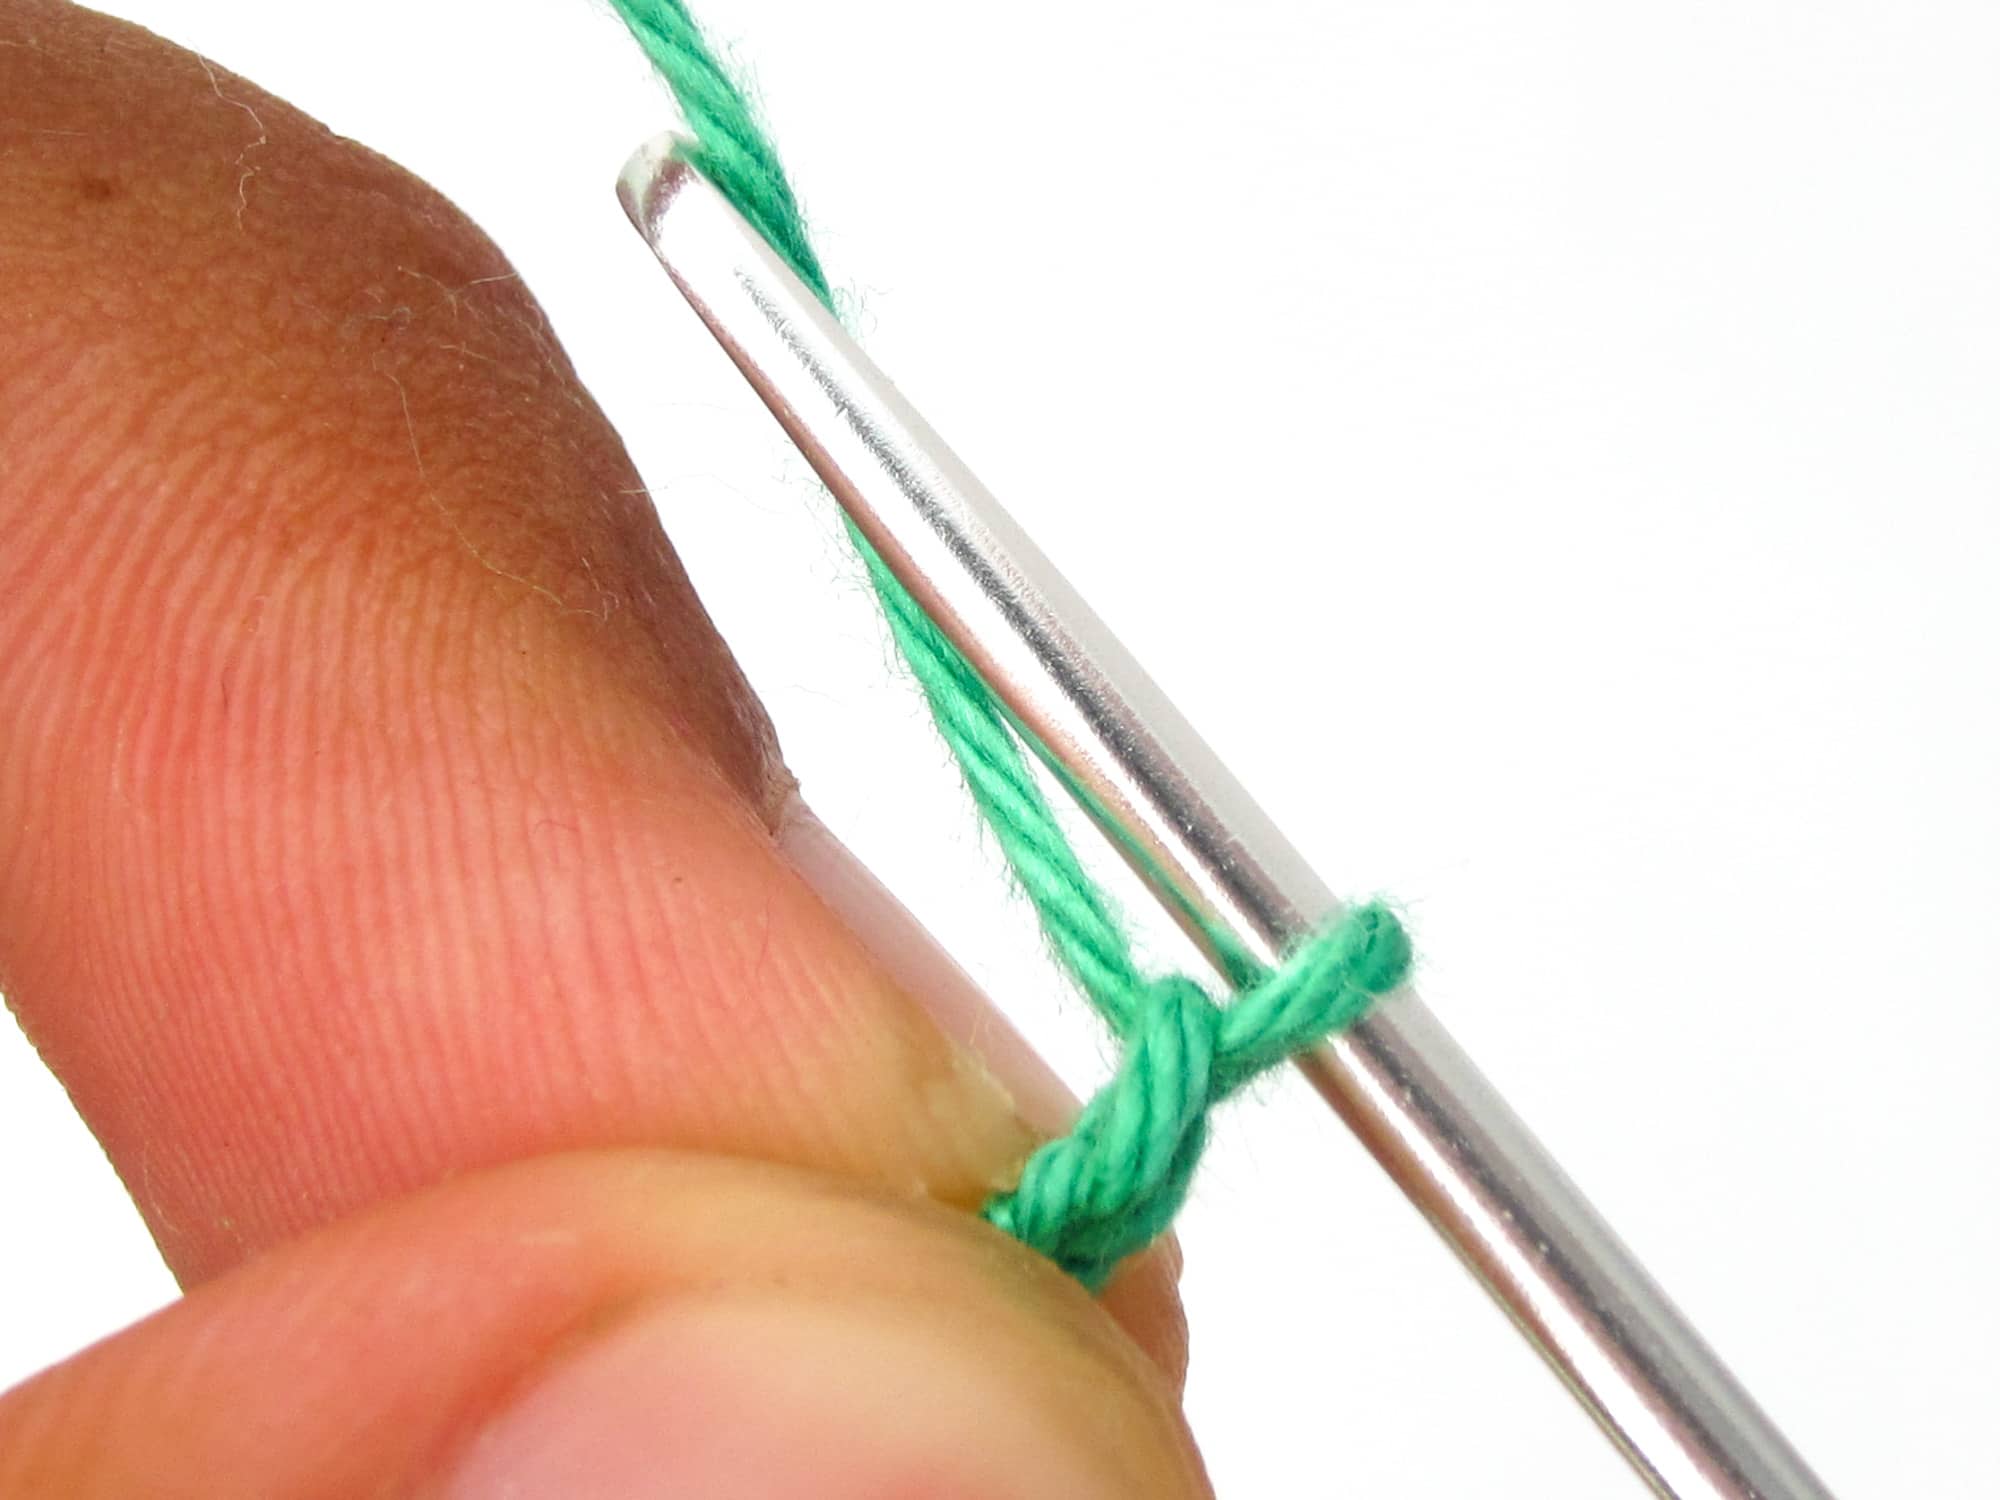
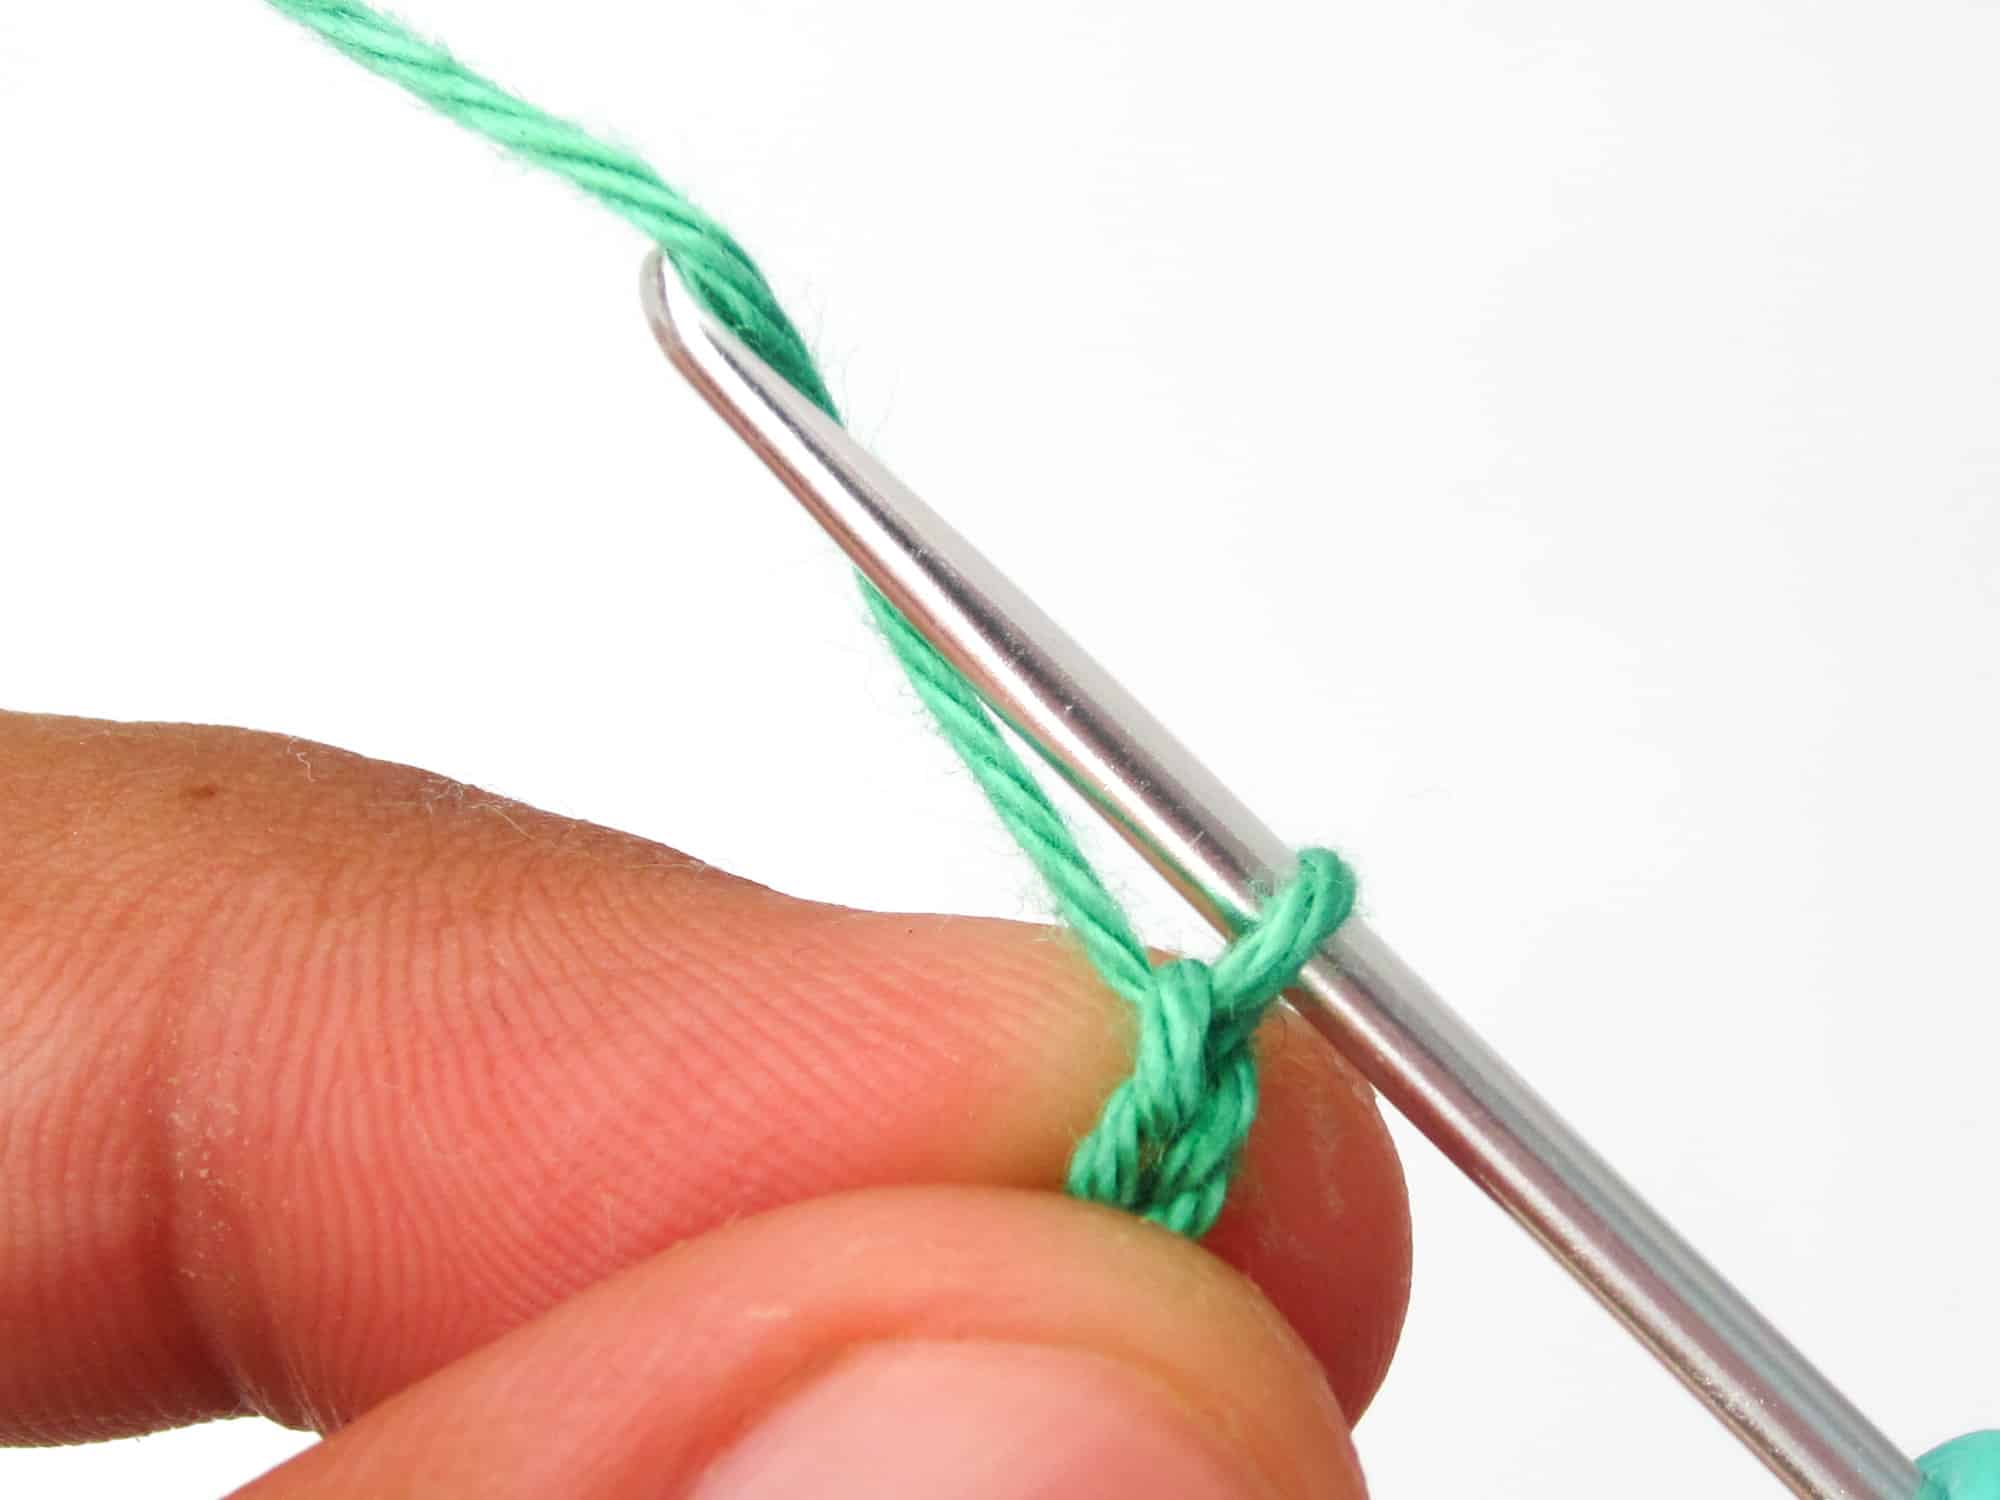
- Step 3: Before you crochet the actual chain stitch, make sure that you have enough tension on the thread so that it does not sag but is also not tight like a wire. Also make sure that you keep on holding the slip knot with your left hand.
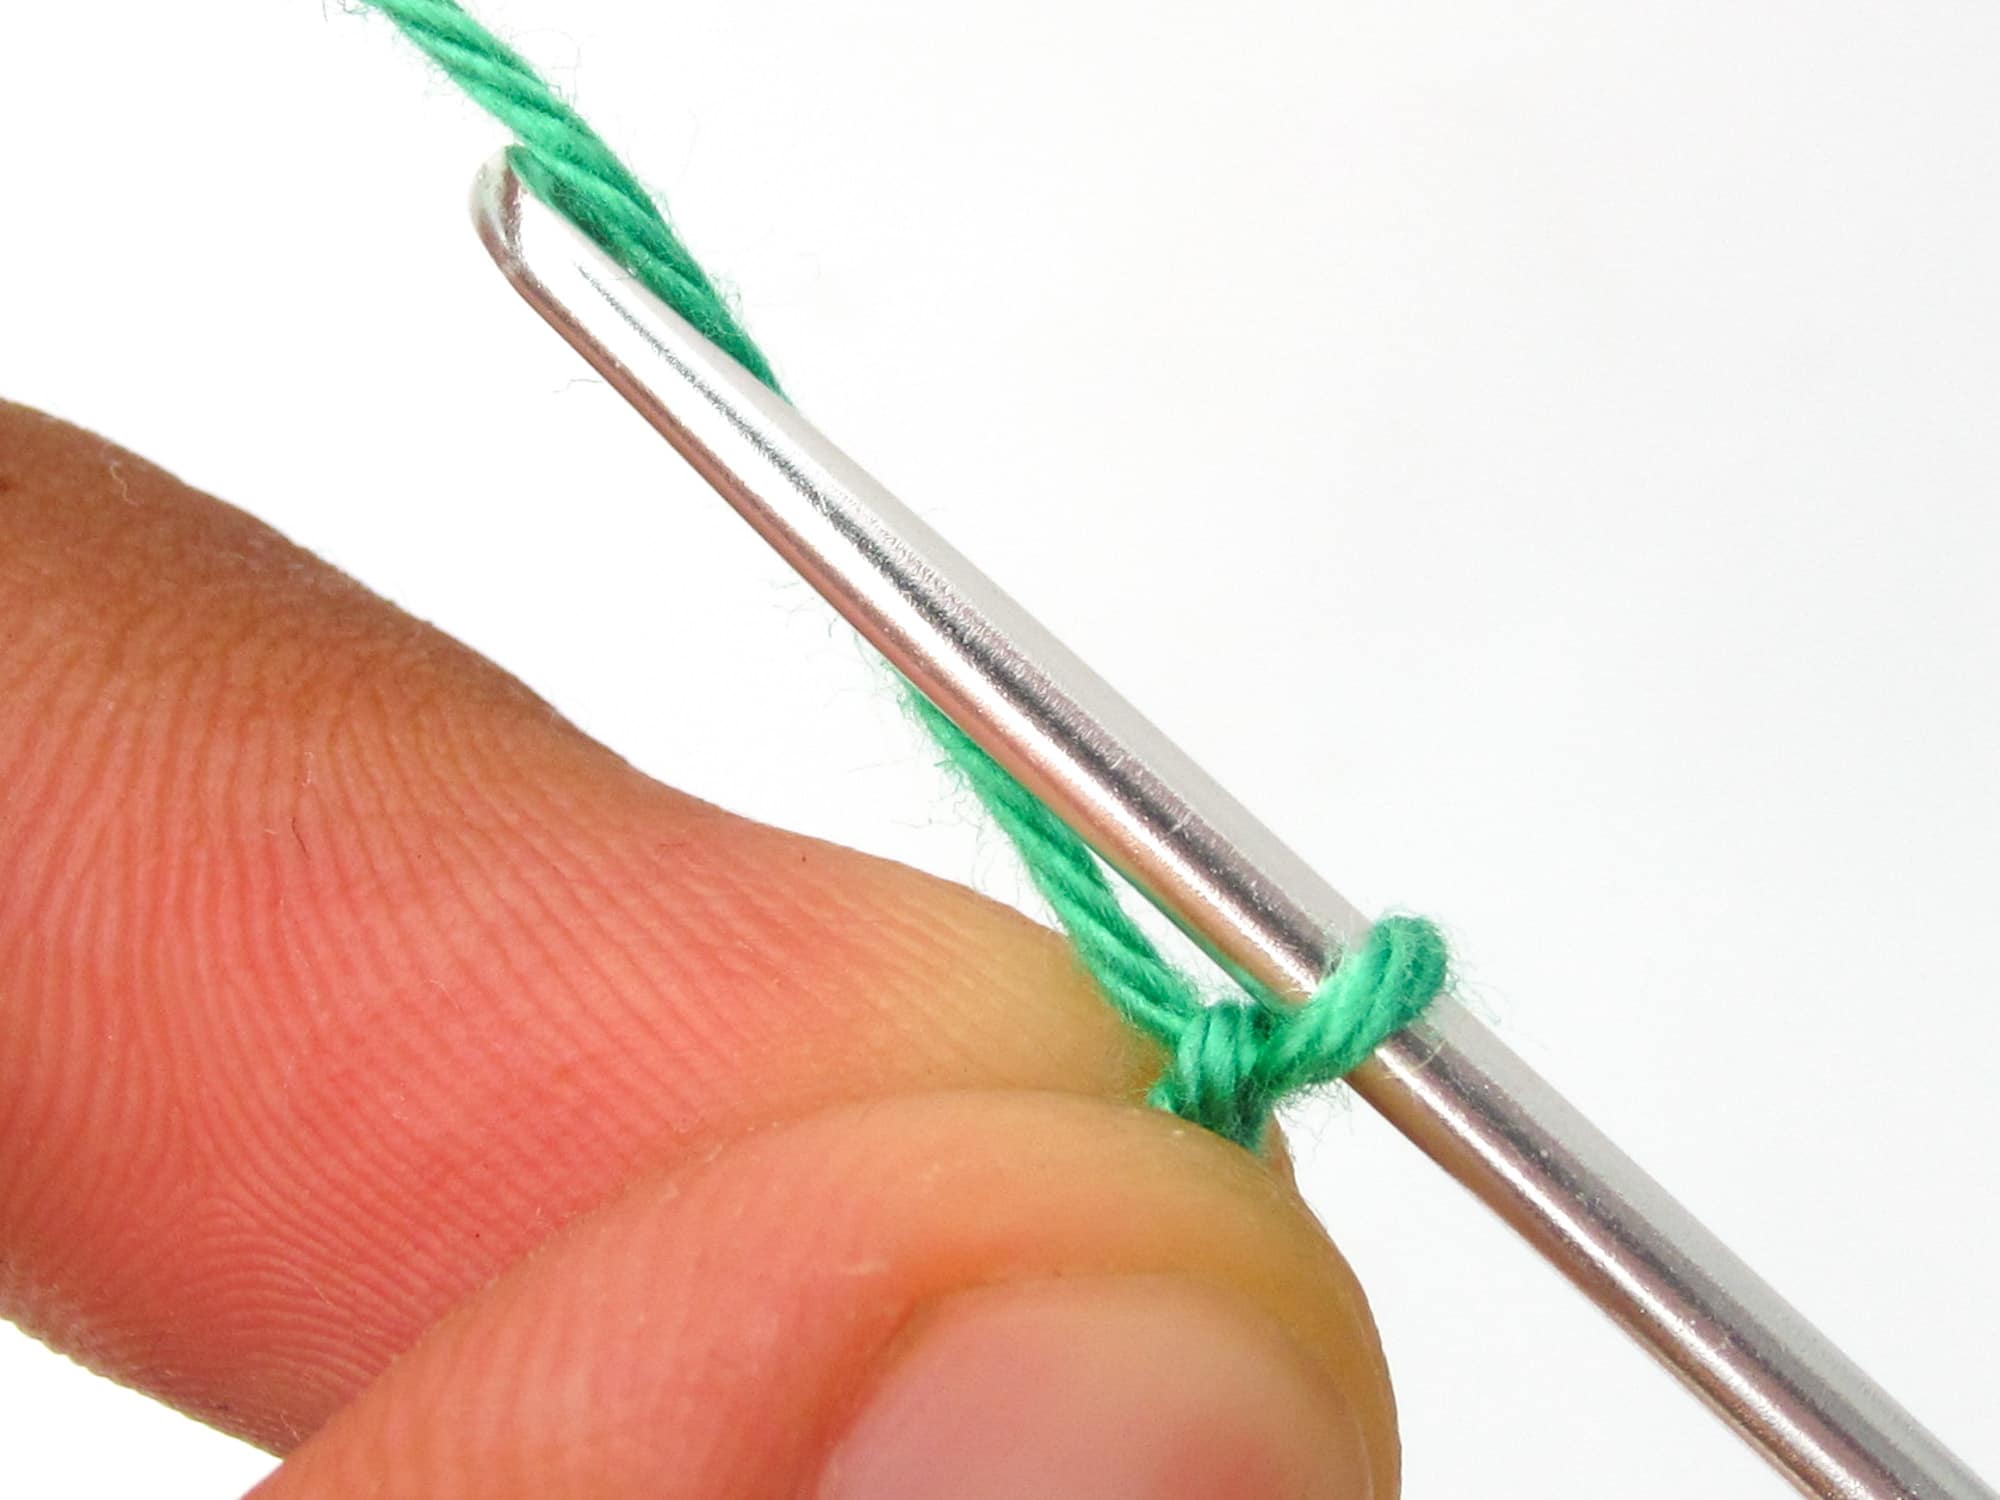
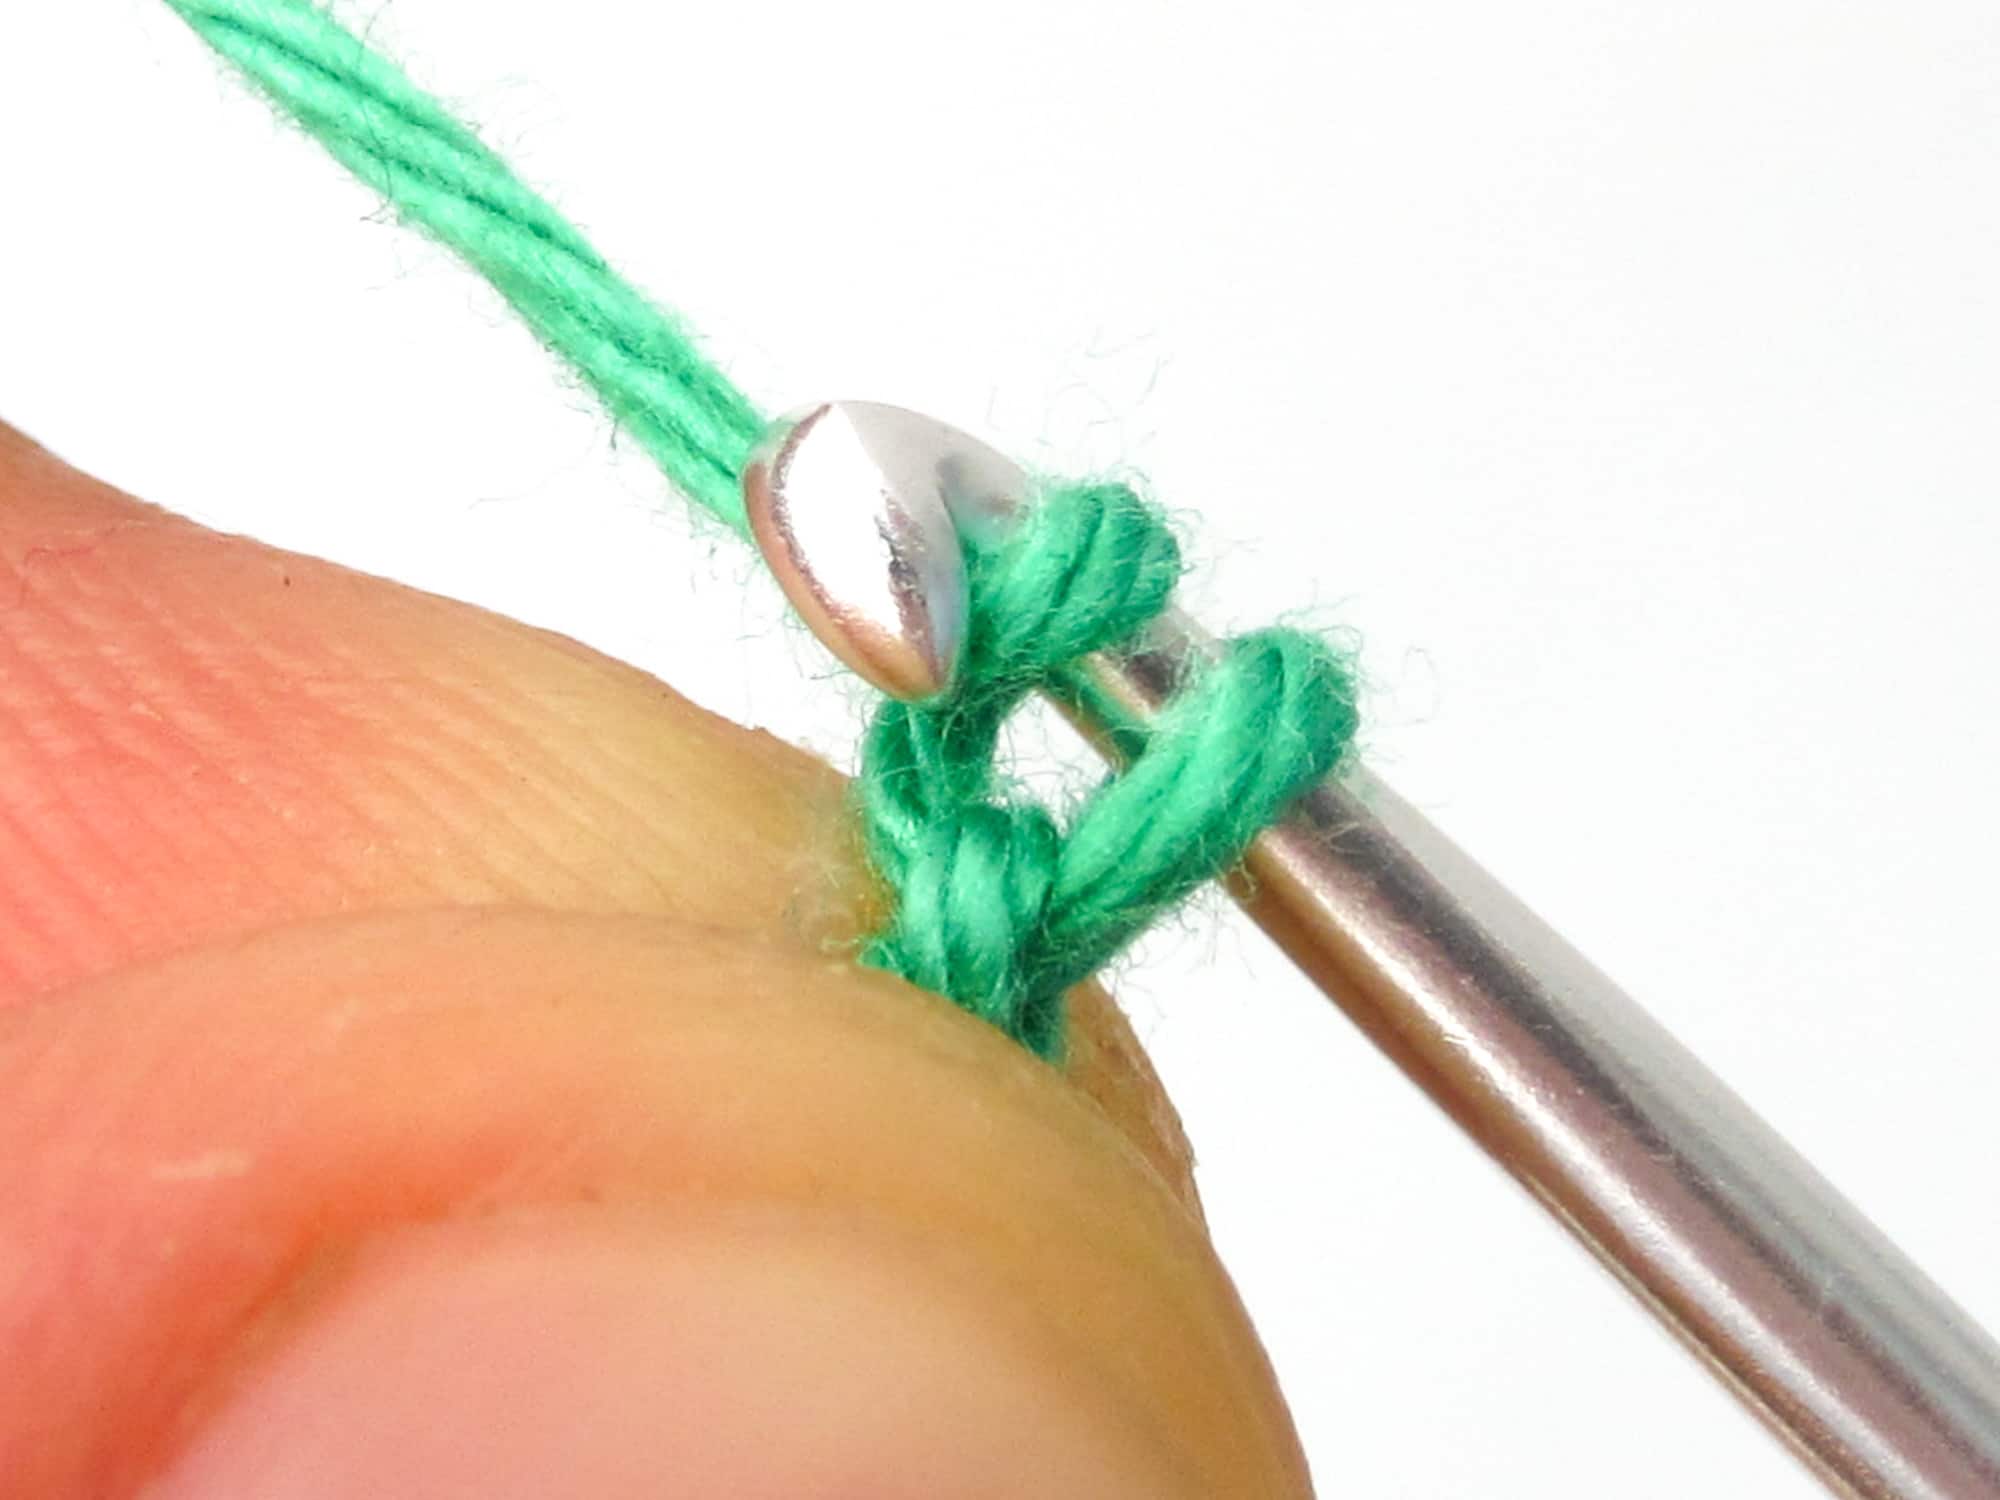
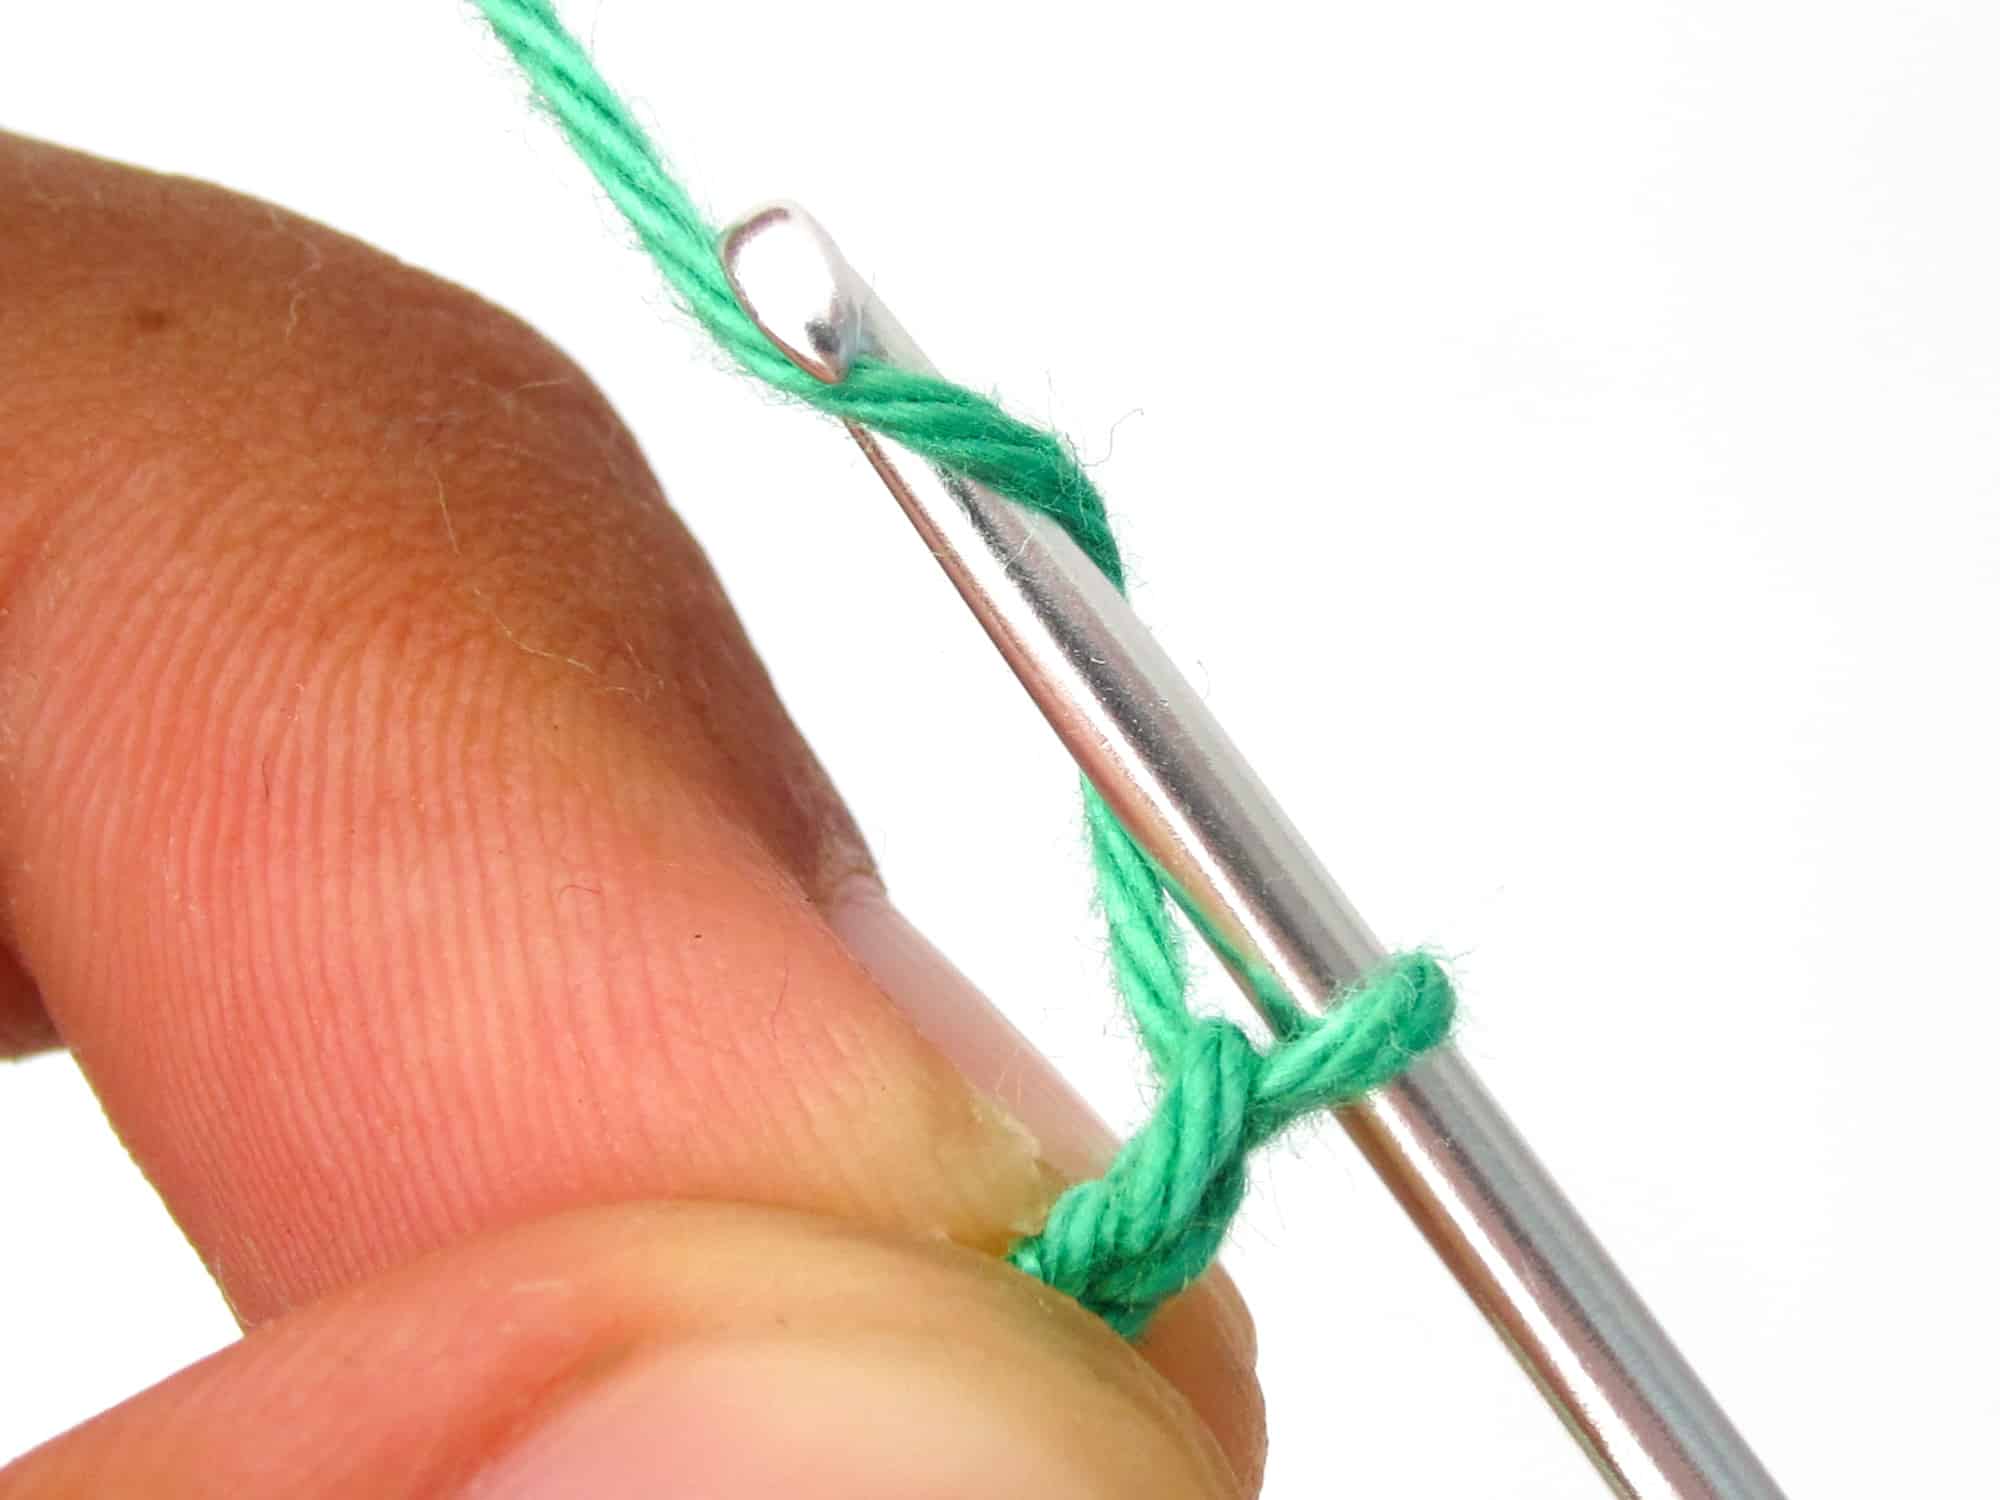
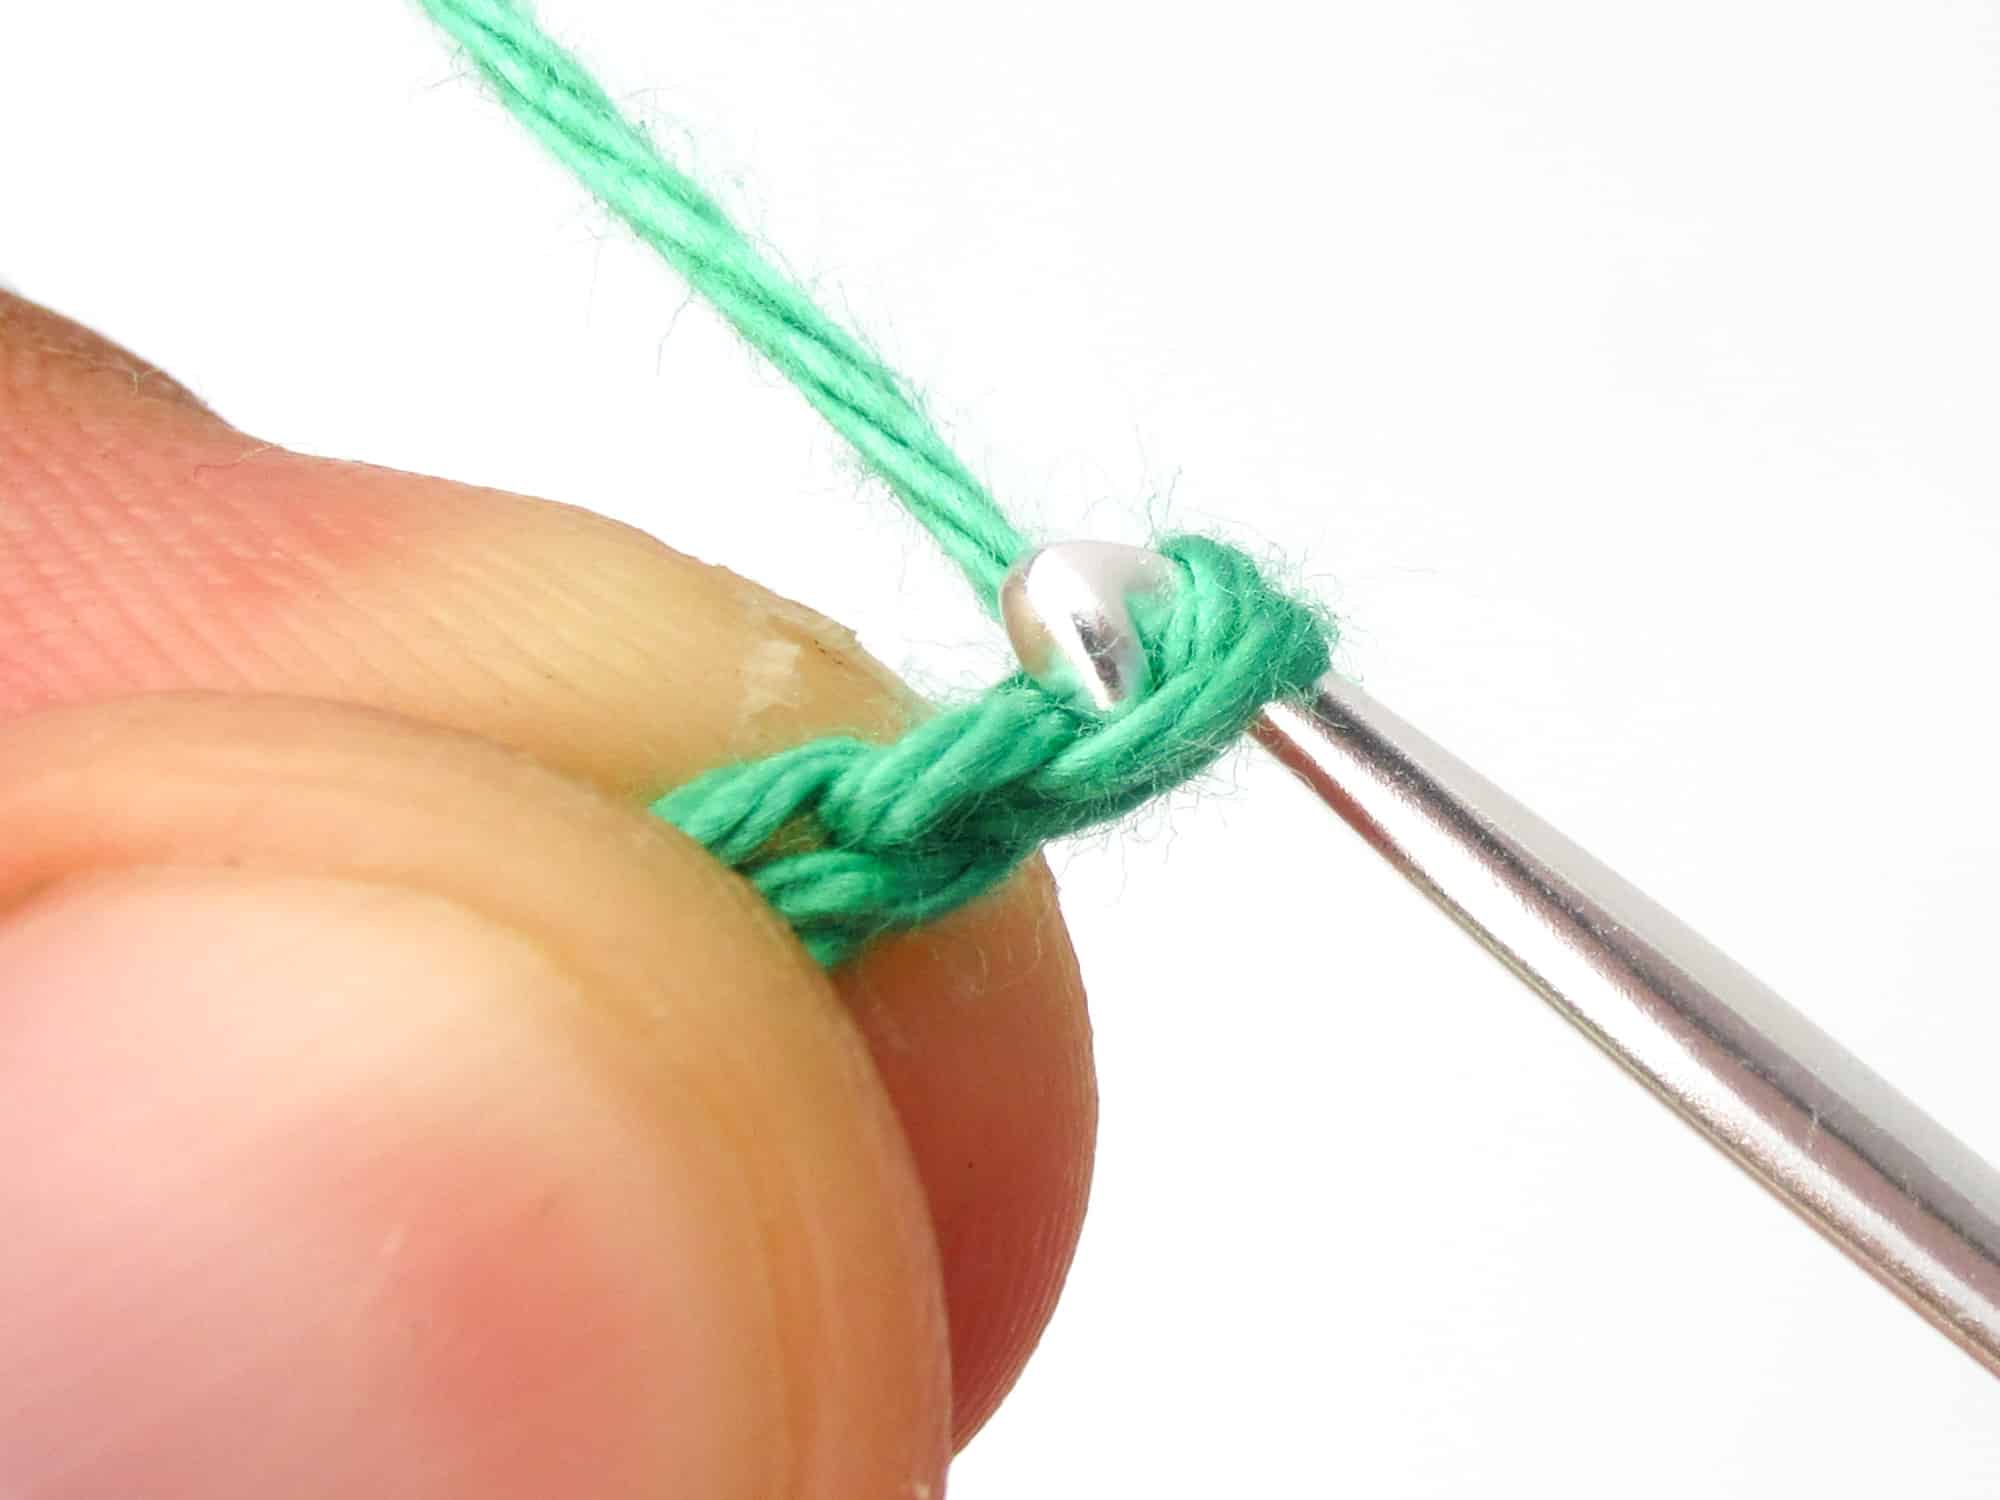
- The picked up thread is now pulled THROUGH the loop that lies on the crochet hook.
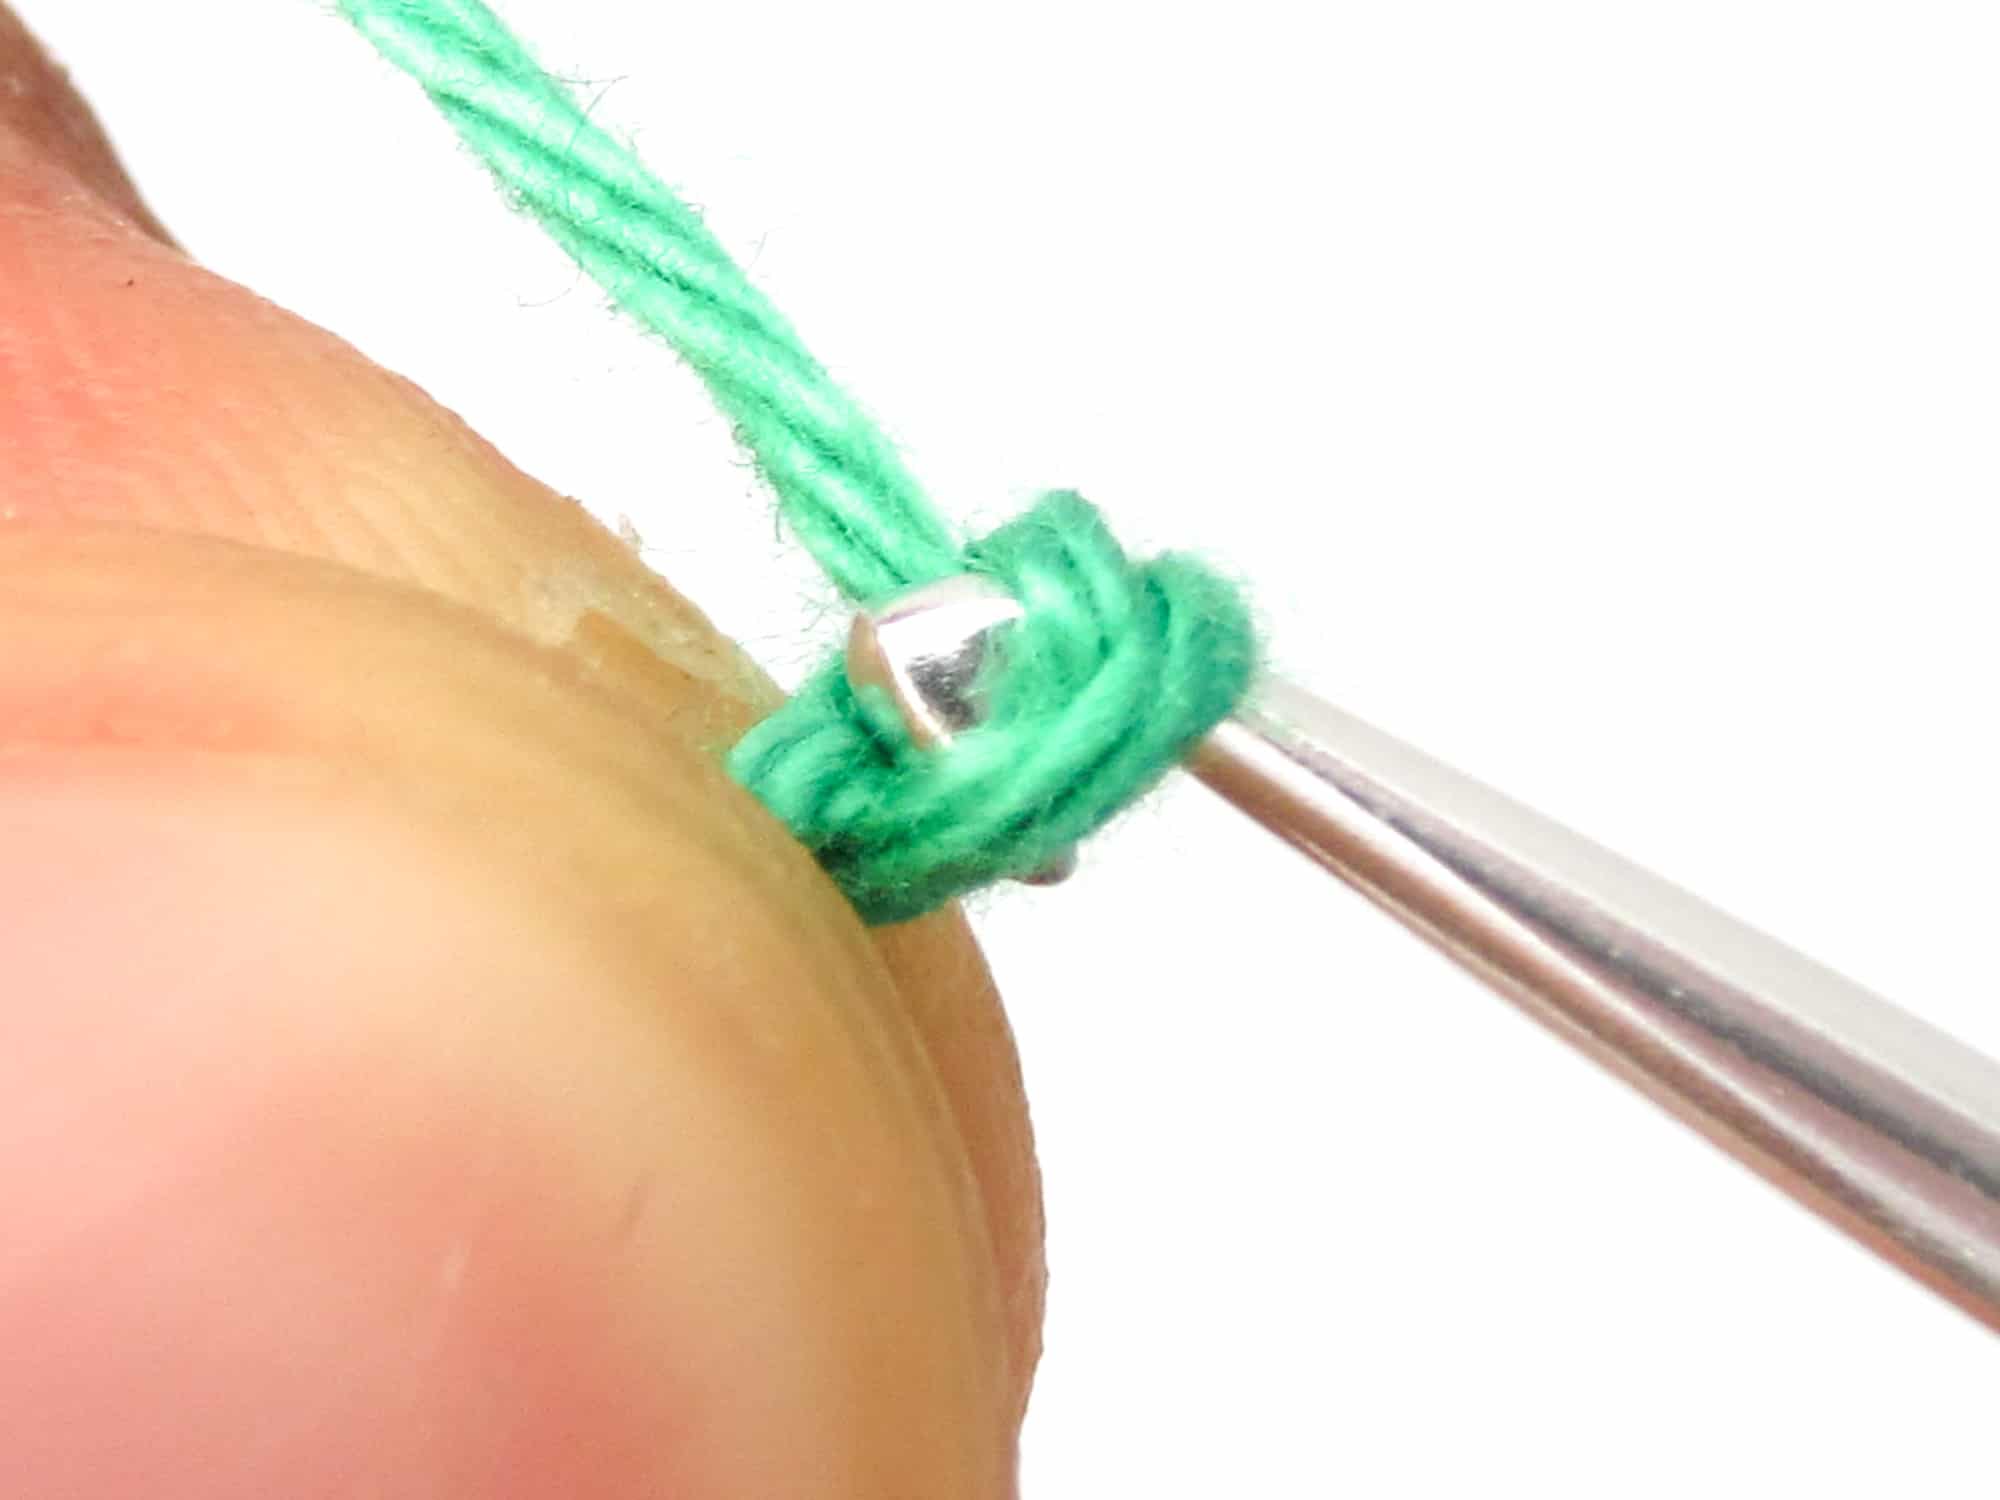
- And that’s it, you have crocheted your first chain stitch, congratulations!
How to Crochet a Chain
Several chain stitches crocheted one after the other is called a chain. Chains are an essential part and the basis when you crochet something “in rows”. Now crochet more chain stitches to get a chain.
- Step 1: Crochet your second chain stitch. Yarn over again and pull the thread through the loop on the crochet hook and done is the 2nd chain stitch.


- Step 2: Now crochet more chain stitches and never forget to follow with thumb and middle finger of the left hand to have enough tension on the crochet piece and thread.
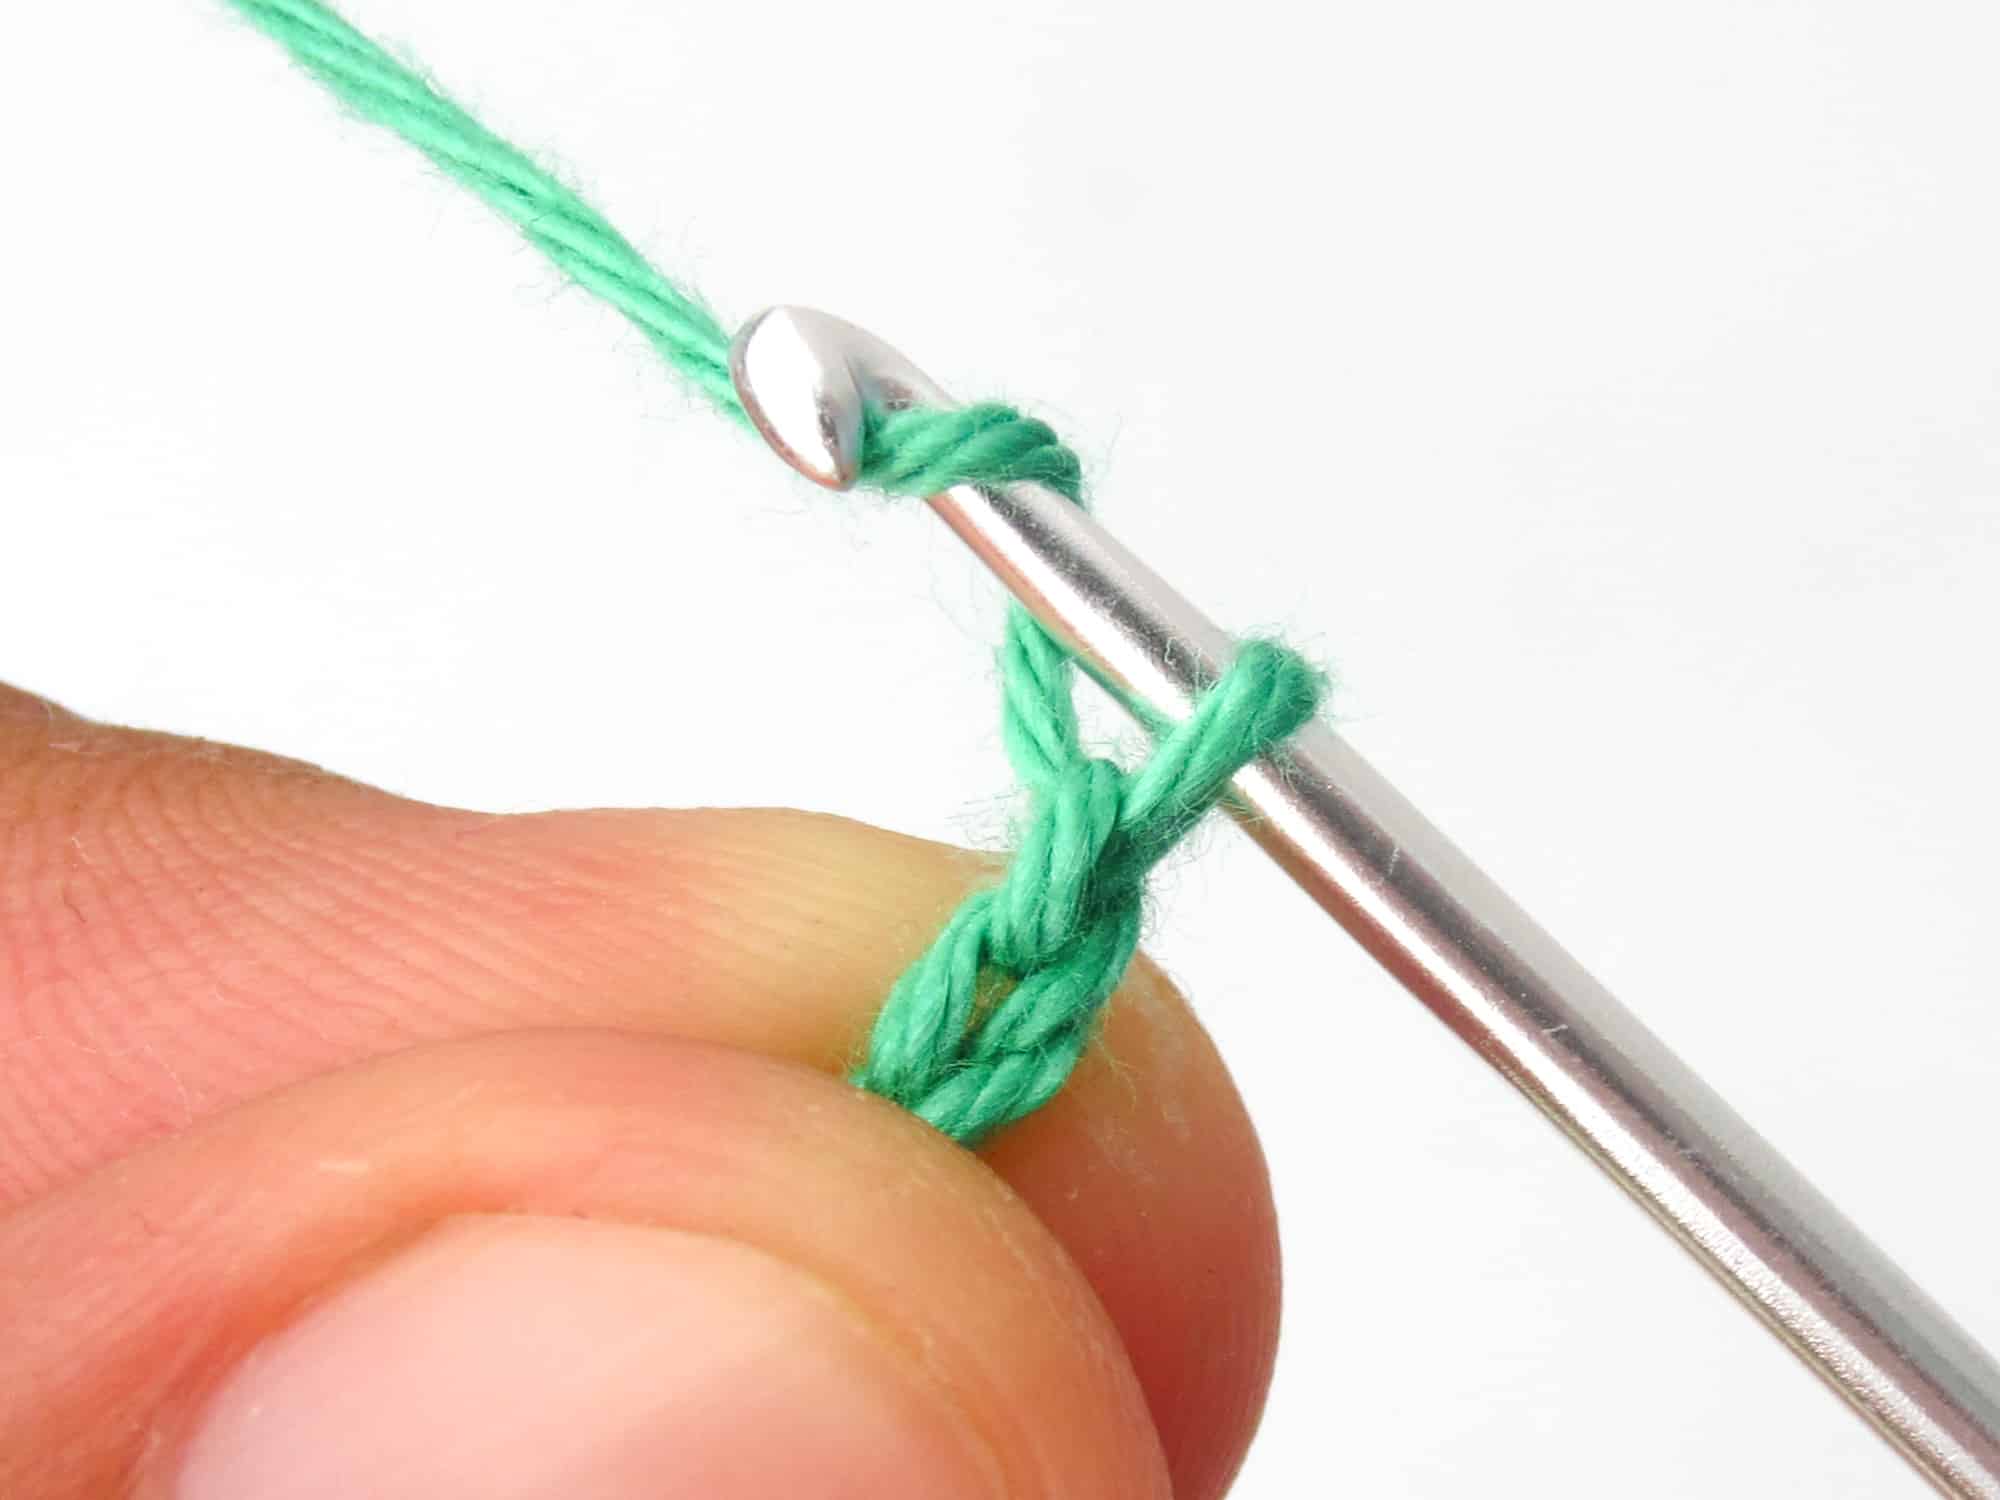
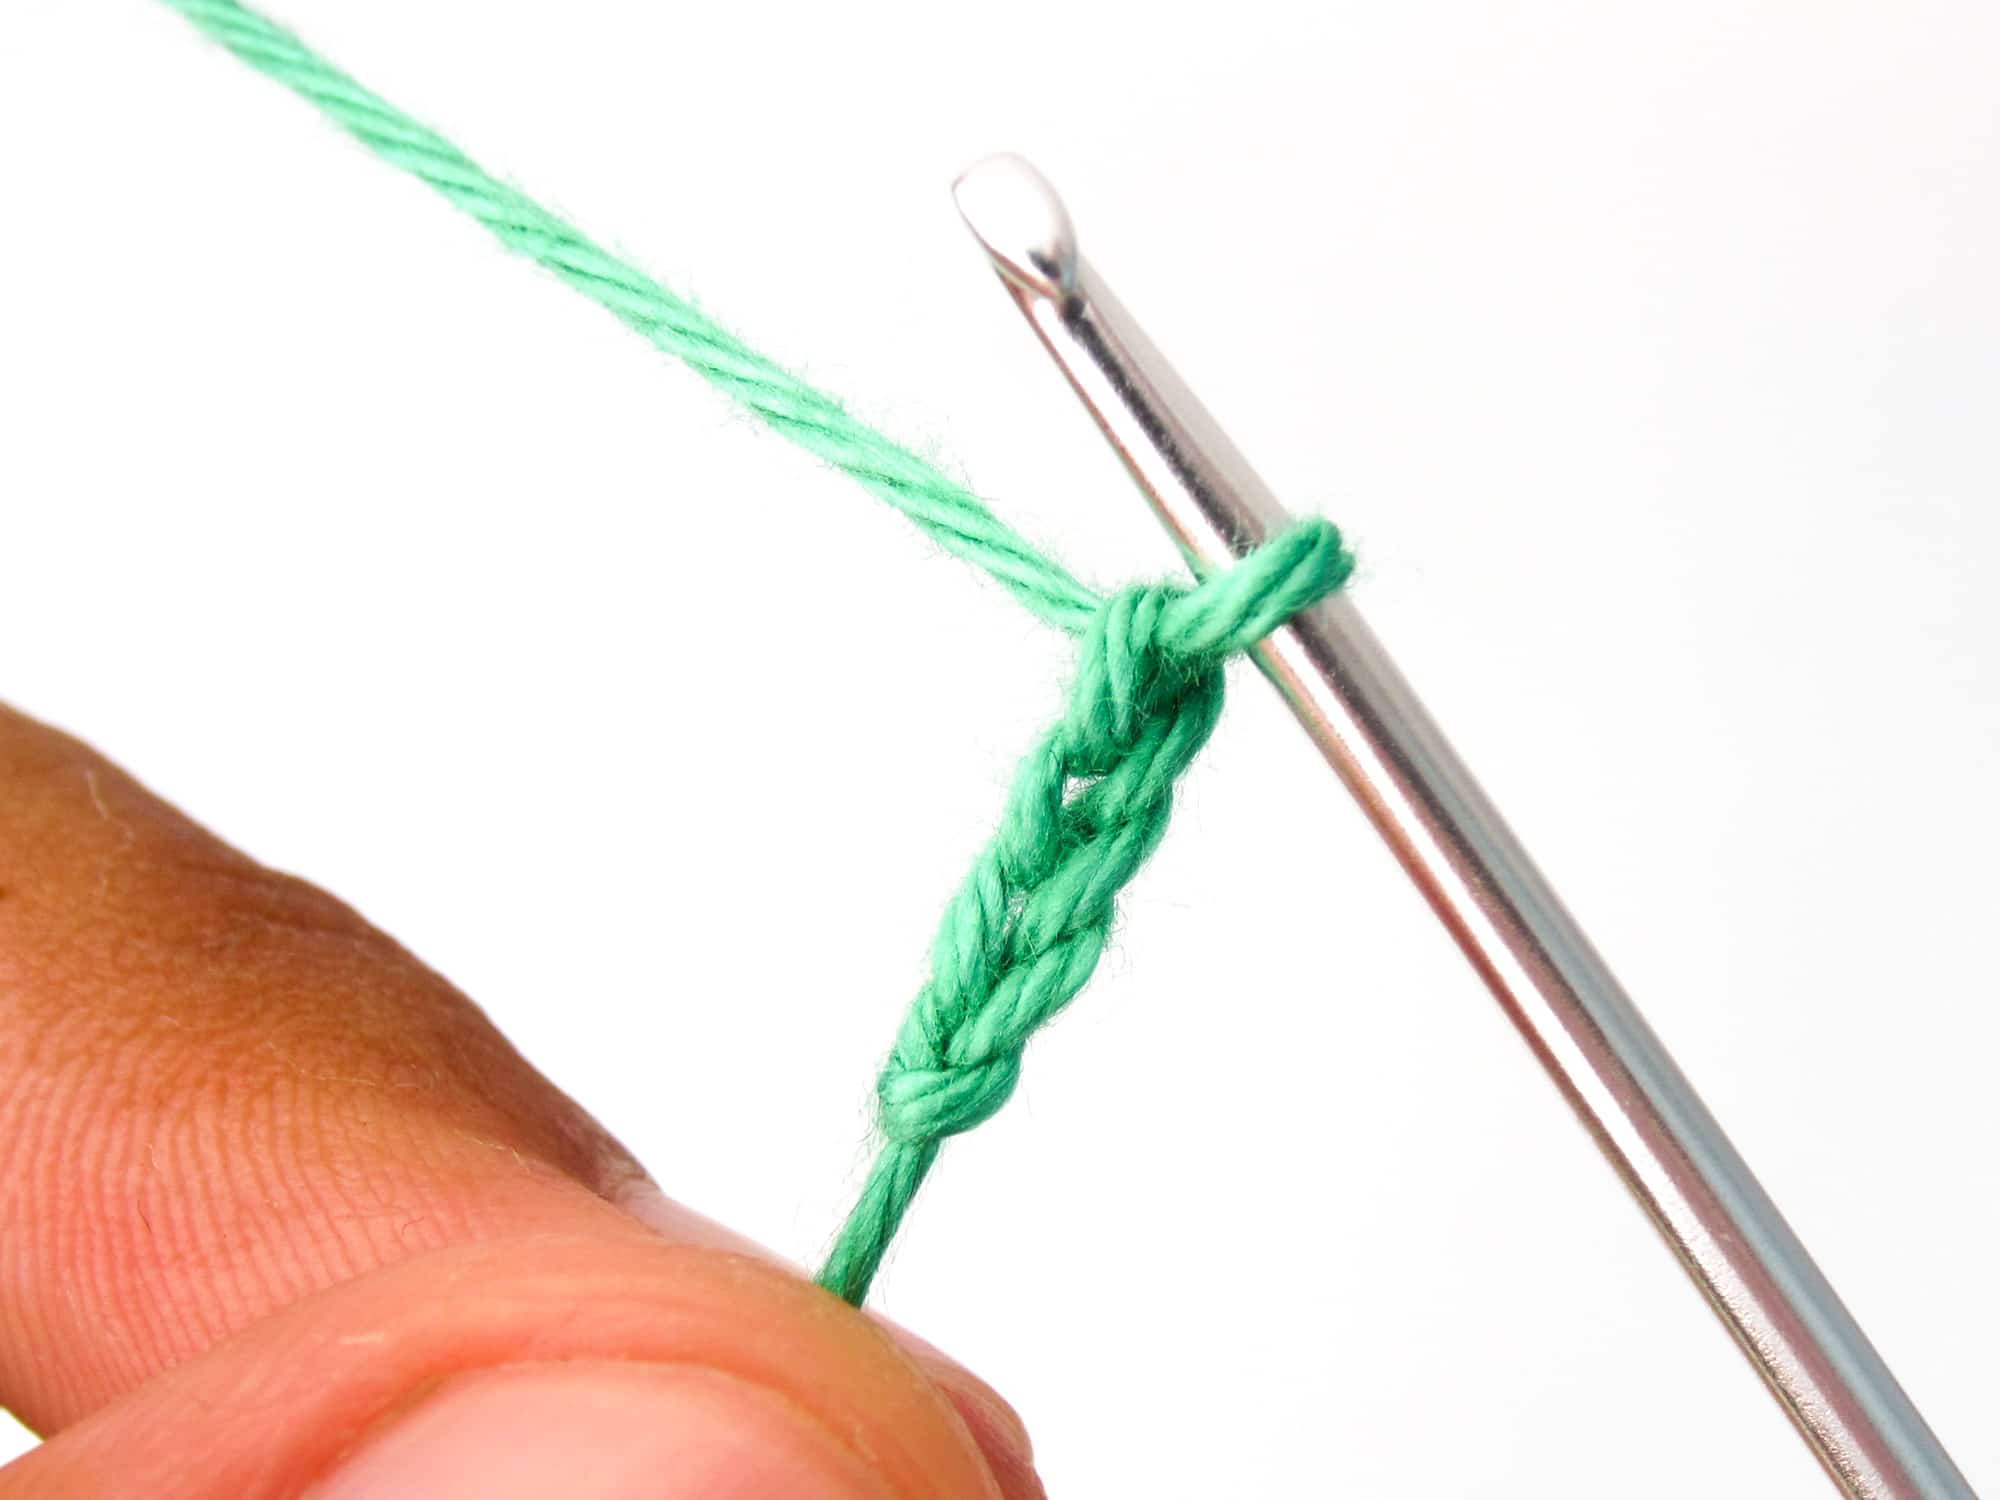
Done are 3 chain stitches and with that your first small chain.
Different Sized Chain Stitches
At the beginning it is normal if your chain stitches are of different sizes. This will get better over time, once you have found your optimal hand position to create a constant tension on the thread.
Chain stitches of different sizes (this also applies to all other stitches) are created by crocheting the respective stitch either tighter or looser than the previous stitch. It’s all a matter of practice.
Now crochet as many chain stitches as you like in a chain. Also restart again and again from the beginning to practice the slip knot.