After all the elements for your amigurumi have been crocheted, it is time to sew these elements together. Sewing may seem a bit intimidating at the beginning, but it is very easy and works best with a few minutes of planning where exactly you want to sew on the respective pieces.
How to Sew the Crochet Pieces Together
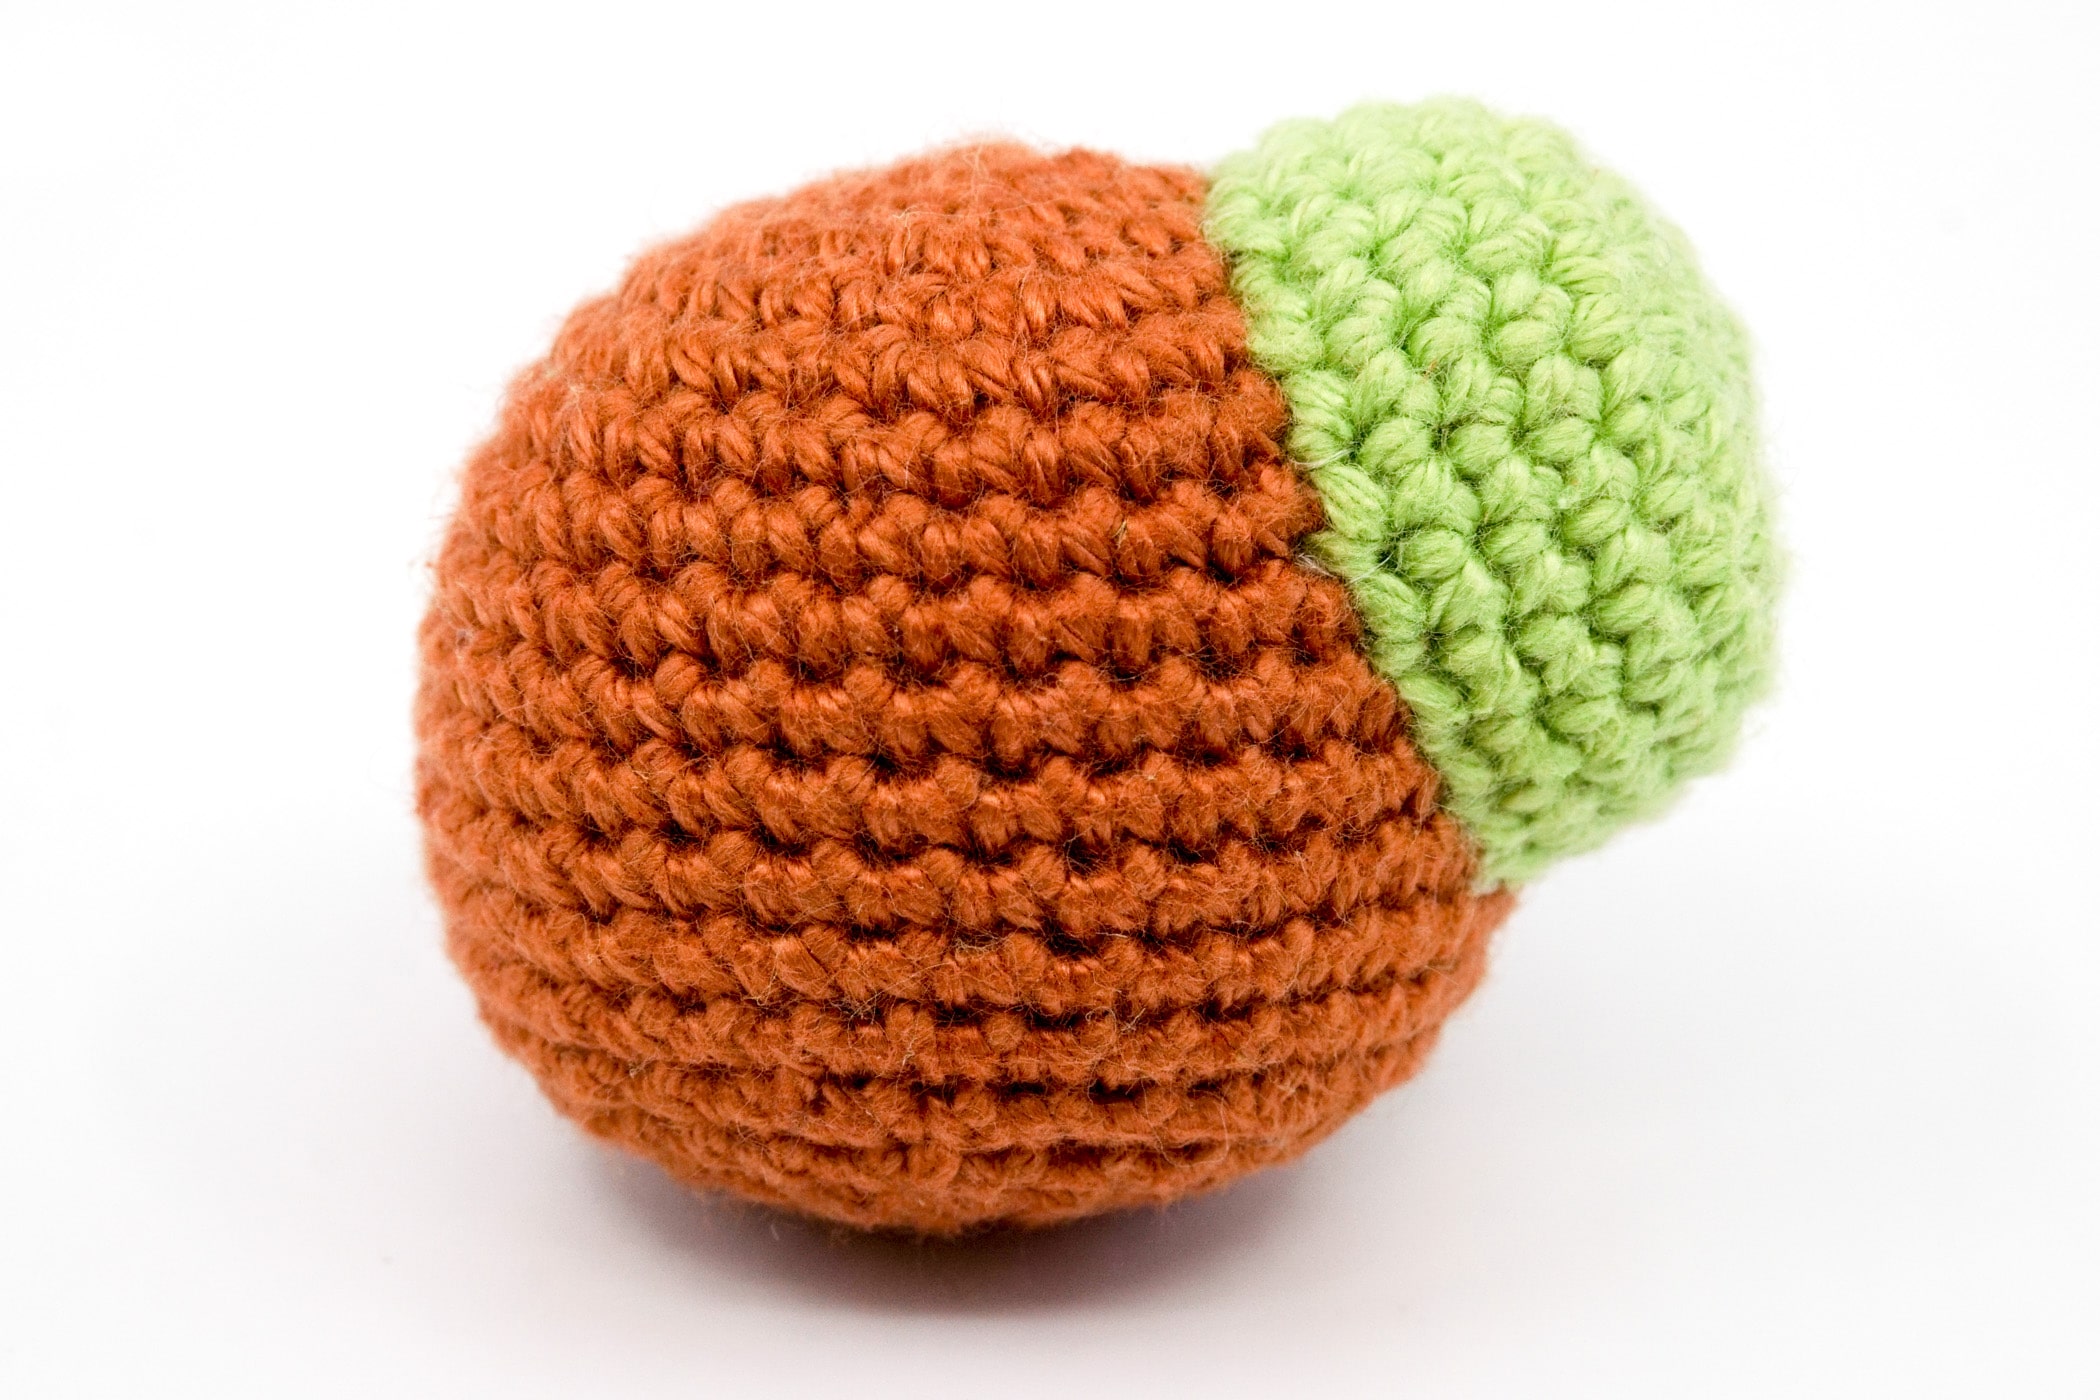
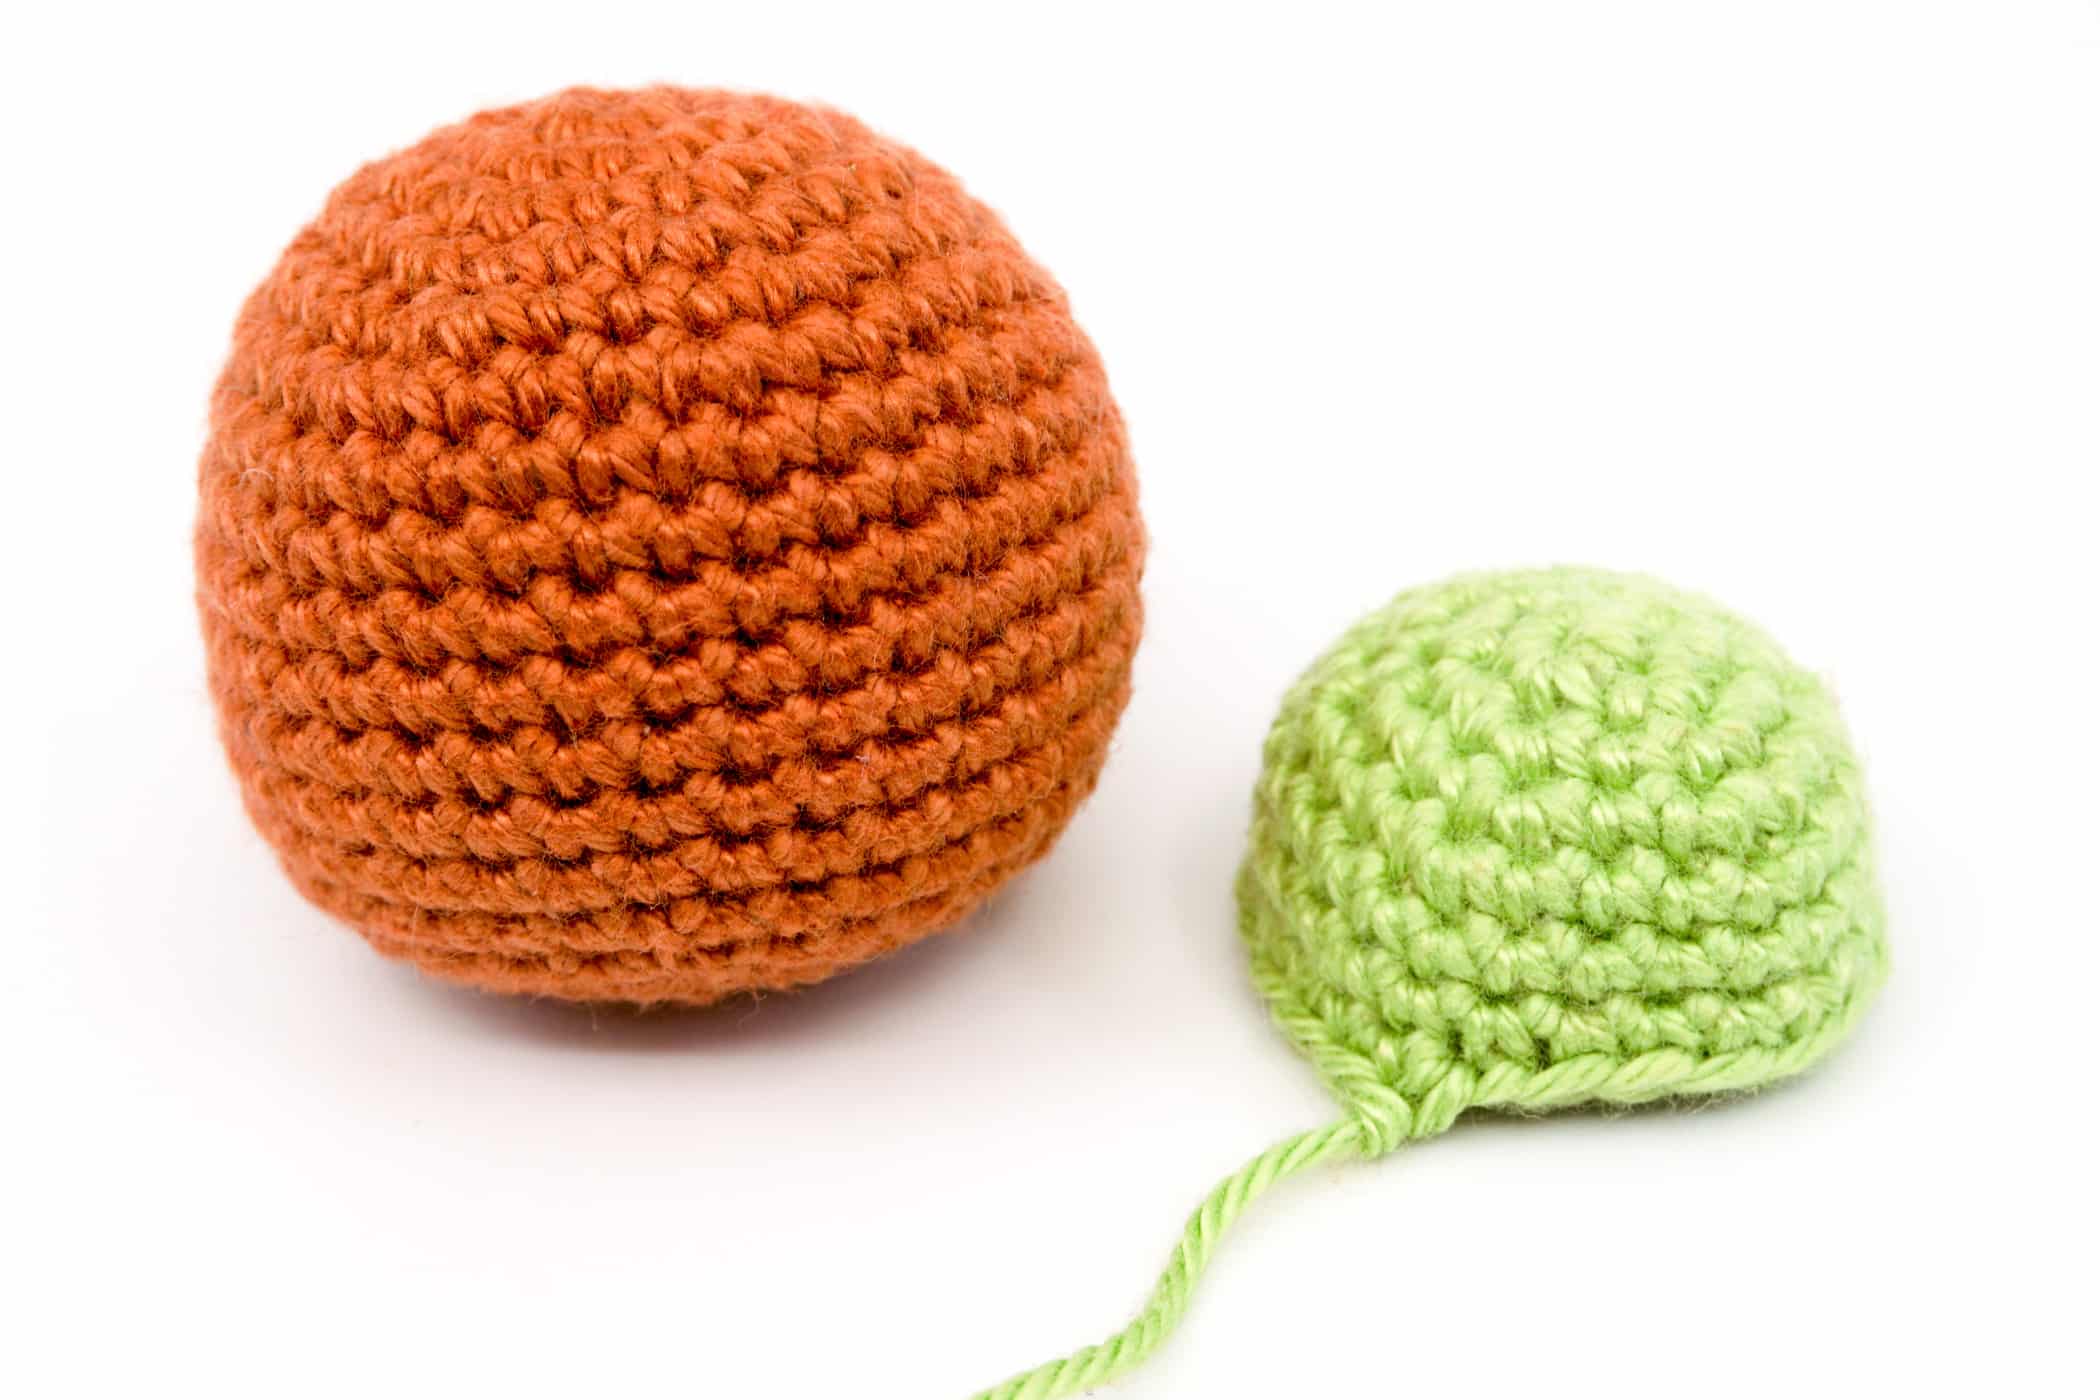
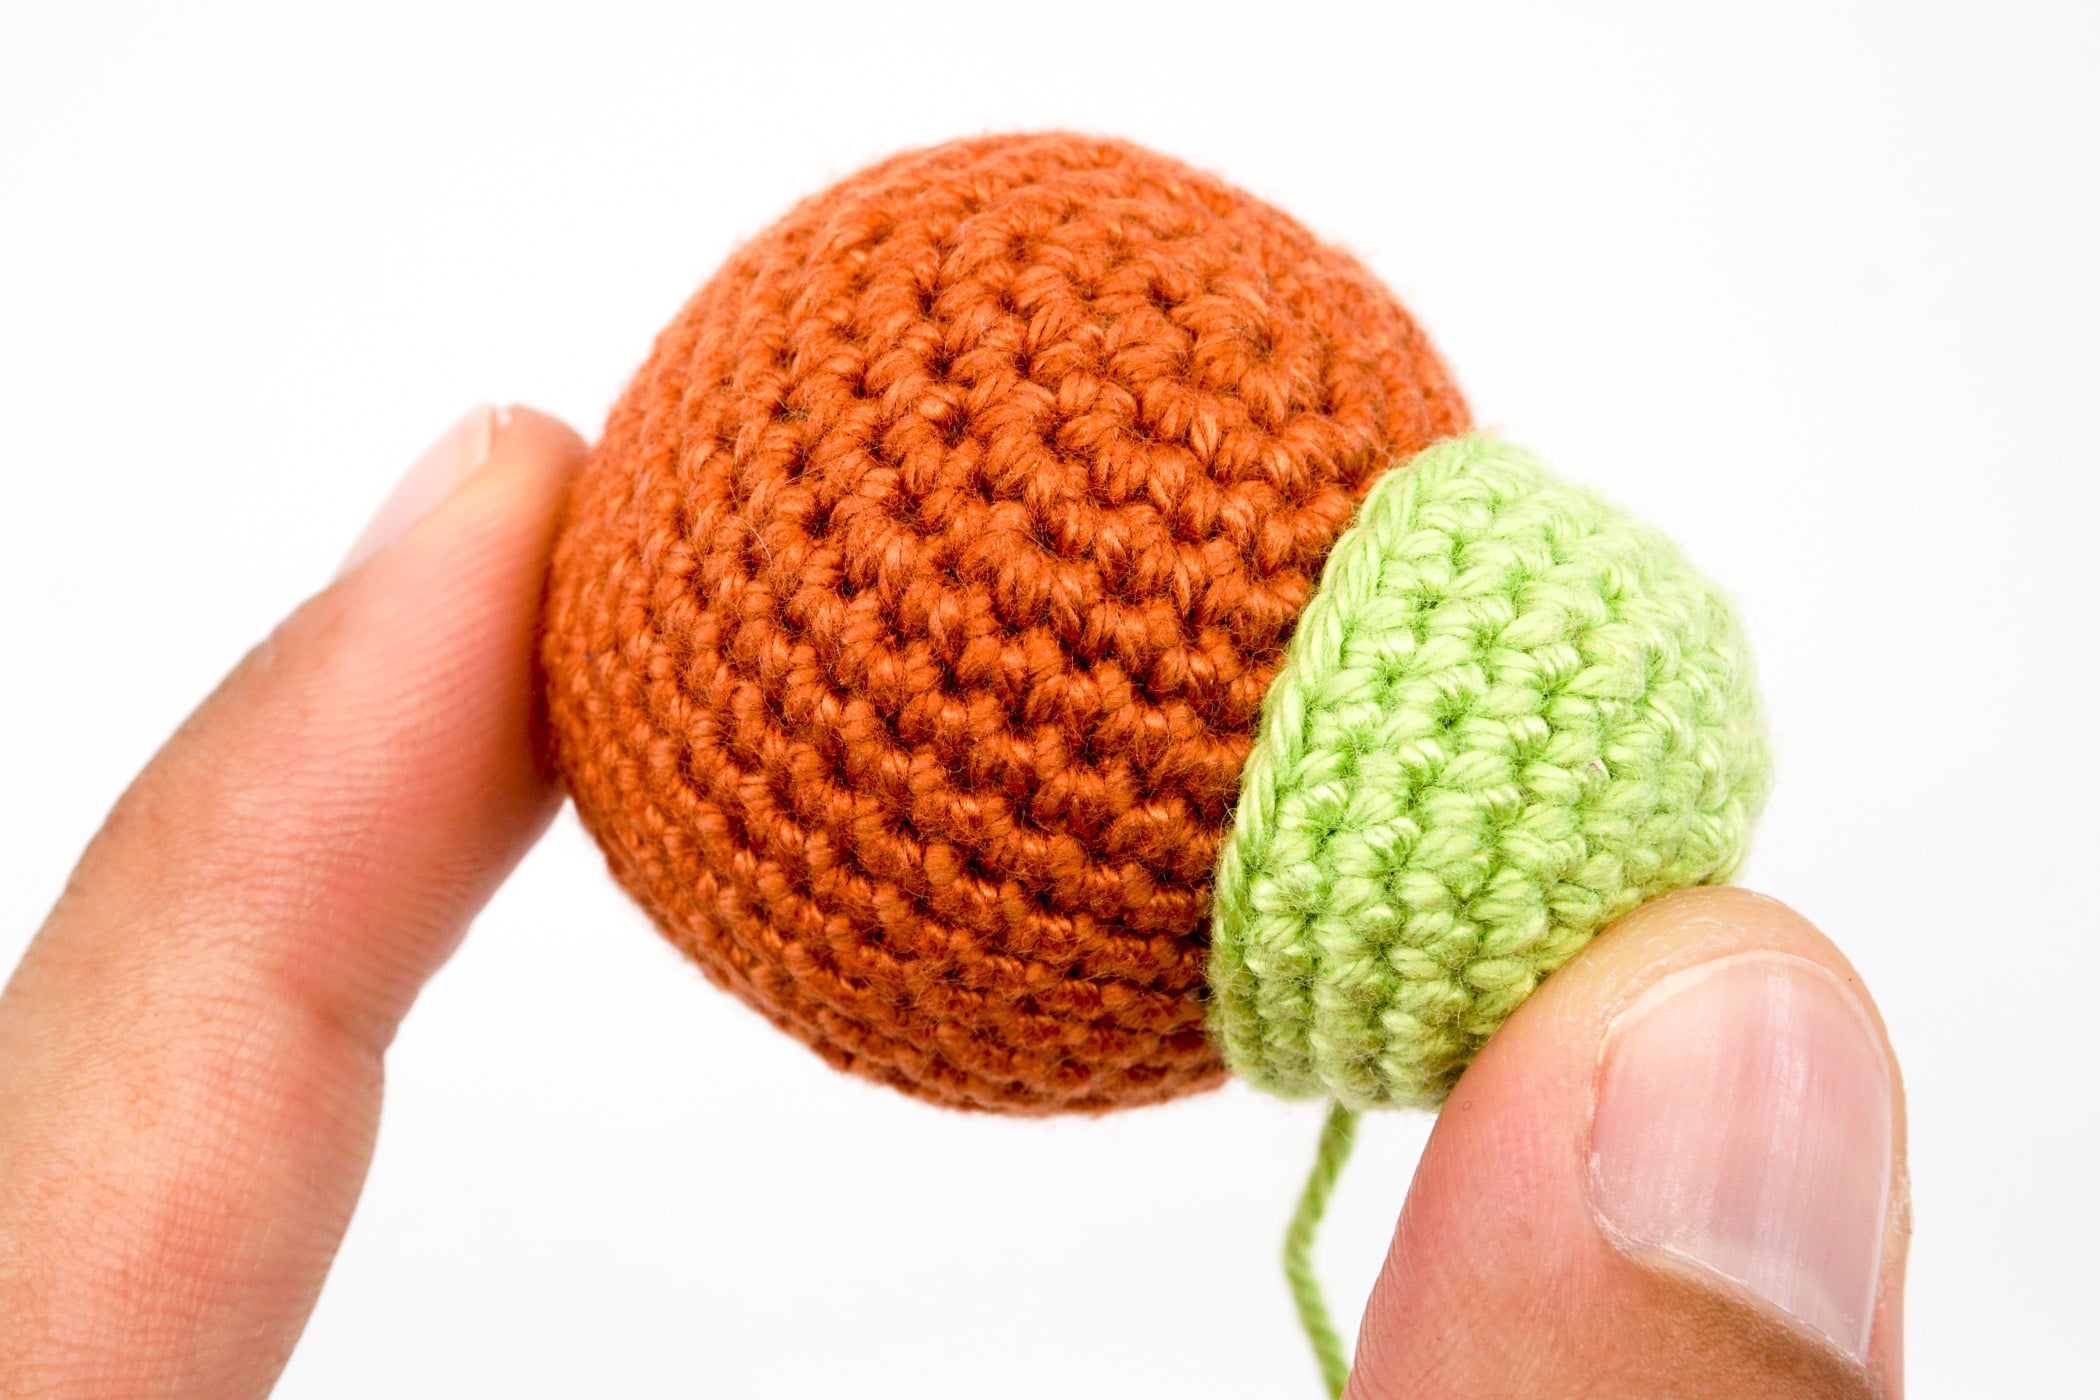
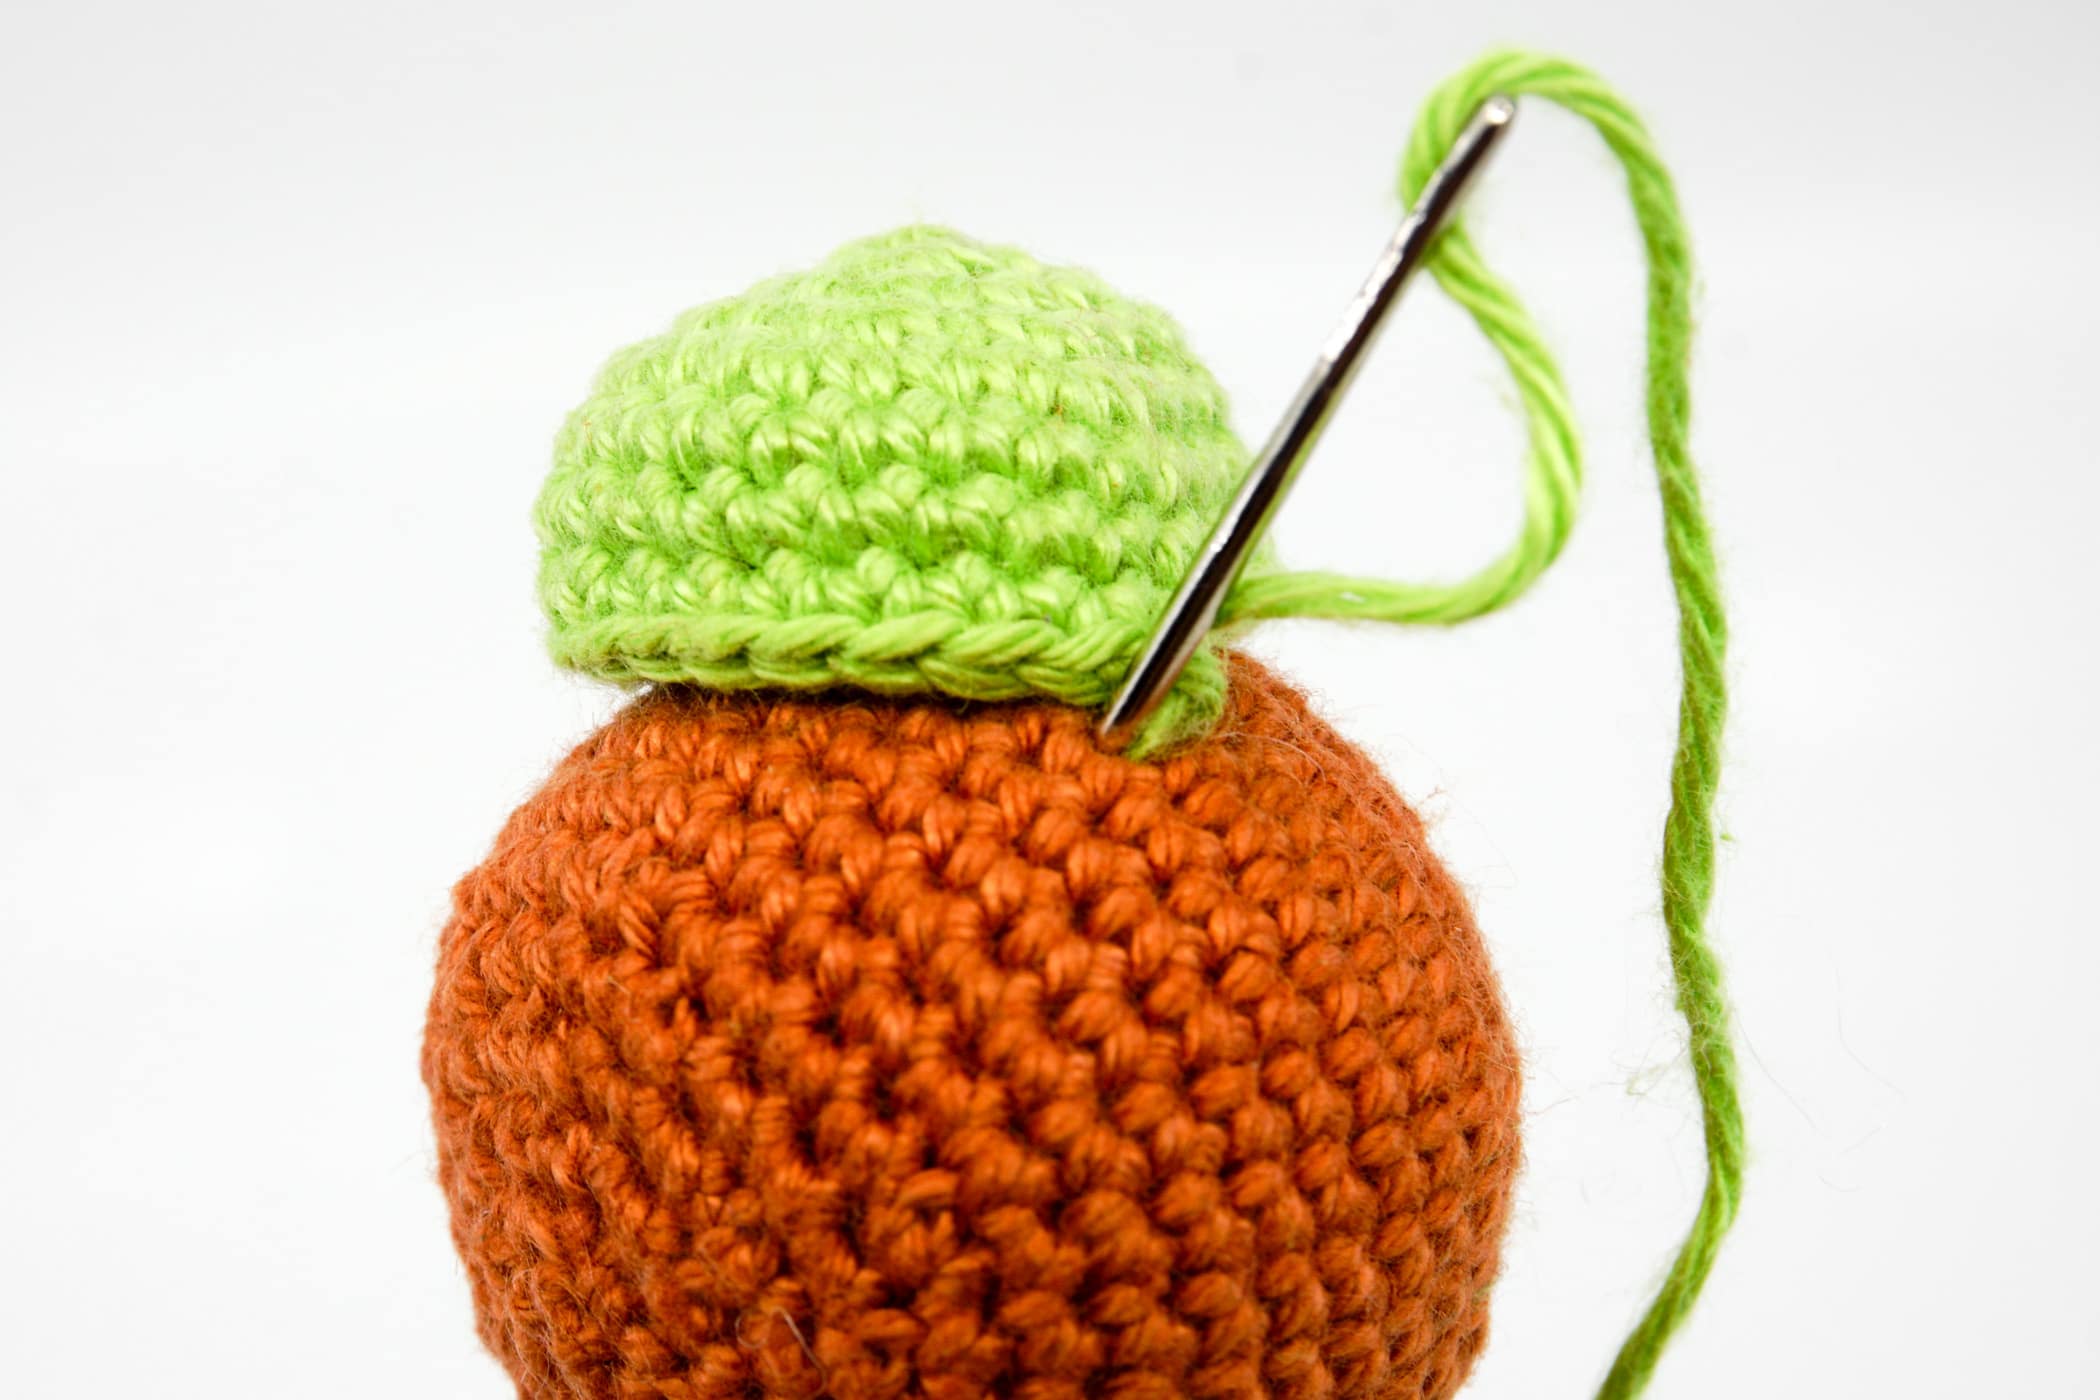
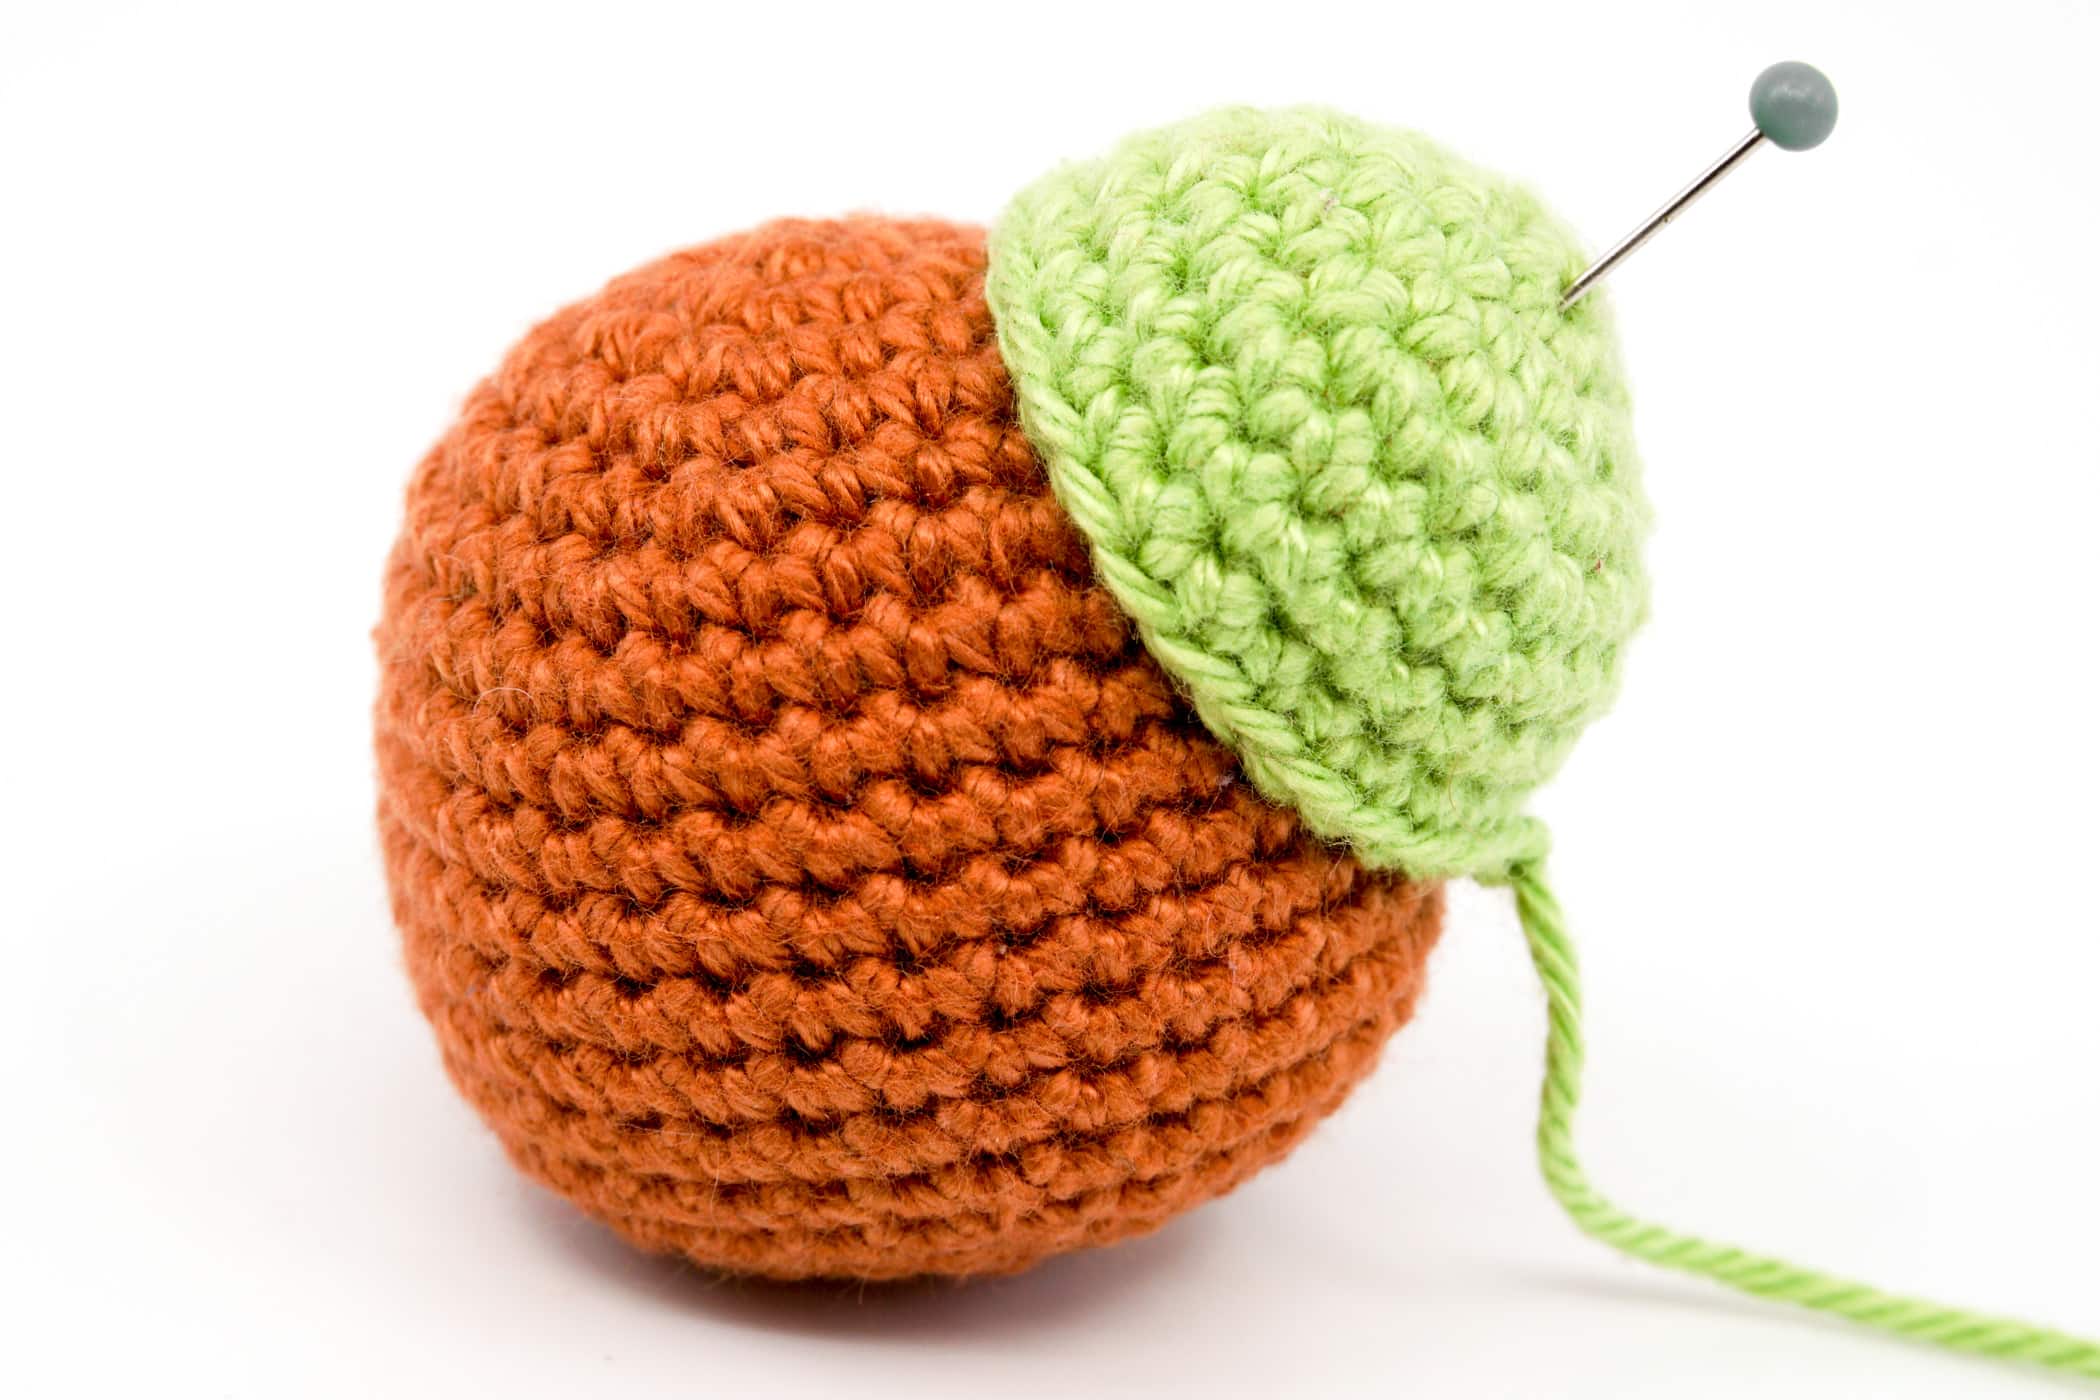
The usual situation is that you have an open crochet piece (in this case the green one) with an additional thread that you can use to sew it onto another crochet piece (in this case the reddish one).
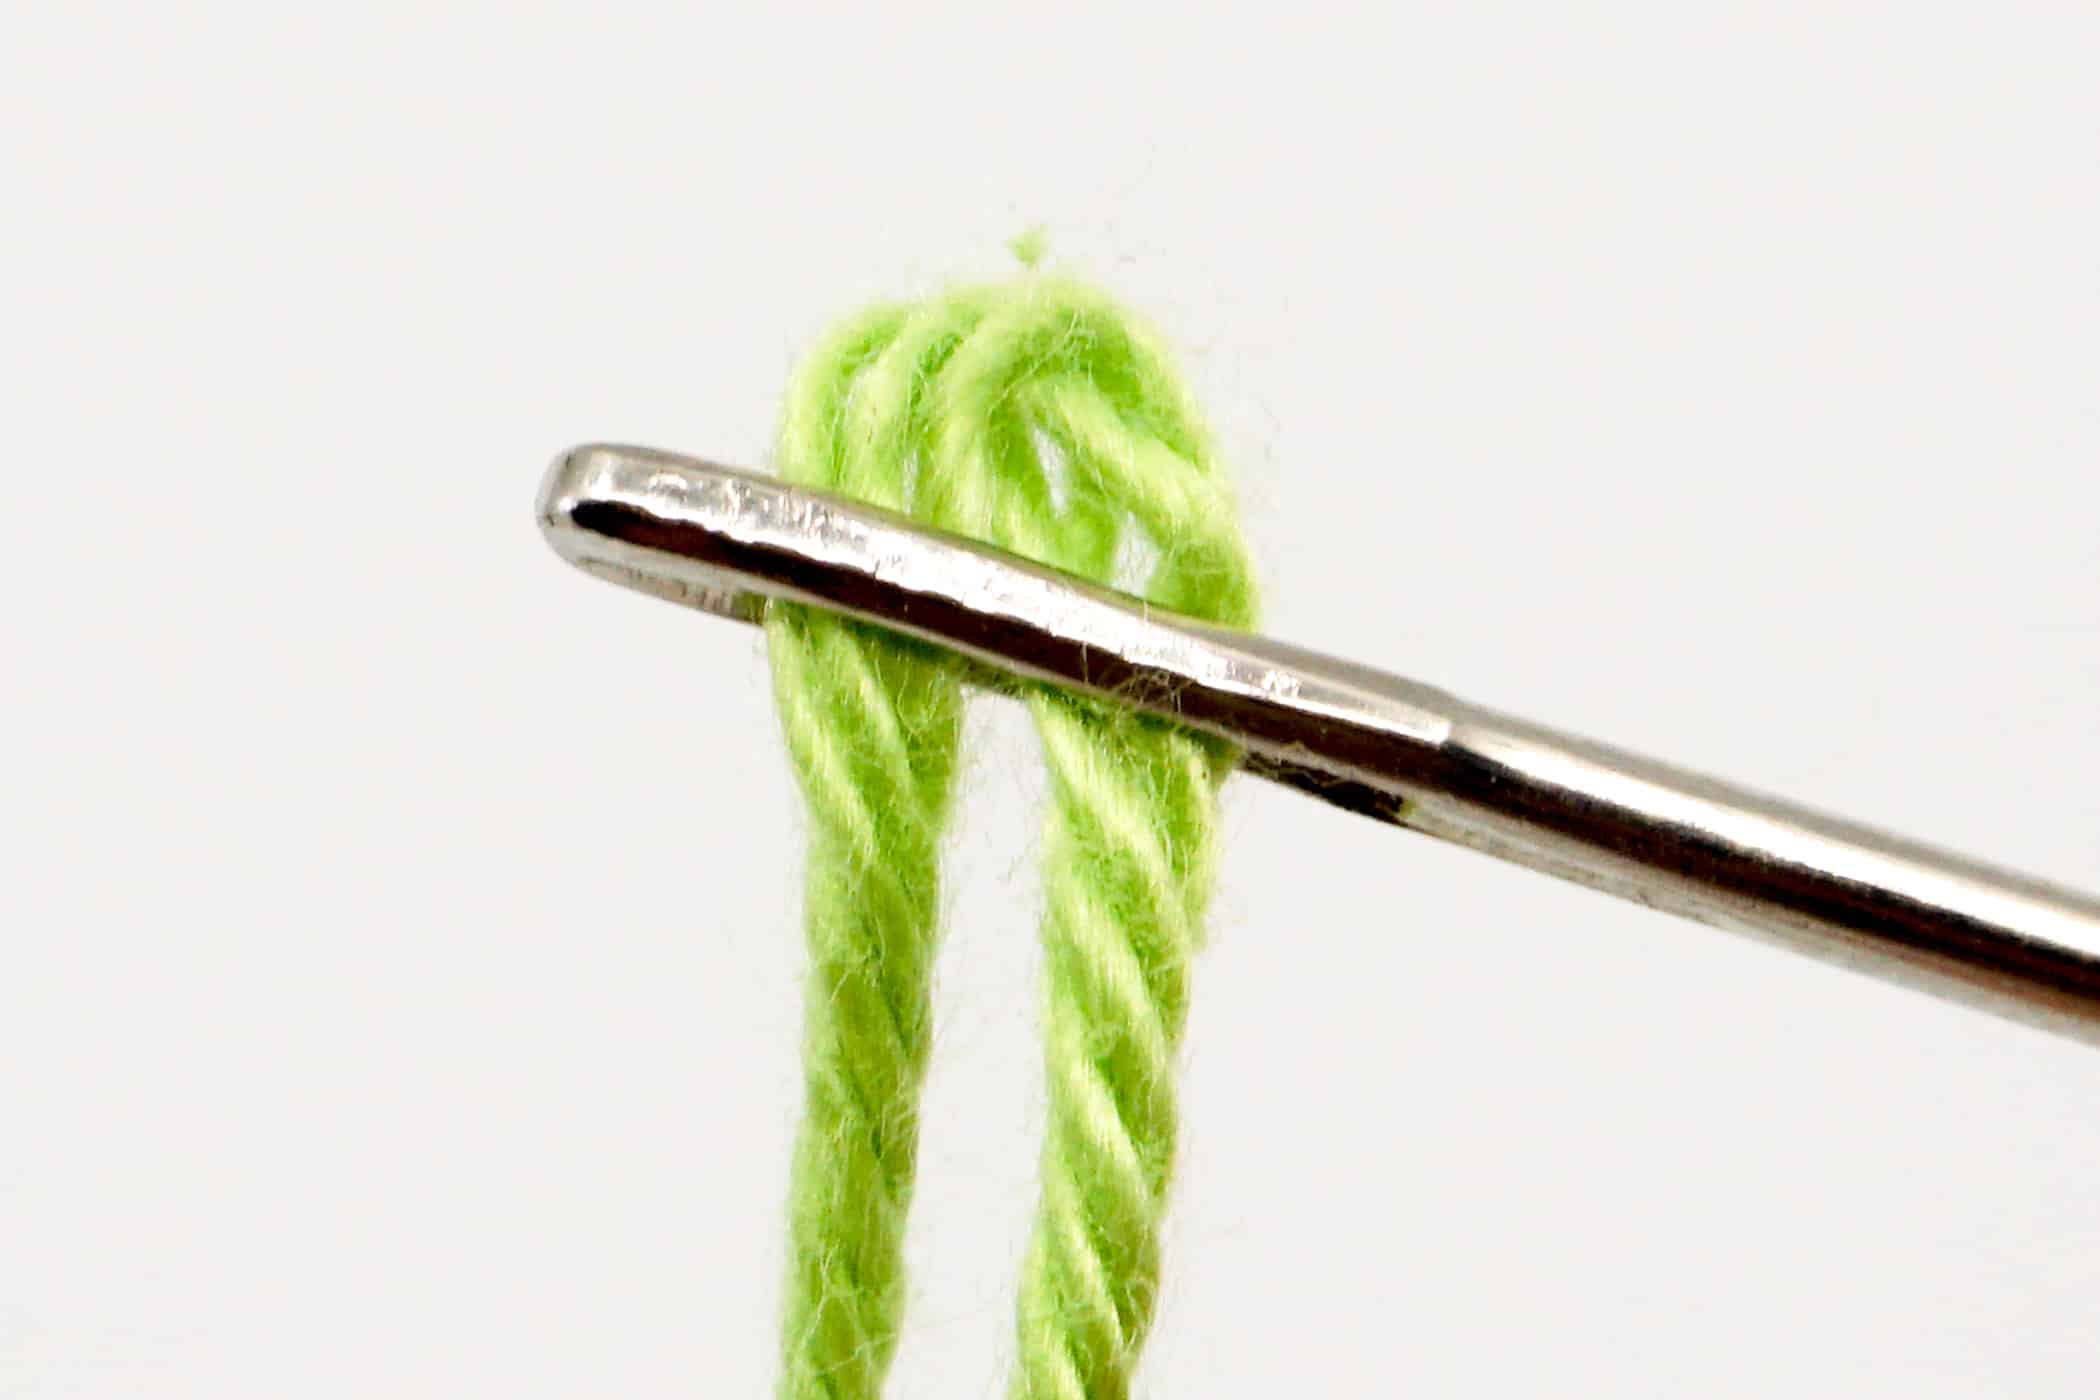
First pick up the thread of the open crochet piece with a blunt sewing needle. Problems with pushing the thread through the eyelet? Instead of pushing the end of the thread through the eyelet, make a loop of the thread and push this loop through the eyelet, this is much easier.
Determine the position where you want to sew the crochet piece on (more on this below).
Now push the needle through a stitch on the red crochet piece where you want to start sewing on the green piece and then let the needle come out of a stitch directly adjacent to this stitch. Pull the needle and thread through.
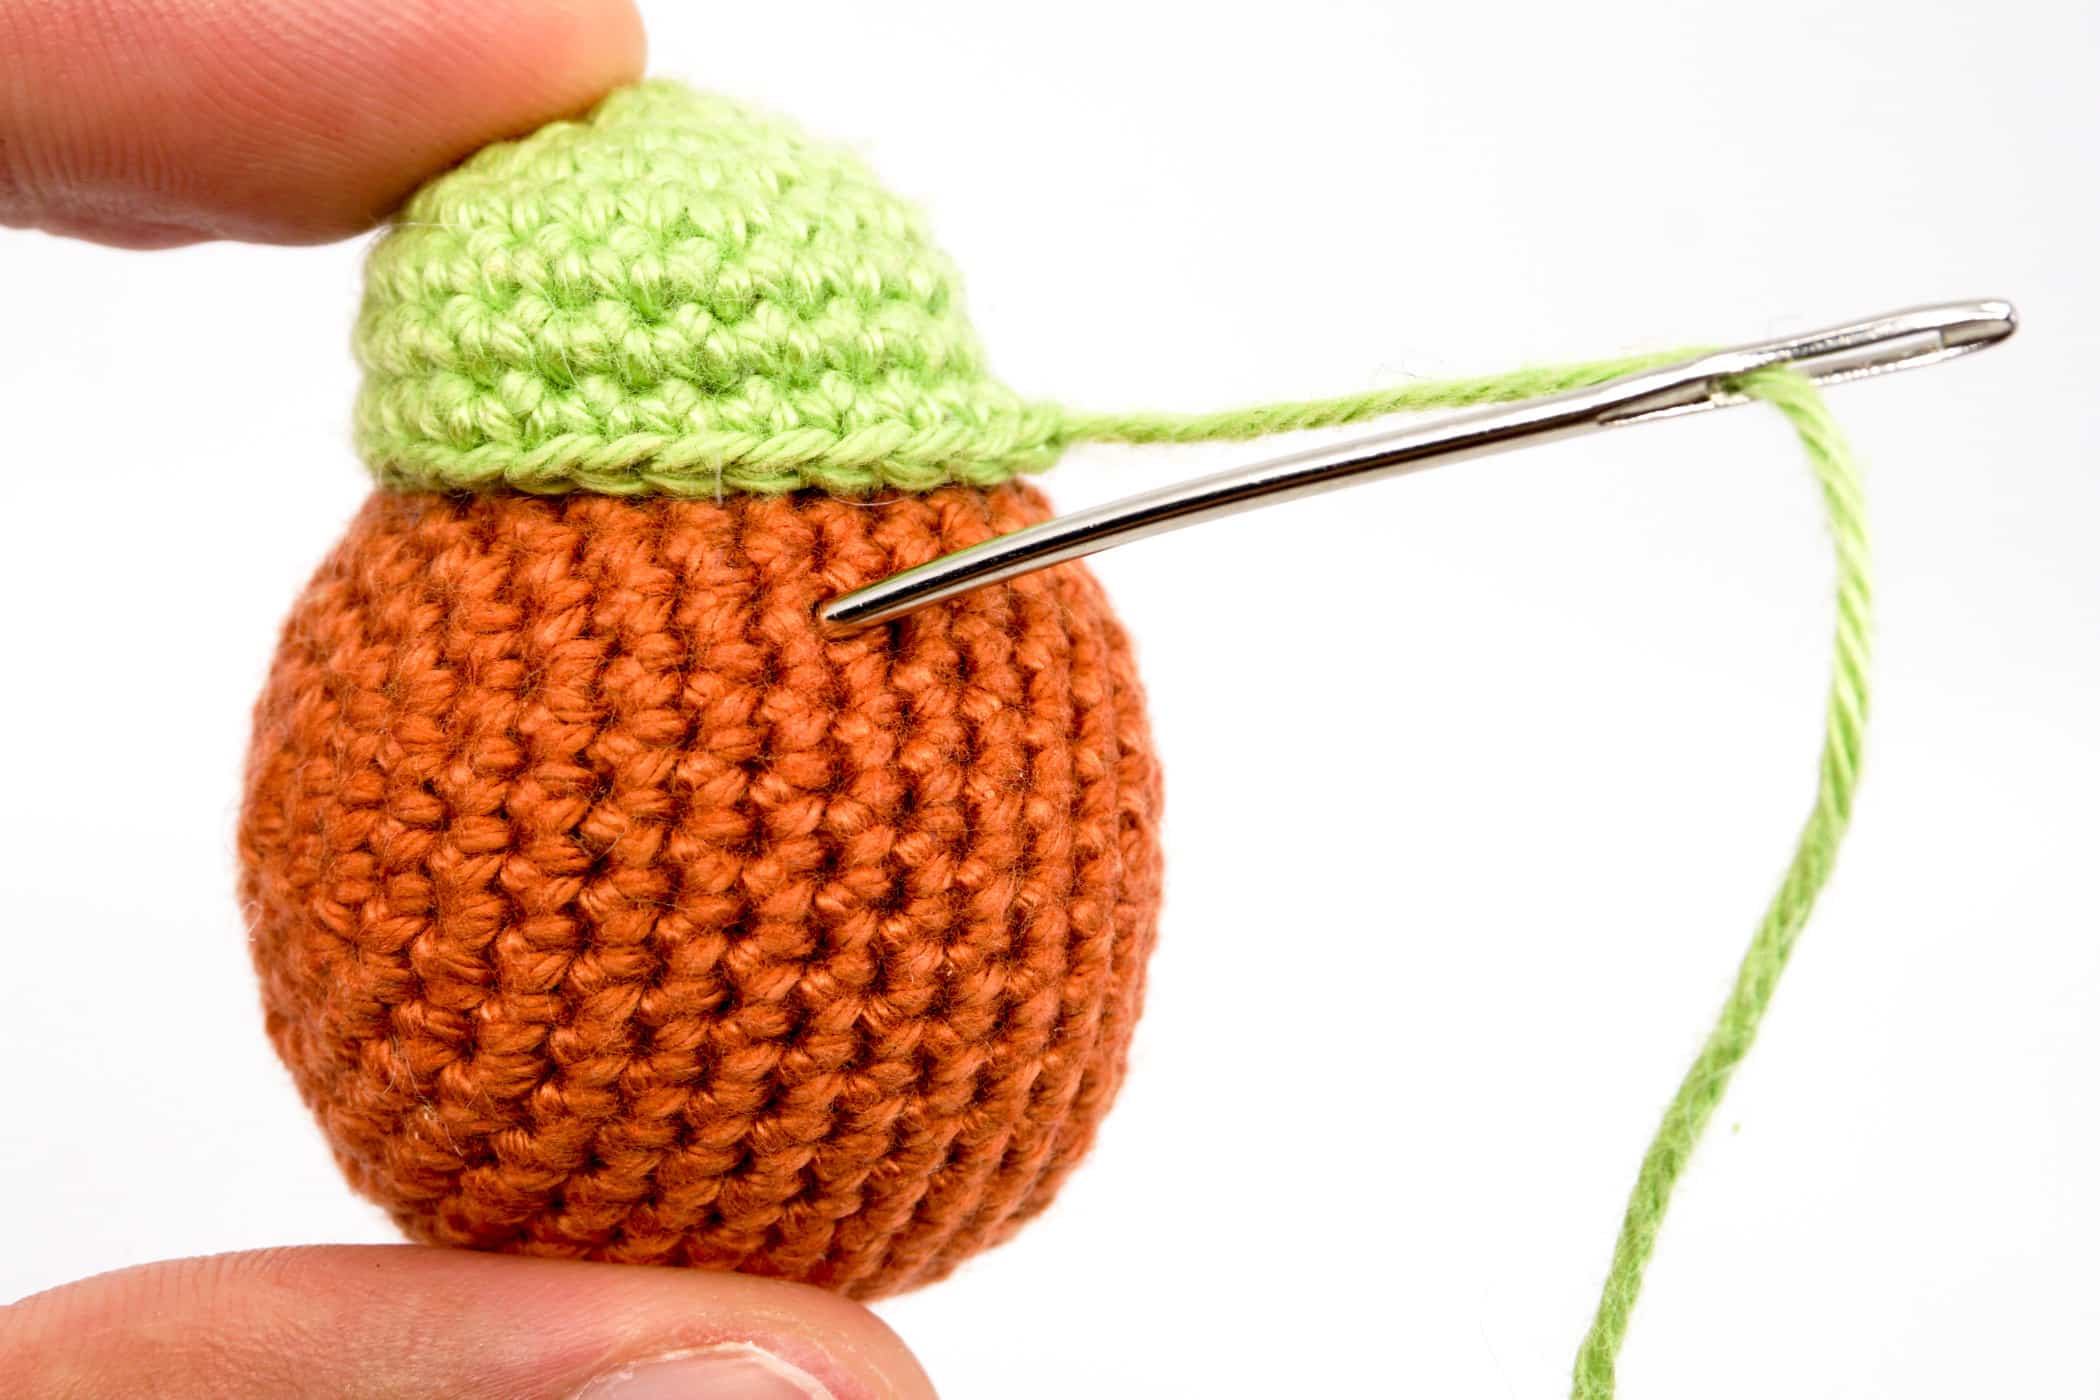
Now push the sewing needle through the stitch on the green piece to which the thread is also attached. Push the needle through both loops from the inside out, pull the needle and thread through and pull the thread tight.


Now push the needle through the stitch on the red piece from which the needle and the thread have just been pulled through (the stitch through which you just pulled out the needle on the red piece).
Then let the needle come out of a directly adjacent stitch and pull the needle and thread through. Then push again the needle inside out through the next stitch on the green piece and pull the needle and thread through. Do not forget to pull the thread tight.

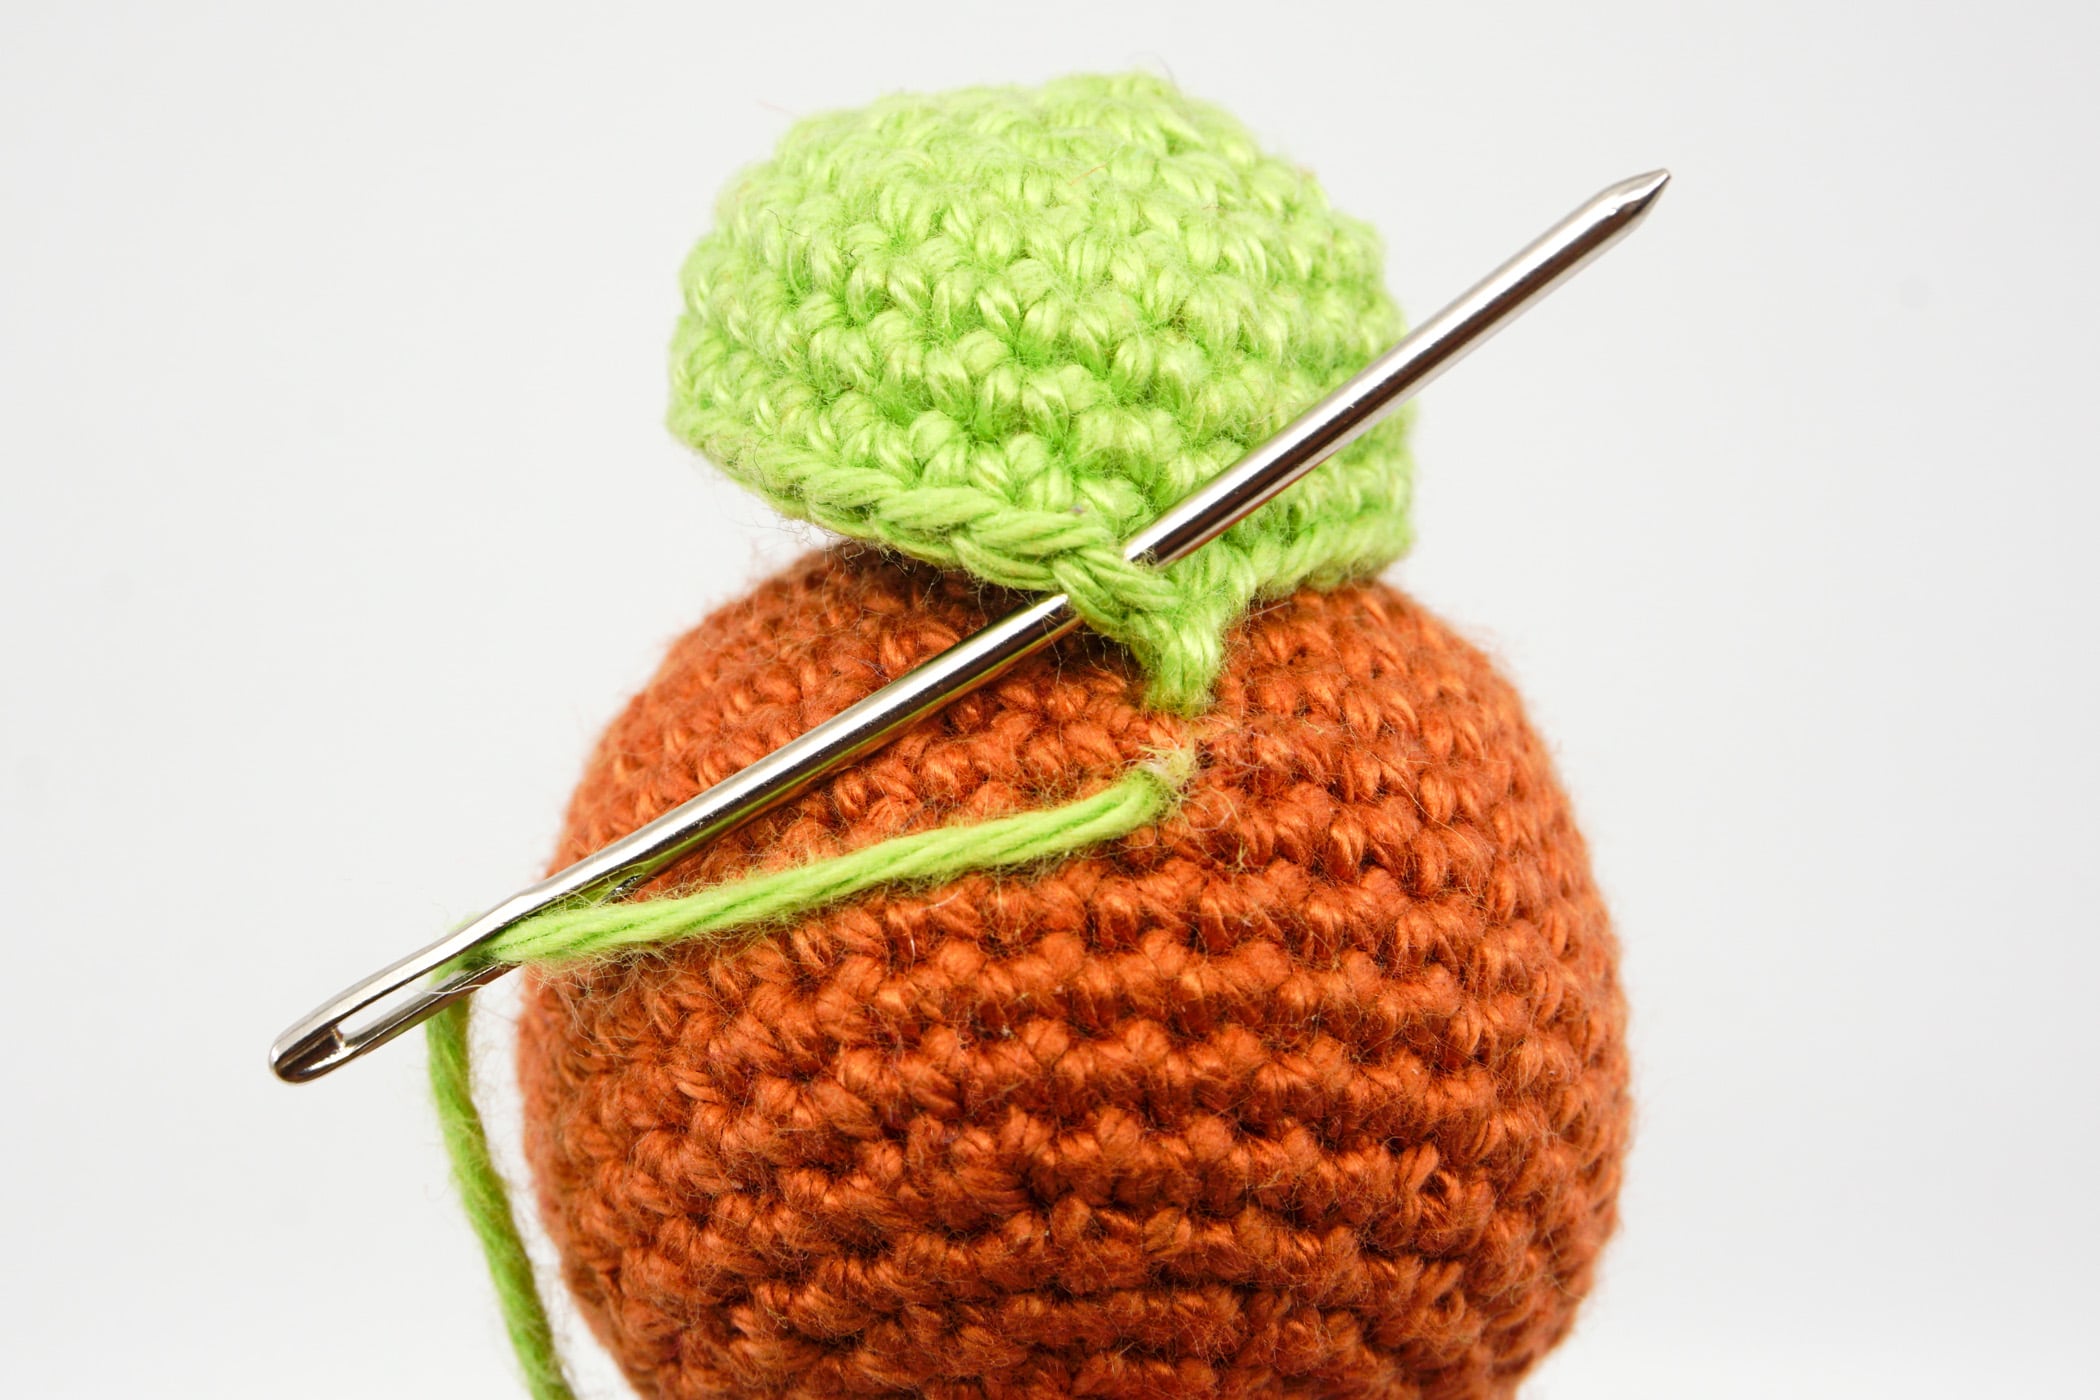
This is now continued until all stitches on the open green piece are sewn onto the red piece.
The procedure then looks like this:
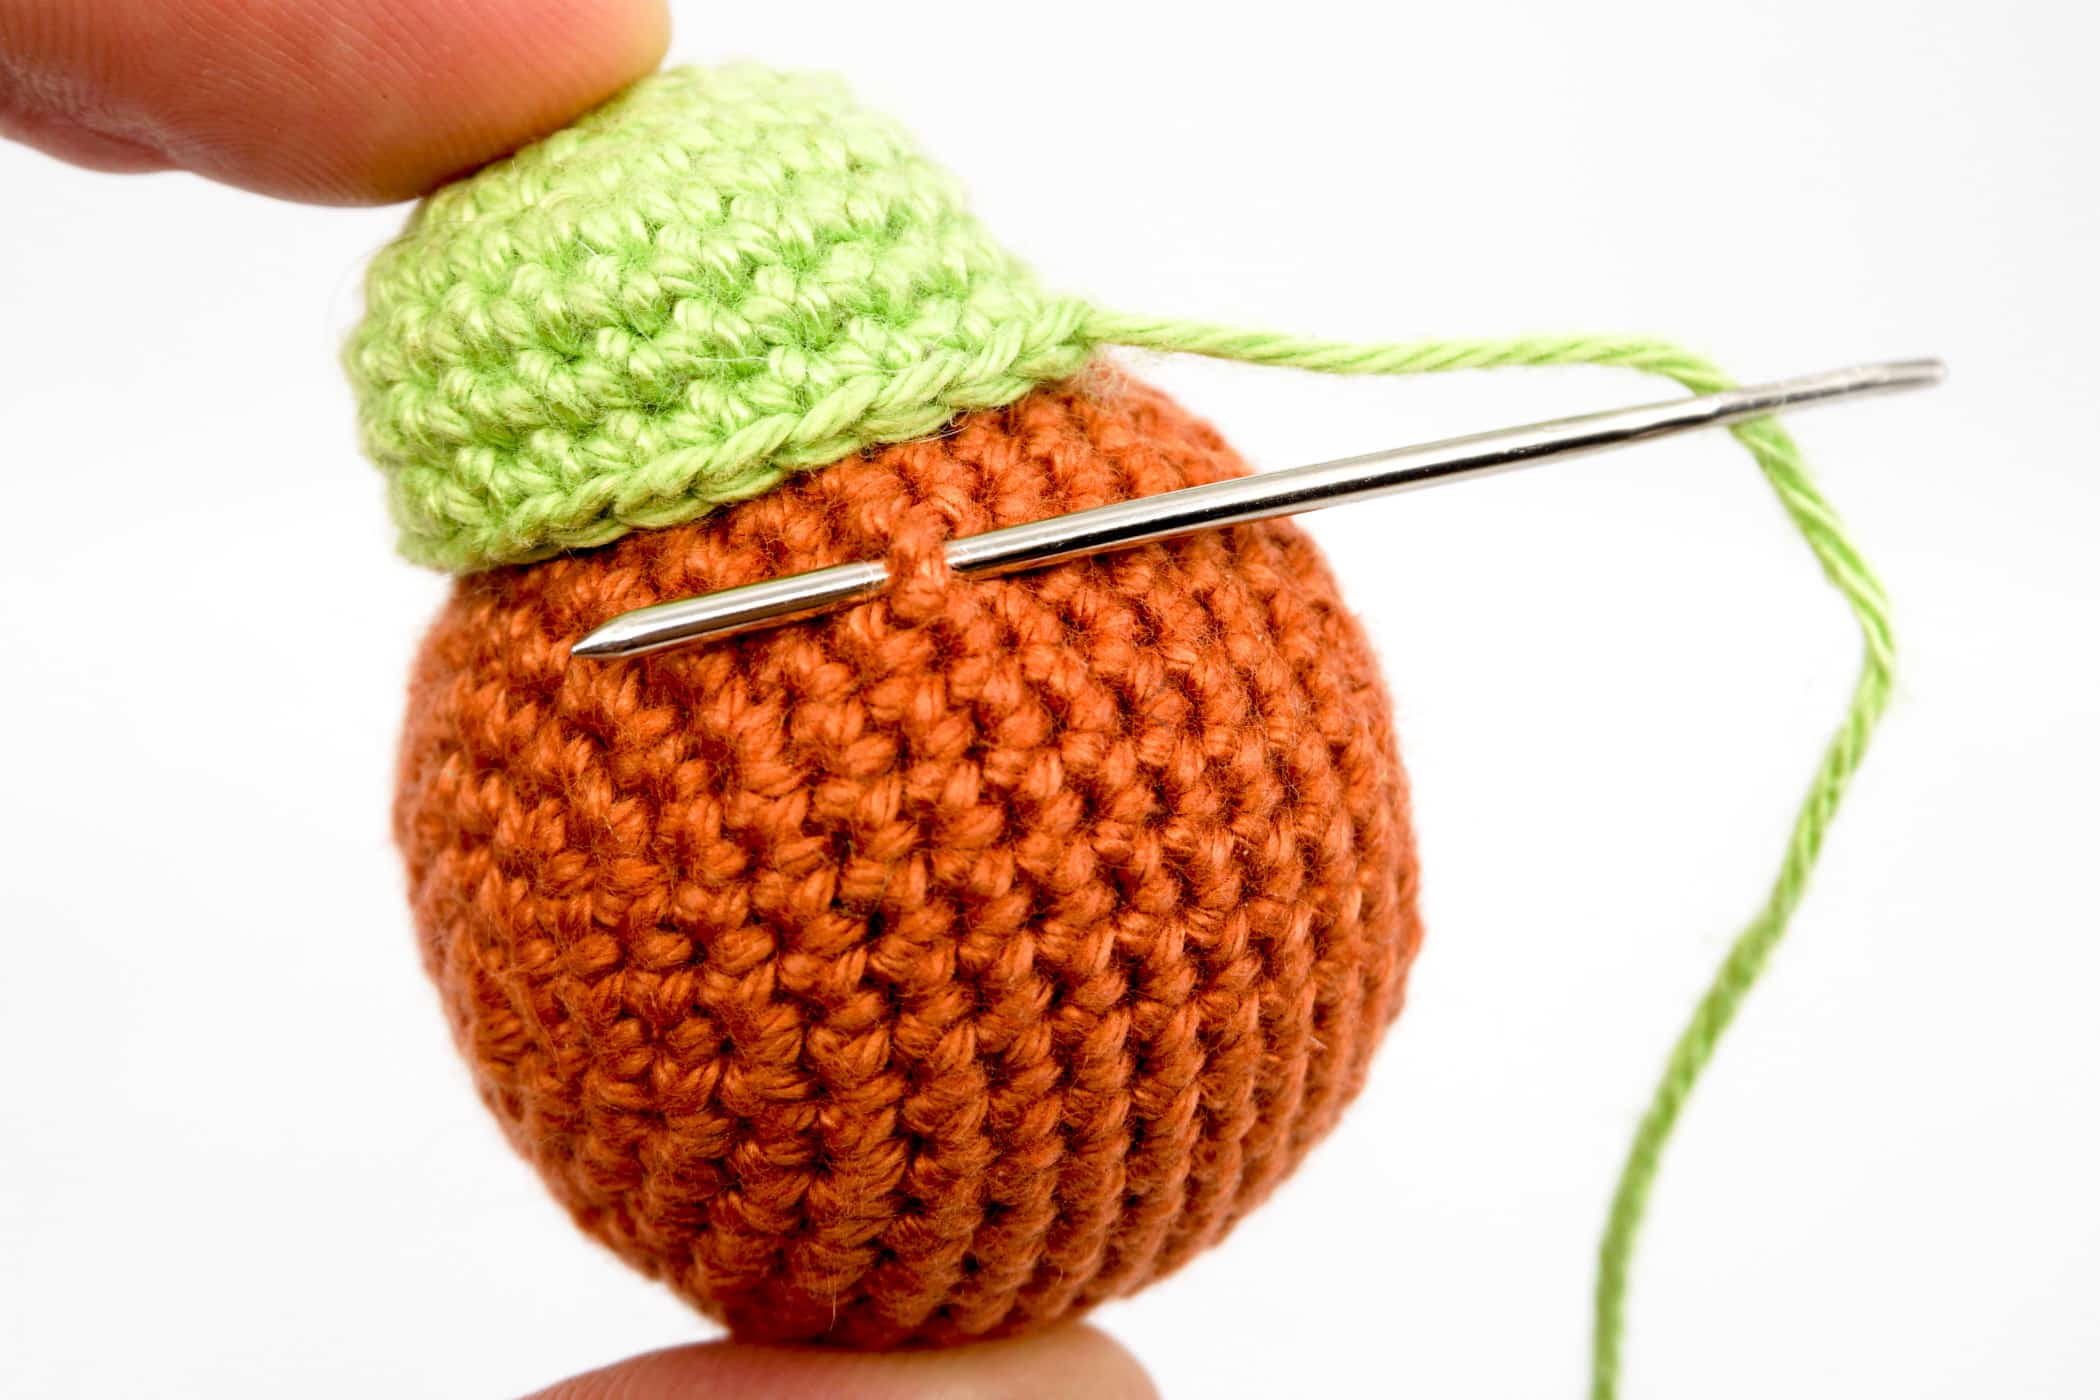
- Push the needle with the thread through the stitch on the red piece through which you just pulled the needle out.
- Push the needle through the next stitch on the green piece from the inside out and tighten.
- Push the needle through the same stitch on the red piece that you just pulled the needle out of.

IMPORTANT: Always make sure to tighten the sewing thread. If the thread is not always retightened, there may be unsightly large openings between the two crochet pieces.
Finish the Sewing
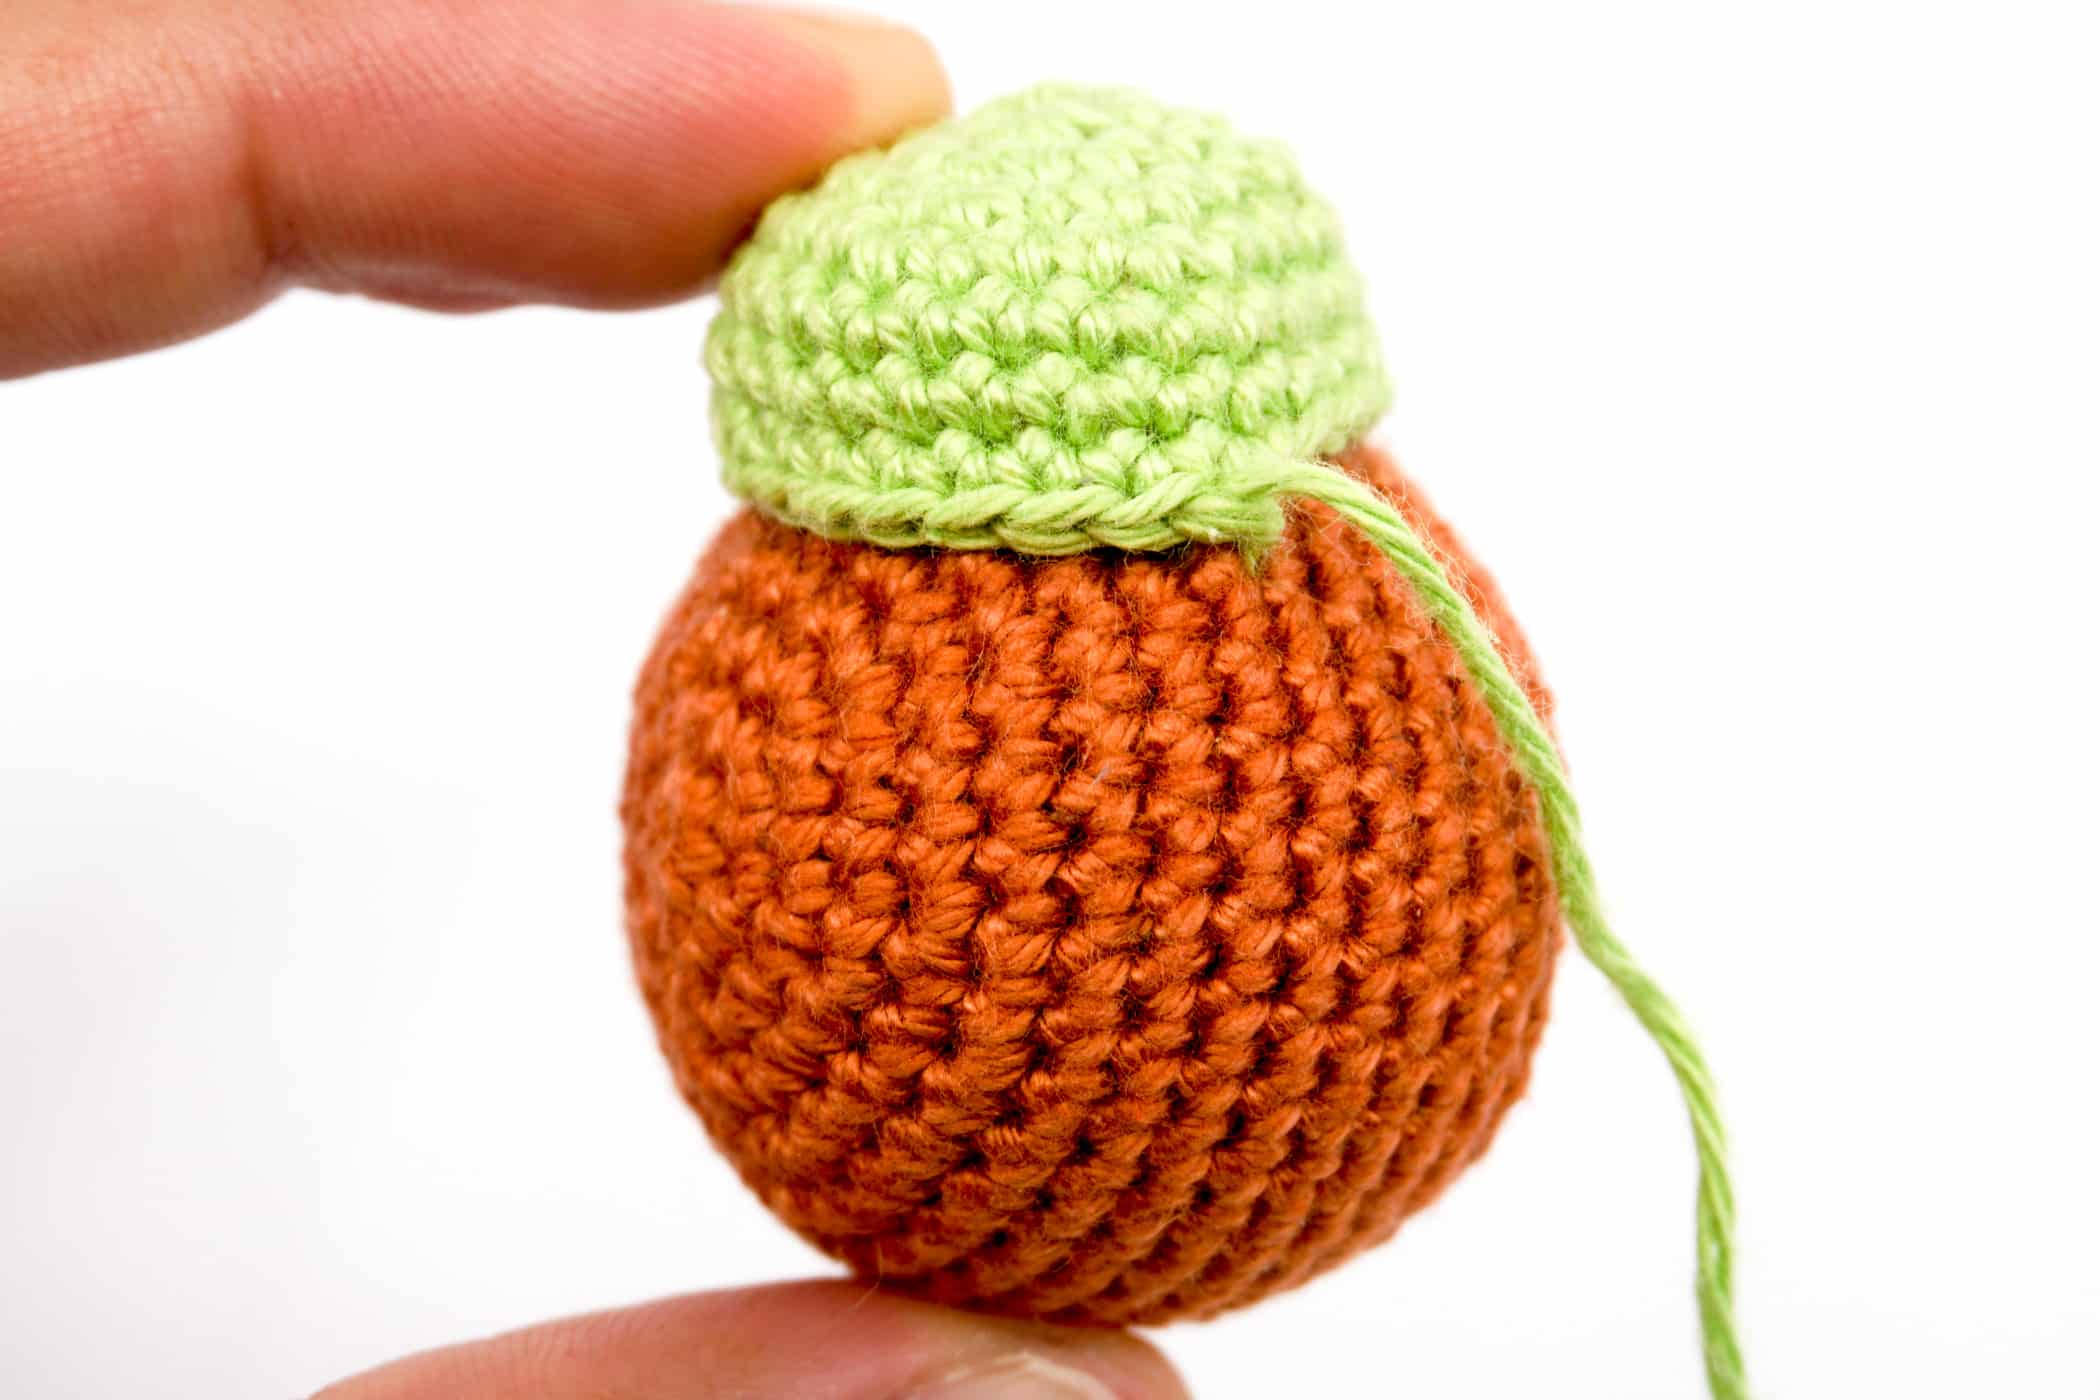
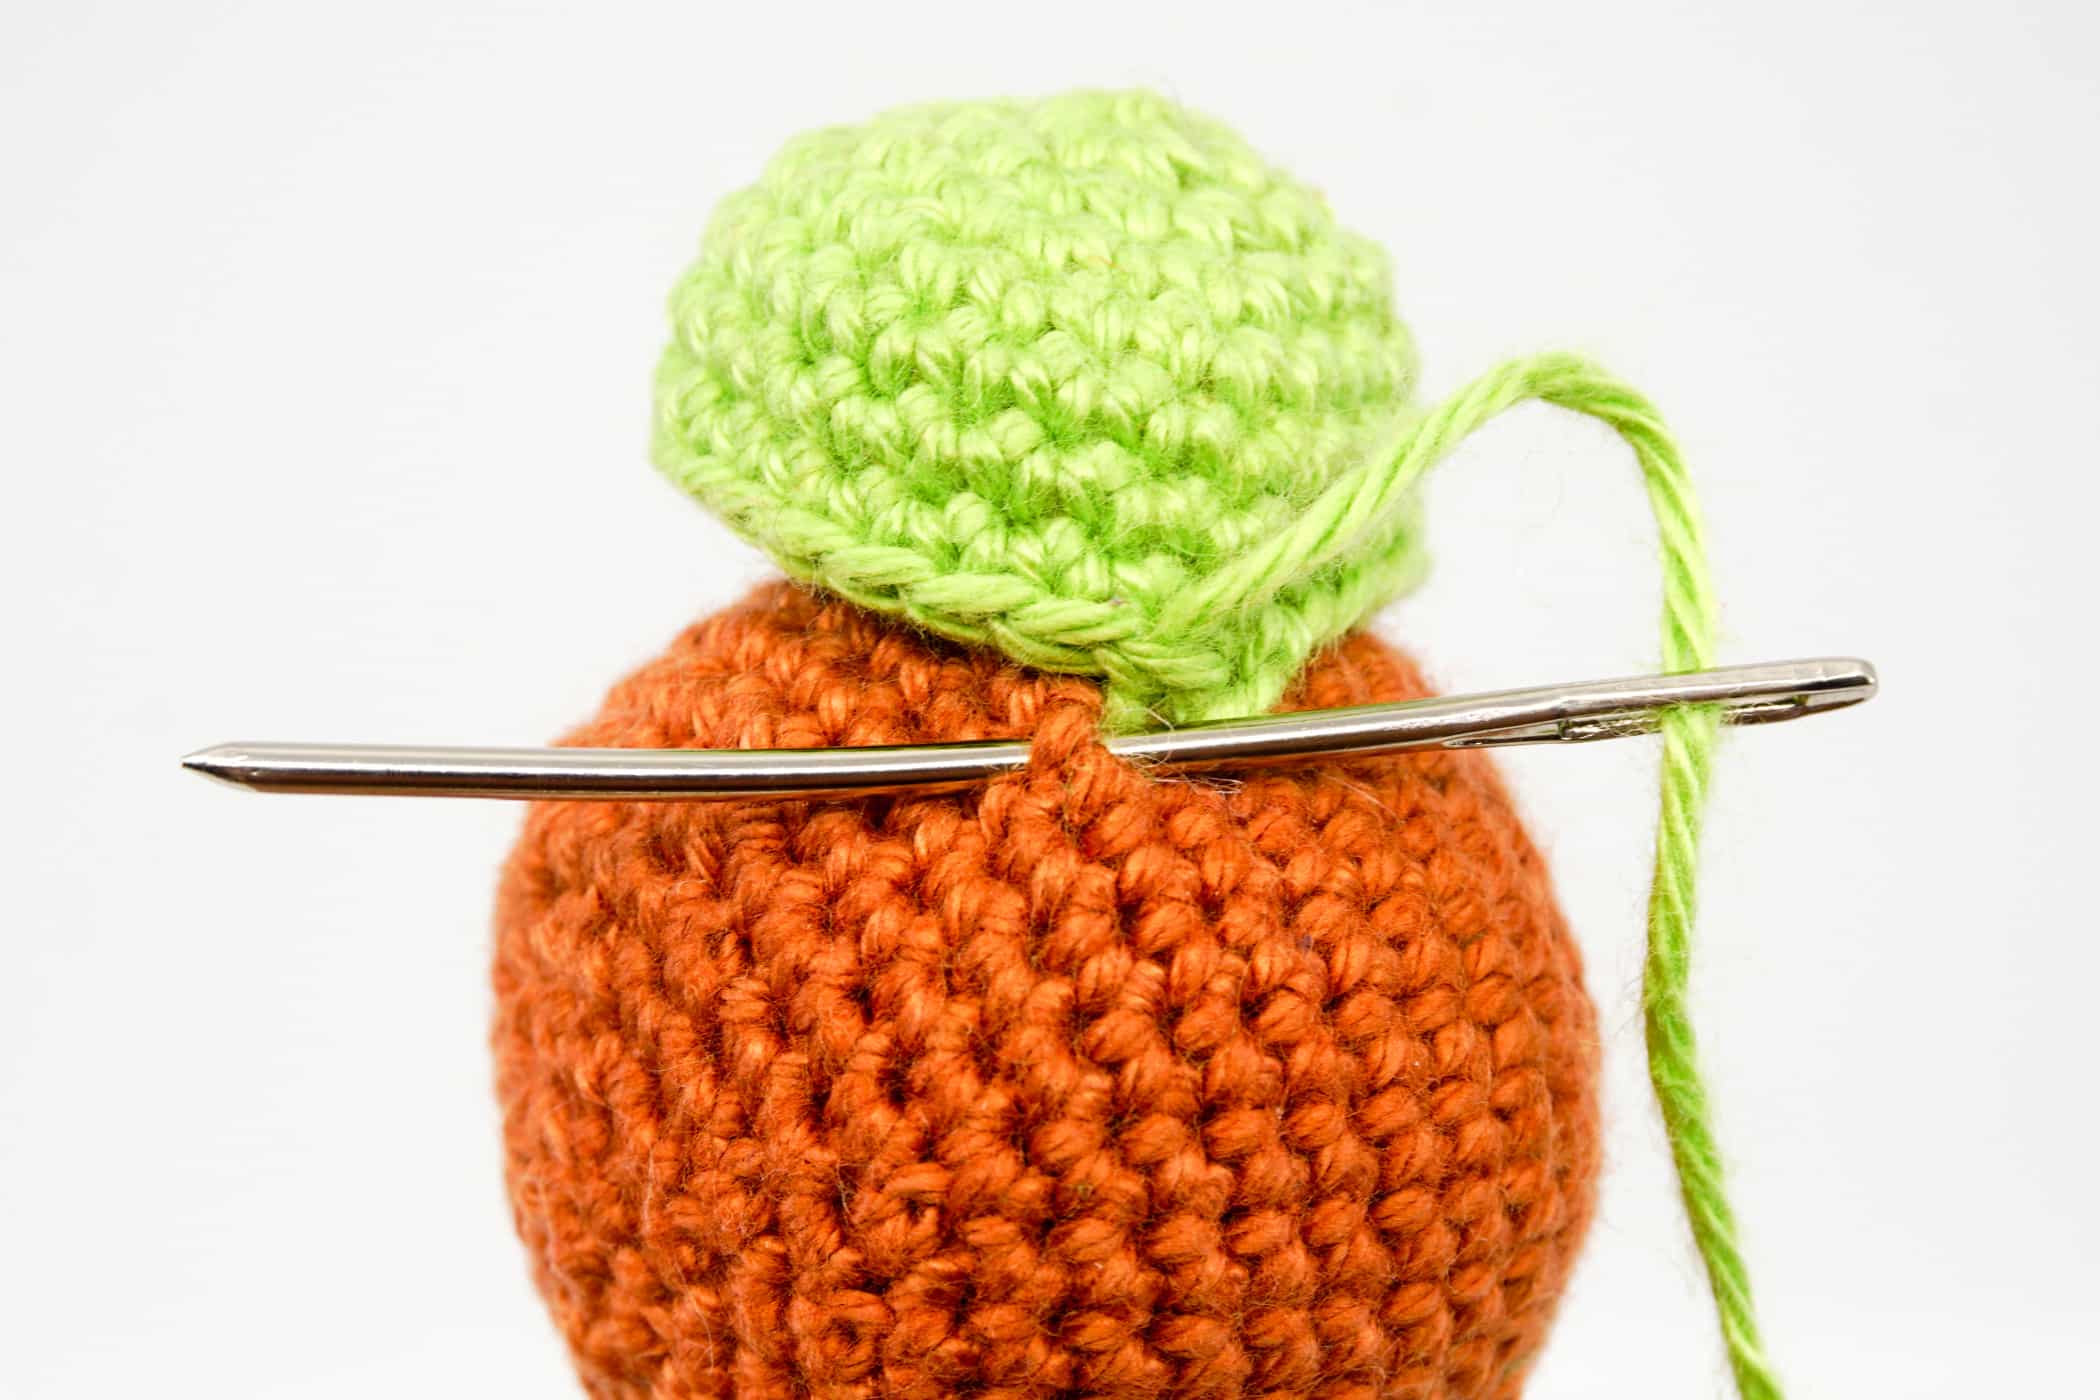
When you reached the last stitch on the crochet piece (the green one) that you want to sew onto another piece (the reddish one), then push the needle one last time from the inside out through the last stitch on the green piece. Then push the needle through the stitch on the red piece on which you last pulled the needle out and let it then come out on the other side of the red crochet piece.
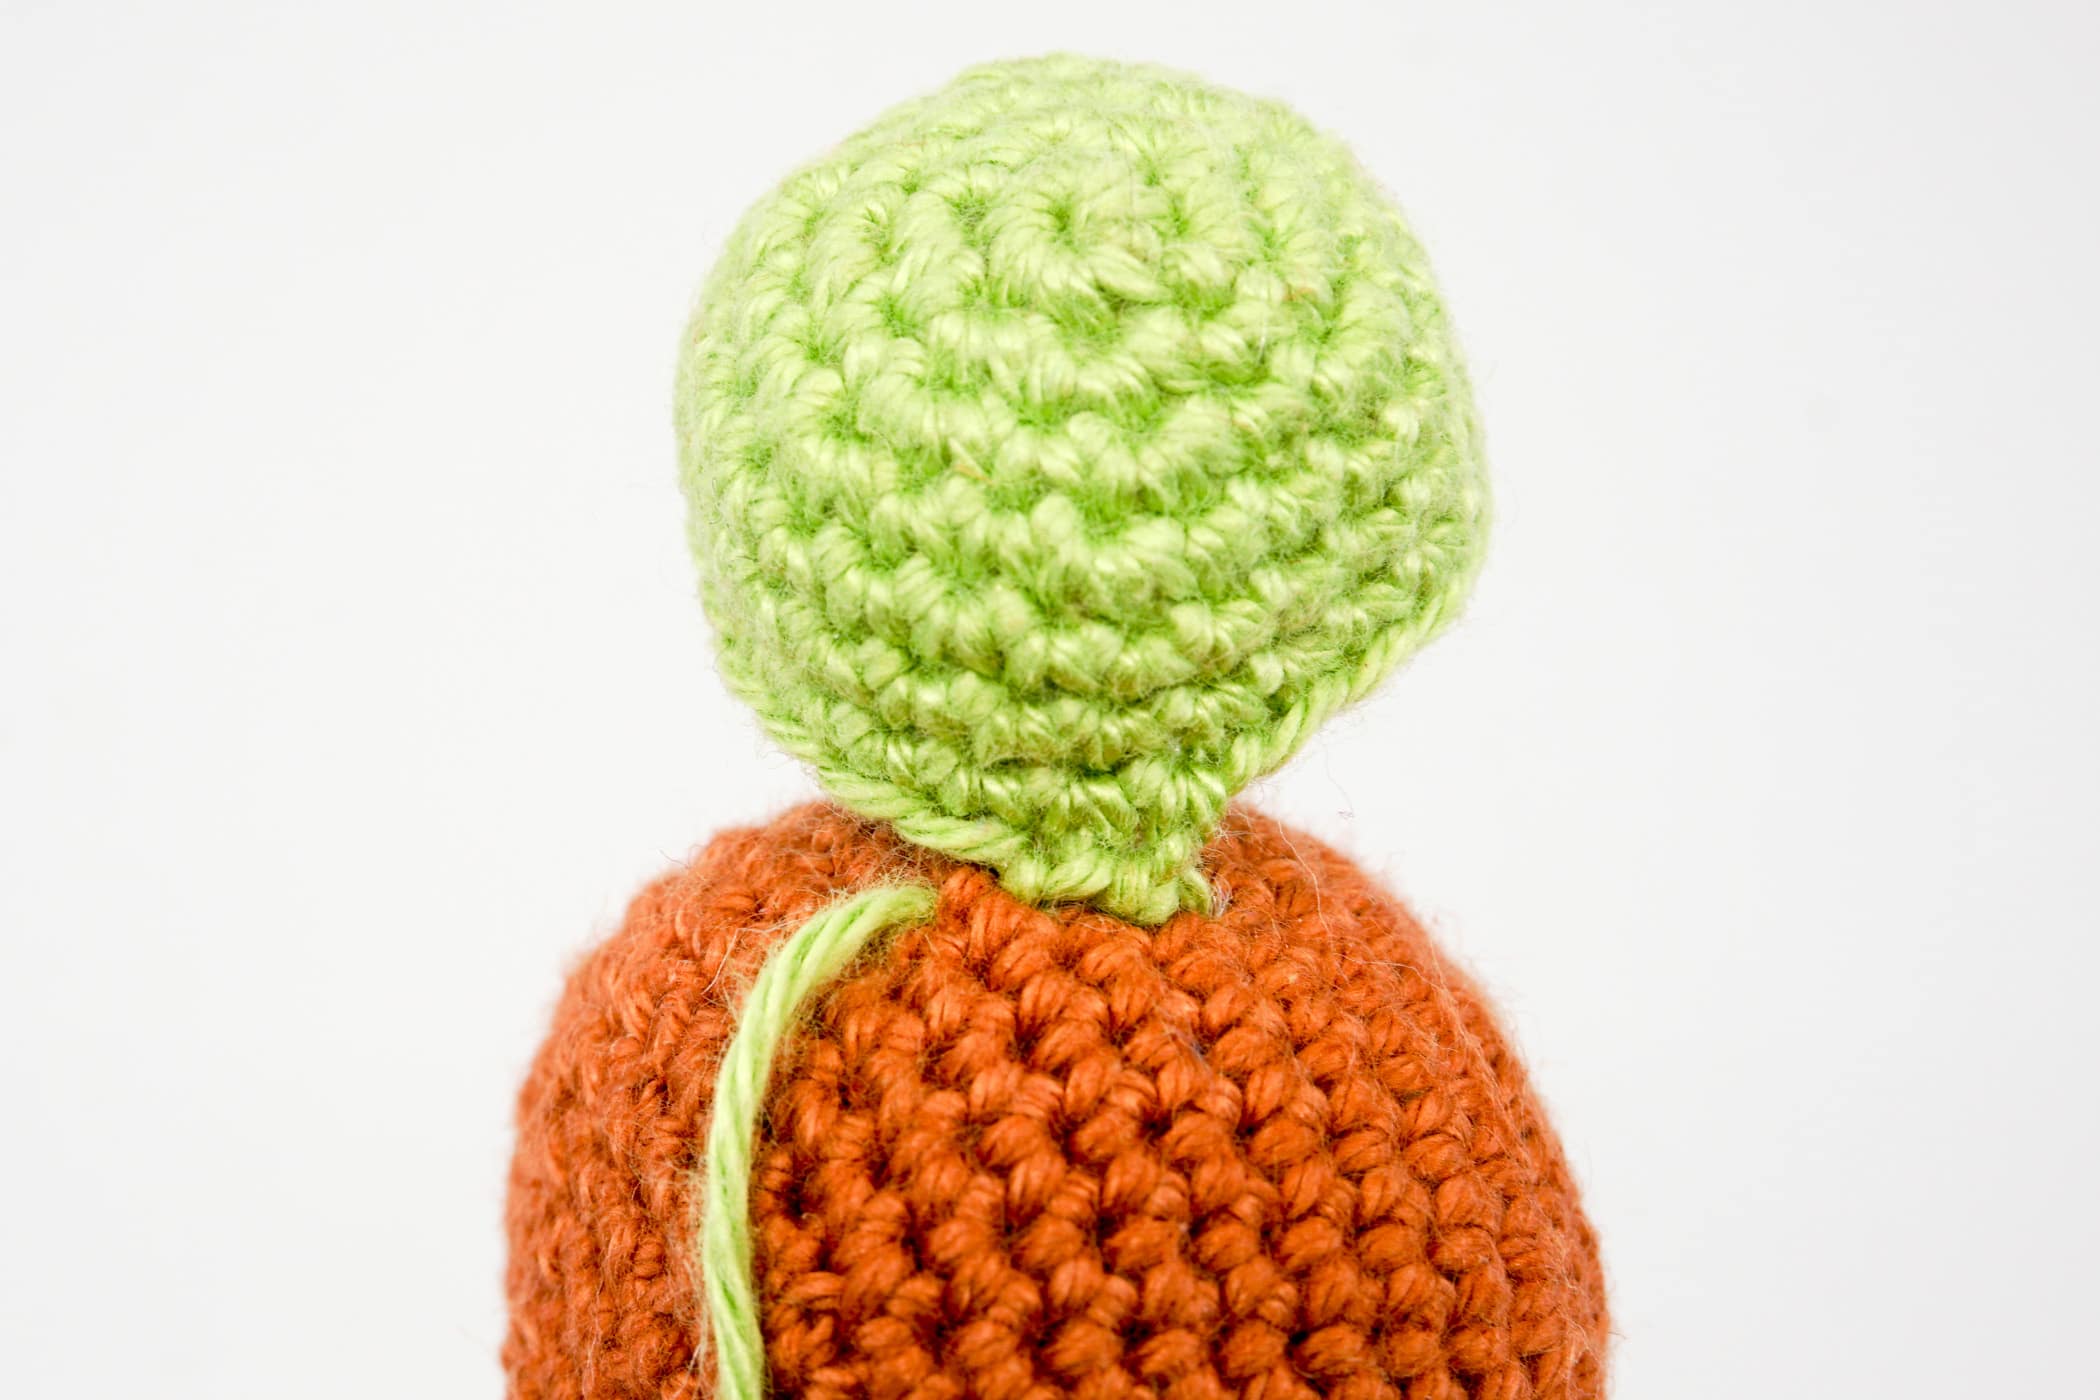
Pull the thread tight and cut the thread close to the exit point. Knead the crochet piece a little so that the thread disappears inside. You have now successfully sewn both parts together.
Find the Perfect Position
Often the sewn piece is removed again because it just doesn’t sit where it should have been, this is primarily due to the fact that the sewing is done on the spot.
In order to save time and work, it is recommended that you place the piece to be sewn on exactly where you want it beforehand, so as not to lose the position, and fix the crochet piece with a safety pin.
Ultimately, you want to sew each stitch on the open crochet piece to a stitch on the other crochet piece. That is why it is possible to determine exactly where which stitch should be sewn.
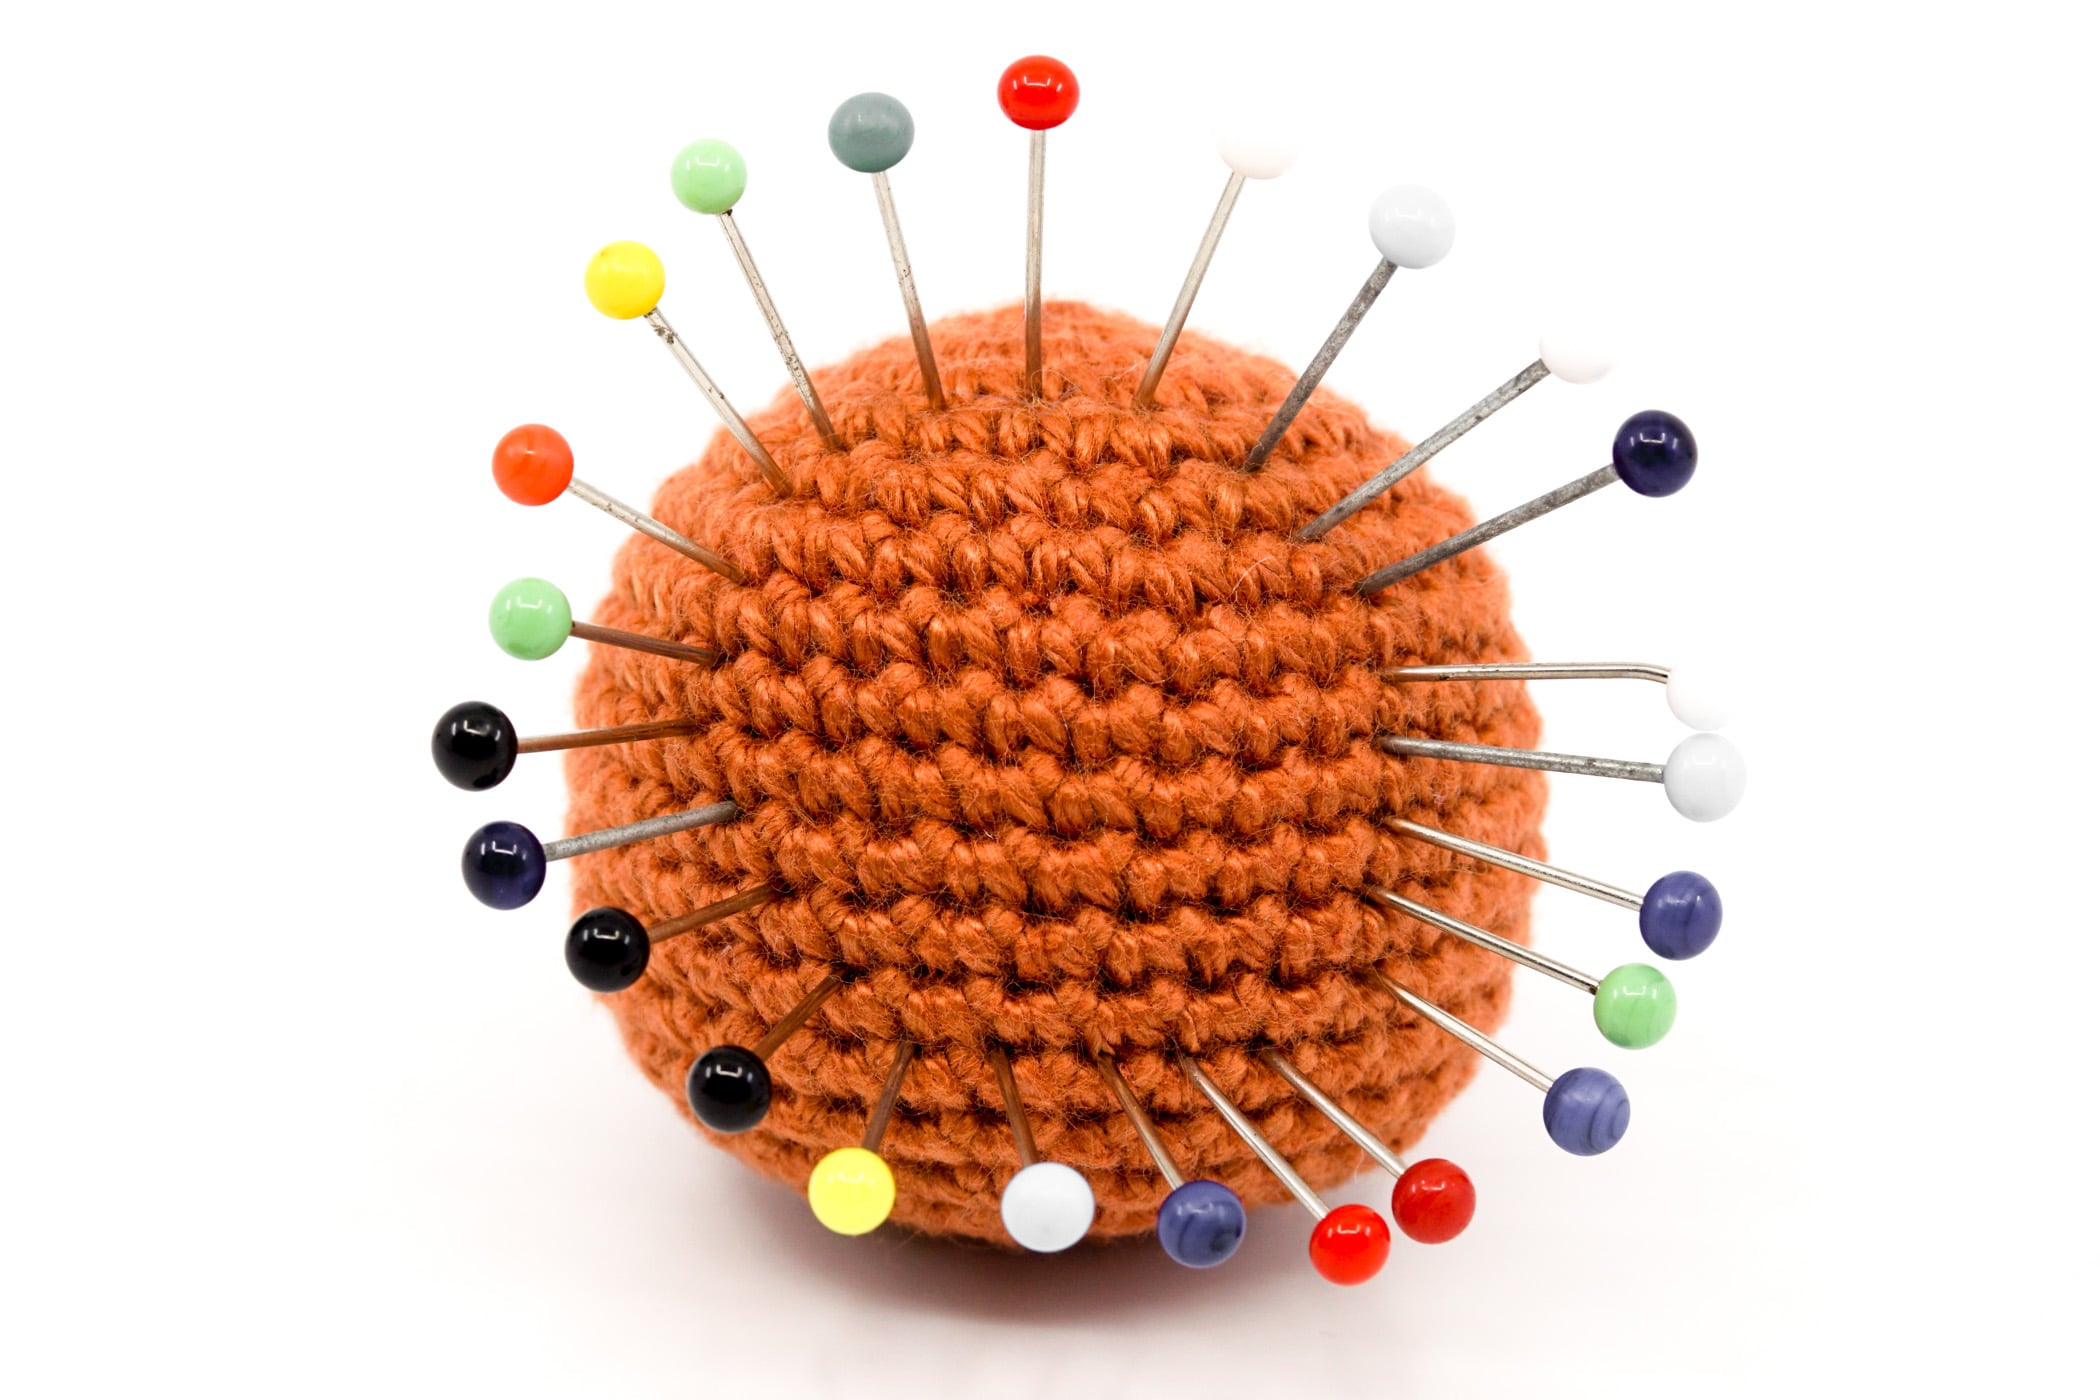
Count the stitches on the open crochet piece, place it on the closed piece and mark all stitches around it with a safety pin. Remove the open piece and correct the markings if you have more or less pins than the stitches on the open piece. You want to have as many pins as stitches on the green piece.
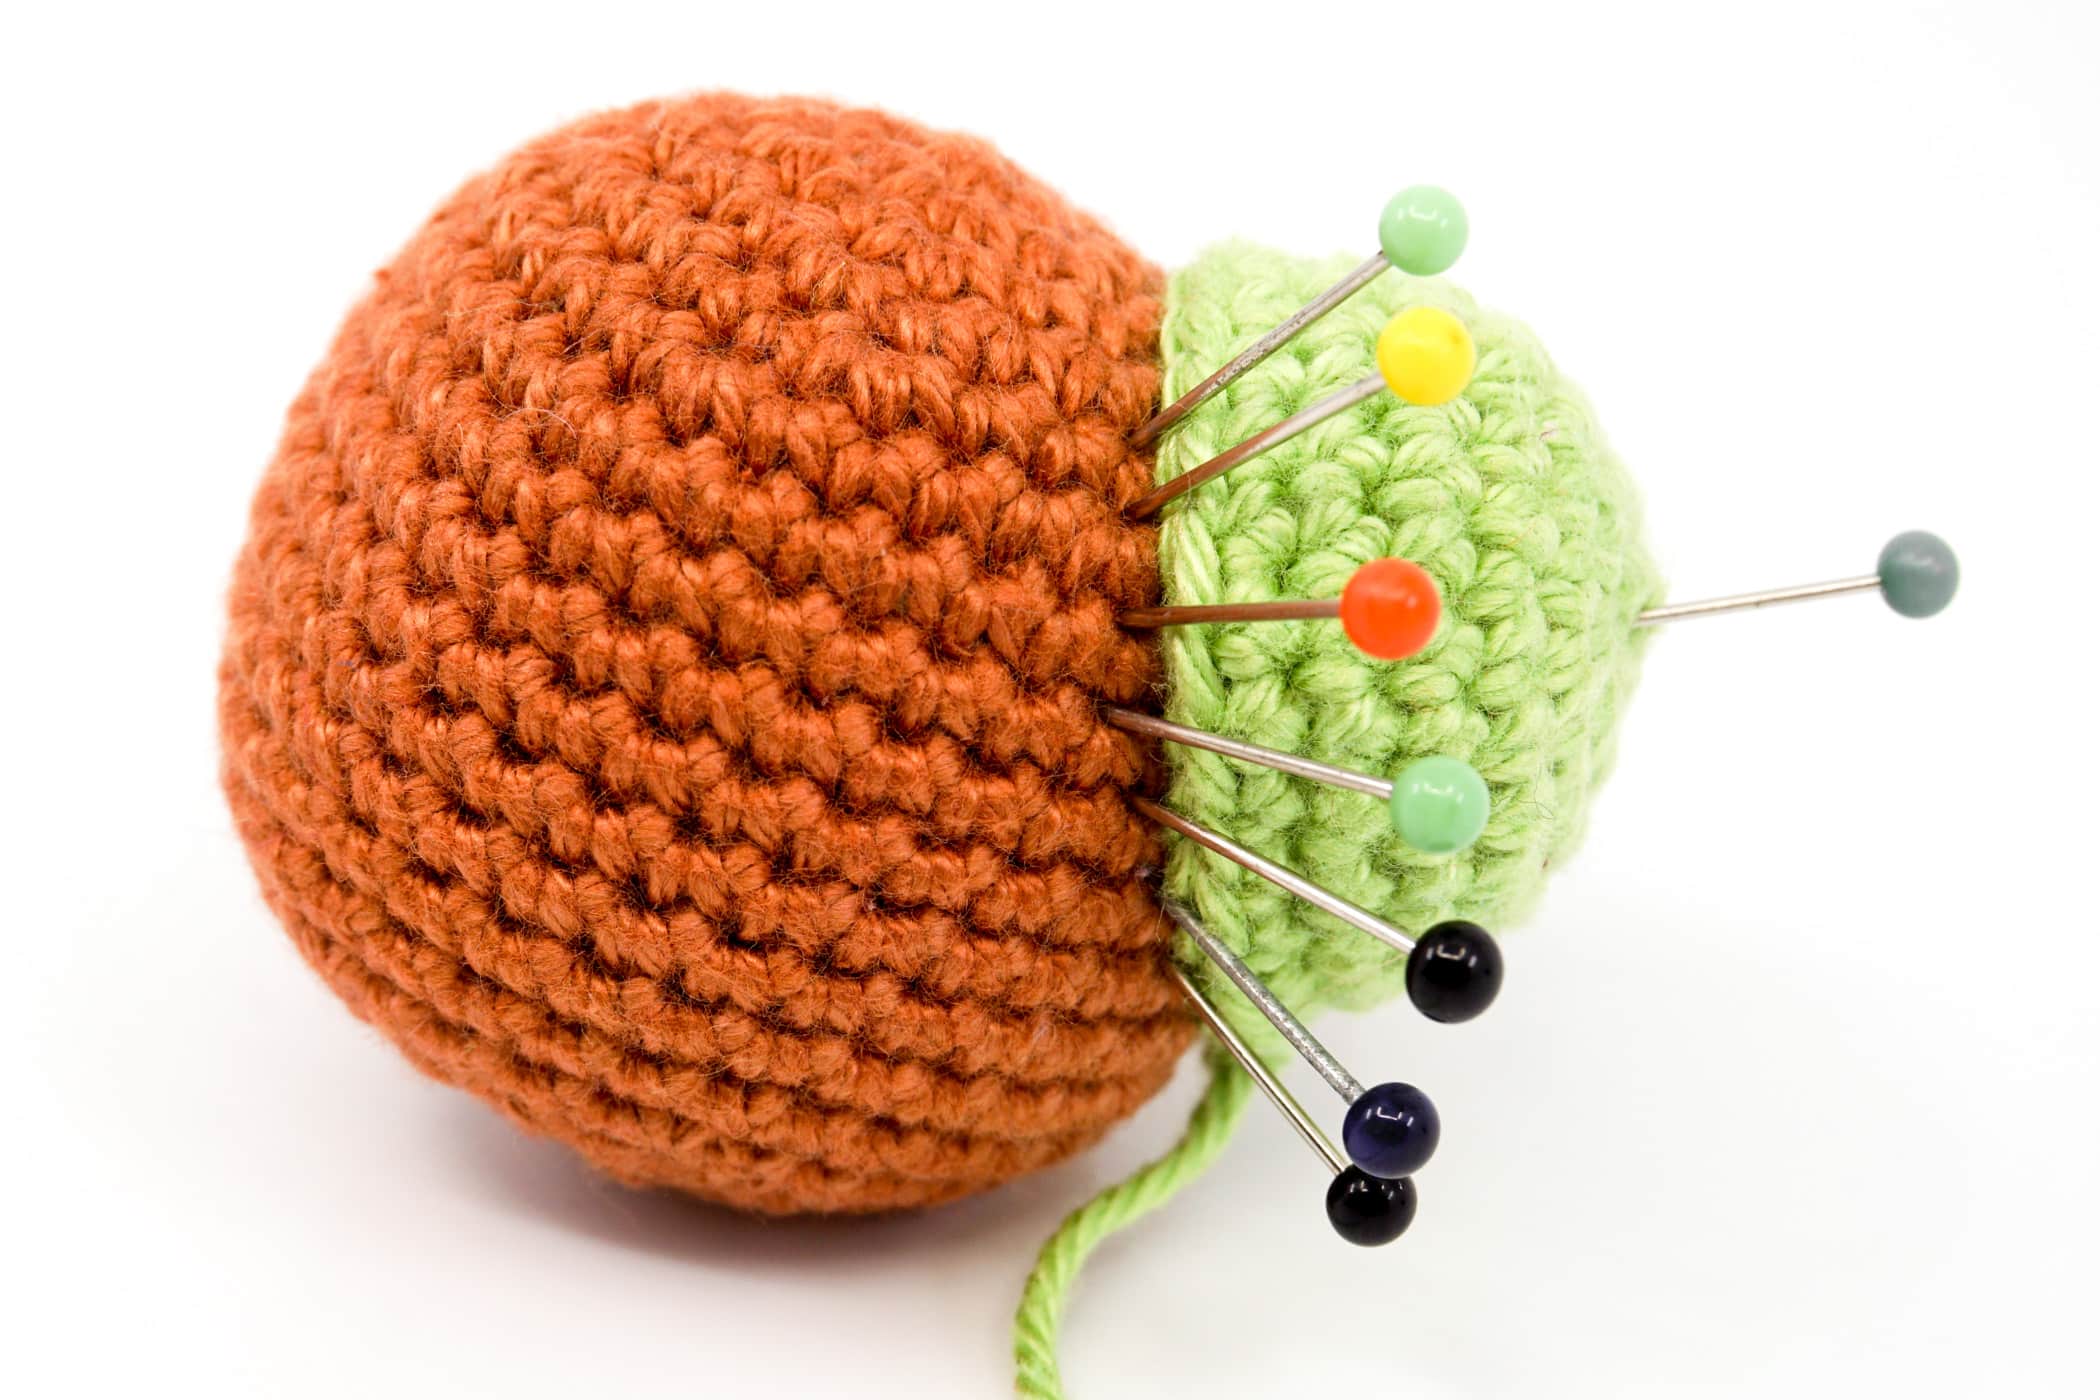
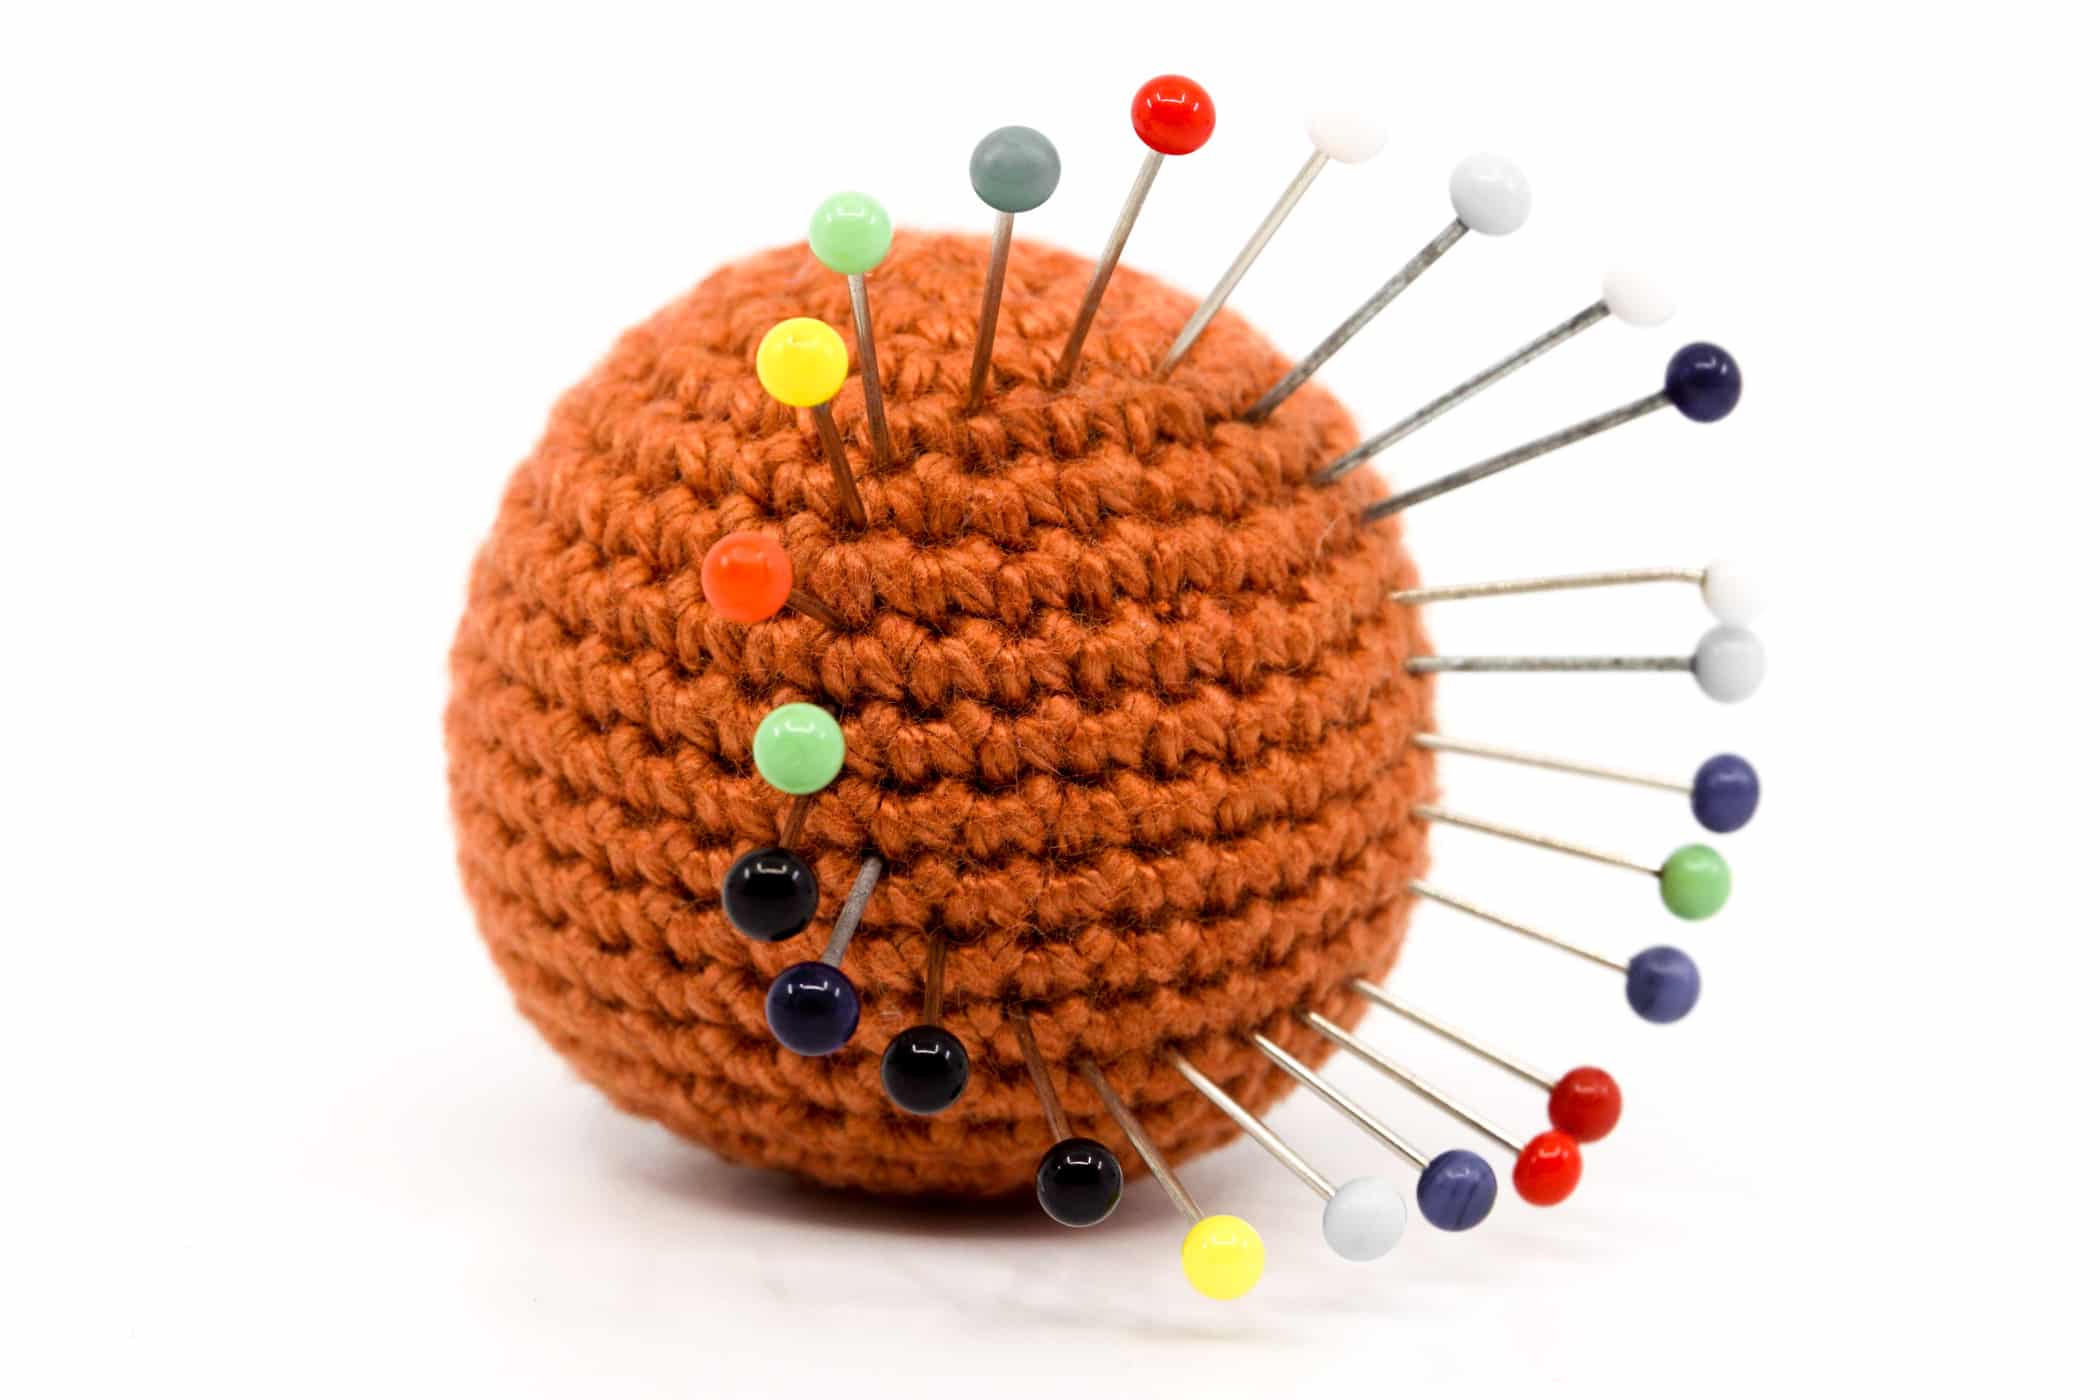
Now sew the green piece to the red piece and always remove the next safety pin in which the next stitch is sewn.
Alternatively, you can pull a thread through all the stitches to be sewn and pull it out afterwards.