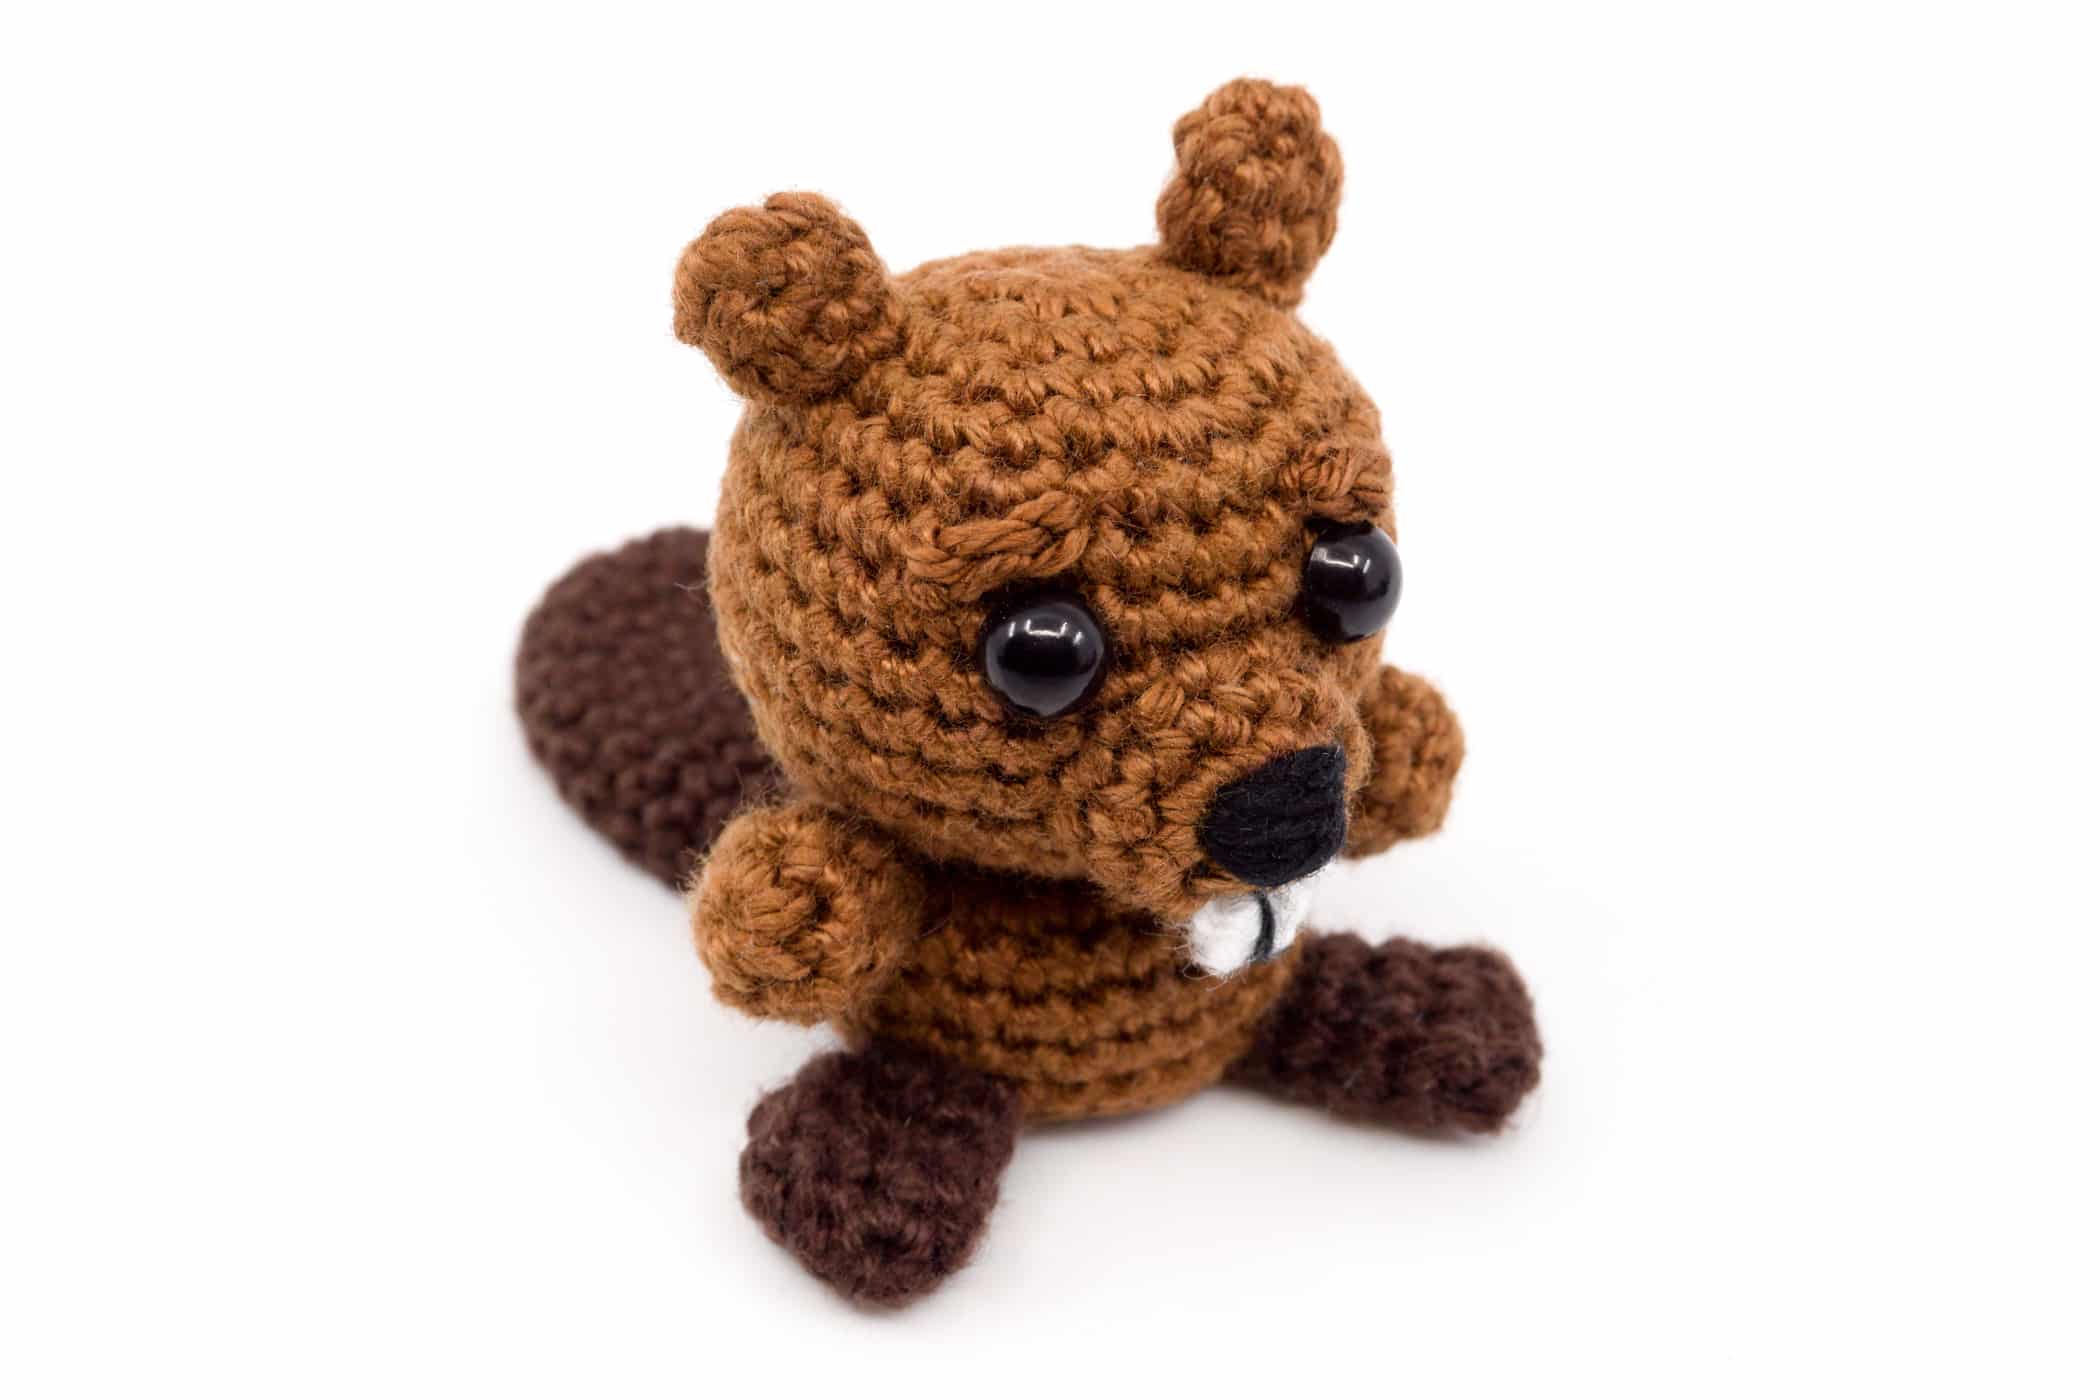
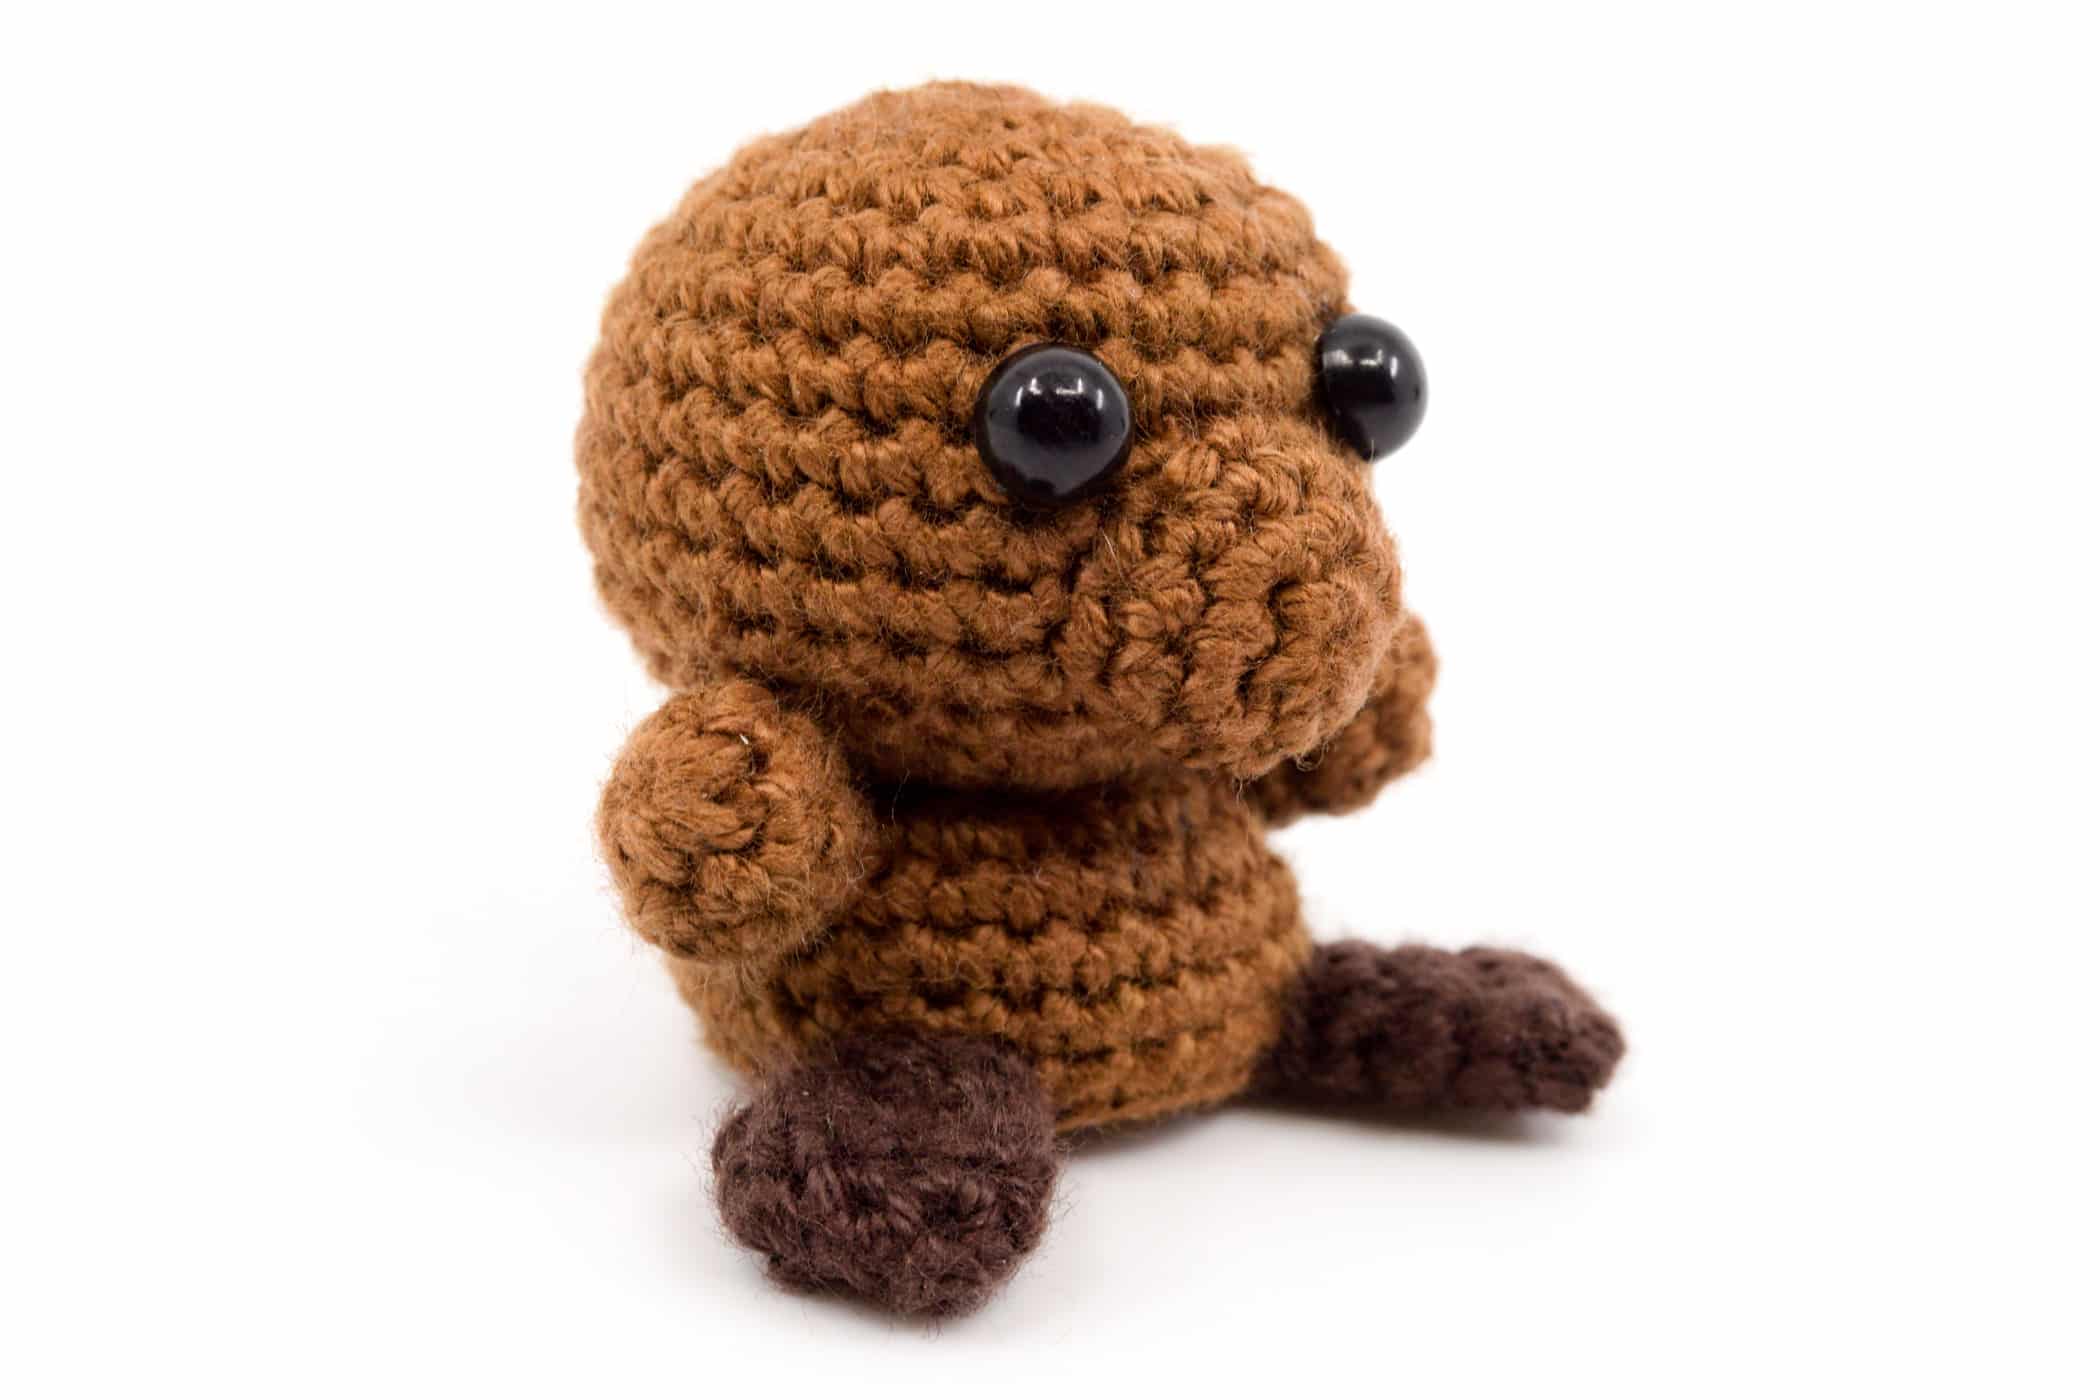
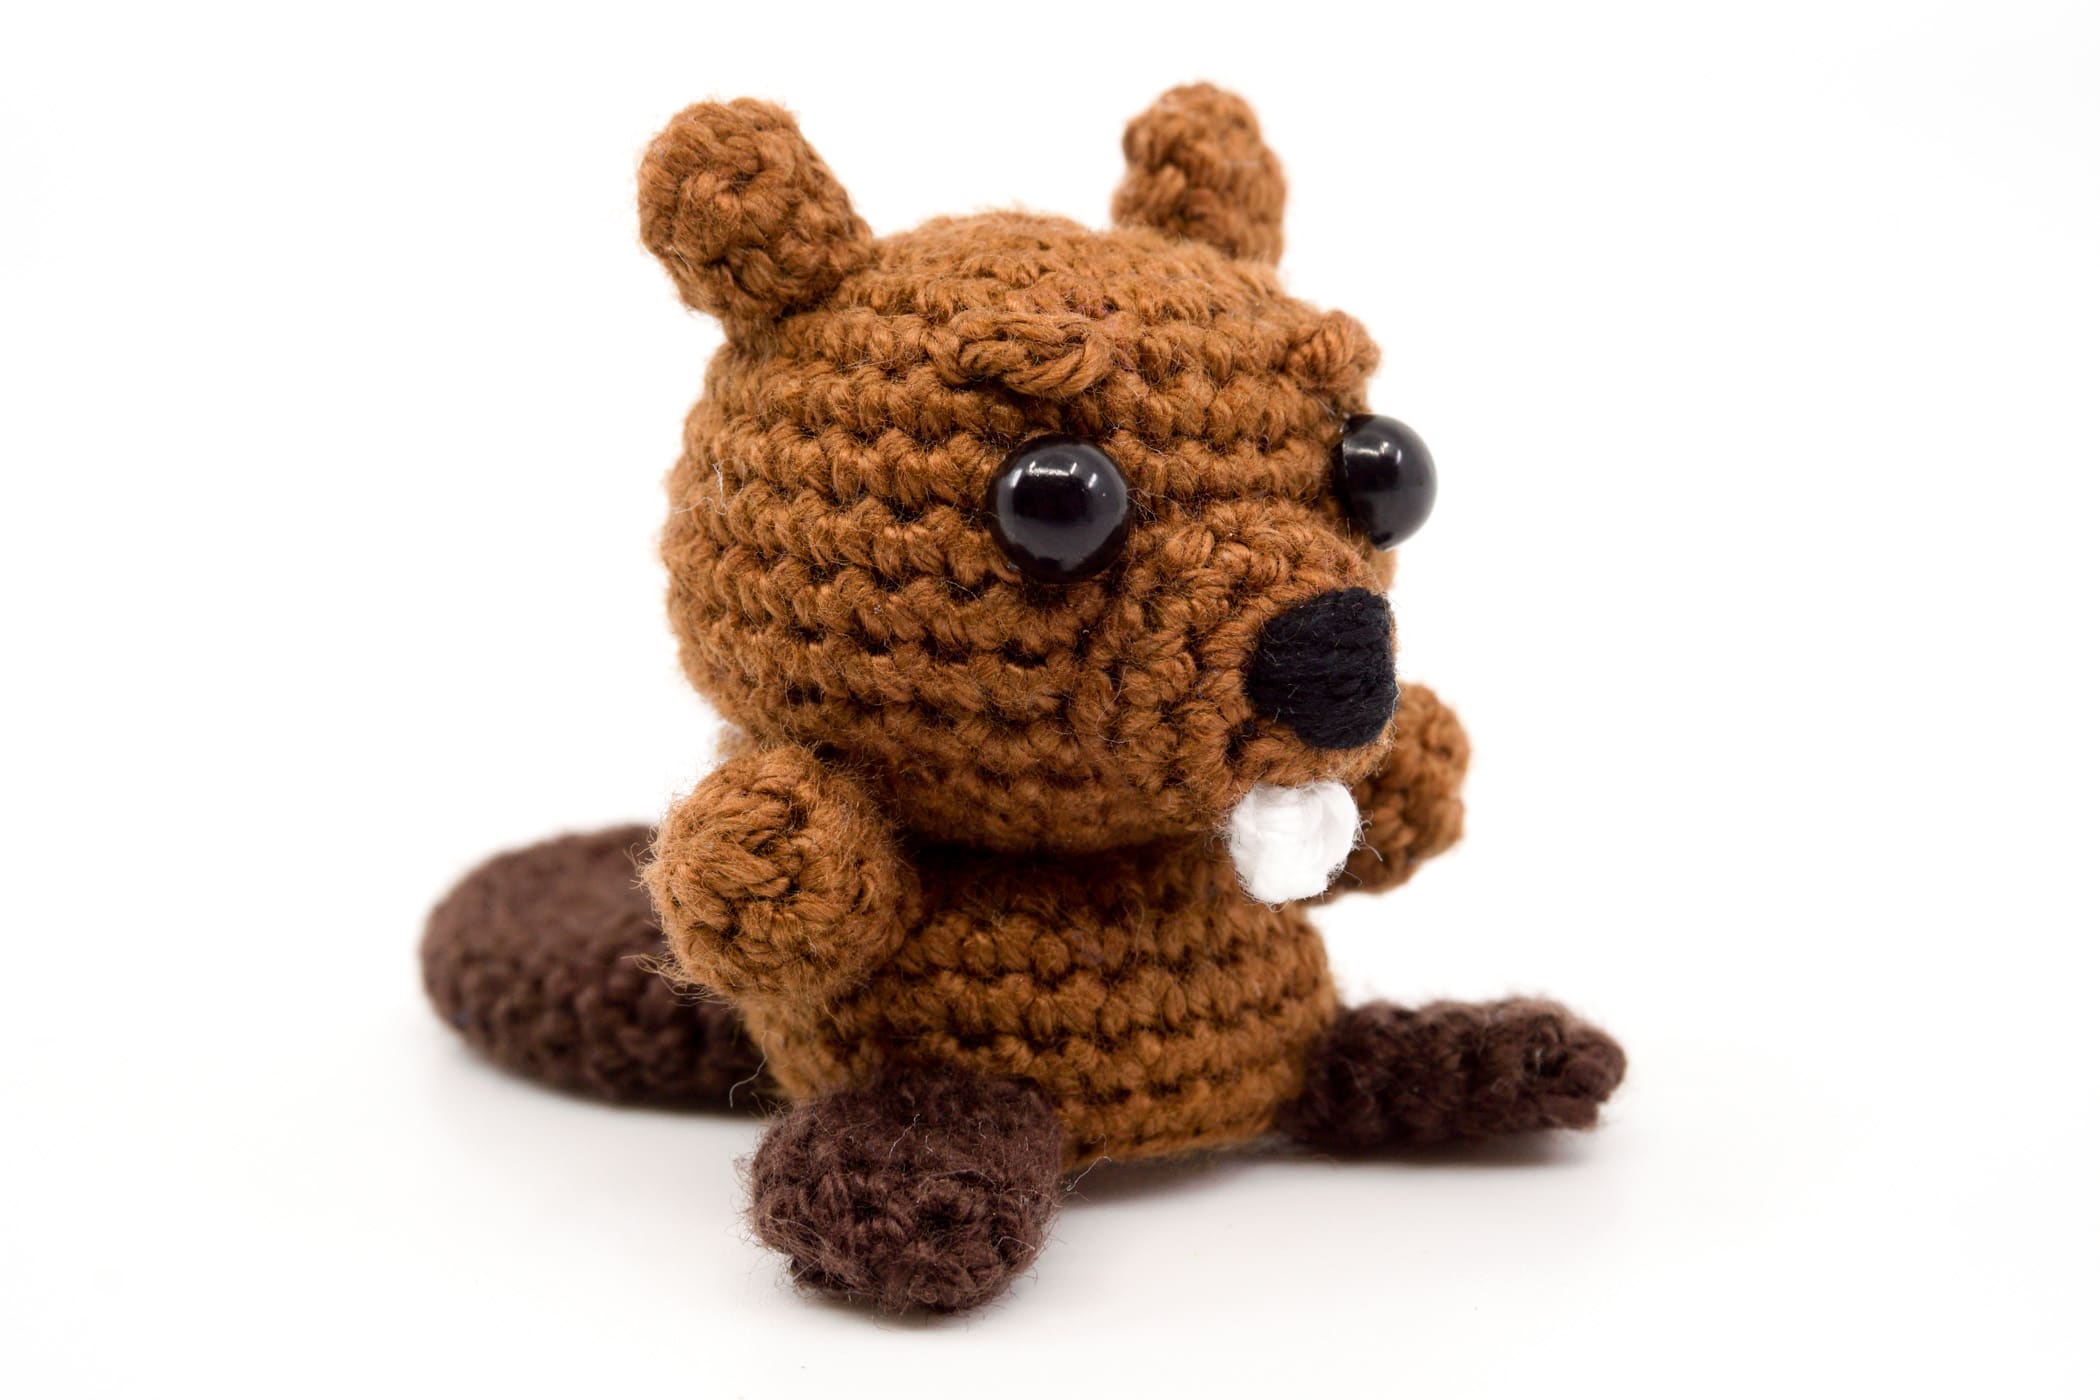
The beaver, not only the showpiece of magnificent dental care but also one of the best builders in the animal kingdom.
But in order to be able to build, you need building material and in this respect the beaver does not do things by halves. He lives up to the name rodent and easily cuts up whole trees.
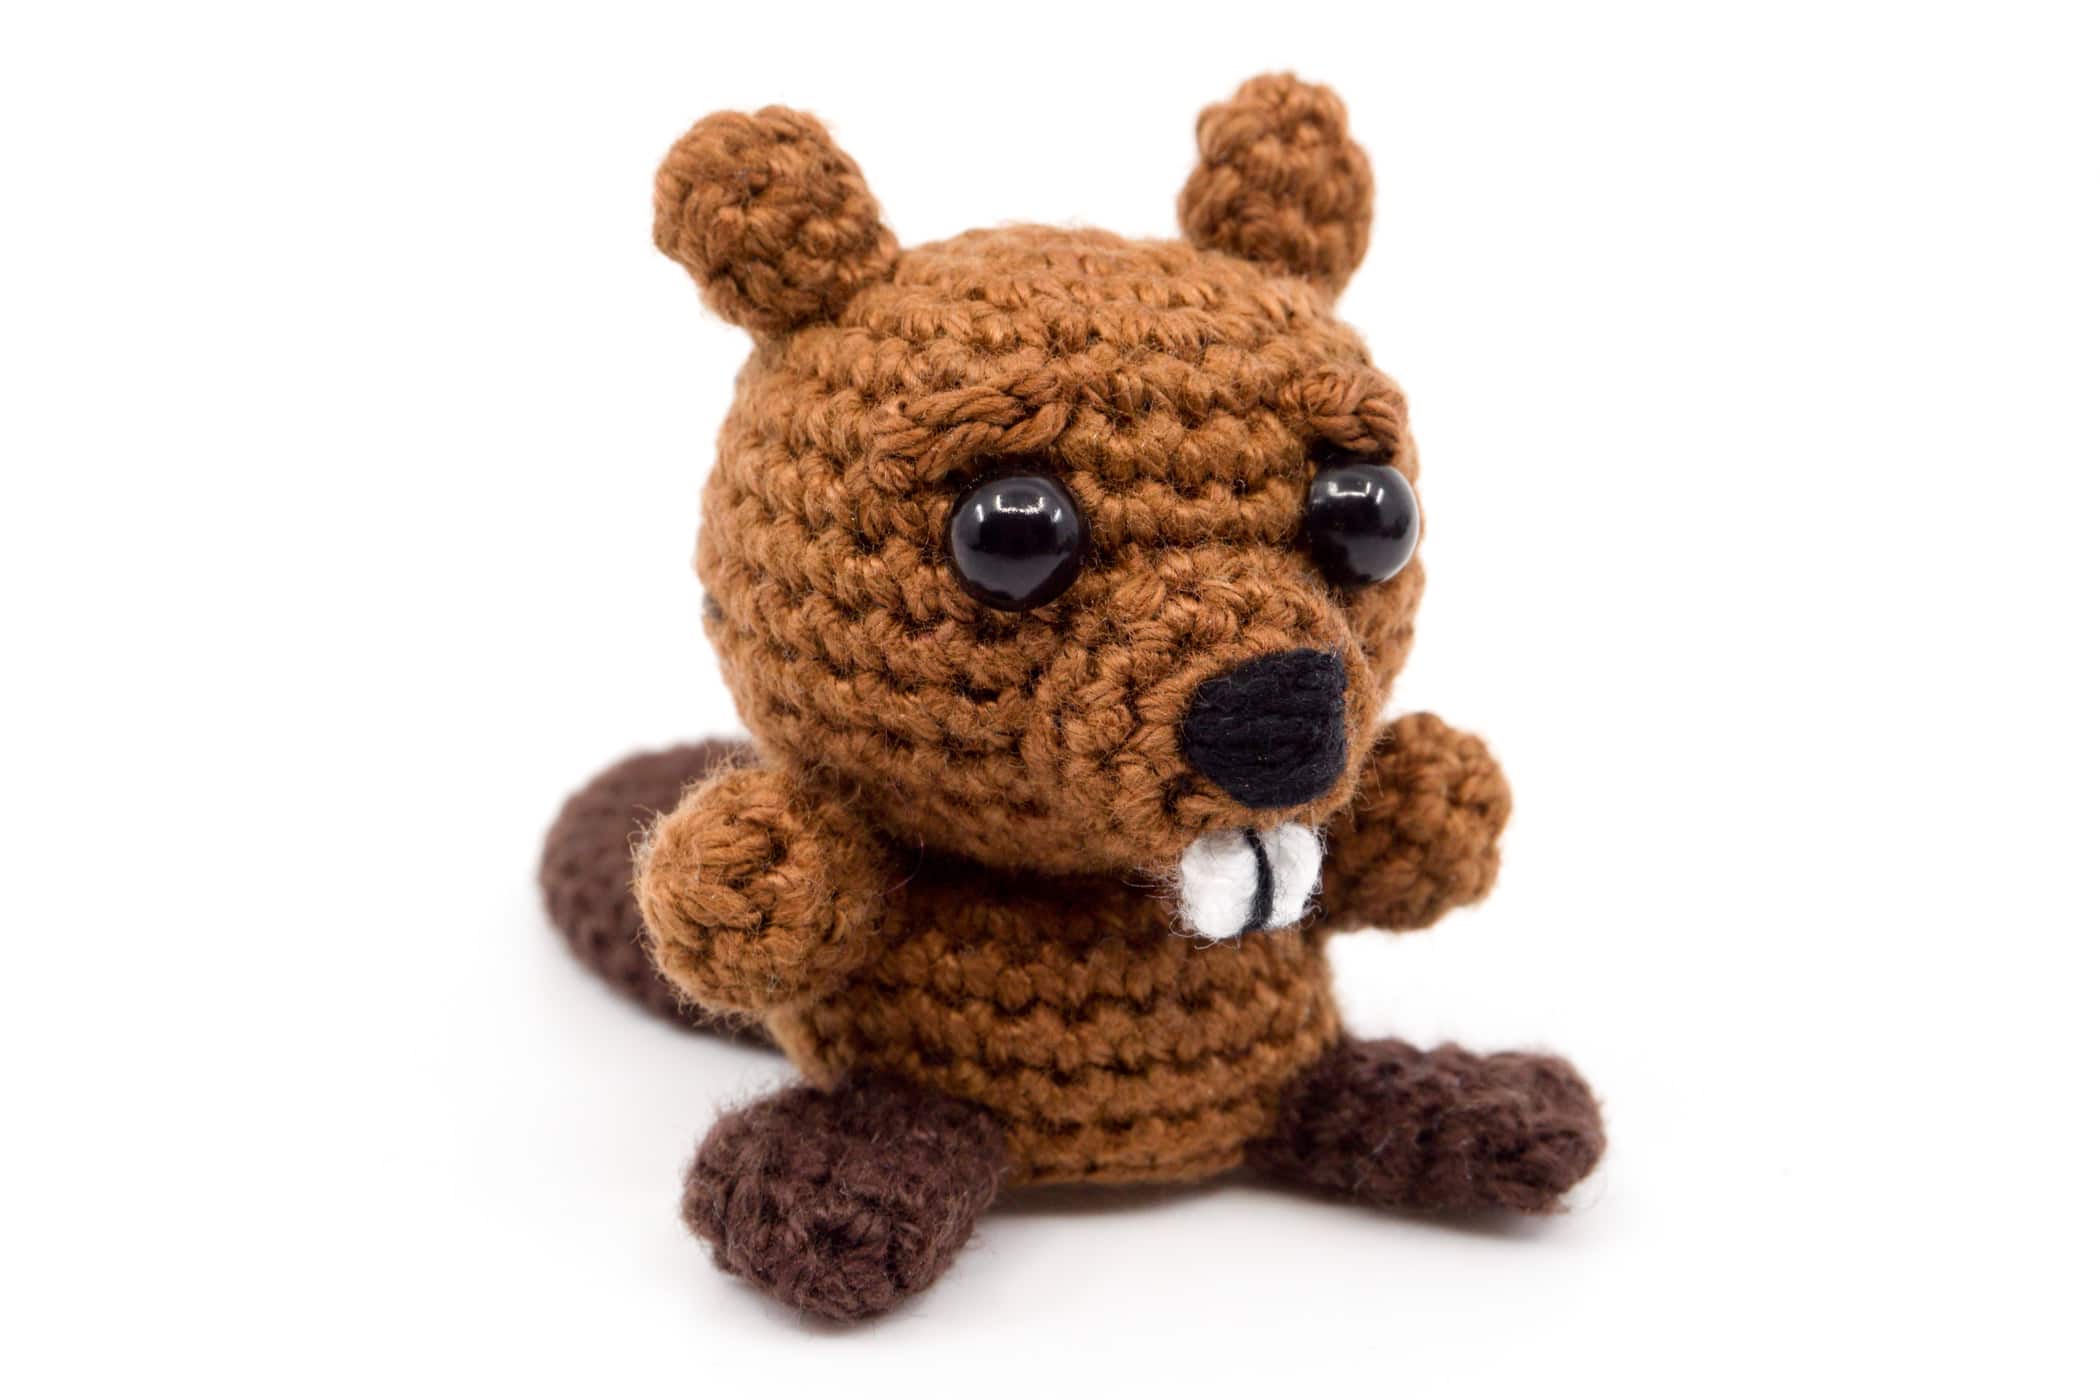
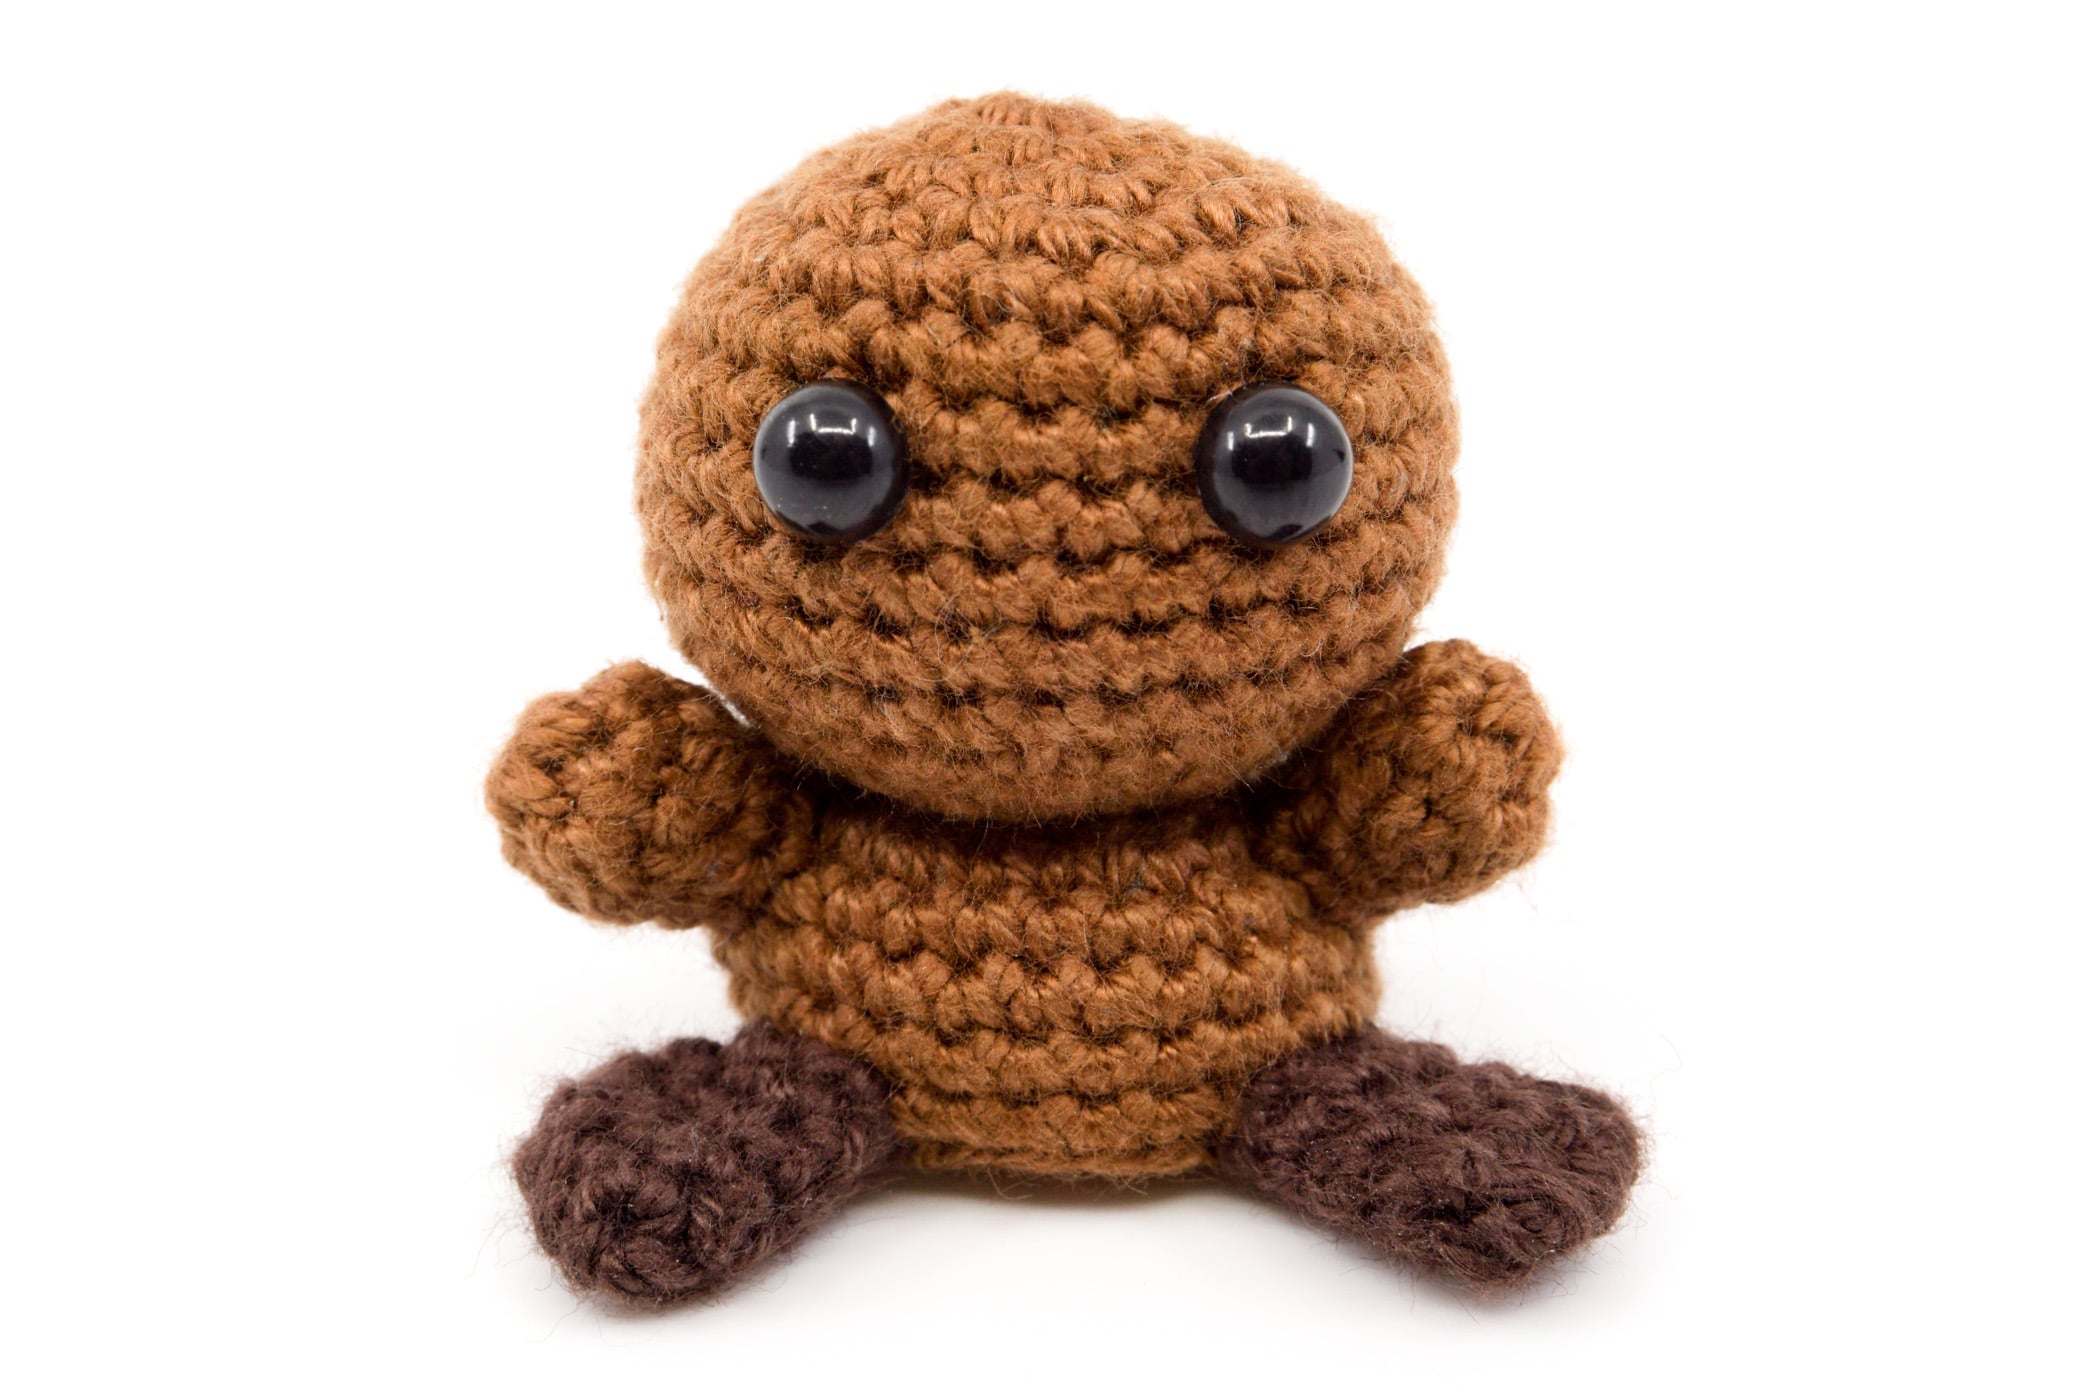
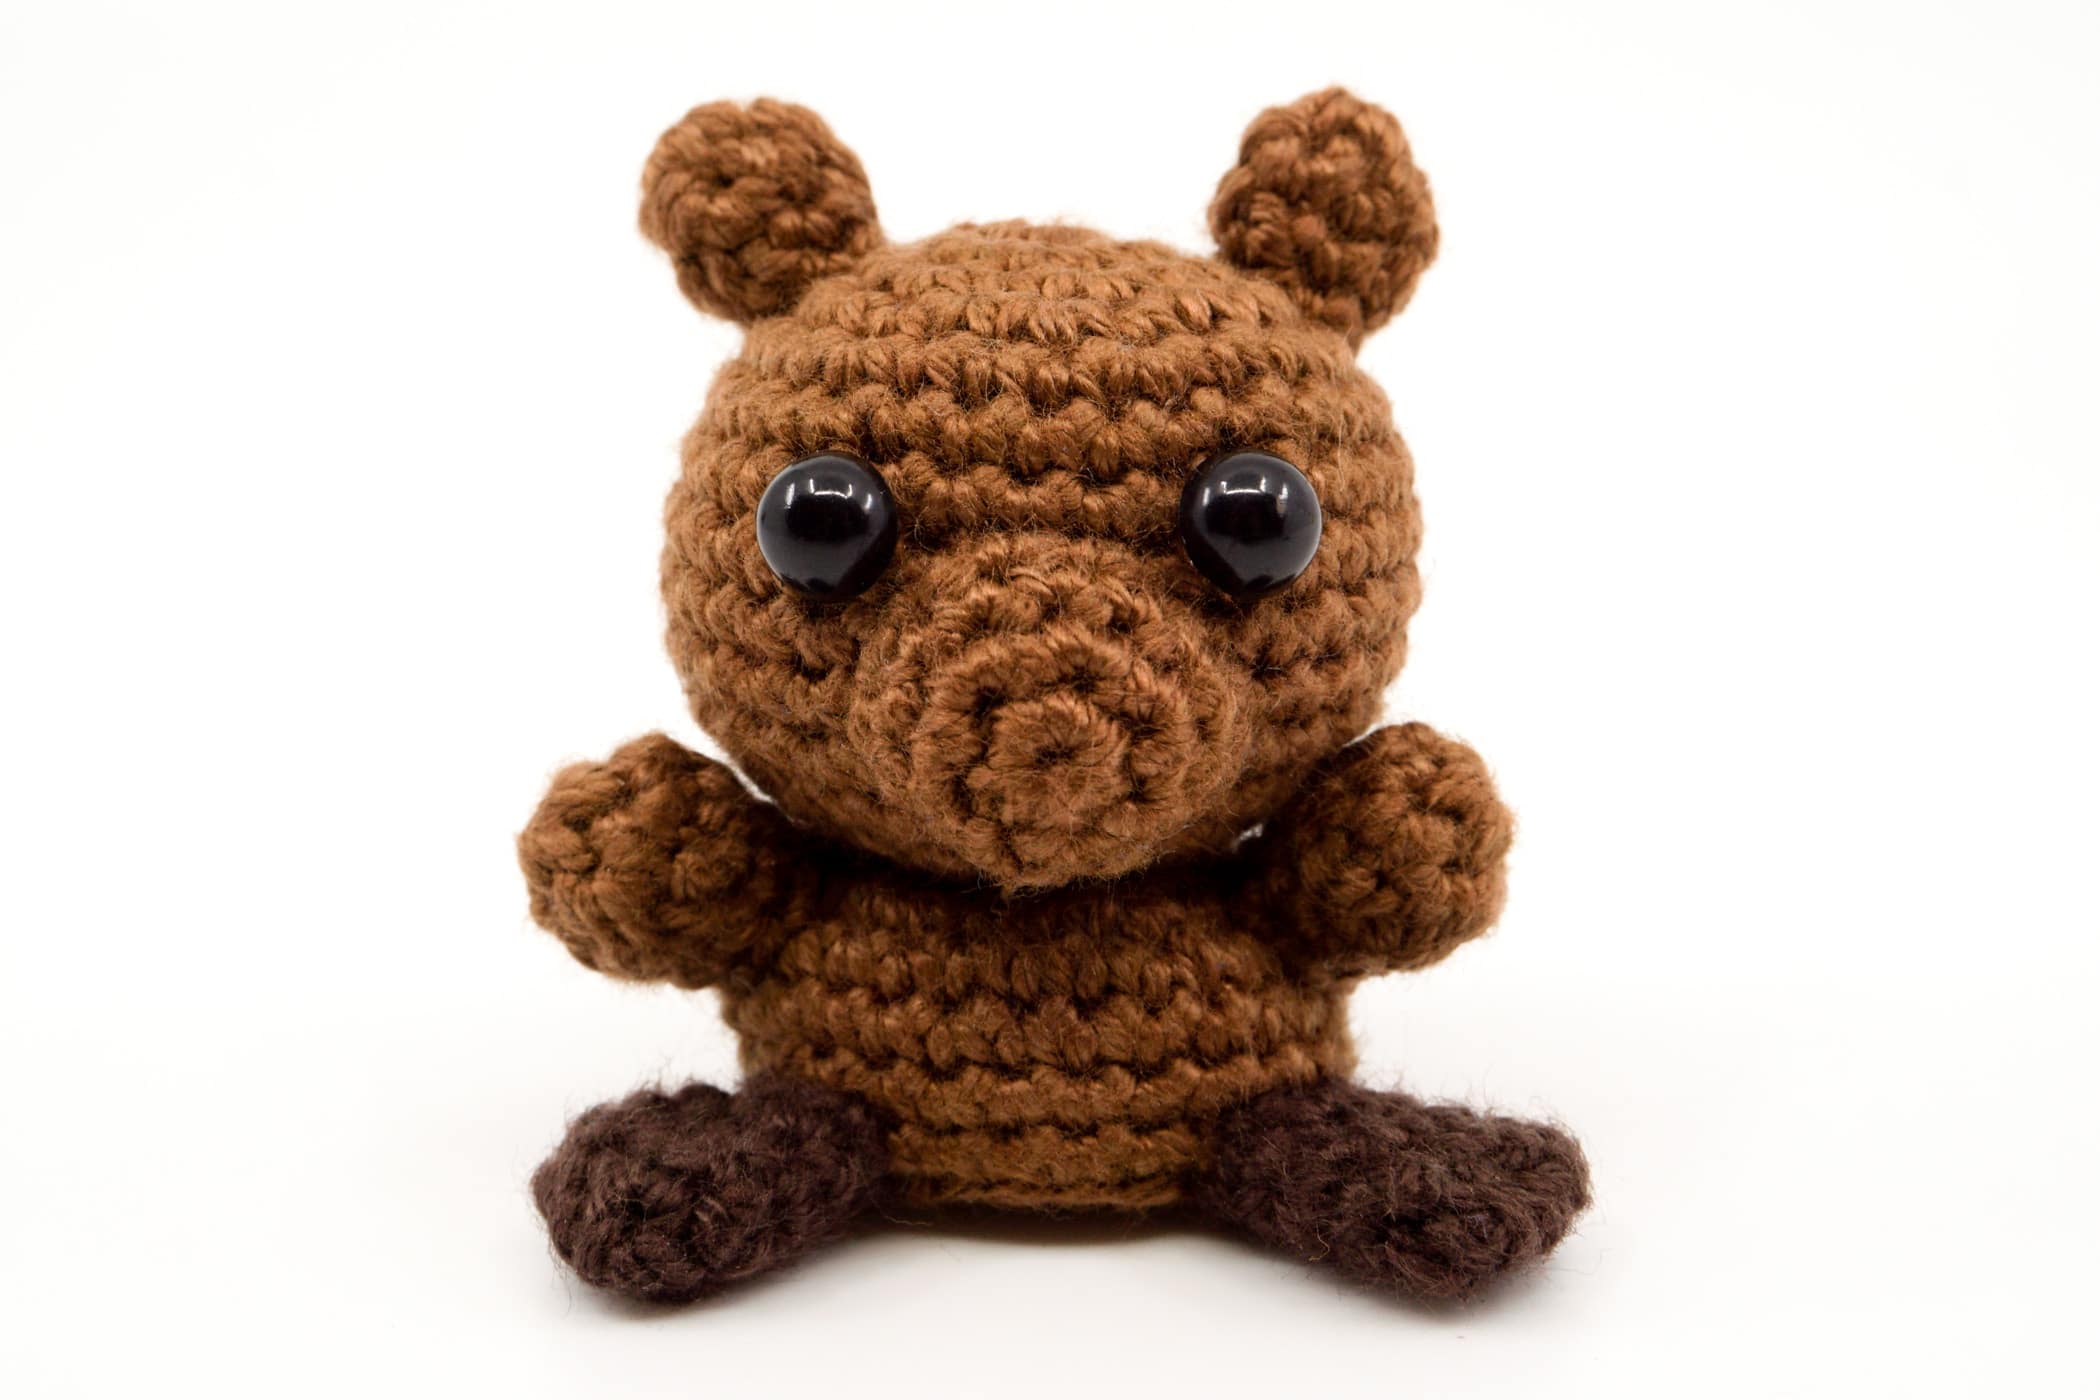
If you also want to have this little virtuoso of organic architecture at home, you can crochet this mini beaver easily and quickly.
This crochet beaver is crocheted with chain stitches, single crochet stitches and half double crochet stitches in spiral rounds and in rows and is easy to crochet.
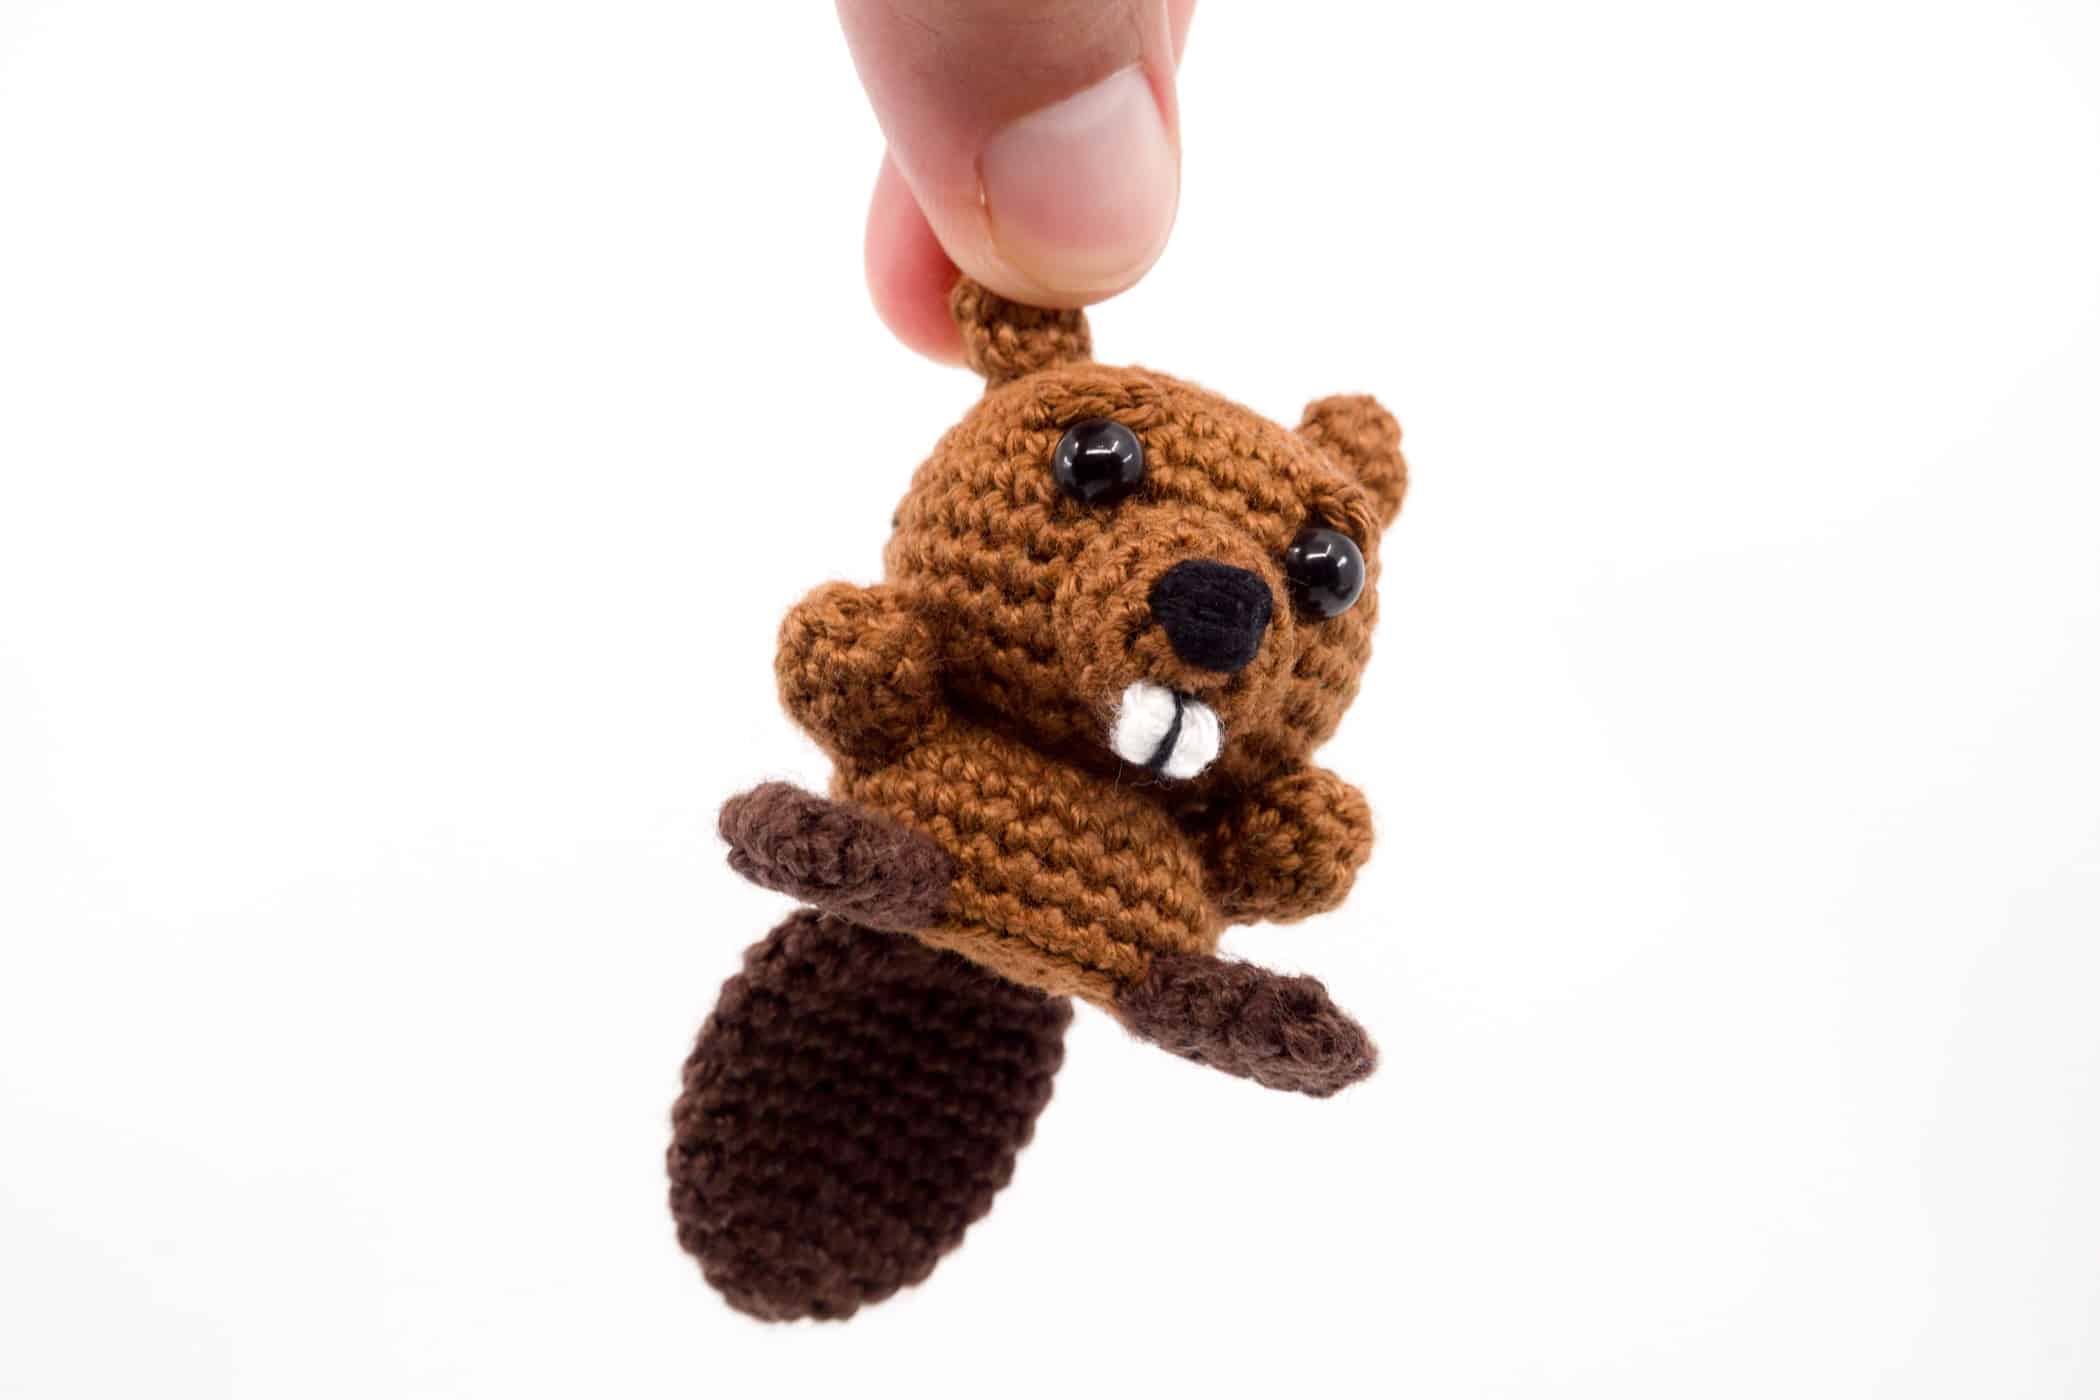
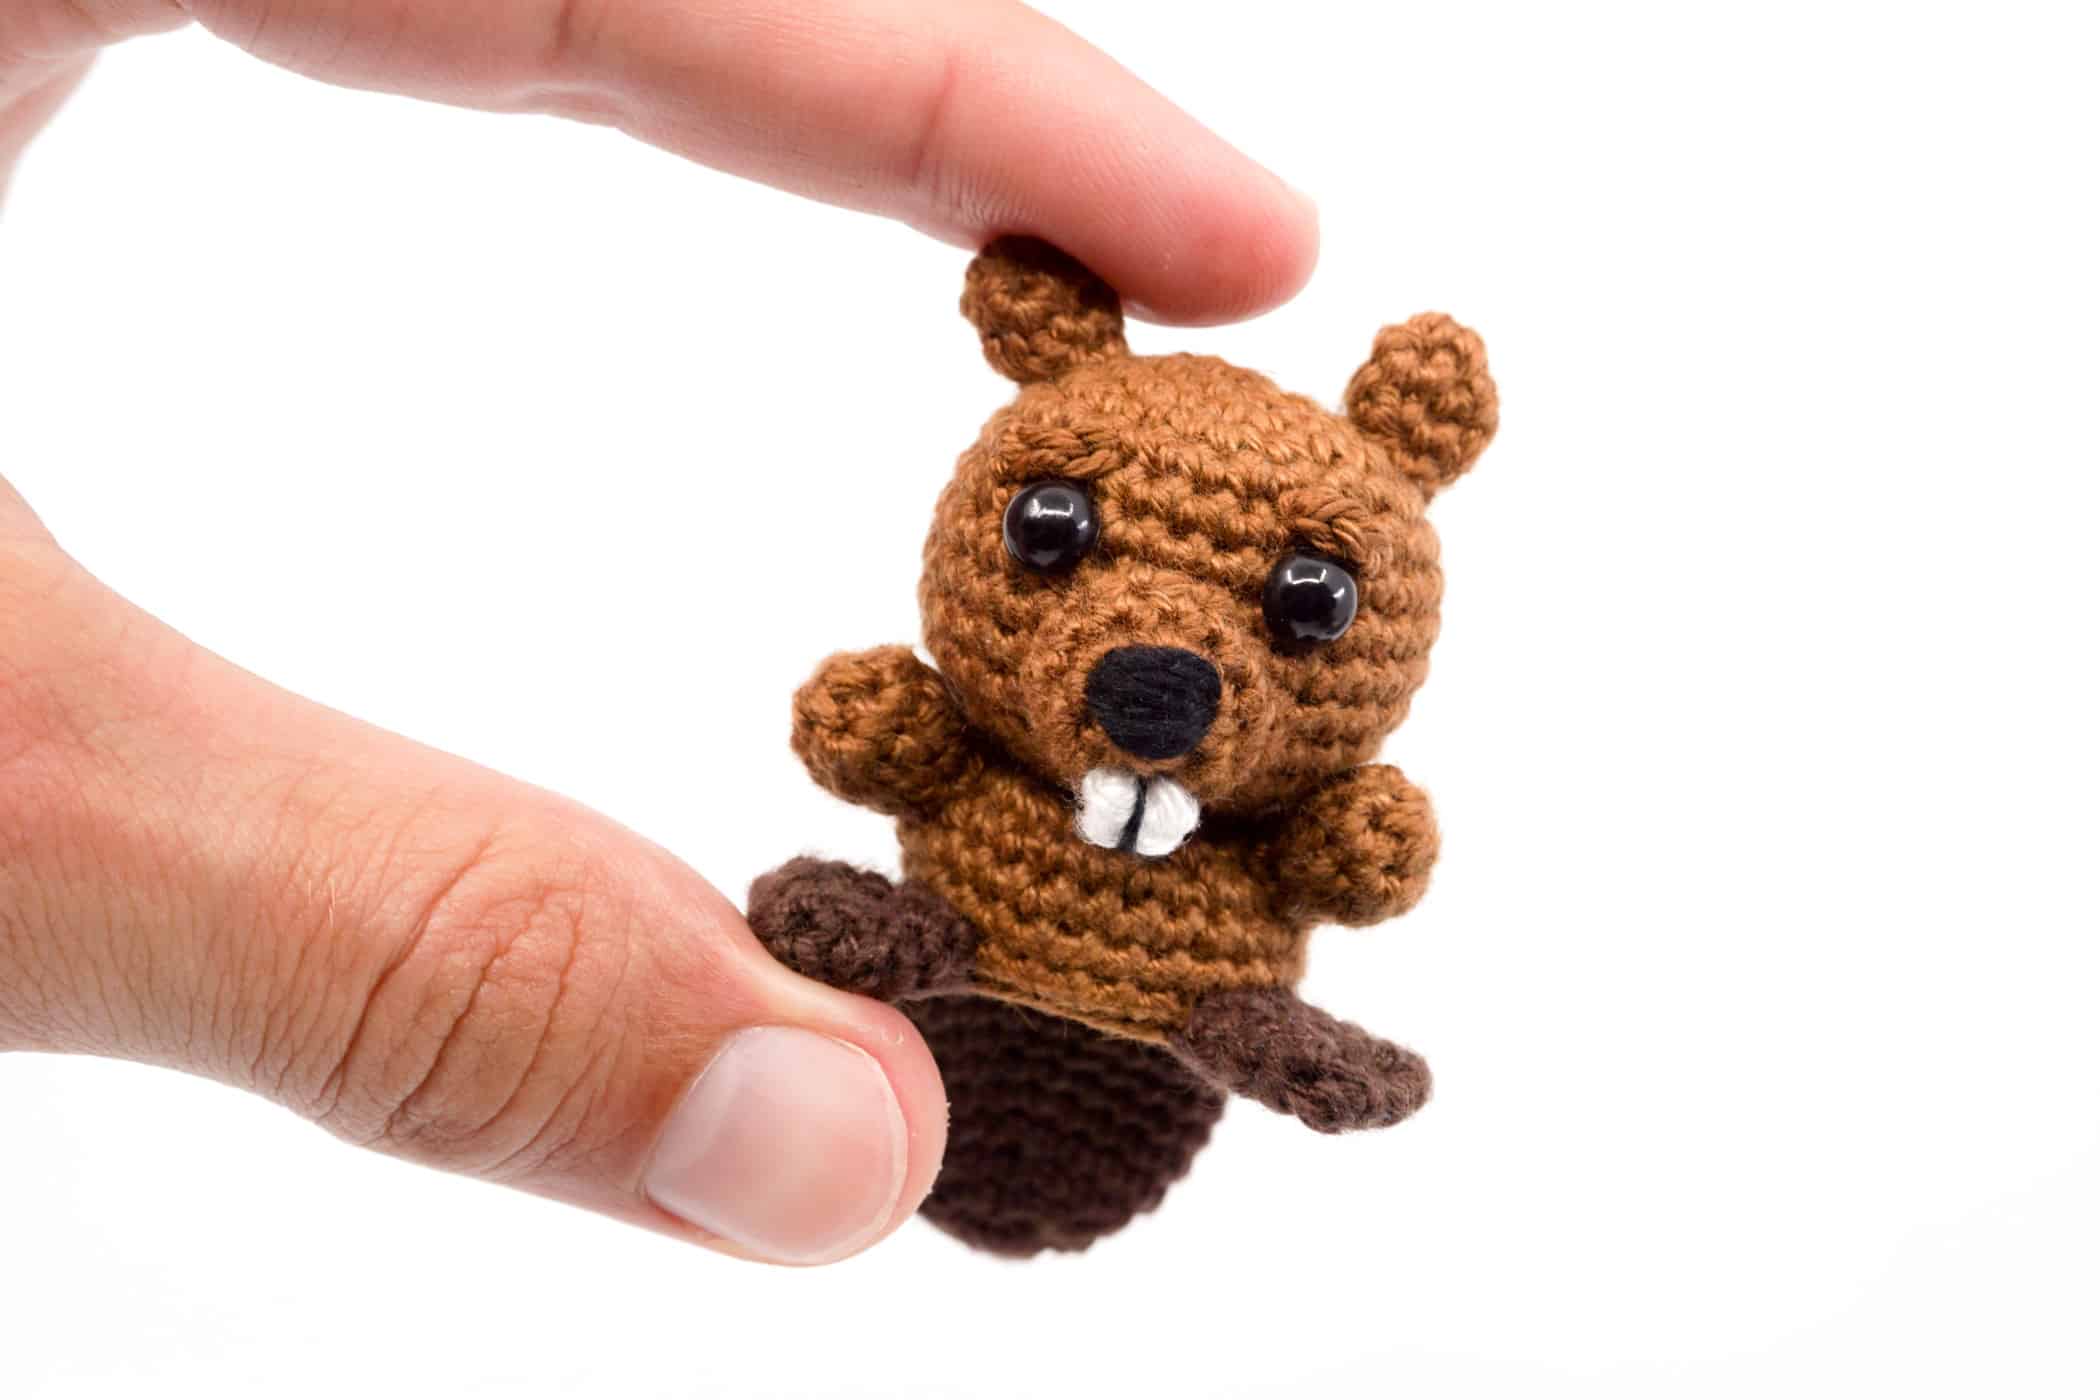
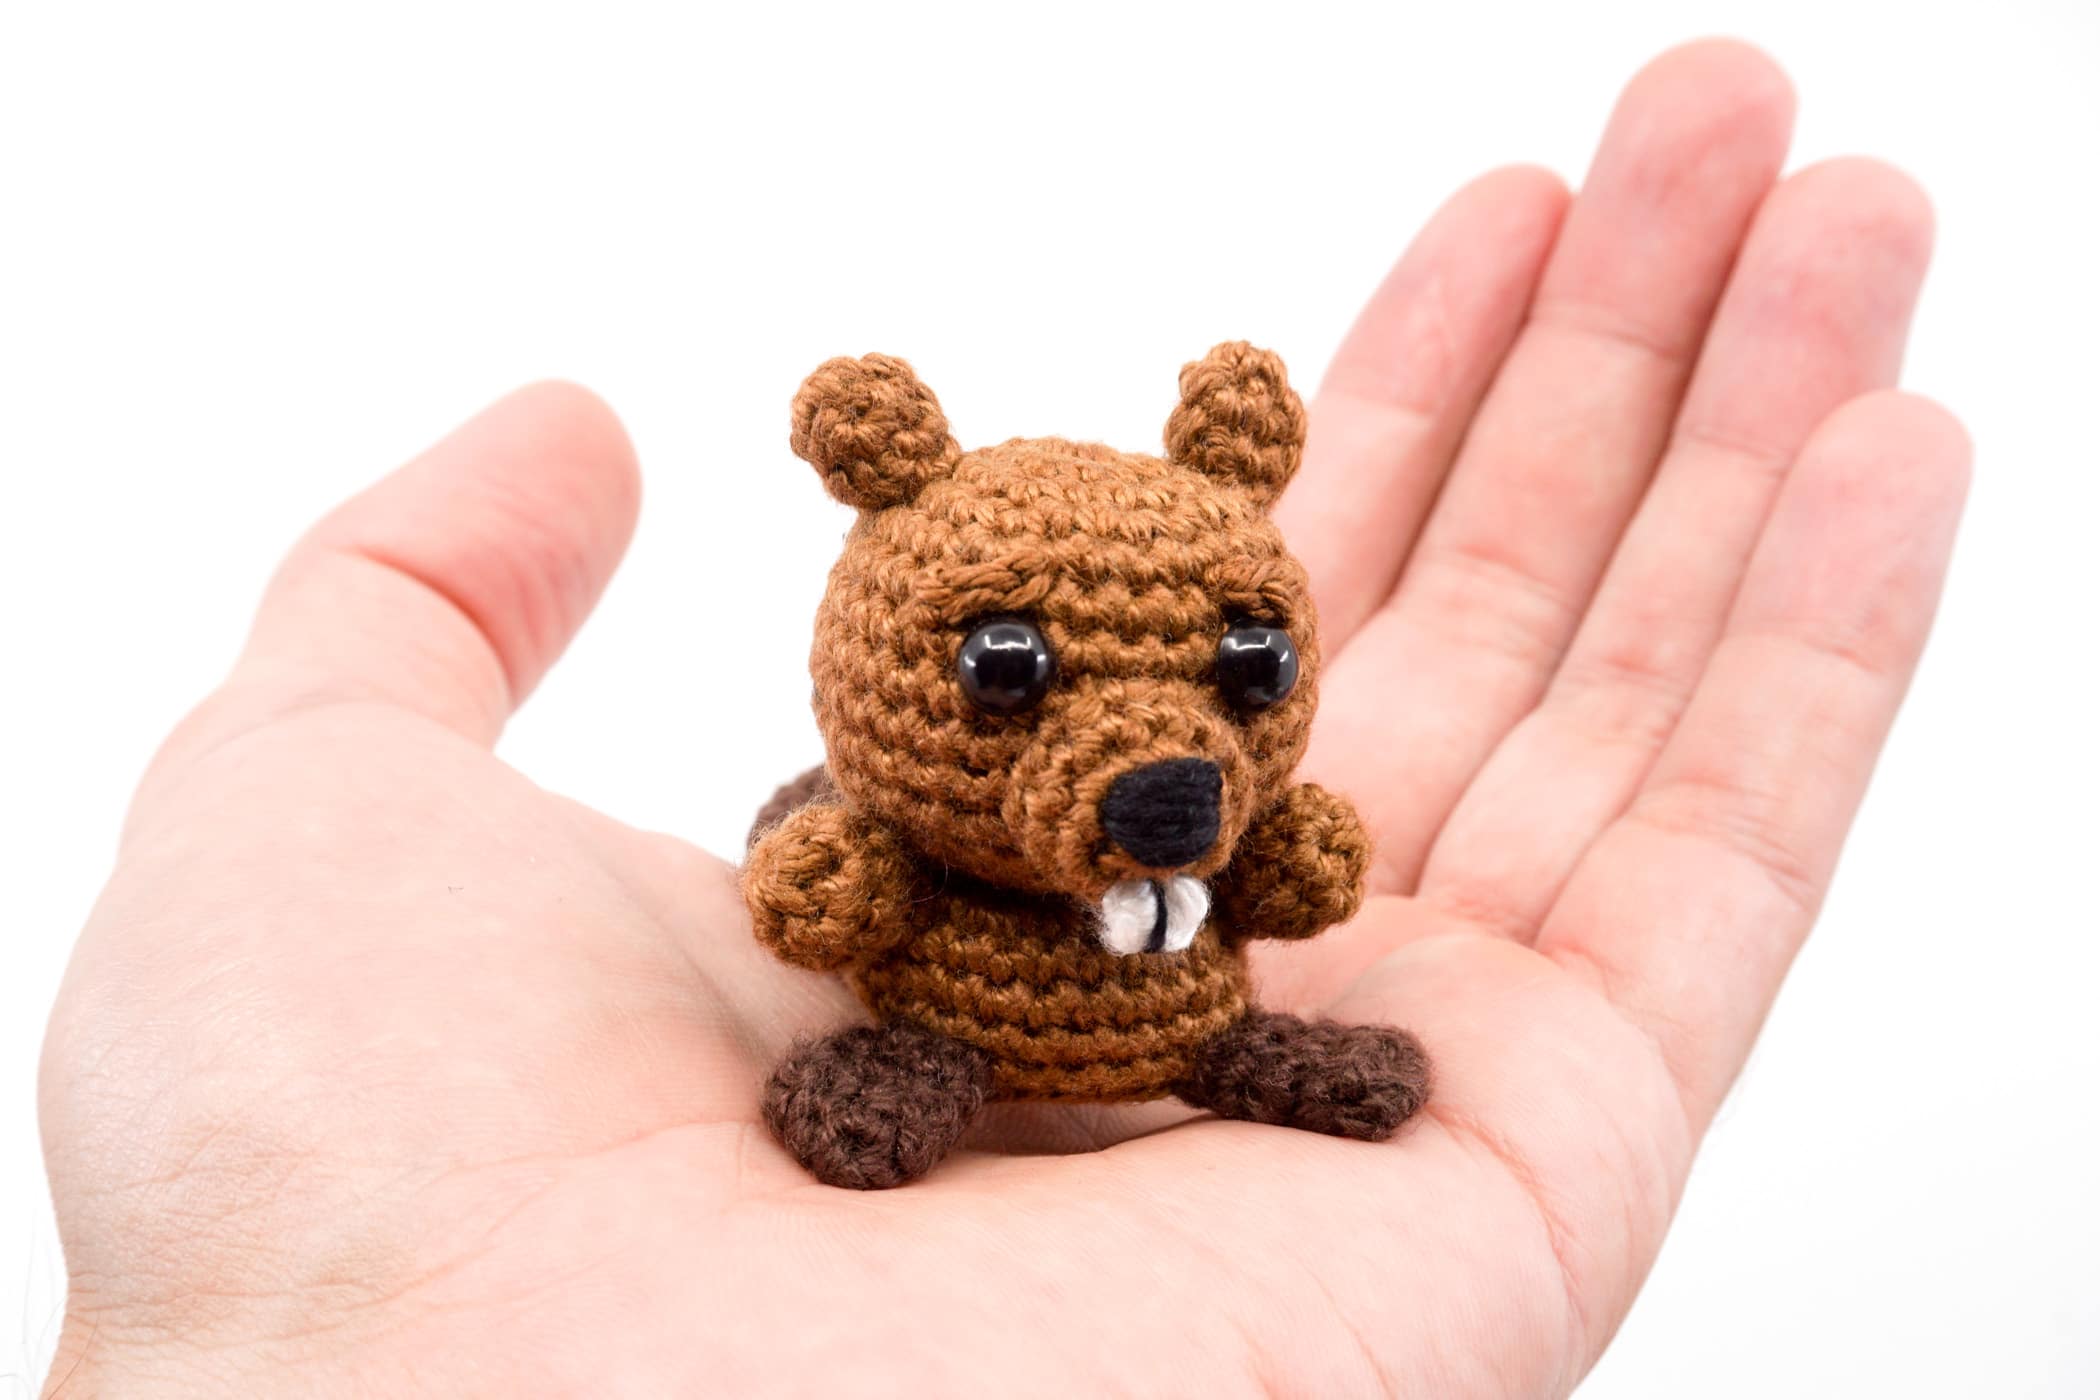
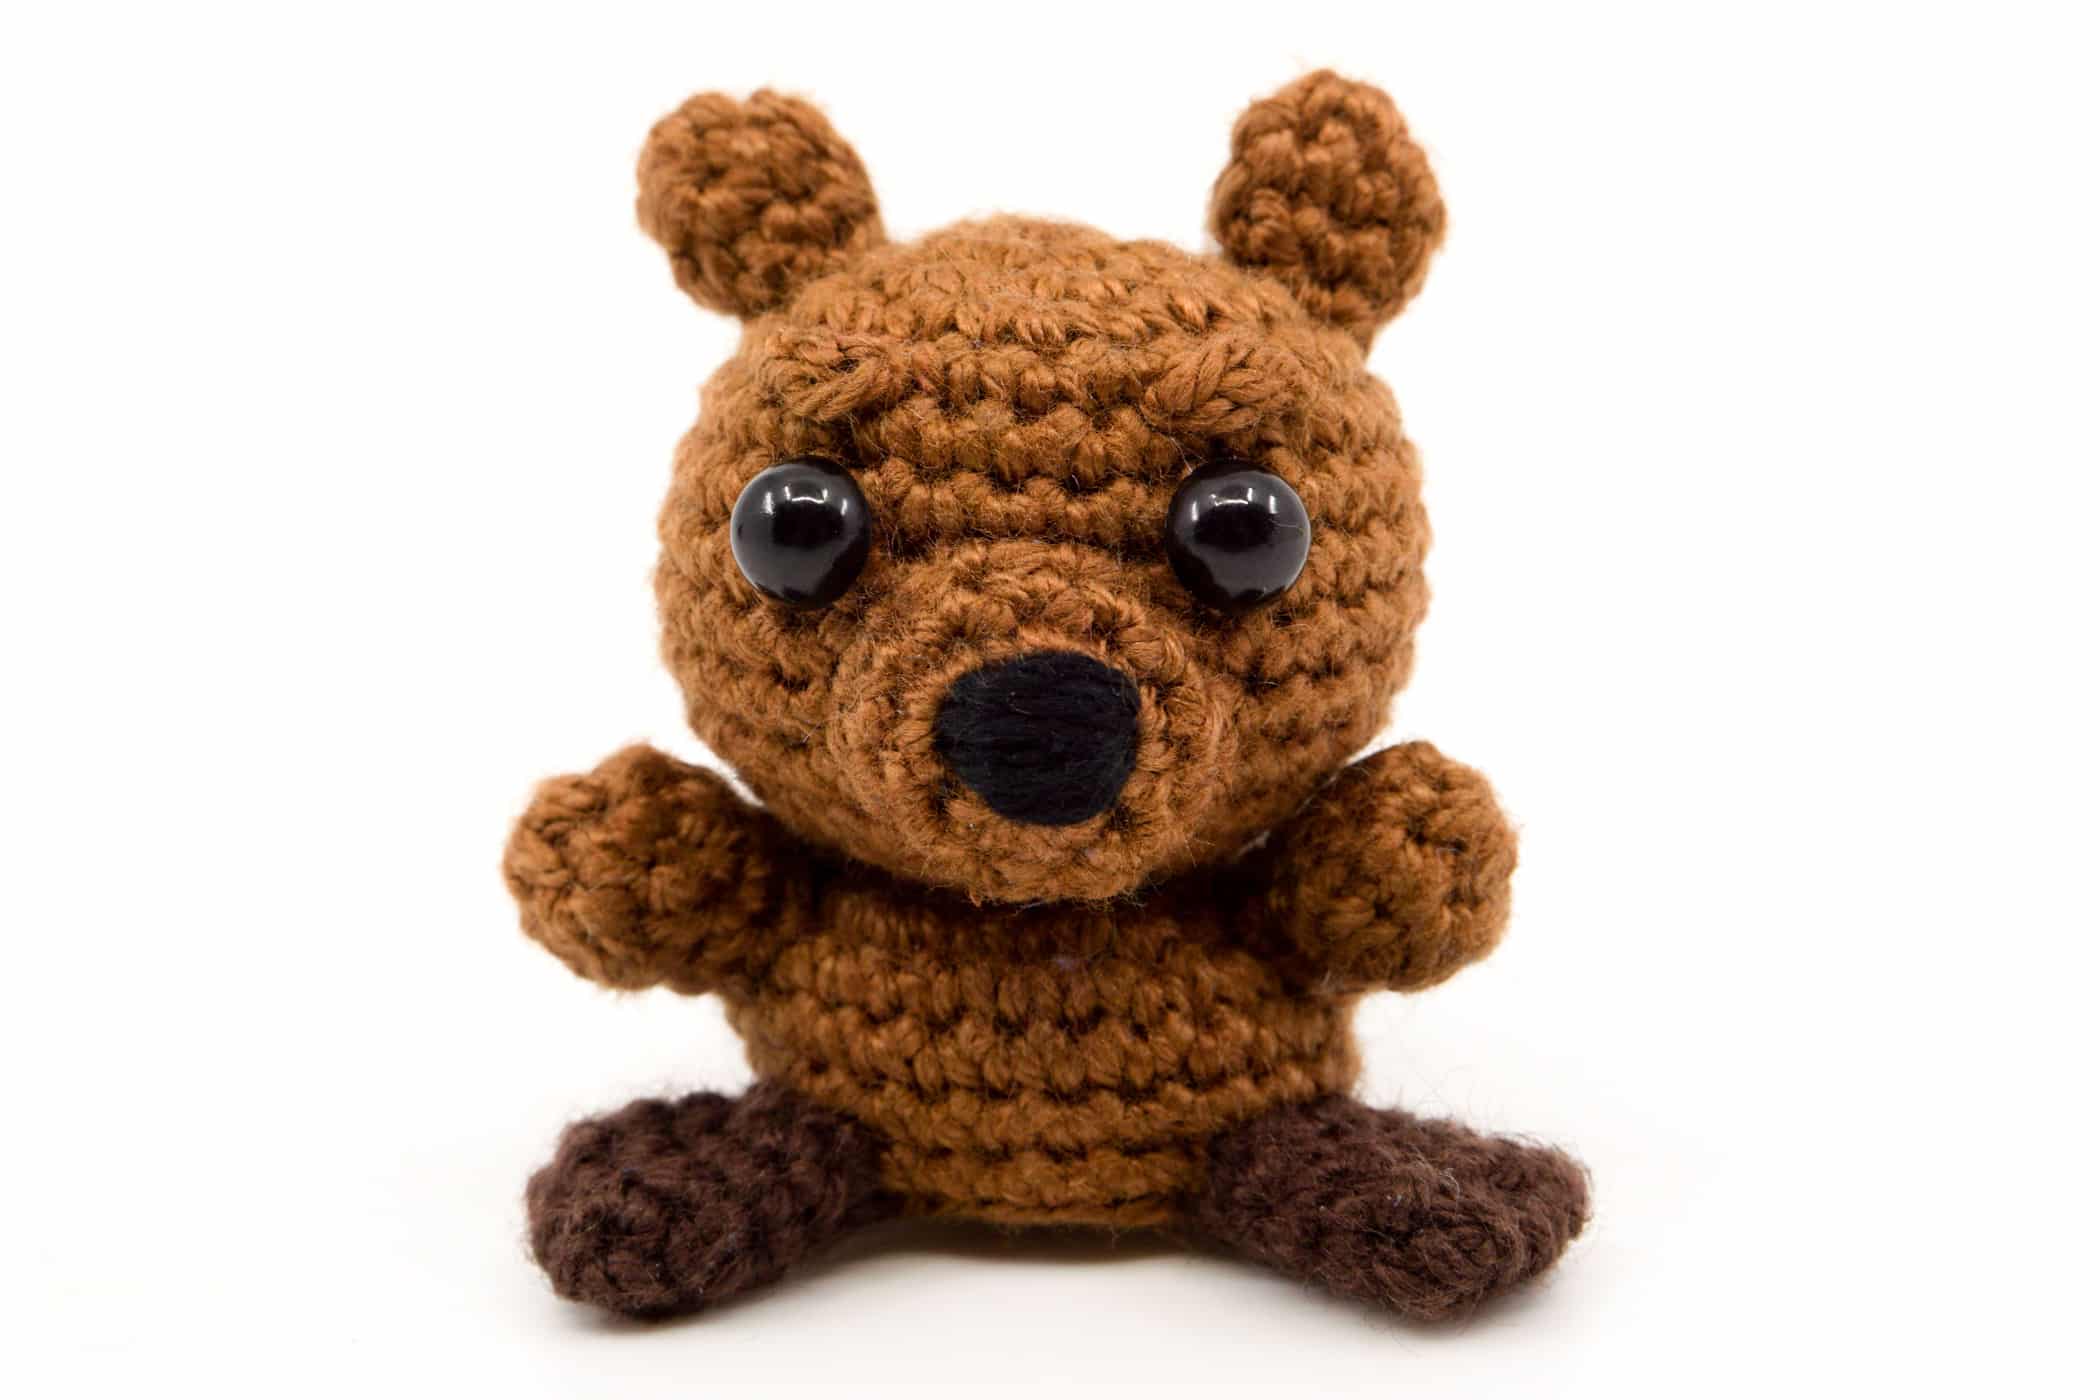
The depicted amigurumi beaver has been crocheted with the “Schachenmayr Catania” yarn with a 2.5 mm crochet hook and has sitting a height of 5 cm.

Free Beaver Crochet Pattern
ATTENTION: The pattern, in whole or in parts, may not be published, resold, translated, changed or exchanged in any way whatsoever!
Needed Techniques
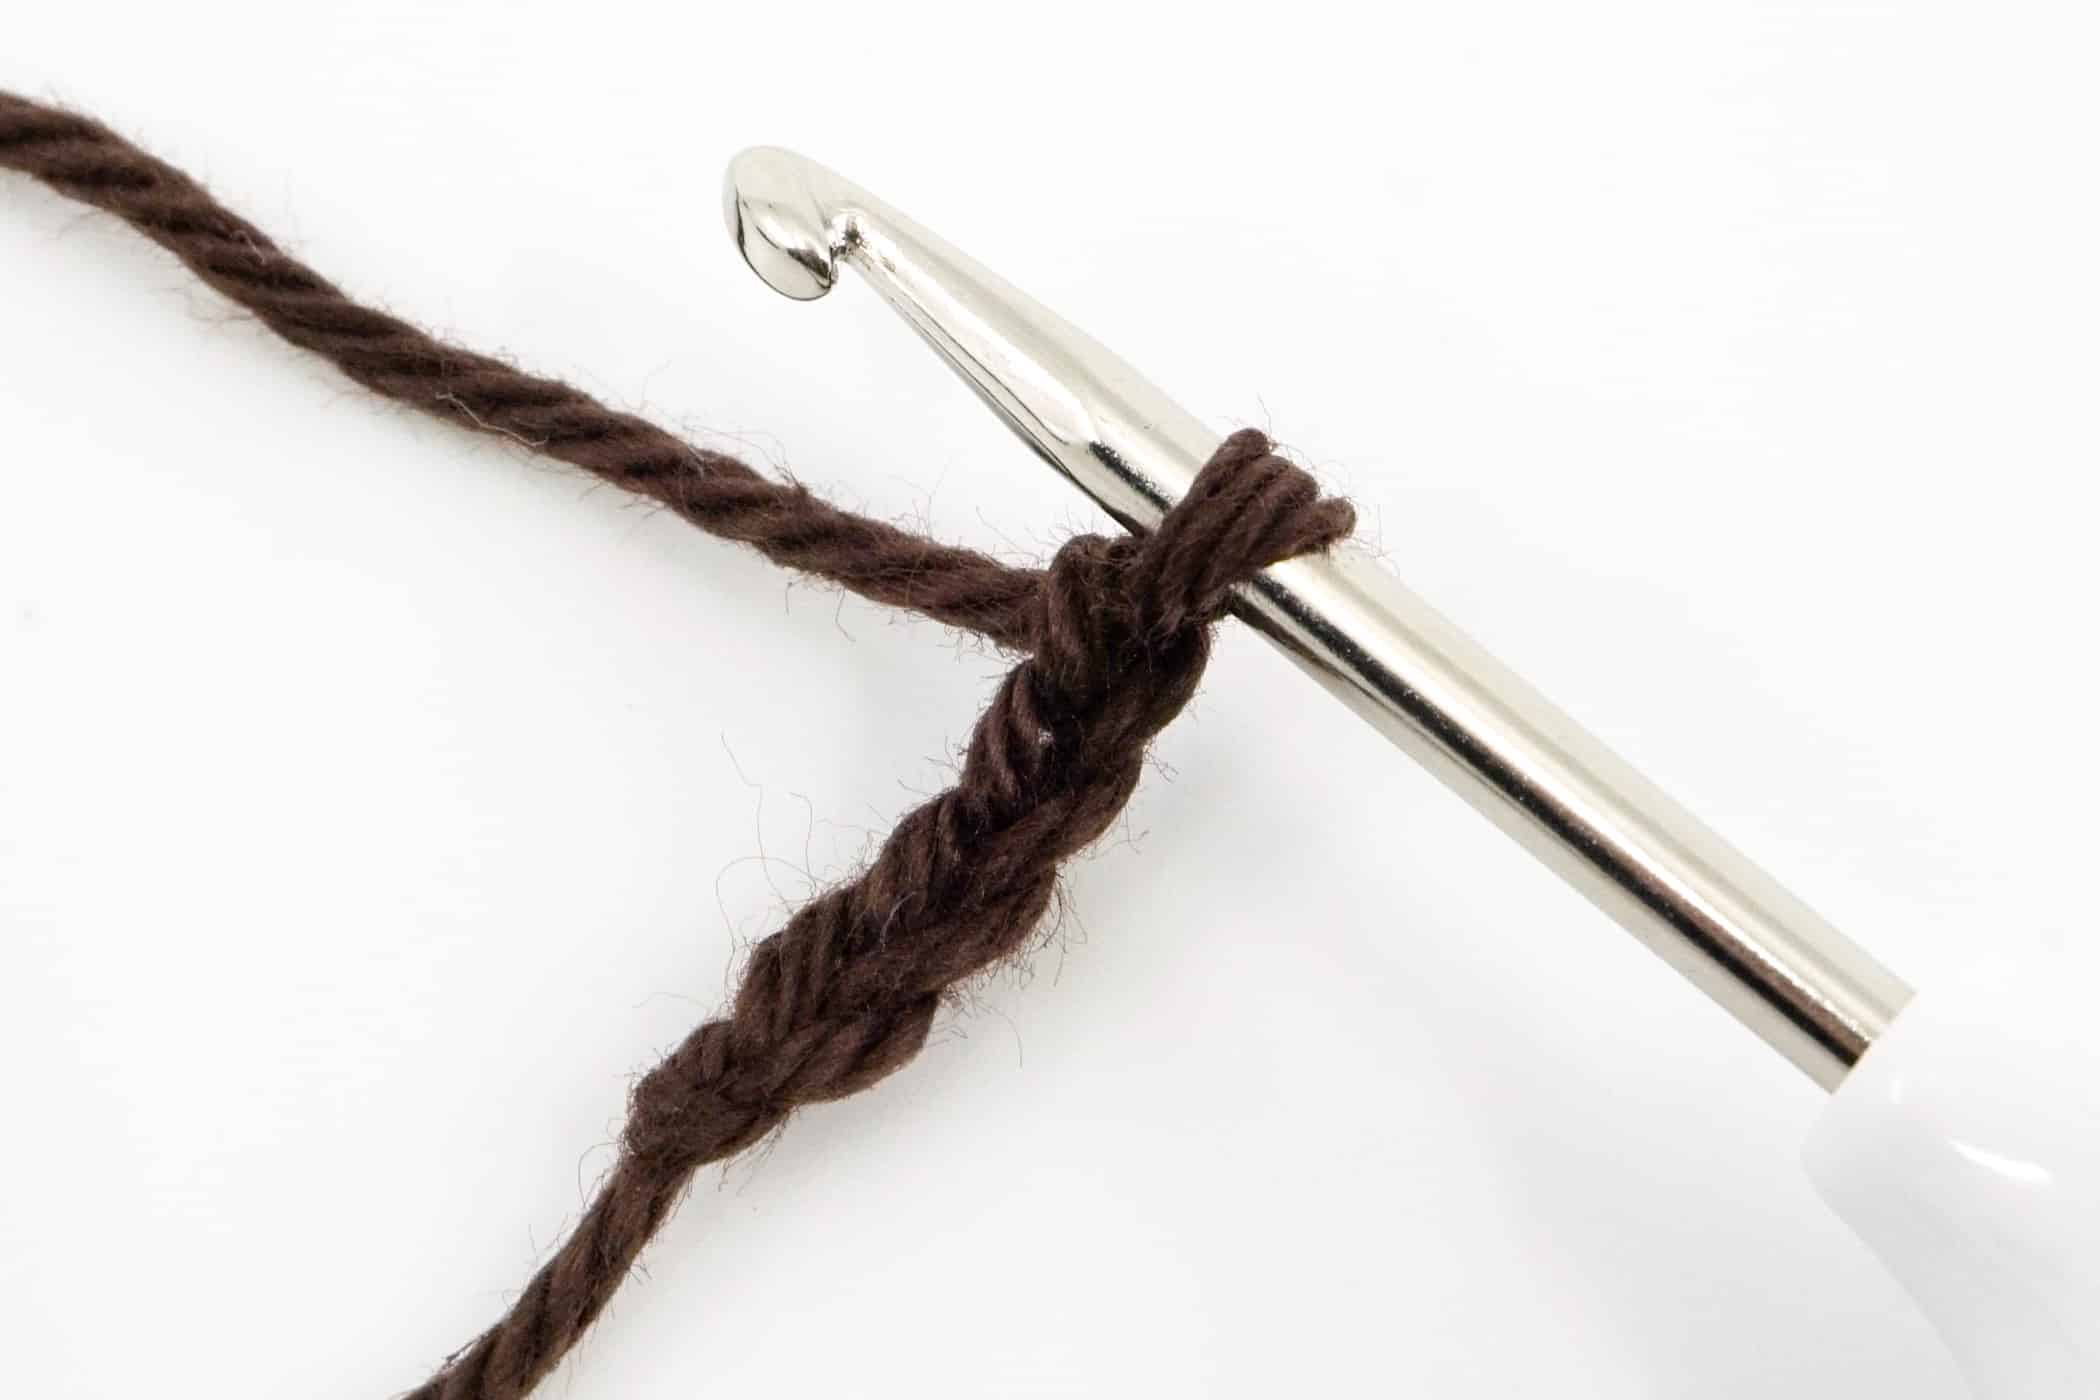
- Slip Knot
- Magic Ring
- Chain Stitch
- Single Crochet (sc)
- Half Double Crochet
- Increase
- Decrease
- Crochet into Front and Back Loop
- Close Openings
- Sewing
Needed Materials and Tools
To order the materials click on the respective link (affiliate link).
- Colors: black, white, brown, dark brown
- This pattern was crocheted using the “Schachenmayr Catania” yarn (100% Cotton, Meterage: 125 m, Yarn Ball Weight: 50 g, Yarn Weight: Sport – 5ply / Fine (2)) in the following colors:
- Black (Schwarz (110)), White (Weiß (106)), Chestnut (Marone (157)), Coffee (Kaffee (162))
- 2.5 mm Crochet Hook
- 6 mm Safety Eyes
- Polyfill
- Scissors
- Tapestry Needle
- Stitch Marker
No products found.
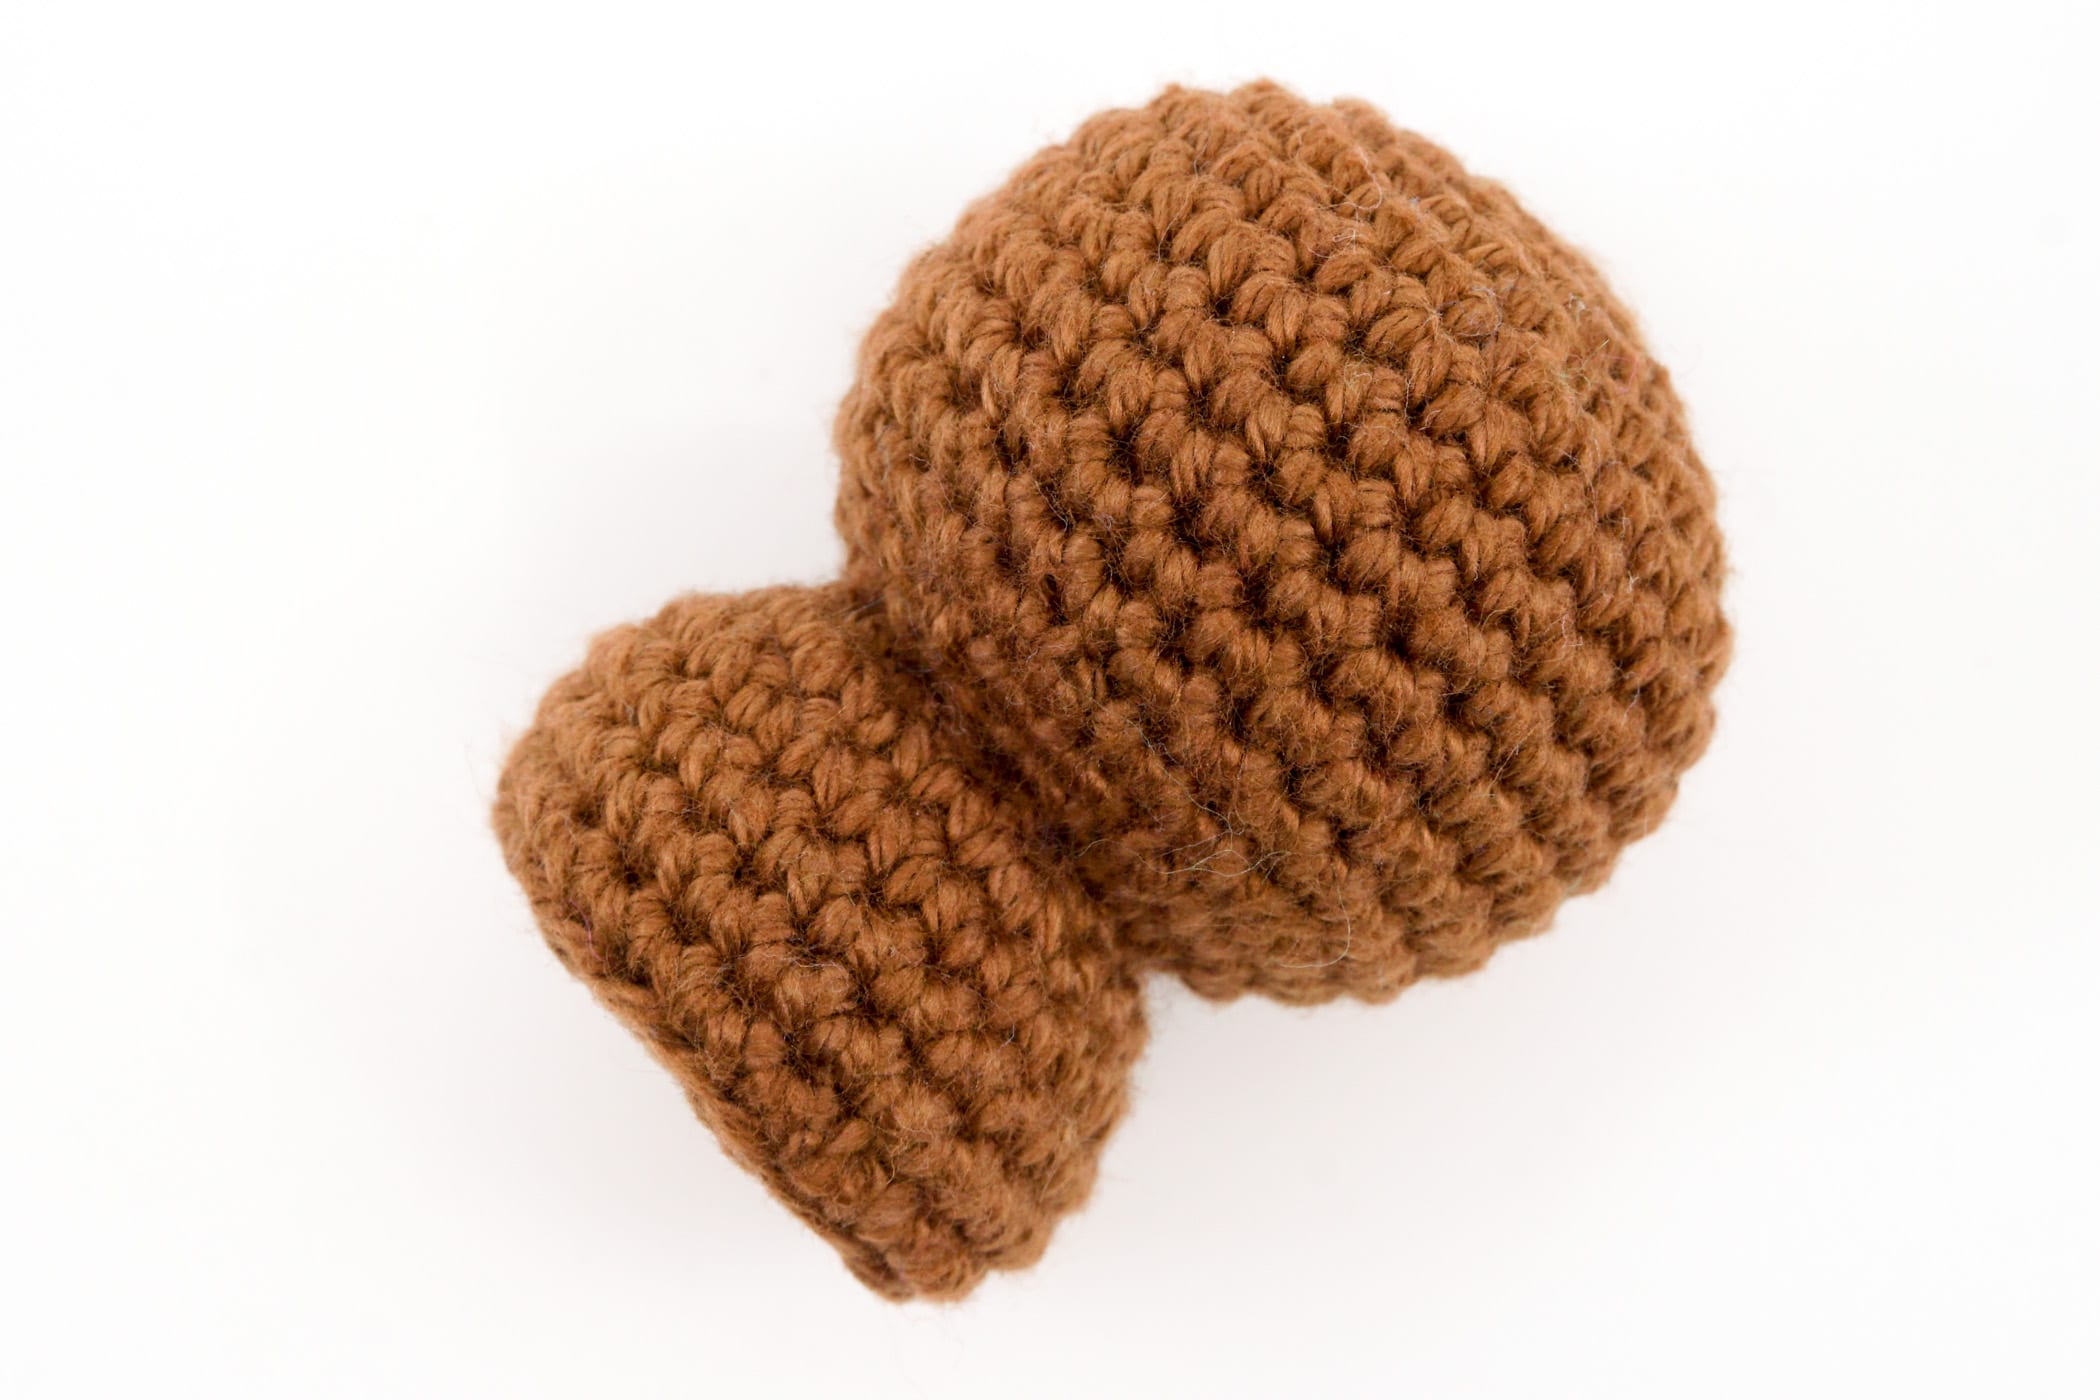
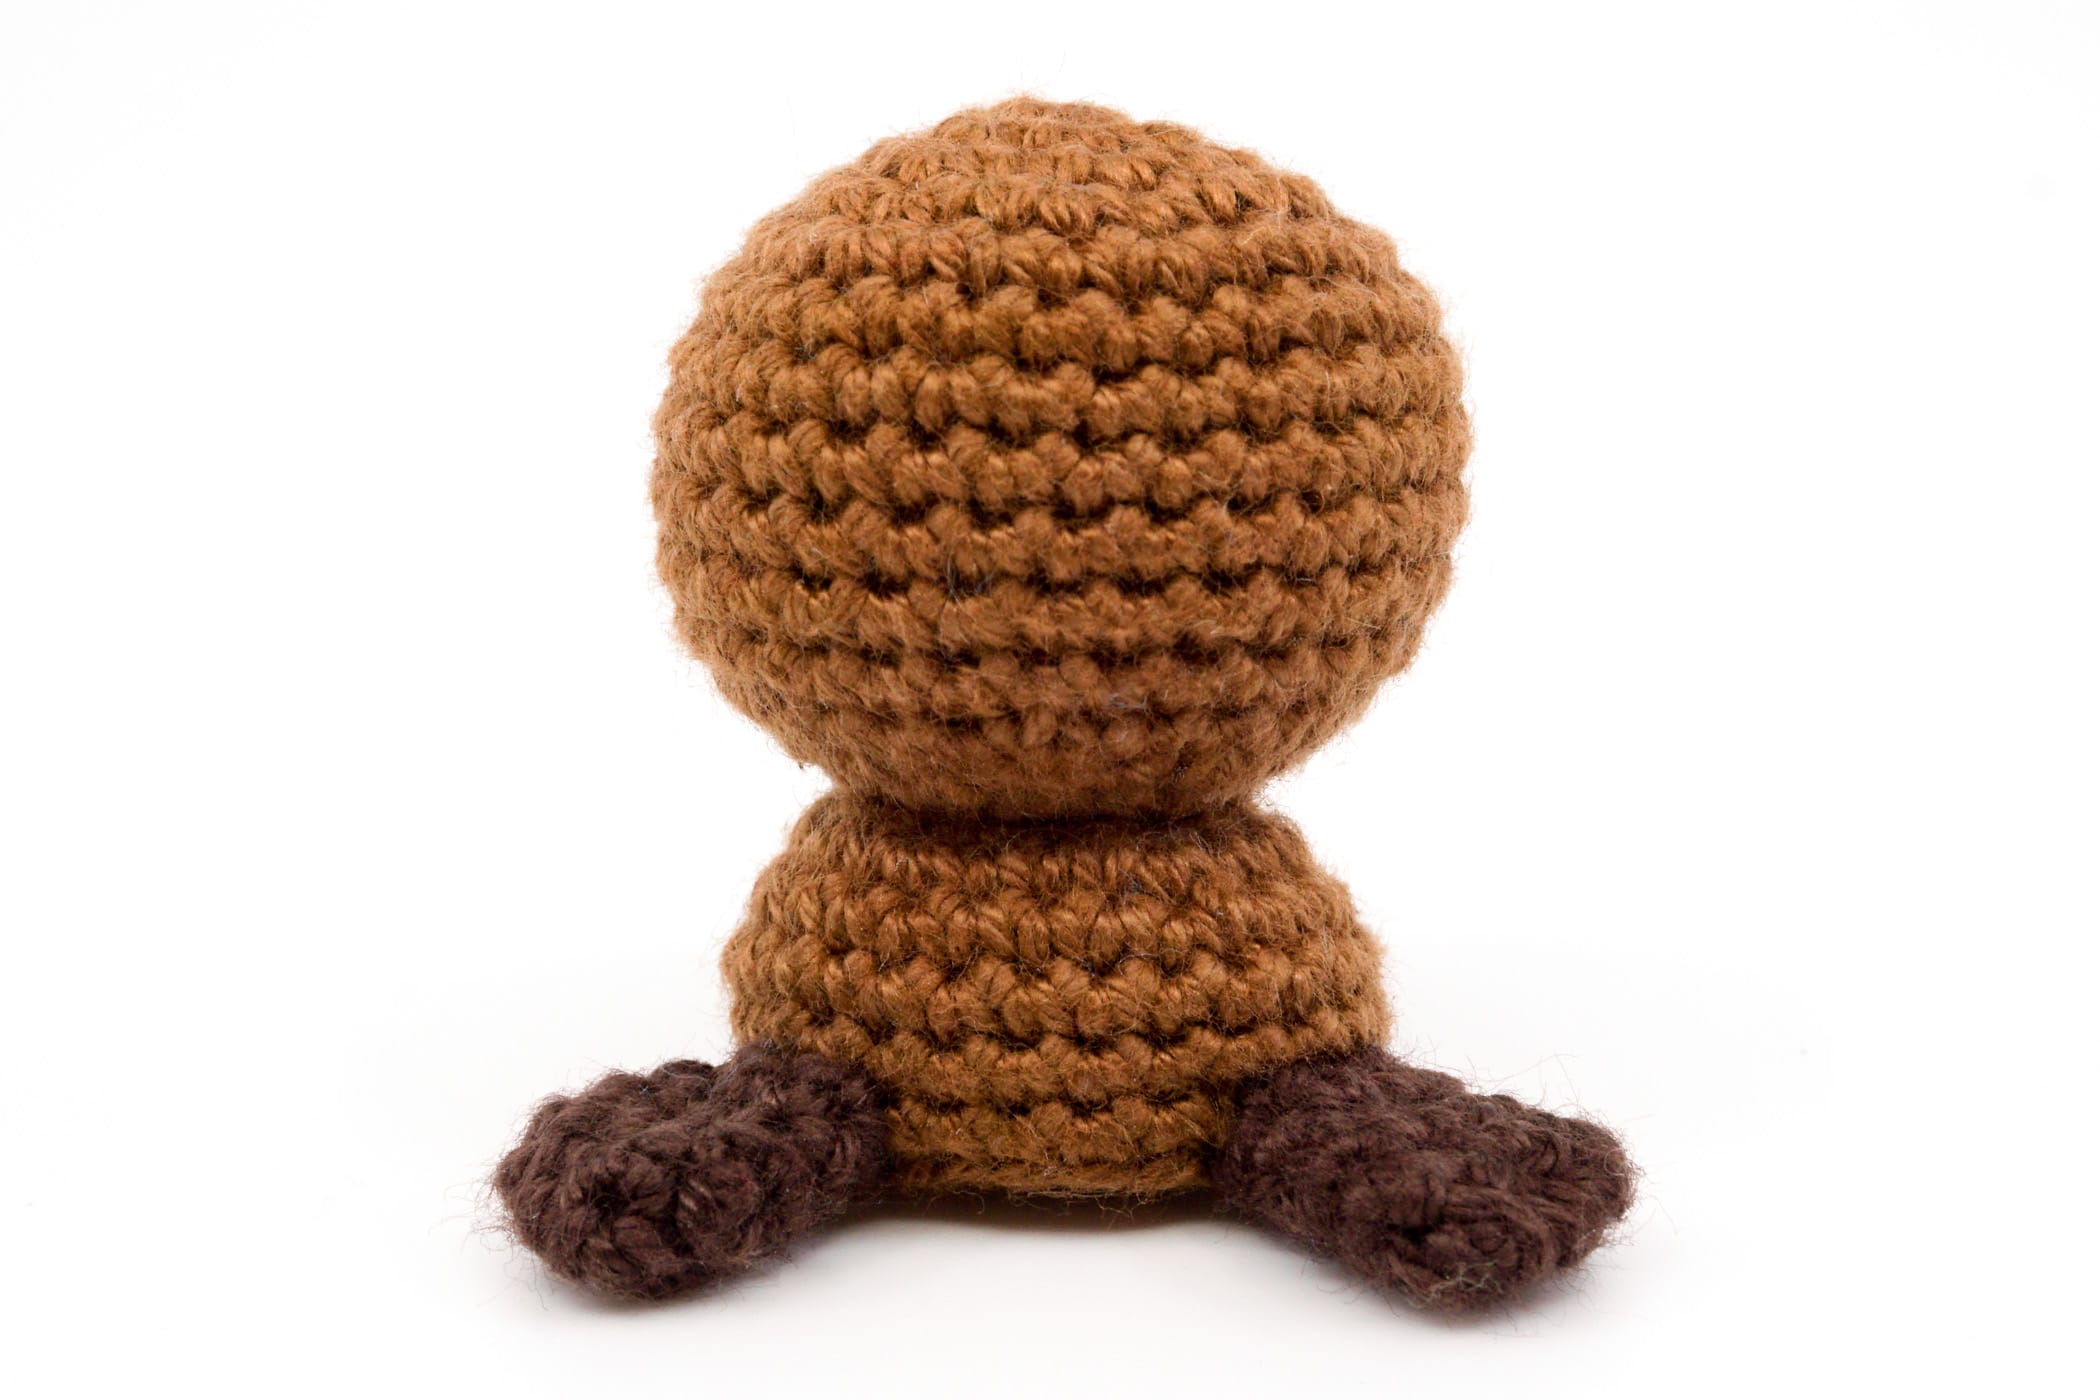
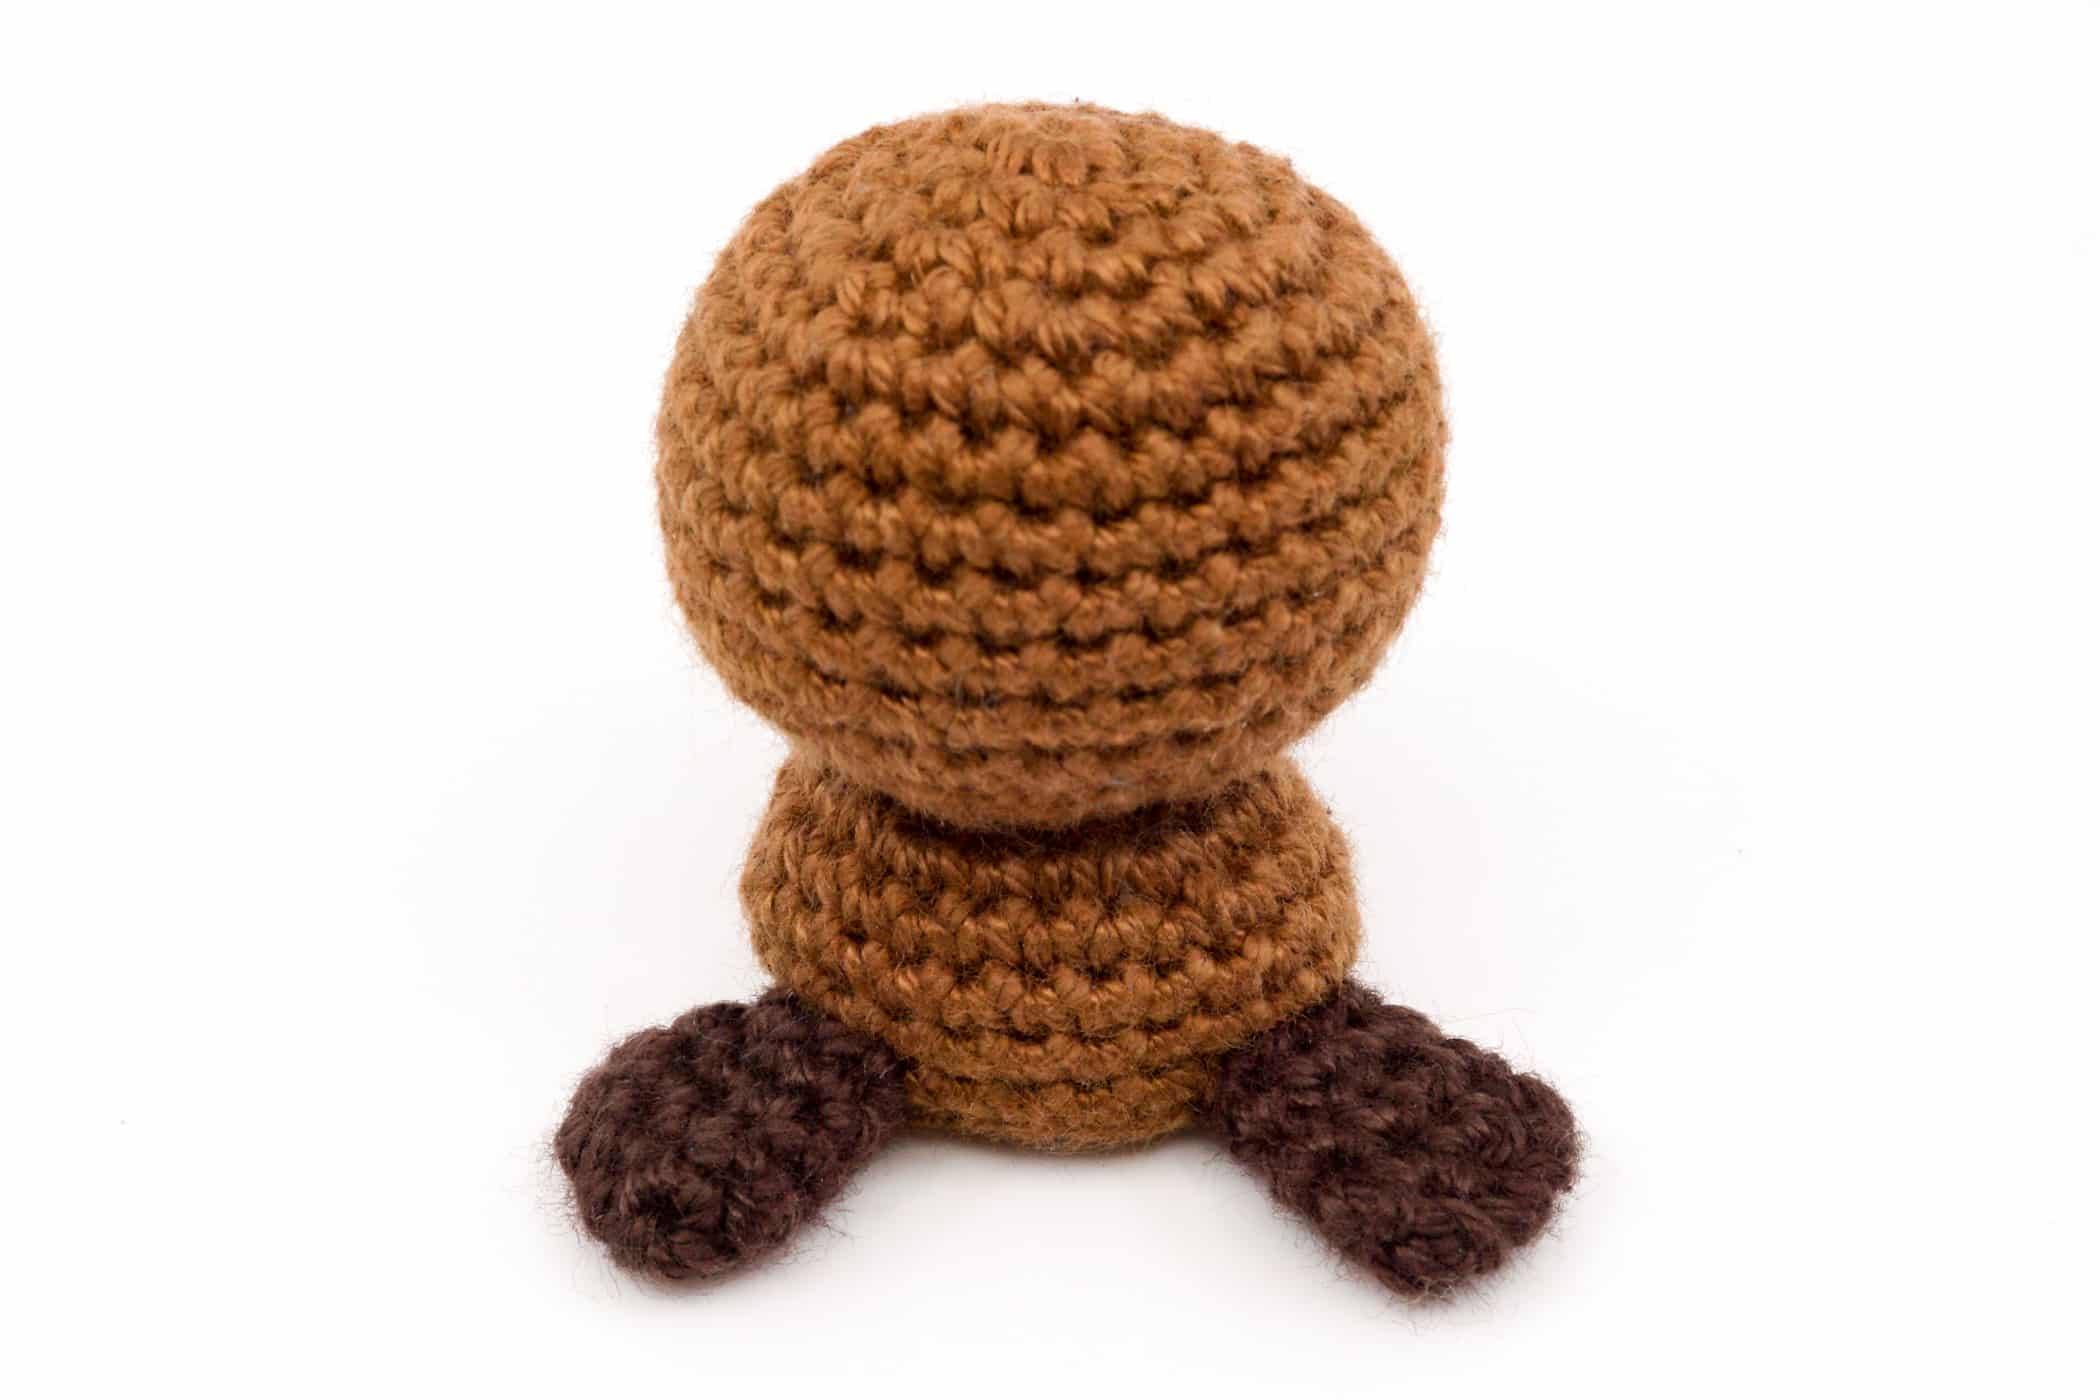
Crochet the Head and Body
The head and body is crocheted in one piece in Chestnut in spiral rounds with single crochet stitches.

Use the check boxes to mark your finished rounds, rows and steps.
- Crochet the head and body in spiral rounds in Chestnut.
- Round 1: 6 sc into the Magic Ring (6 stitches).
- Round 2: [1 increase] repeat till end of the round (12 stitches).
- Round 3: [1 sc, 1 increase] repeat till end of the round (18 stitches).
- Round 4: 1 sc, 1 increase, [2 sc, 1 increase] repeat 5 times, 1 sc (24 stitches).
- Round 5: [3 sc, 1 increase] repeat till end of the round (30 stitches).
- Round 6-11: 6 rounds, each round 30 sc (30 stitches). Attach the eyes and then continue crocheting the next round.
- Round 12: [3 sc, 1 decrease] repeat till end of the round (24 stitches).
- Round 13: 1 sc, 1 decrease, [2 sc, 1 decrease] repeat 5 times, 1 sc (18 stitches).
- Round 14: [1 sc, 1 decrease] repeat till end of the round (12 stitches).
- Round 15: Crochet the complete round into the front loop only. [1 sc, 1 increase] repeat till end of the round (18 stitches).
- Round 16: Fill the head with polyfill. 1 sc, 1 increase, [2 sc, 1 increase] repeat 5 times, 1 sc (24 stitches).
- Round 17: [7 sc, 1 increase] repeat till end of the round (27 stitches).
- Round 18-19: 2 rounds, each round 27 sc (27 stitches).
- Round 20: [7 sc, 1 decrease] repeat till end of the round (24 stitches).
- Round 21: Crochet the complete round into the back loop only. 1 sc, 1 decrease, [2 sc, 1 decrease] repeat 5 times, 1 sc (18 stitches).
- Round 22: [1 sc, 1 decrease] repeat till end of the round (12 stitches).
- Round 23: Fill the body only with some polyfill, do not stuff the body too full. [1 decrease] repeat till end of the round (6 stitches).
- Finish: Cut the yarn generously, close the opening, weave in and hide the leftover yarn.
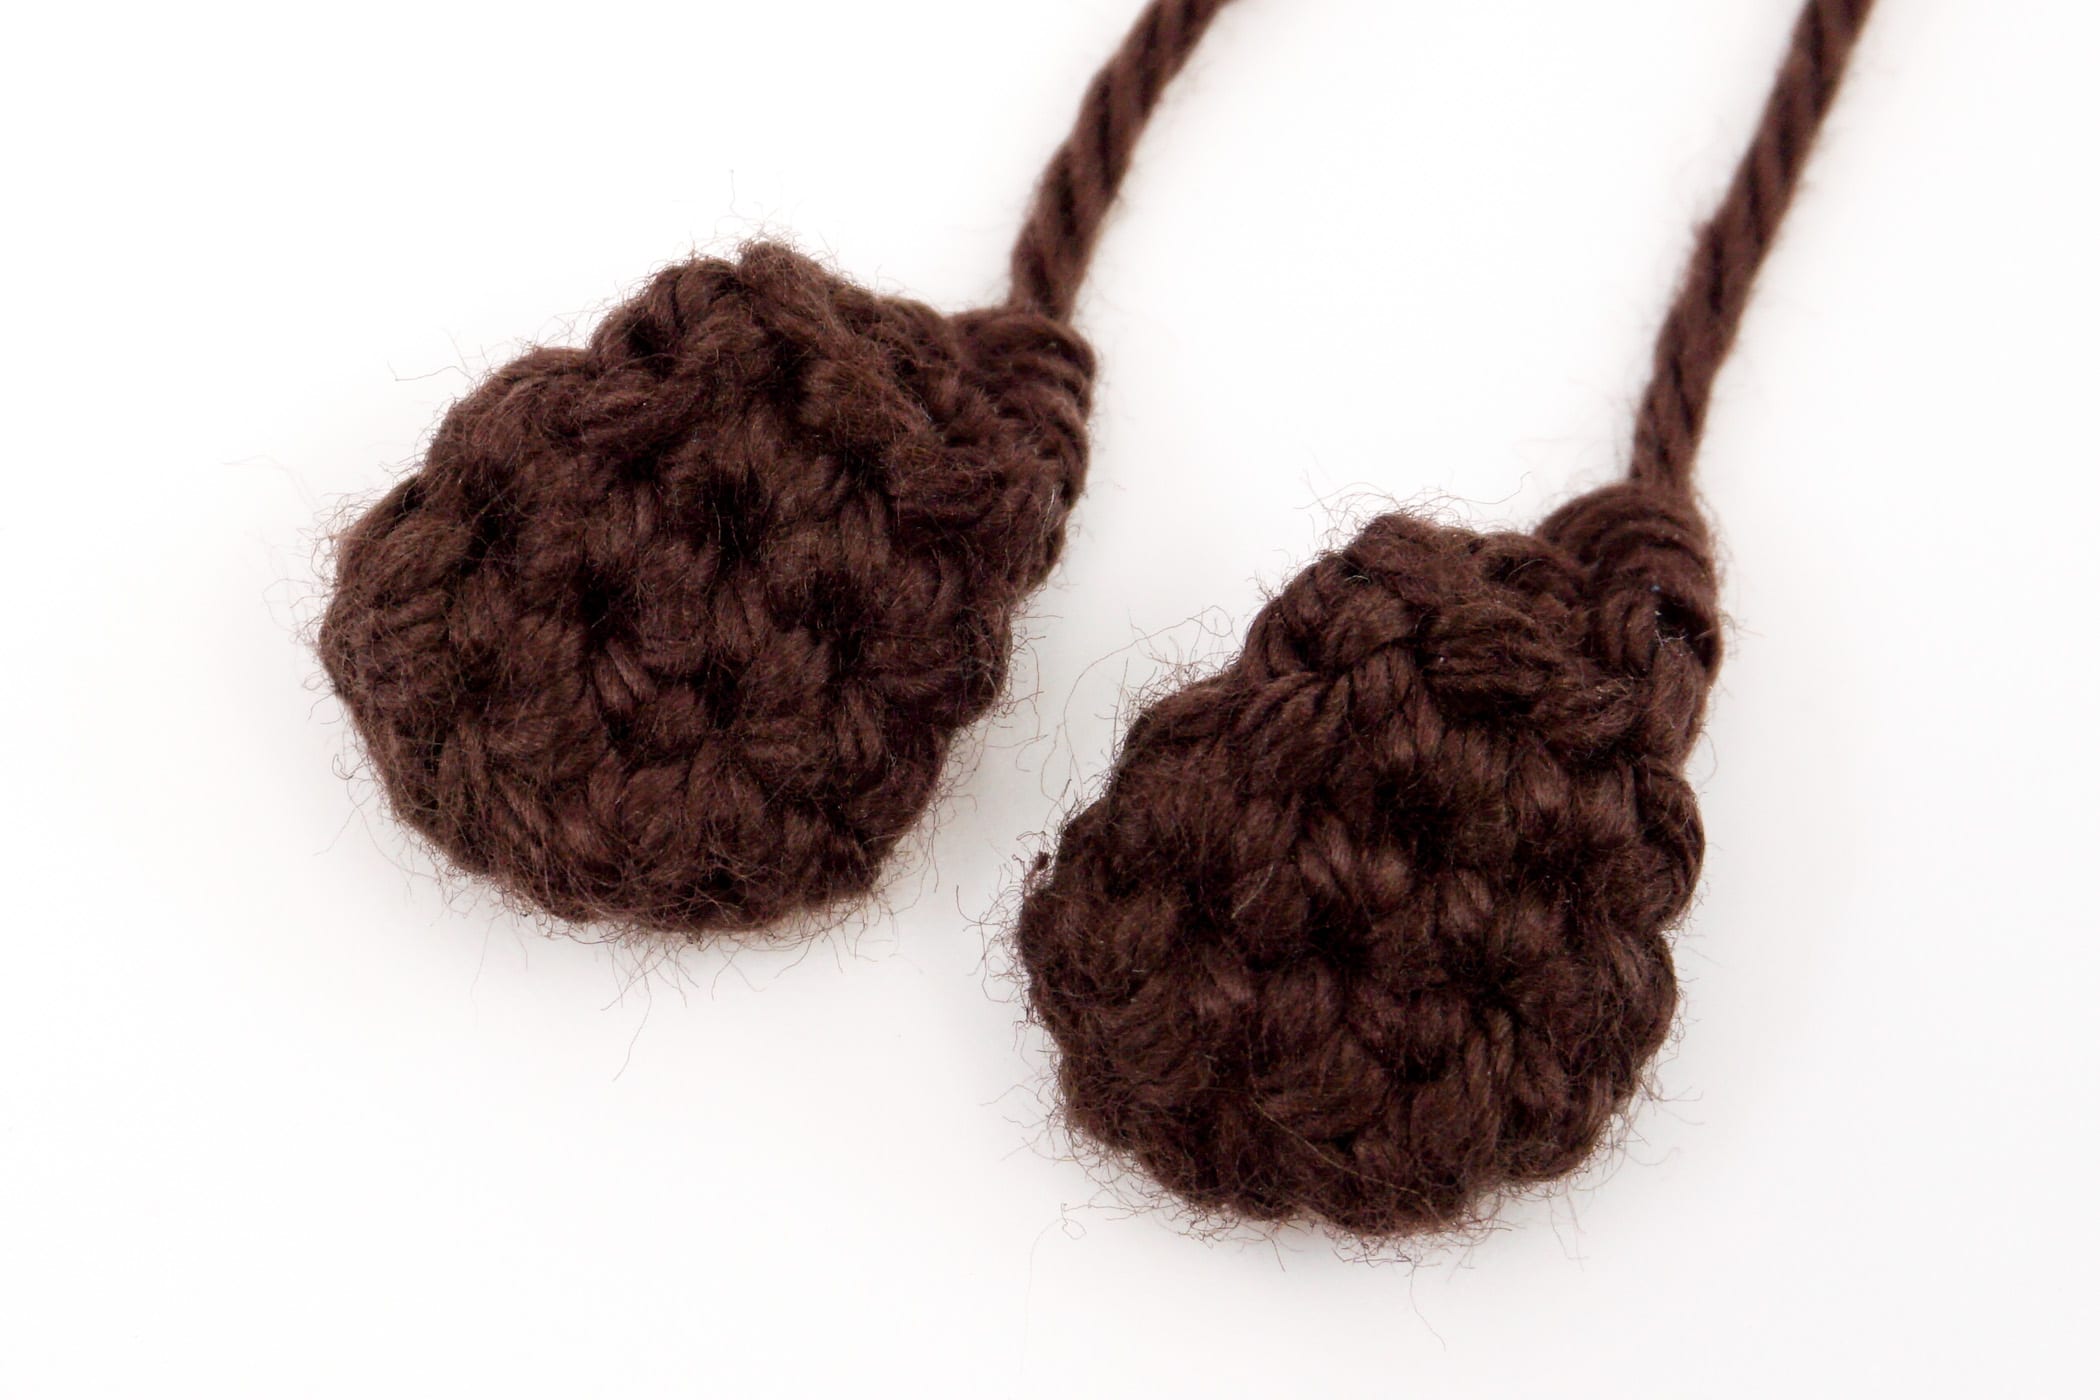
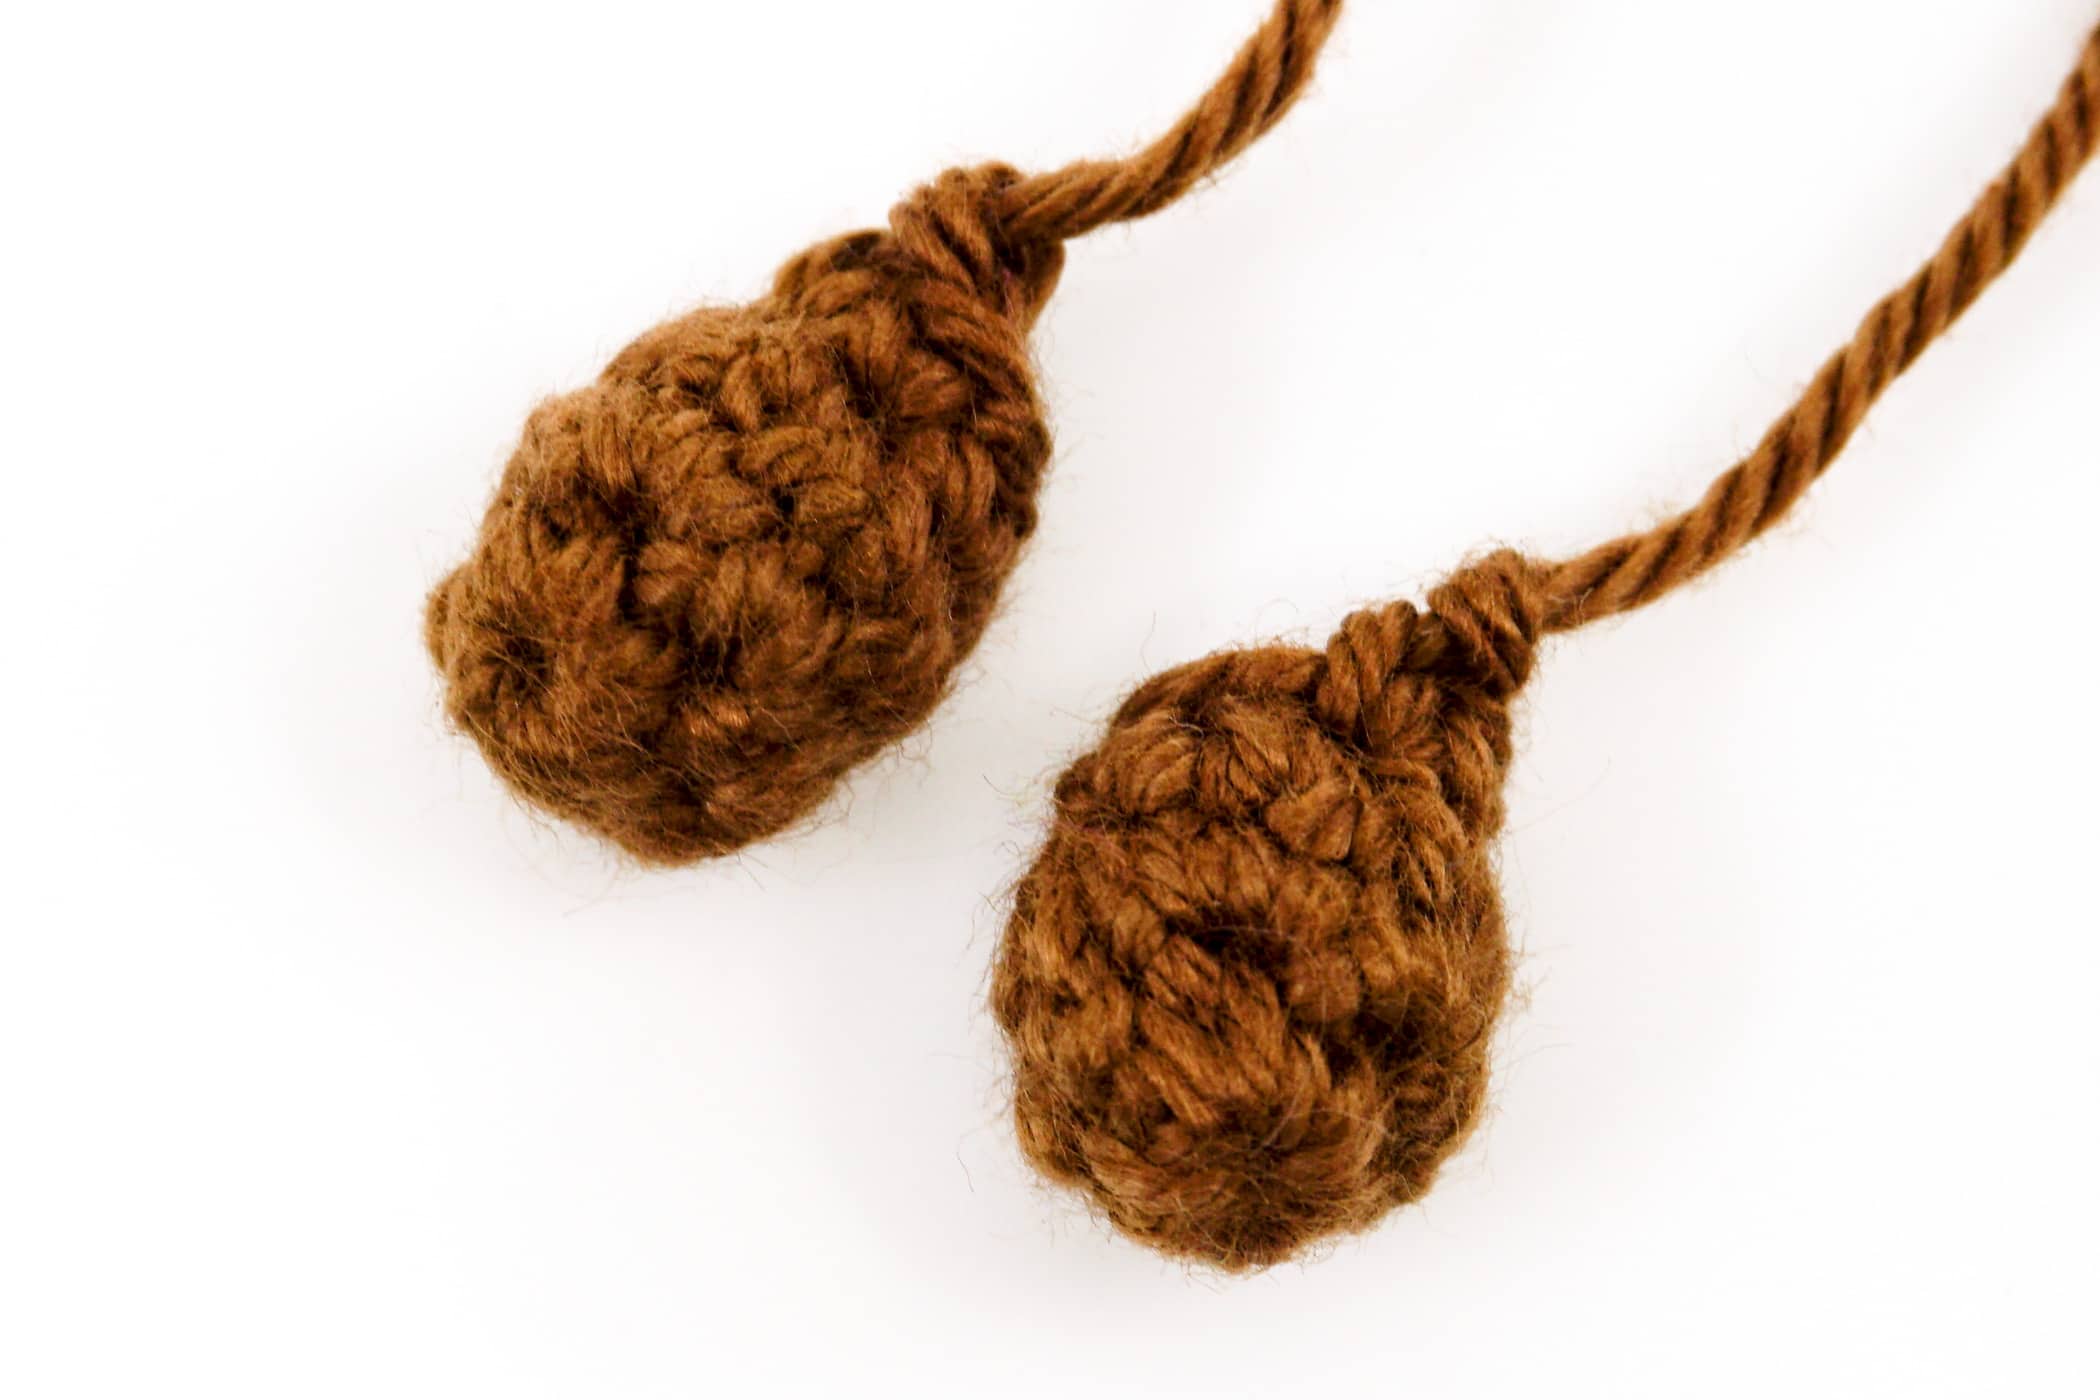
Crochet the Legs (2x)
The legs are crocheted in Coffee in spiral rounds with chain stitches and single crochet stitches. Crochet a total of 2 legs. The finished legs do not need to be filled with polyfill.
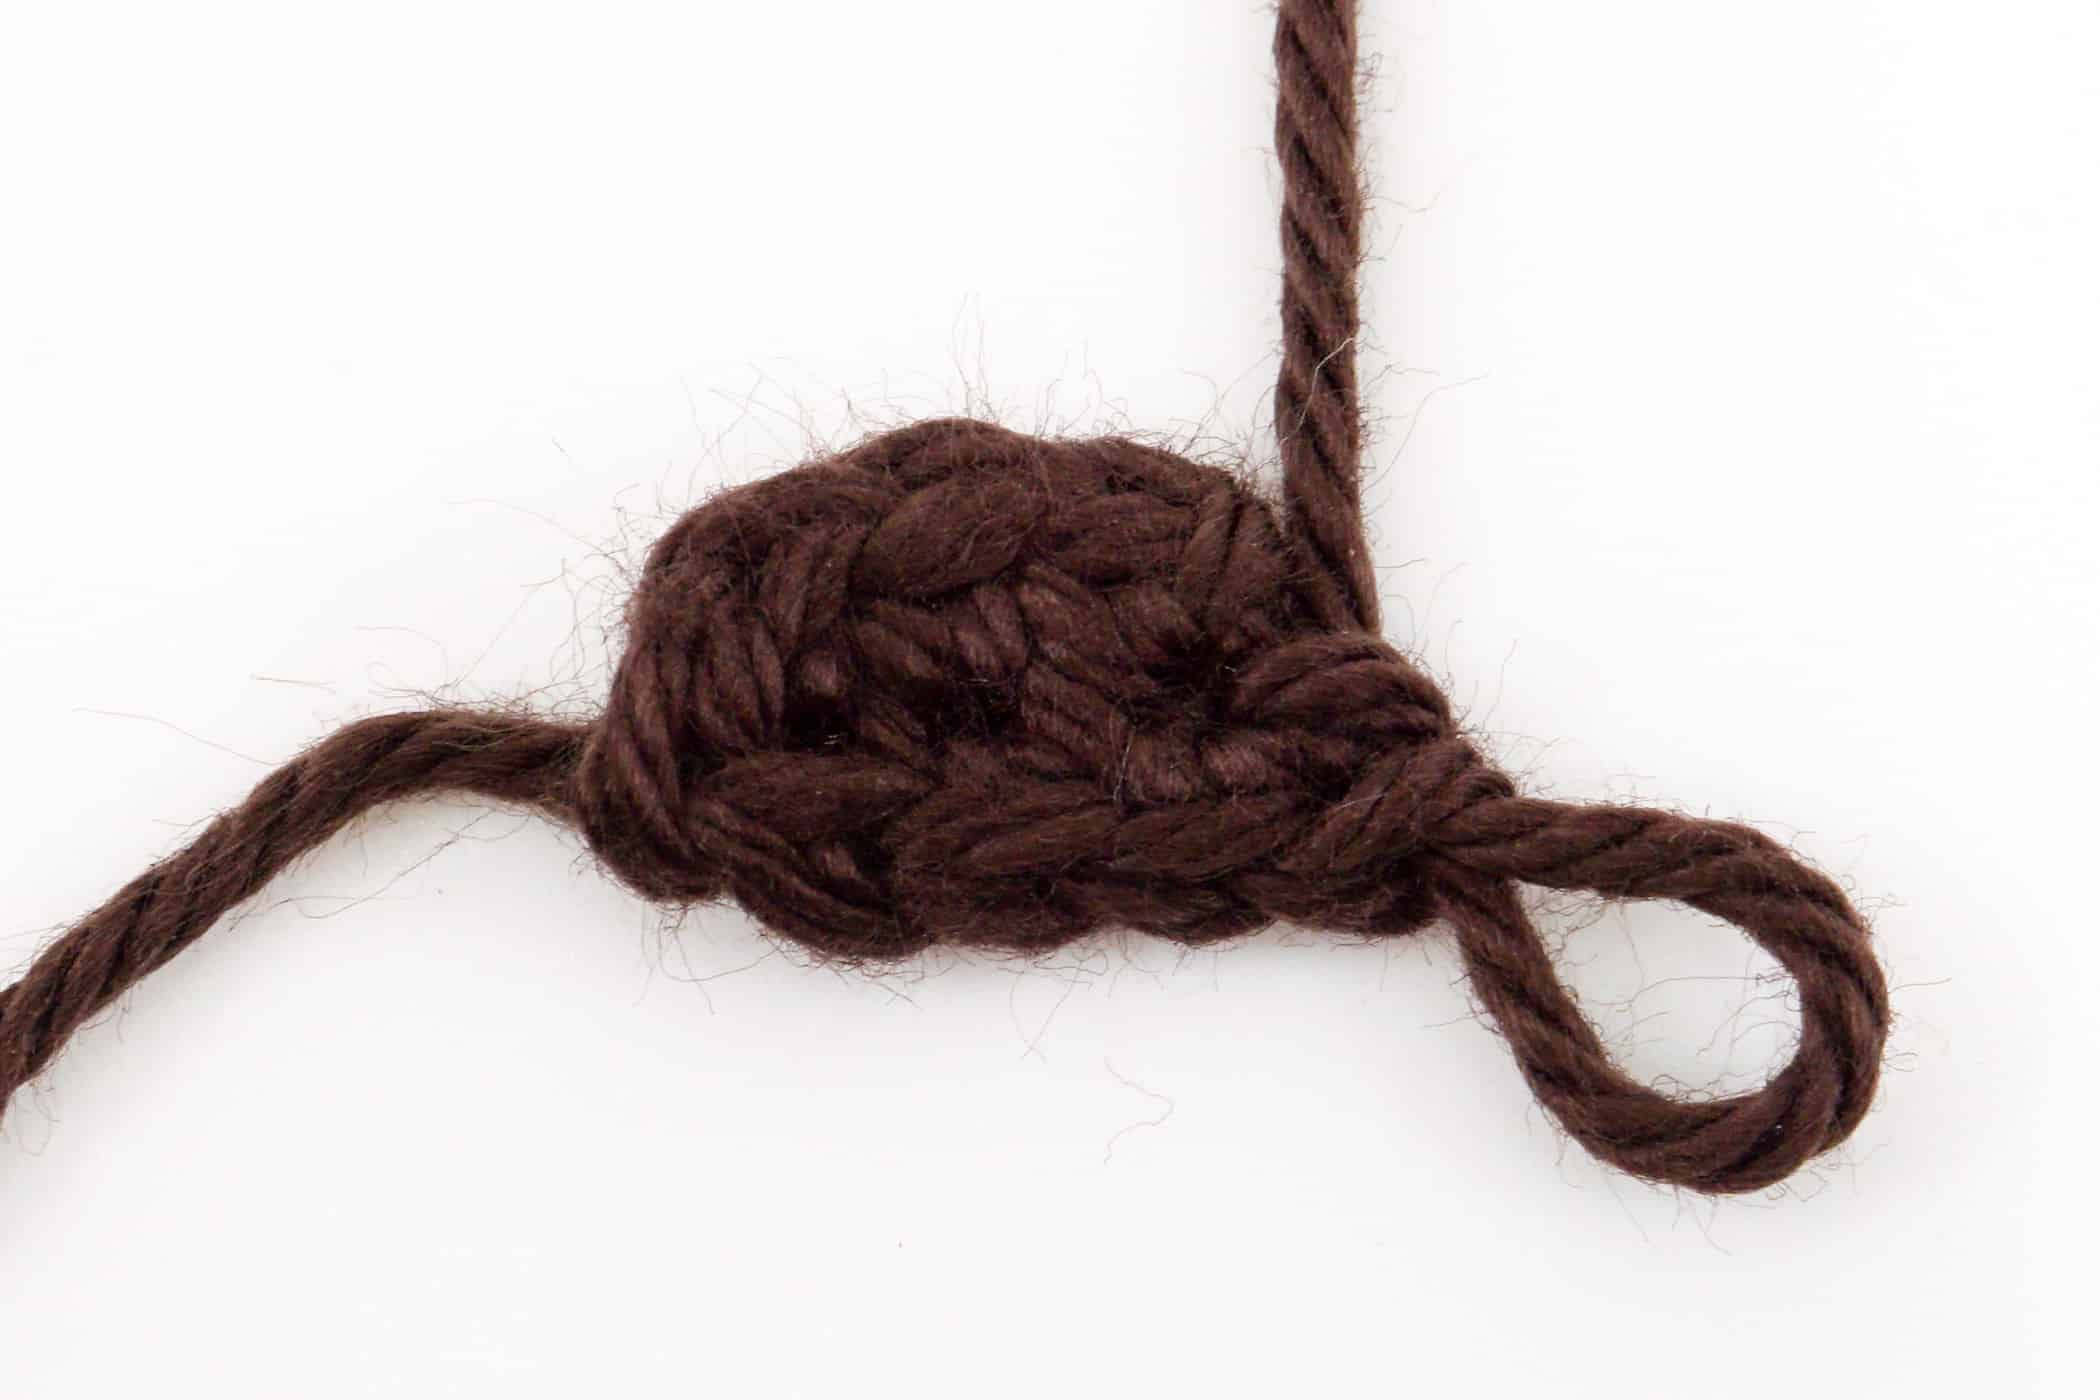
- Crochet the legs in spiral rounds in Coffee.
- Round 1: 4 chain stitches, 1 sc into the 2nd stitch from the hook, 1 sc, 3 sc into the next stitch.

- Now continue crocheting on the other side of the chain. 1 sc, 1 increase (8 stitches).
- Round 2-3: 2 rounds, each round 8 sc (8 stitches).
- Round 4: [2 sc, 1 decrease] repeat till end of the round (6 stitches).
- Finish: Cut the yarn generously and leave a long tail for sewing.
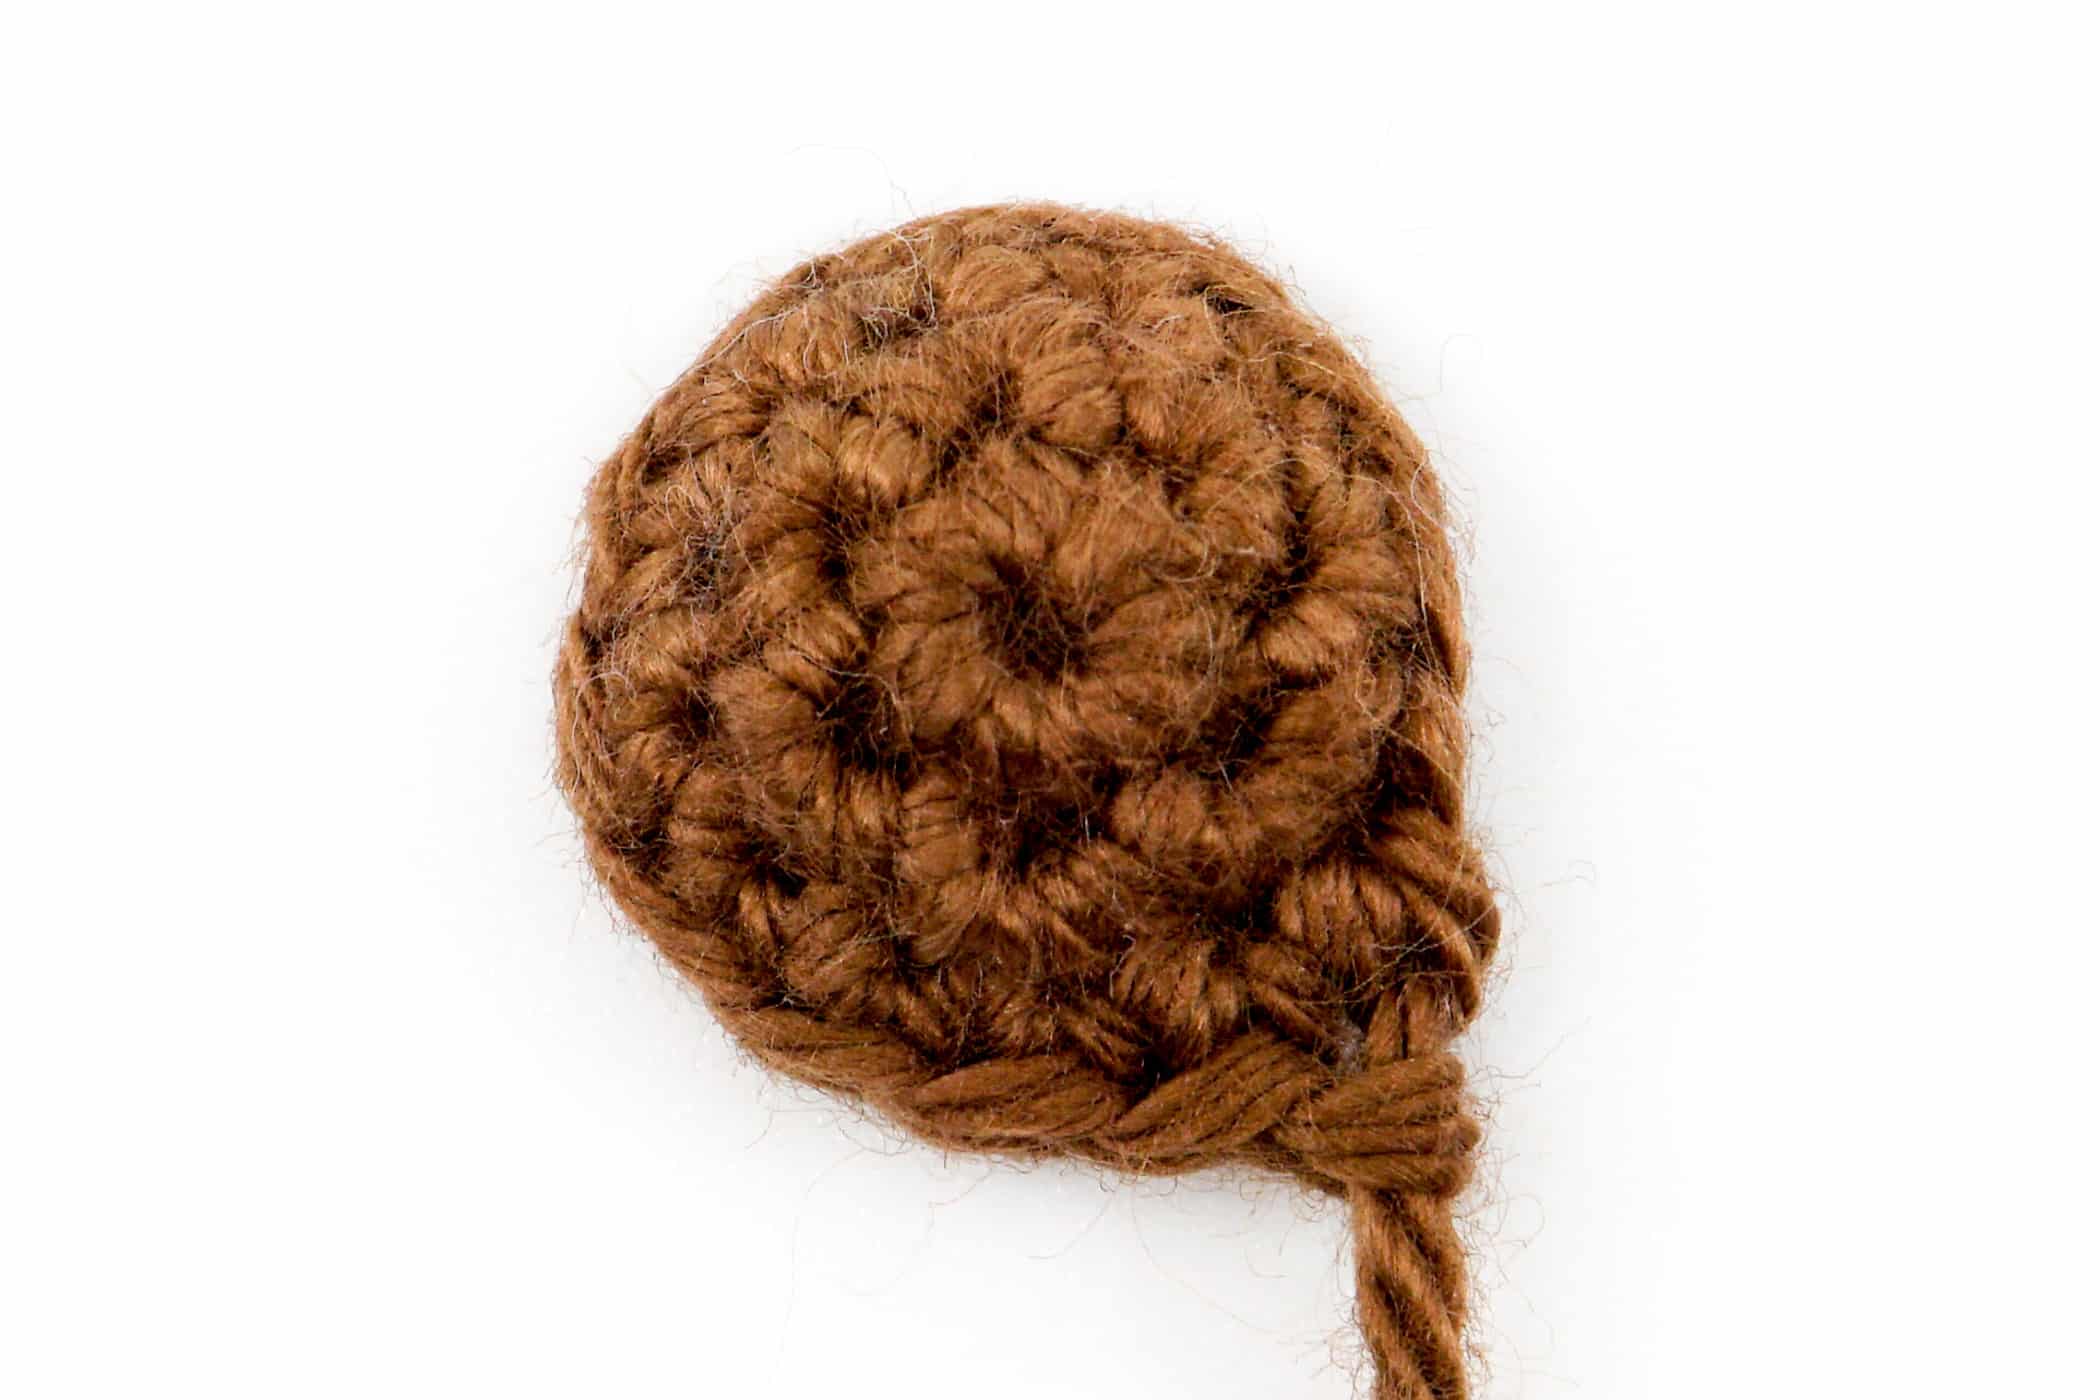
Crochet the Arms (2x)
The arms are crocheted in Chestnut in spiral rounds with single crochet stitches. Crochet a total of 2 arms.
- Crochet the arms in spiral rounds in Chestnut.
- Round 1: 6 sc into the Magic Ring (6 stitches).
- Round 2: [1 increase] repeat till end of the round (12 stitches).
- Round 3: [1 decrease] repeat till end of the round (6 stitches).
- Round 4: Crochet 6 sc (6 stitches).
- Finish: Fill only the front part of the arm with polyfill. Cut the yarn generously and leave a long tail for sewing.
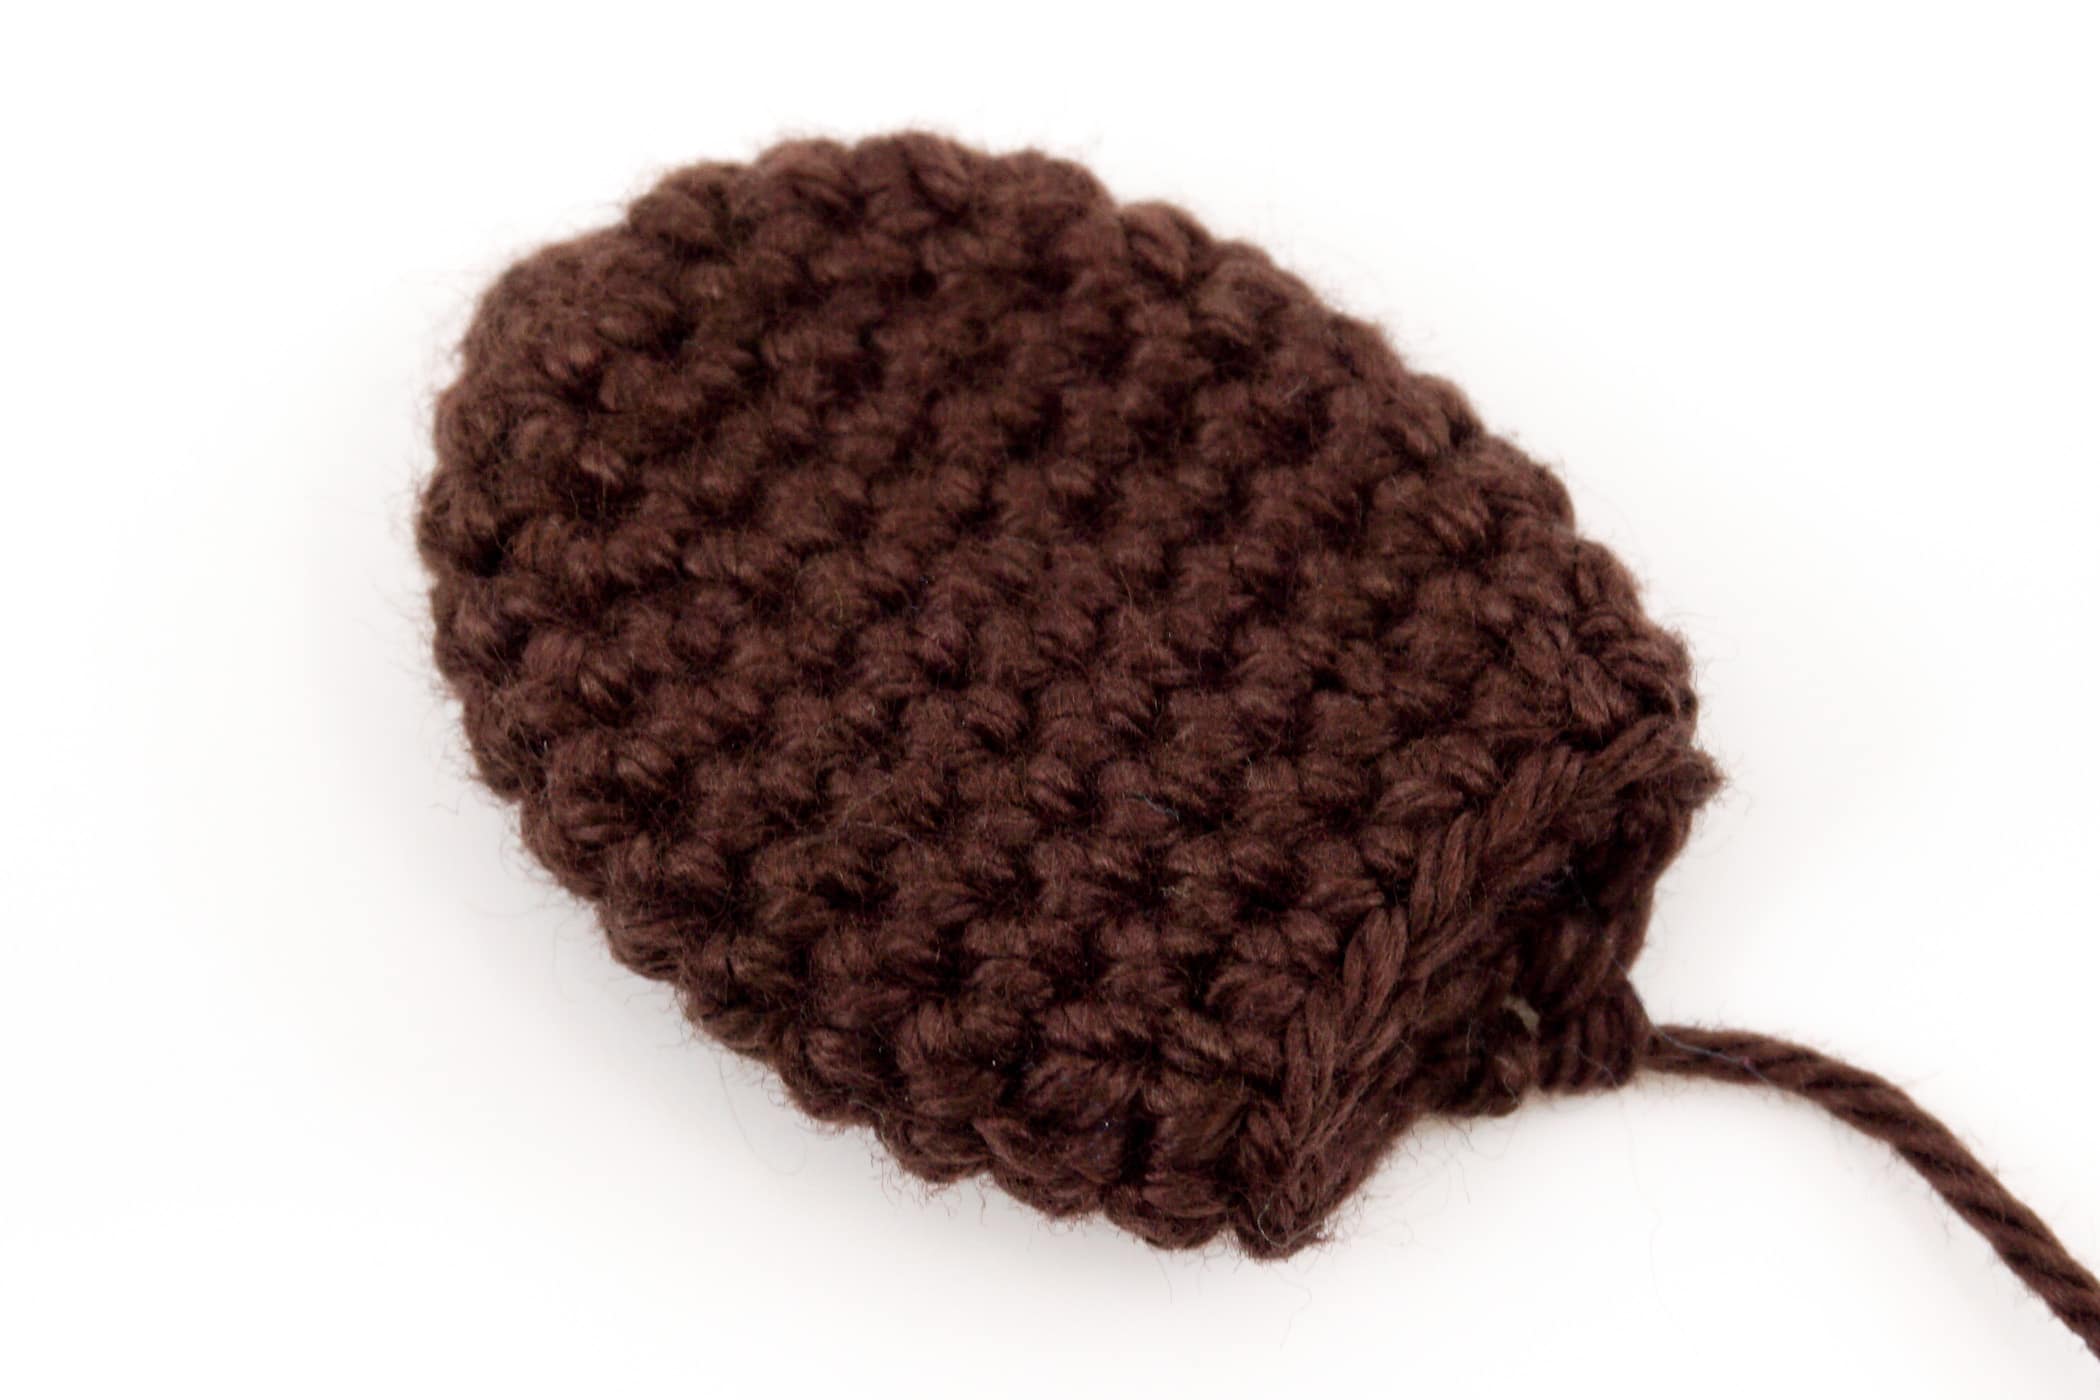
Crochet the Tail
The tail is crocheted in Coffee in spiral rounds with single crochet stitches.
- Crochet the tail in spiral rounds in Coffee.
- Round 1: 6 sc into the Magic Ring (6 stitches).
- Round 2: [1 increase] repeat till end of the round (12 stitches).
- Round 3: [3 sc, 1 increase] repeat till end of the round (15 stitches).
- Round 4: 2 sc, 1 increase, [4 sc, 1 increase] repeat 2 times, 2 sc (18 stitches).
- Round 5-10: 6 rounds, each round 18 sc (18 stitches).
- Round 11: 2 sc, 1 decrease, [4 sc, 1 decrease] repeat 2 times, 2 sc (15 stitches).
- Round 12: [3 sc, 1 decrease] repeat till end of the round (12 stitches).
- Finish: Cut the yarn generously and leave a long tail for sewing.
Crochet the Muzzle
The muzzle is crocheted in Chestnut in spiral rounds with single crochet stitches.
- Crochet the muzzle in spiral rounds in Chestnut.
- Round 1: 6 sc into the Magic Ring (6 stitches).
- Round 2: [1 increase] repeat till end of the round (12 stitches).
- Round 3: Crochet 12 sc (12 stitches).
- Round 4: Crochet only 2 sc.
- Finish: Cut the yarn generously and leave a long tail for sewing.
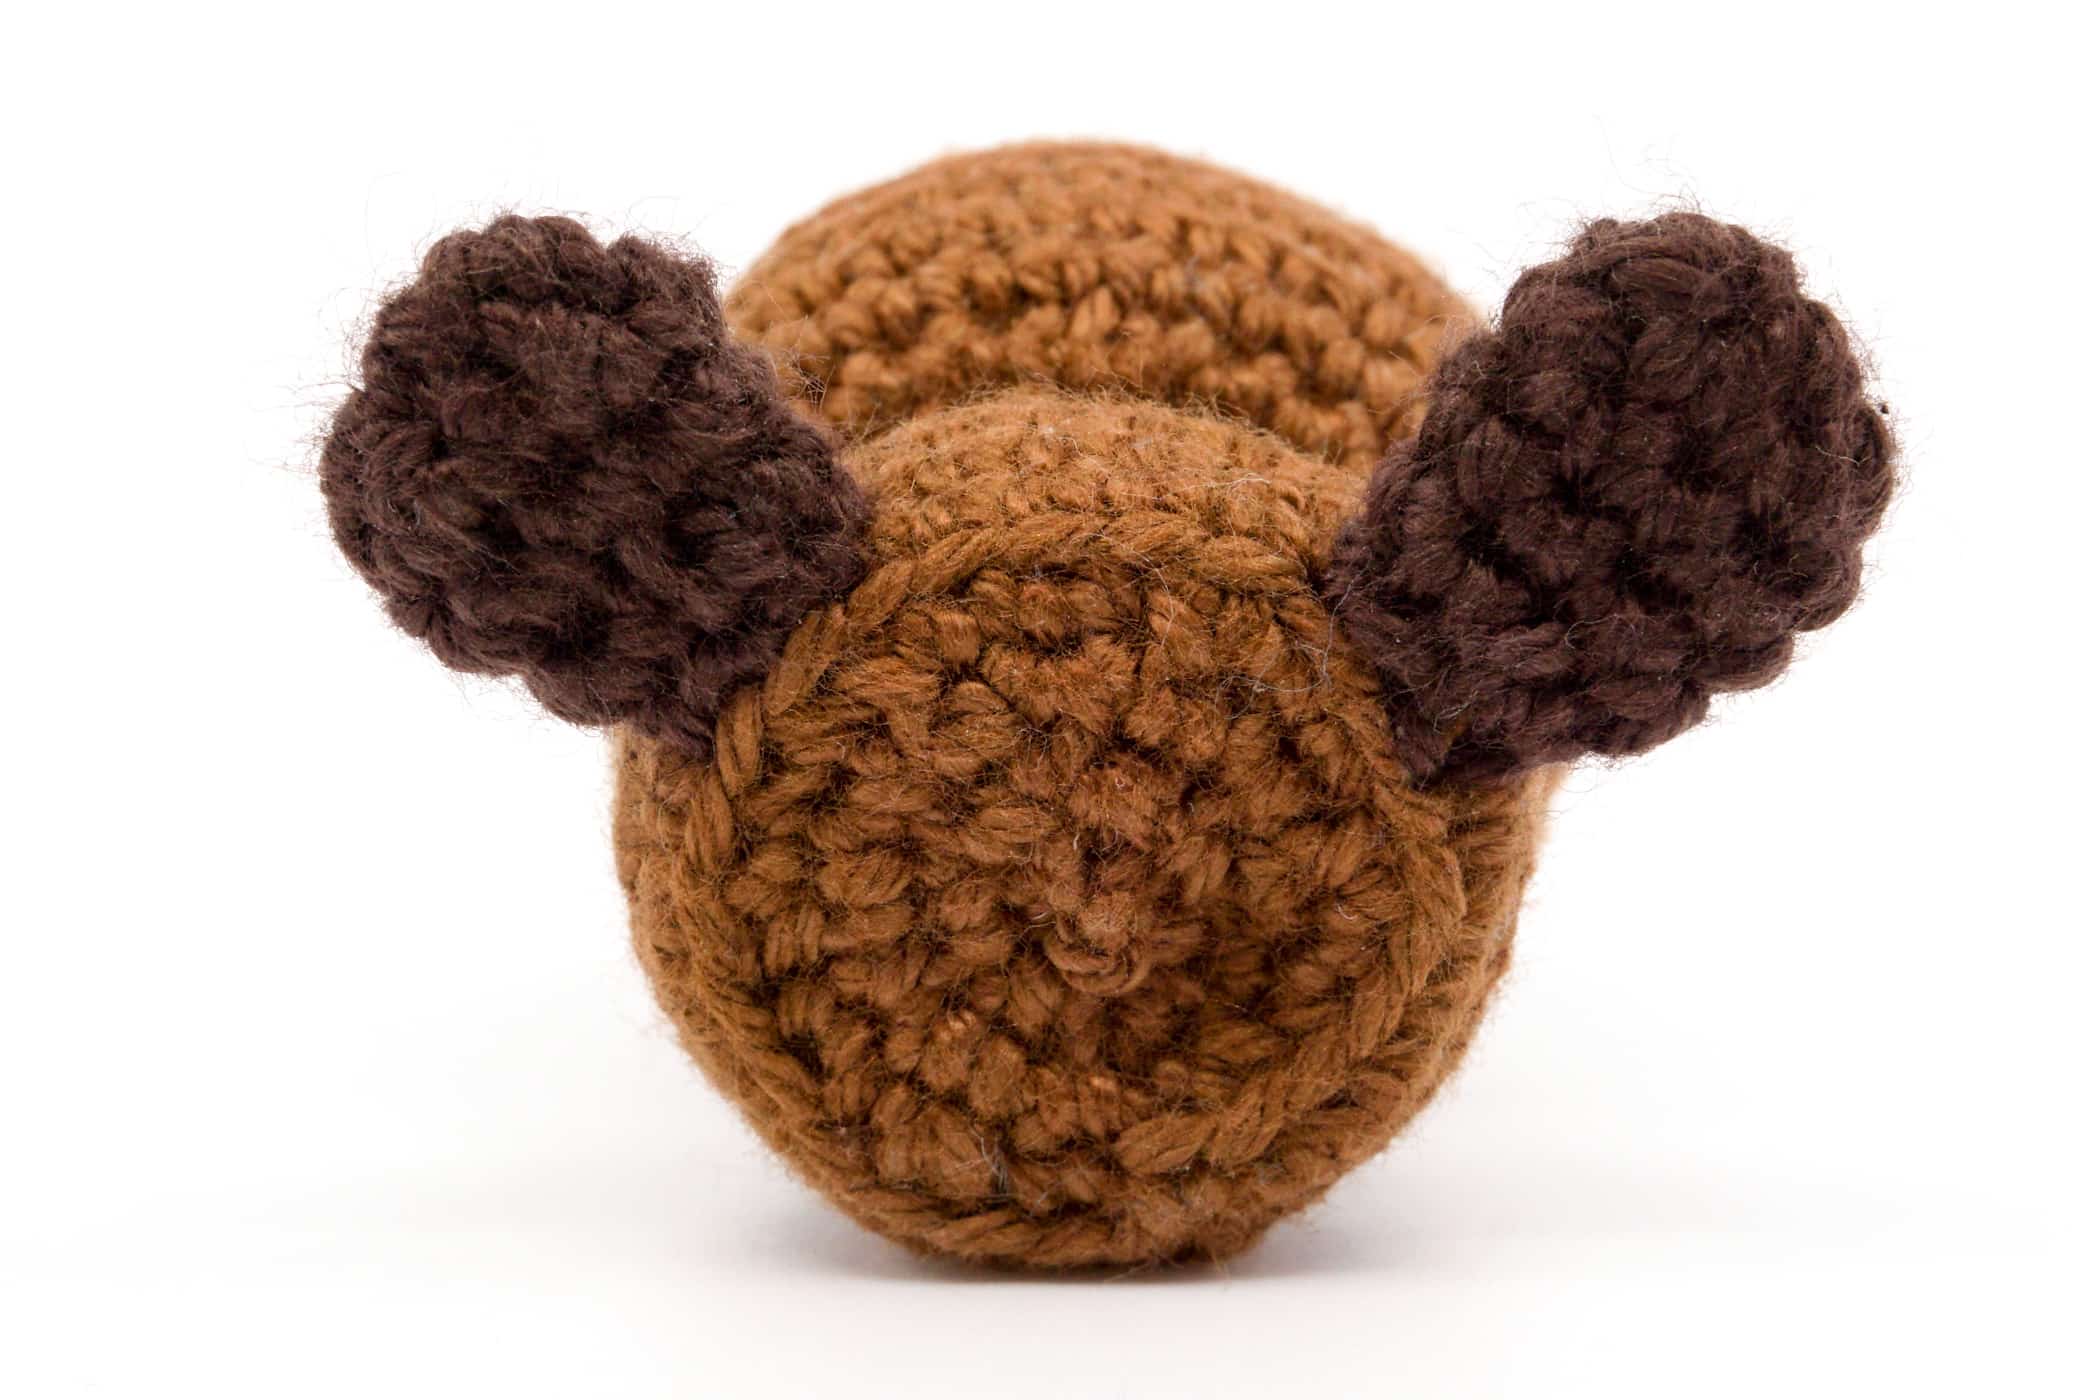
Crochet the Ears (2x)
The ears are crocheted in Chestnut in spiral rounds with single crochet stitches. Crochet a total of 2 ears.

- Crochet the ears in spiral rounds in Chestnut.
- Round 1: 5 sc into the Magic Ring (5 stitches).
- Round 2: [1 sc, 1 increase] repeat 2 times, 1 sc (7 stitches).
- Round 3: [1 sc, 1 decrease] repeat 2 times, 1 sc (5 stitches).
- Finish: Cut the yarn generously and leave a long tail for sewing.
Crochet the Eyebrows (2x)
The eyebrows are crocheted in Chestnut in rows with chain stitches. Crochet a total of 2 eyebrows.

- Crochet the eyebrows in rows in Chestnut.
- Row 1: Crochet 3 chain stitches (3 stitches).
- Finish: Cut the yarn generously and leave a long tail for sewing.
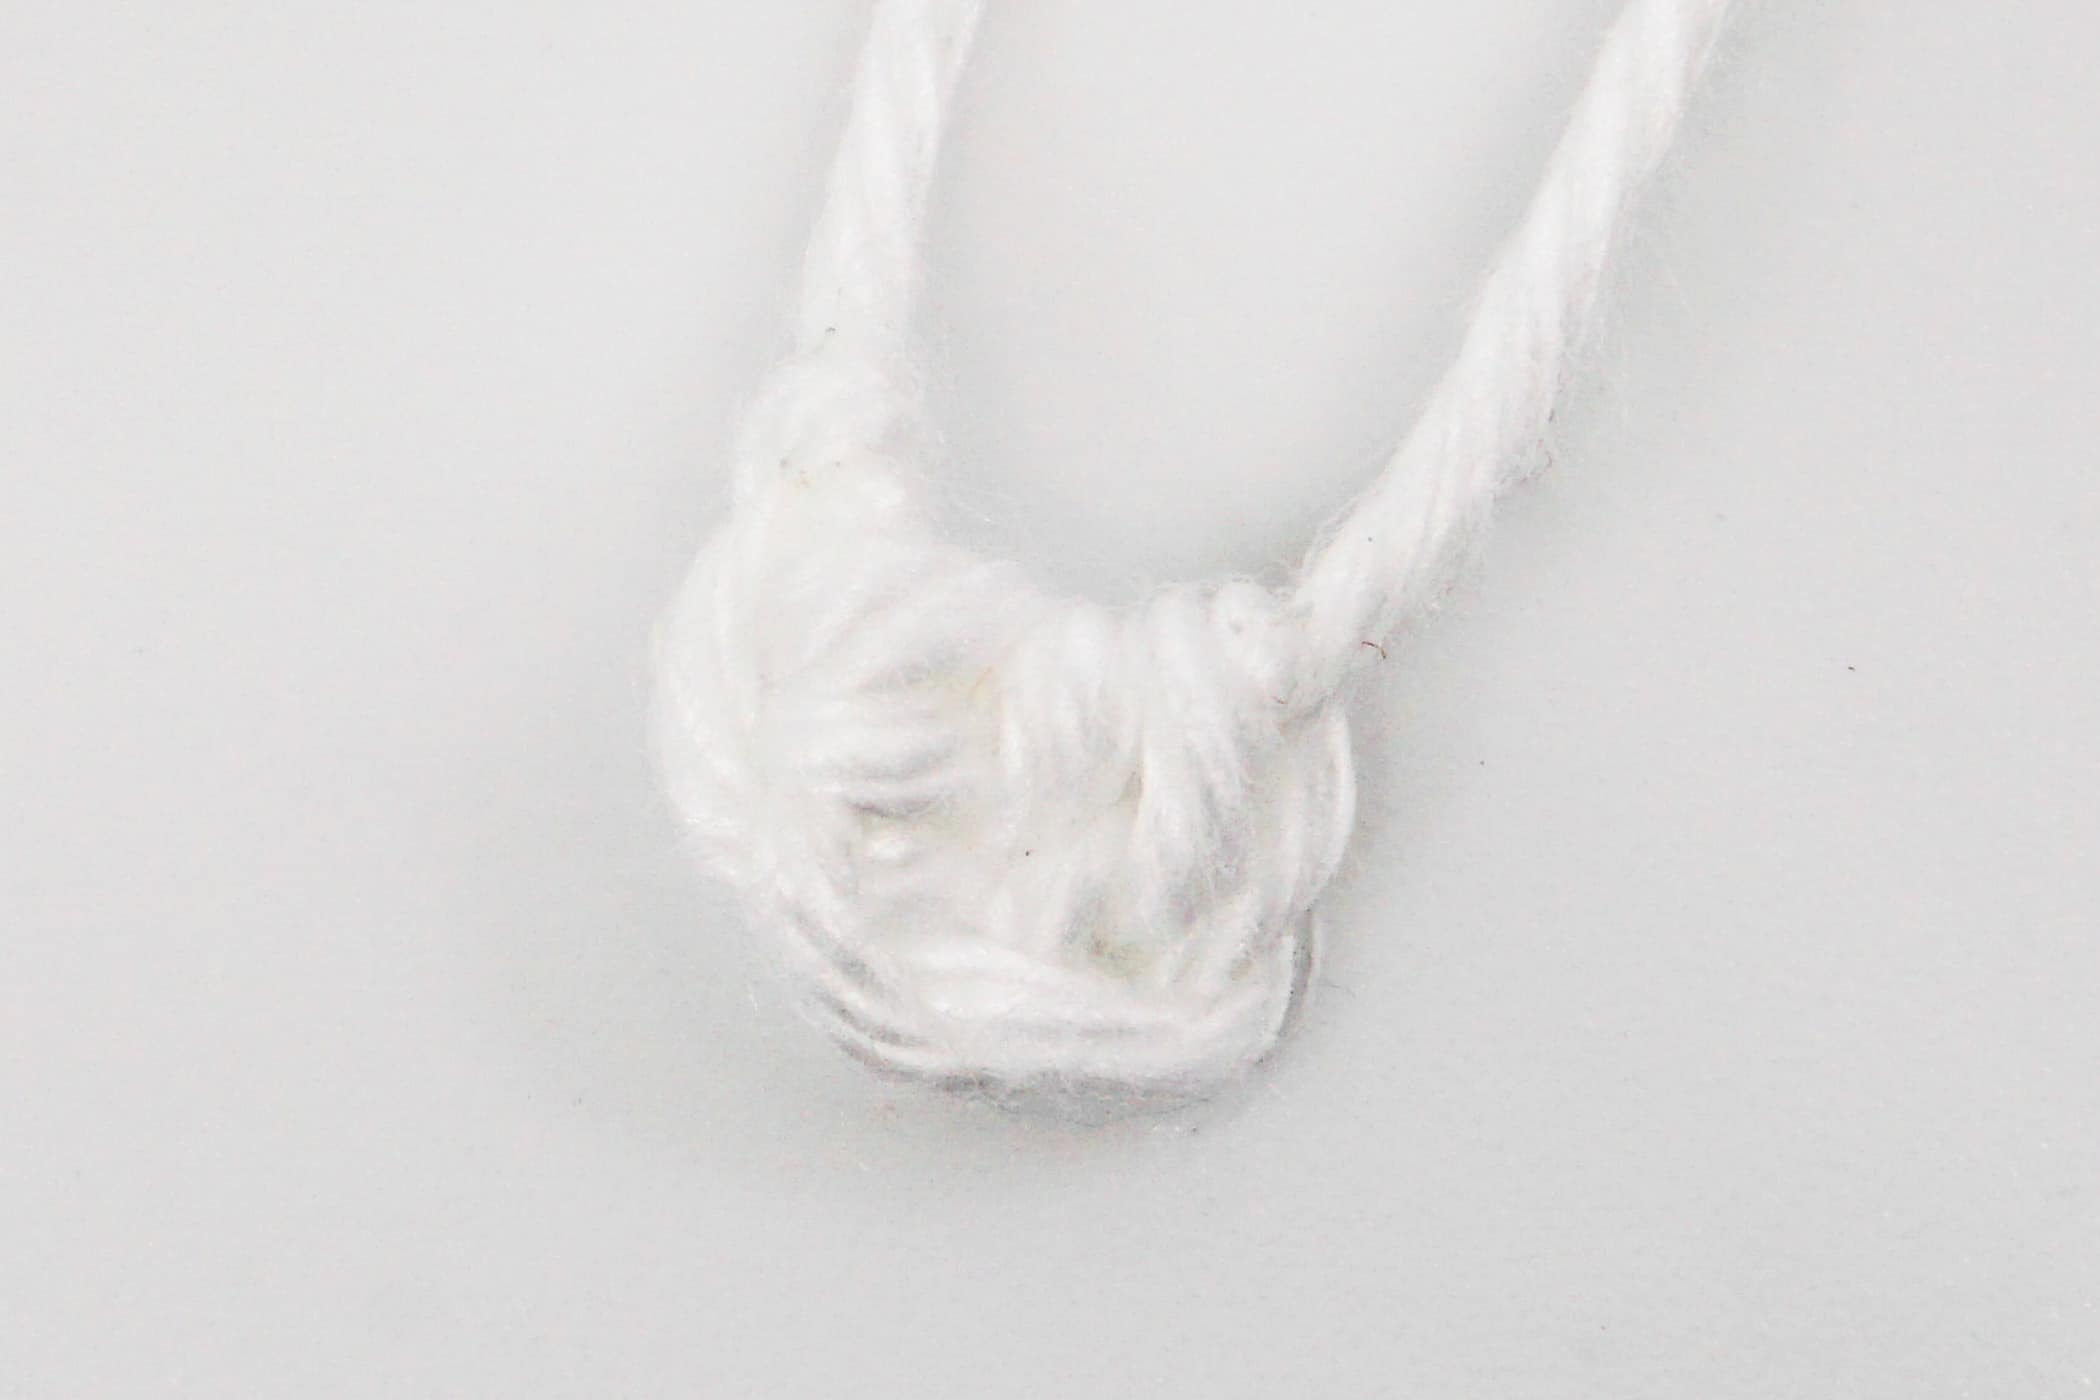
Crochet the Teeth
The teeth are crocheted in White in rows with chain stitches and half double crochet stitches.
- Crochet the teeth in rows in White.
- Row 1: Crochet 3 chain stitches (3 stitches).
- Row 2: 1 half double crochet into the 3rd stitch from the hook (1 stitch).
- Finish: Cut the yarn generously and leave a long tail for sewing.
Assembling
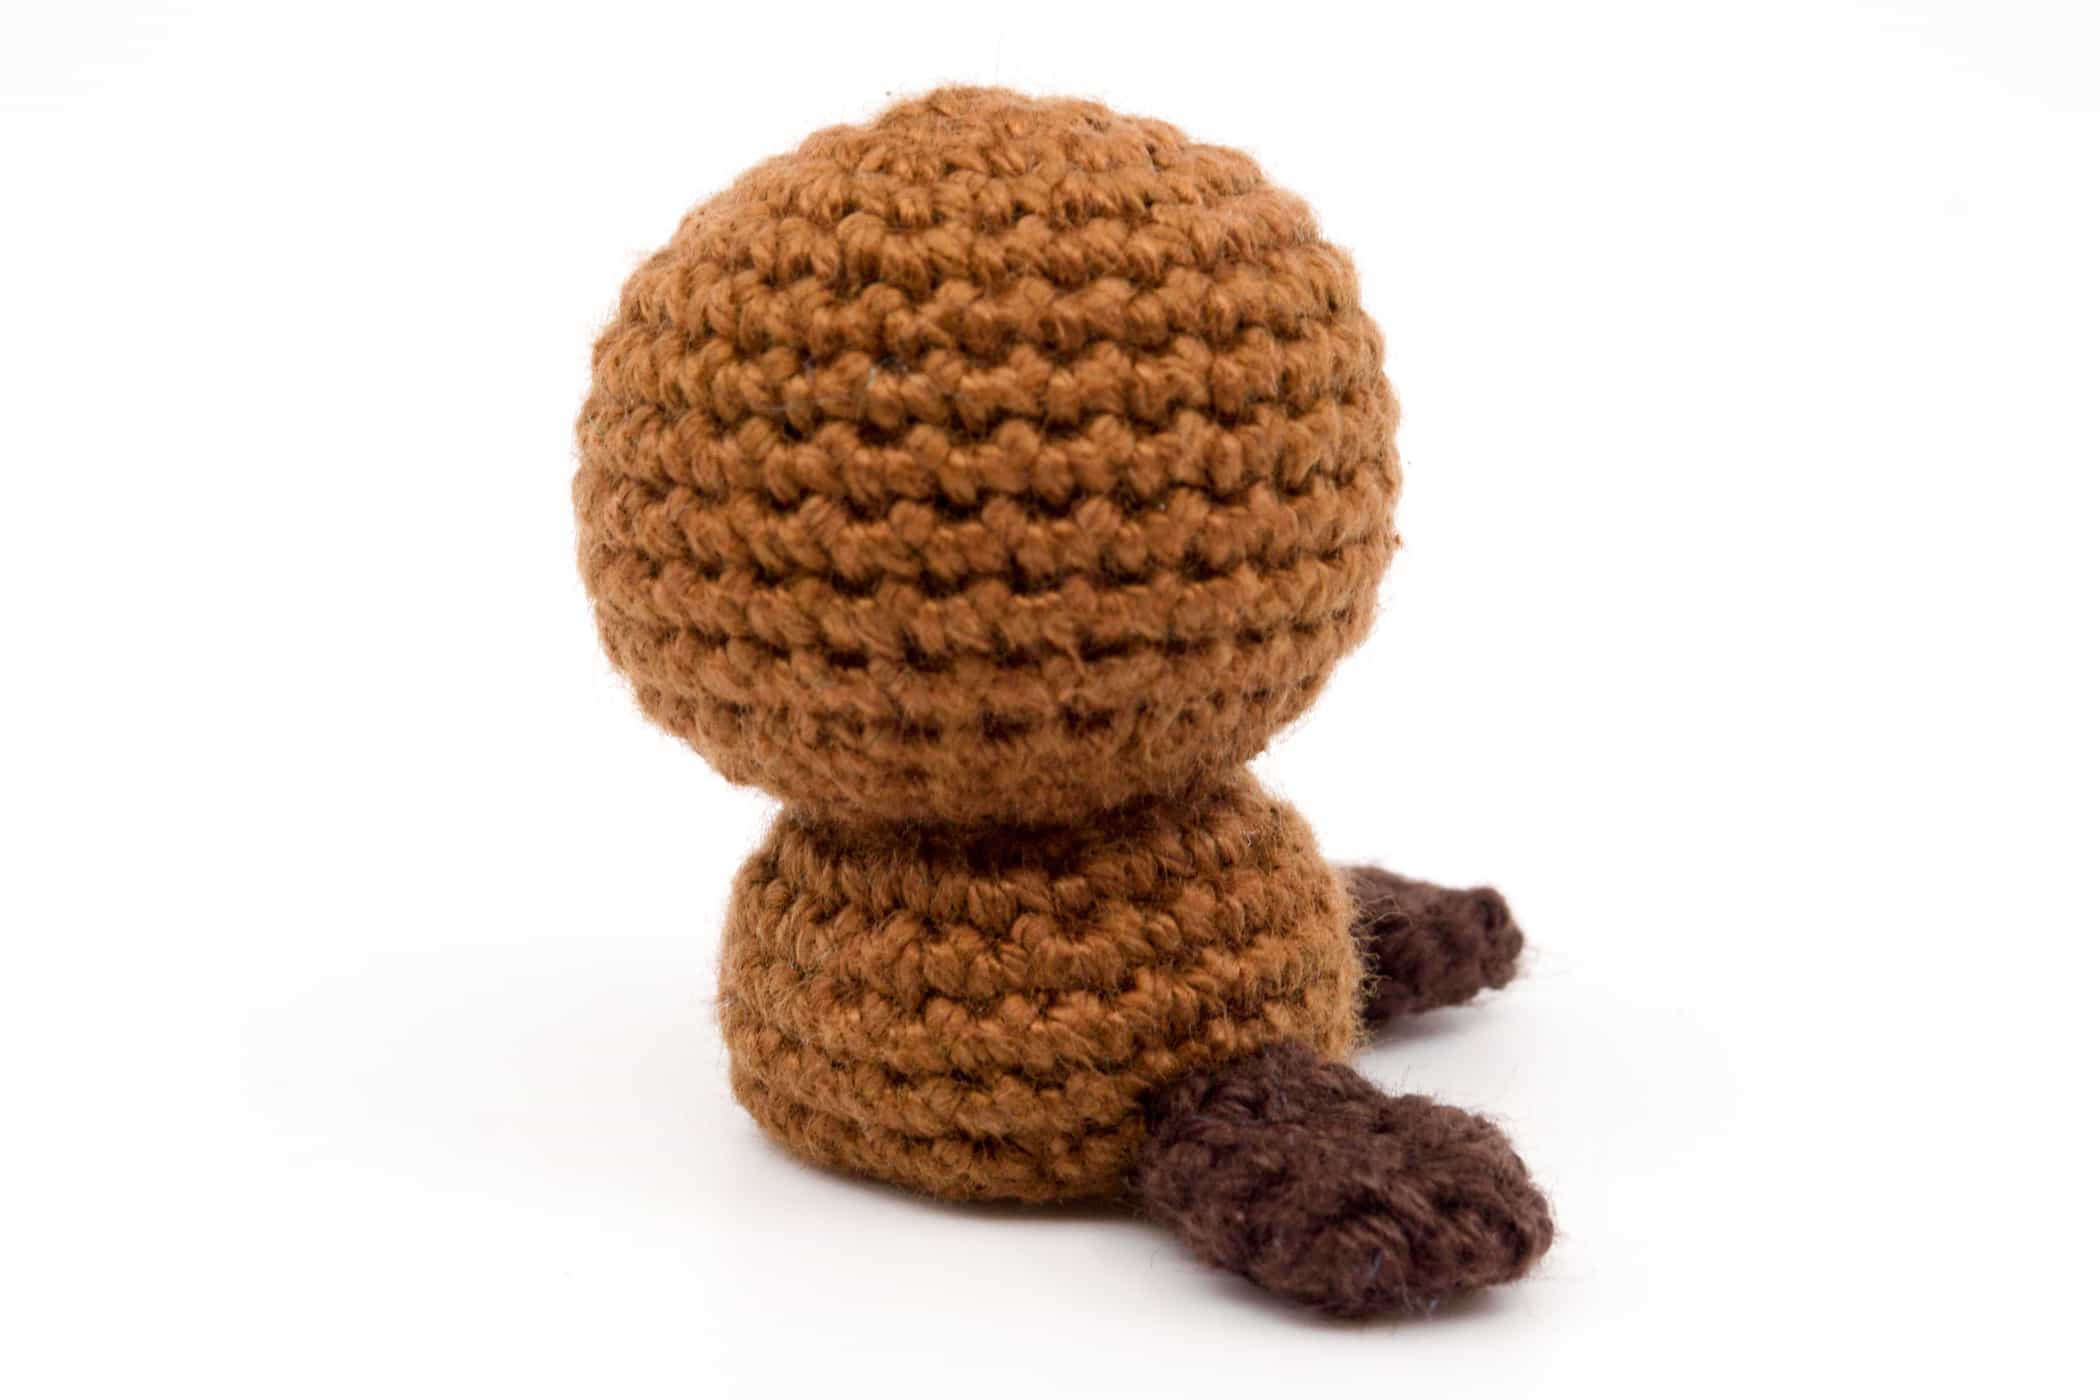
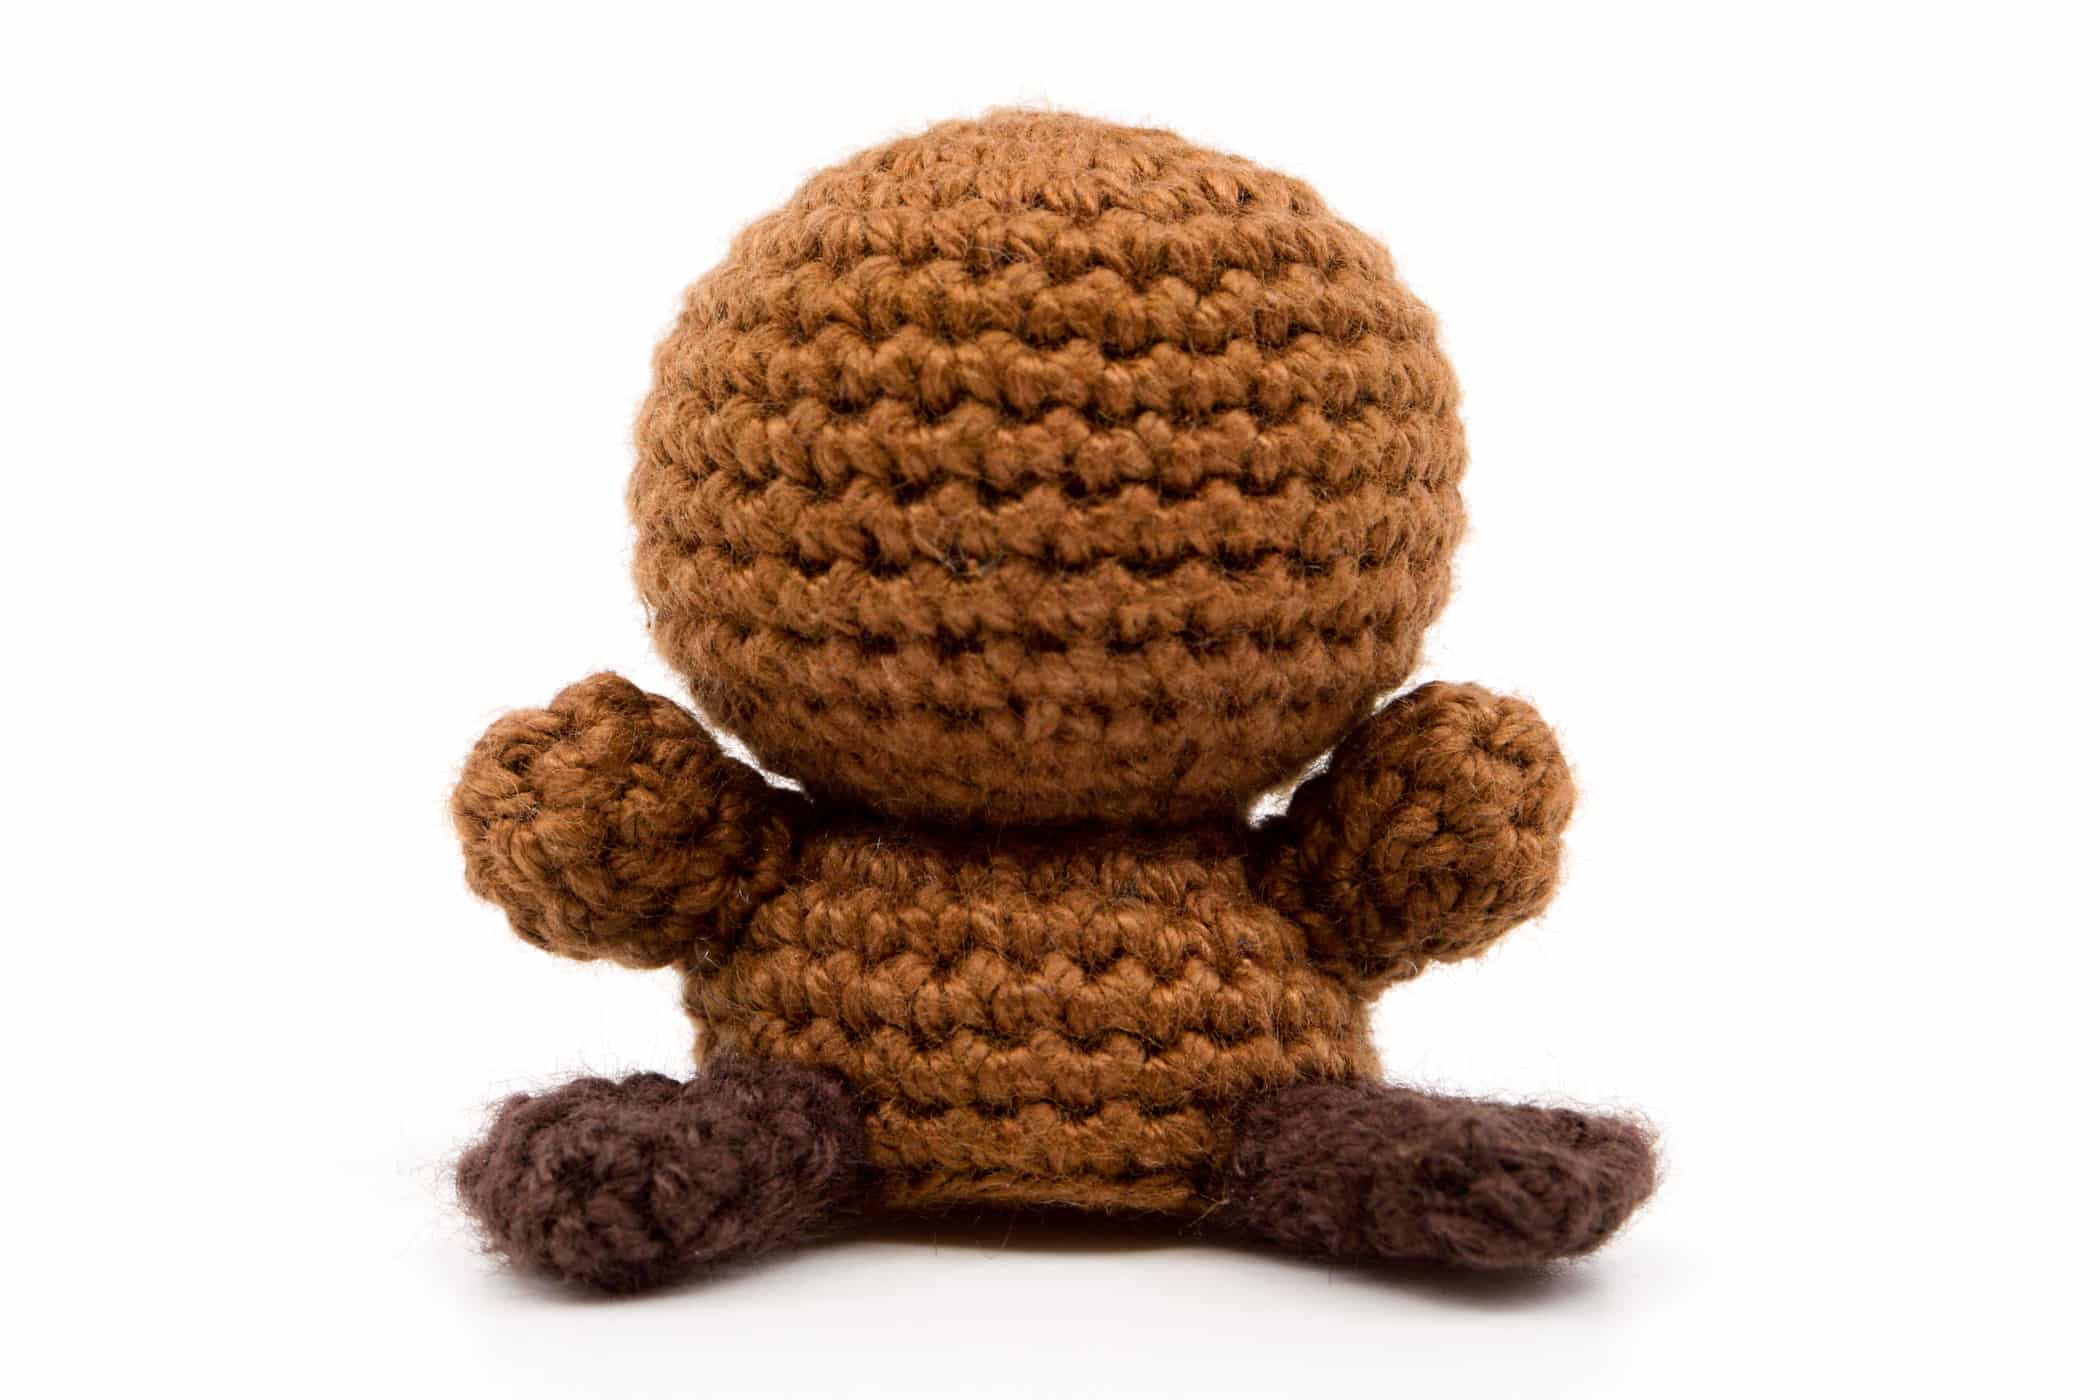
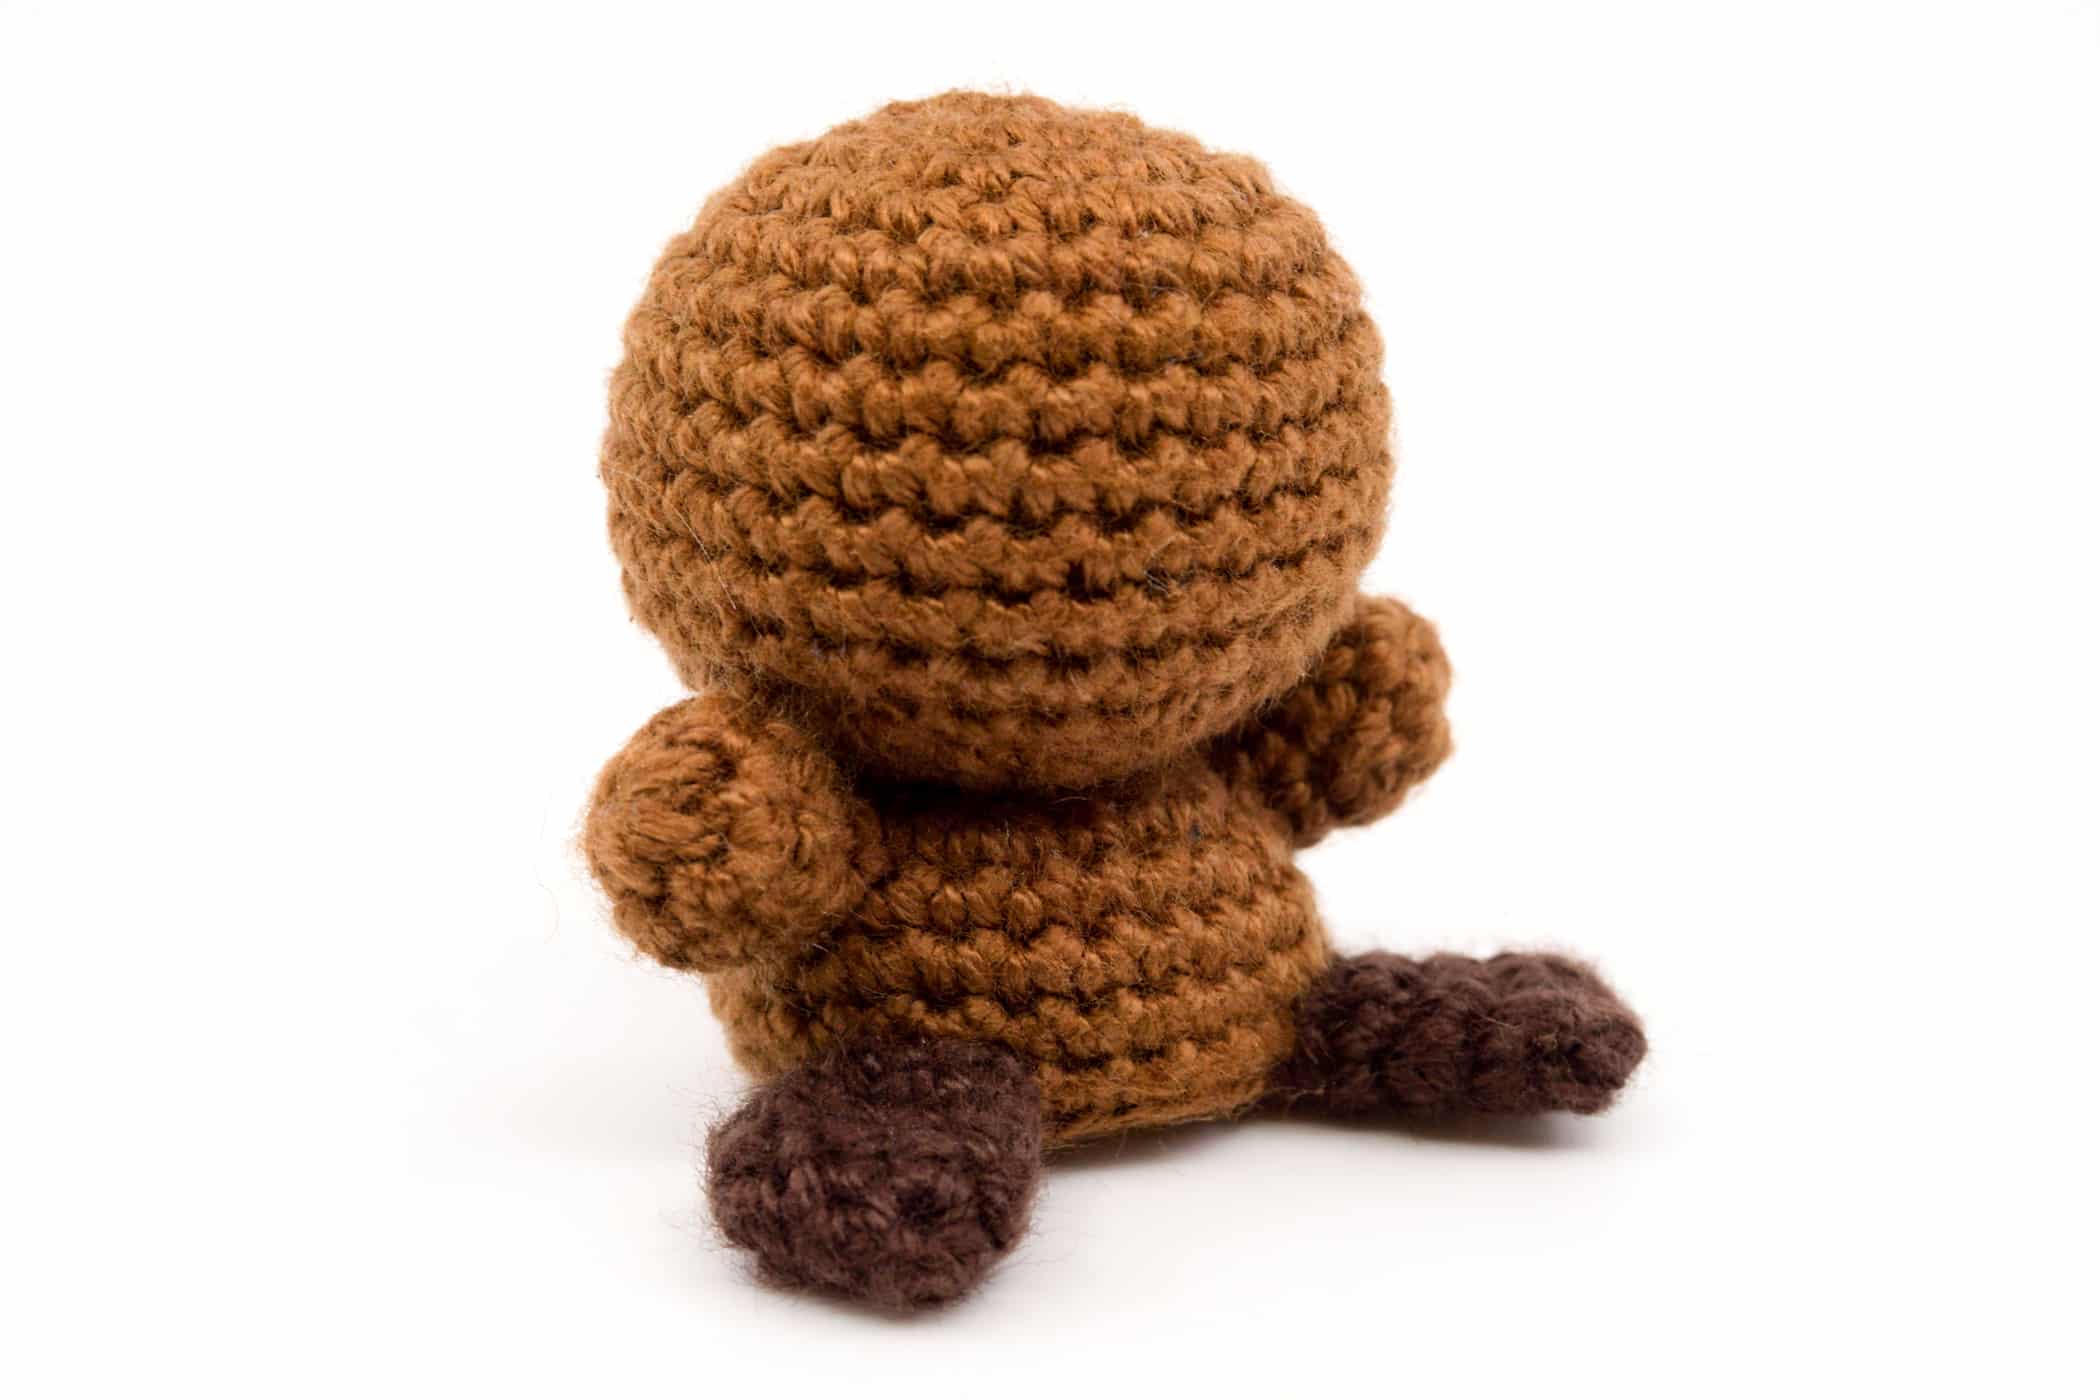
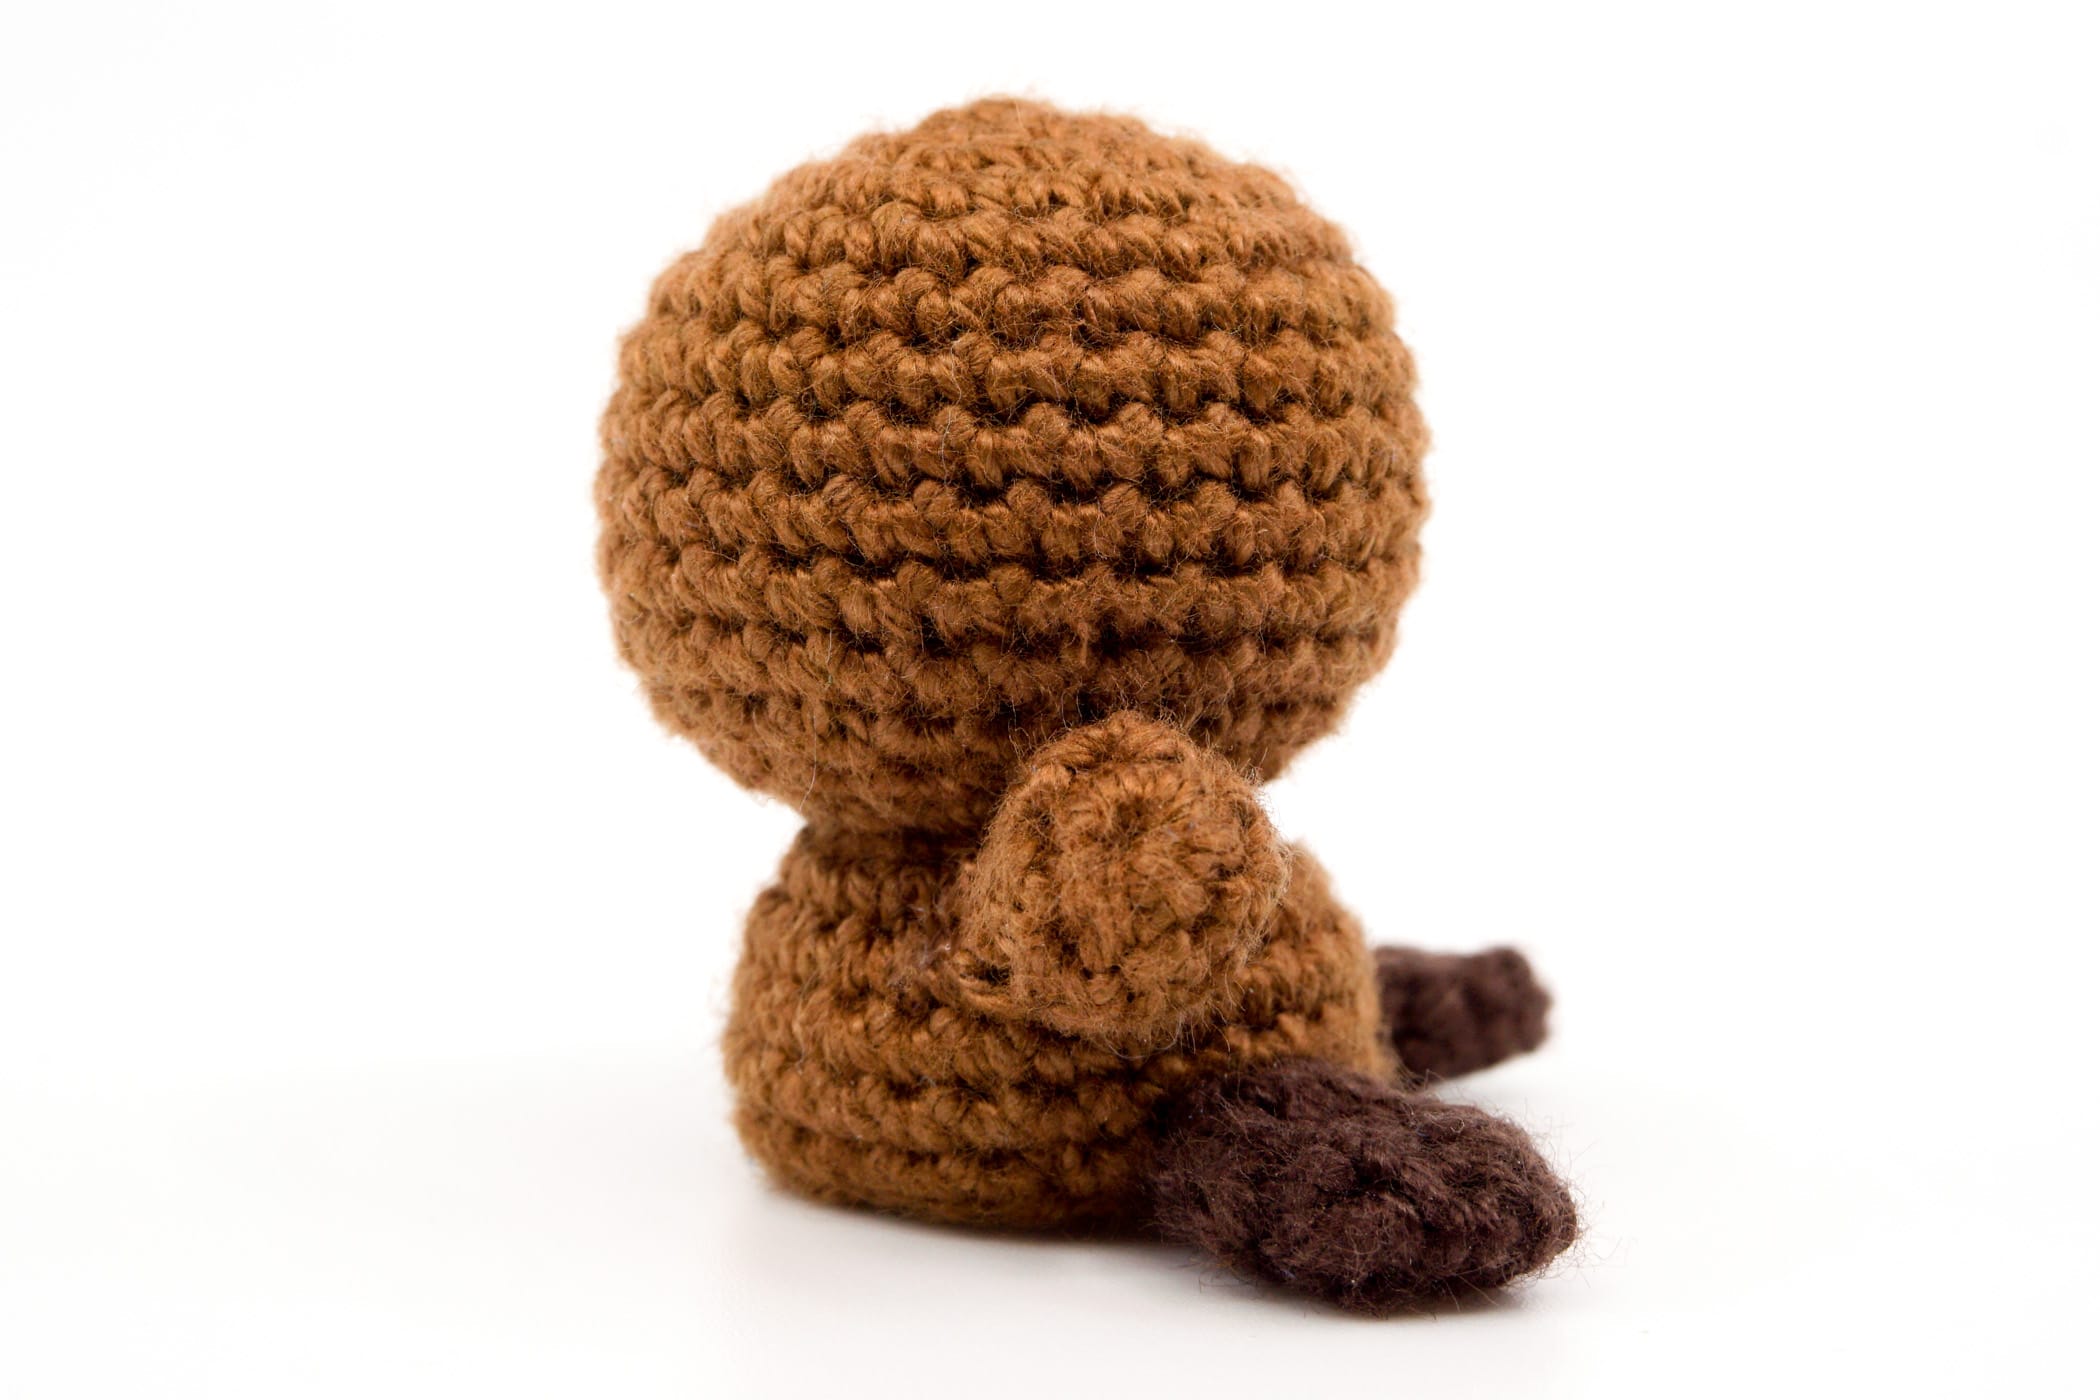
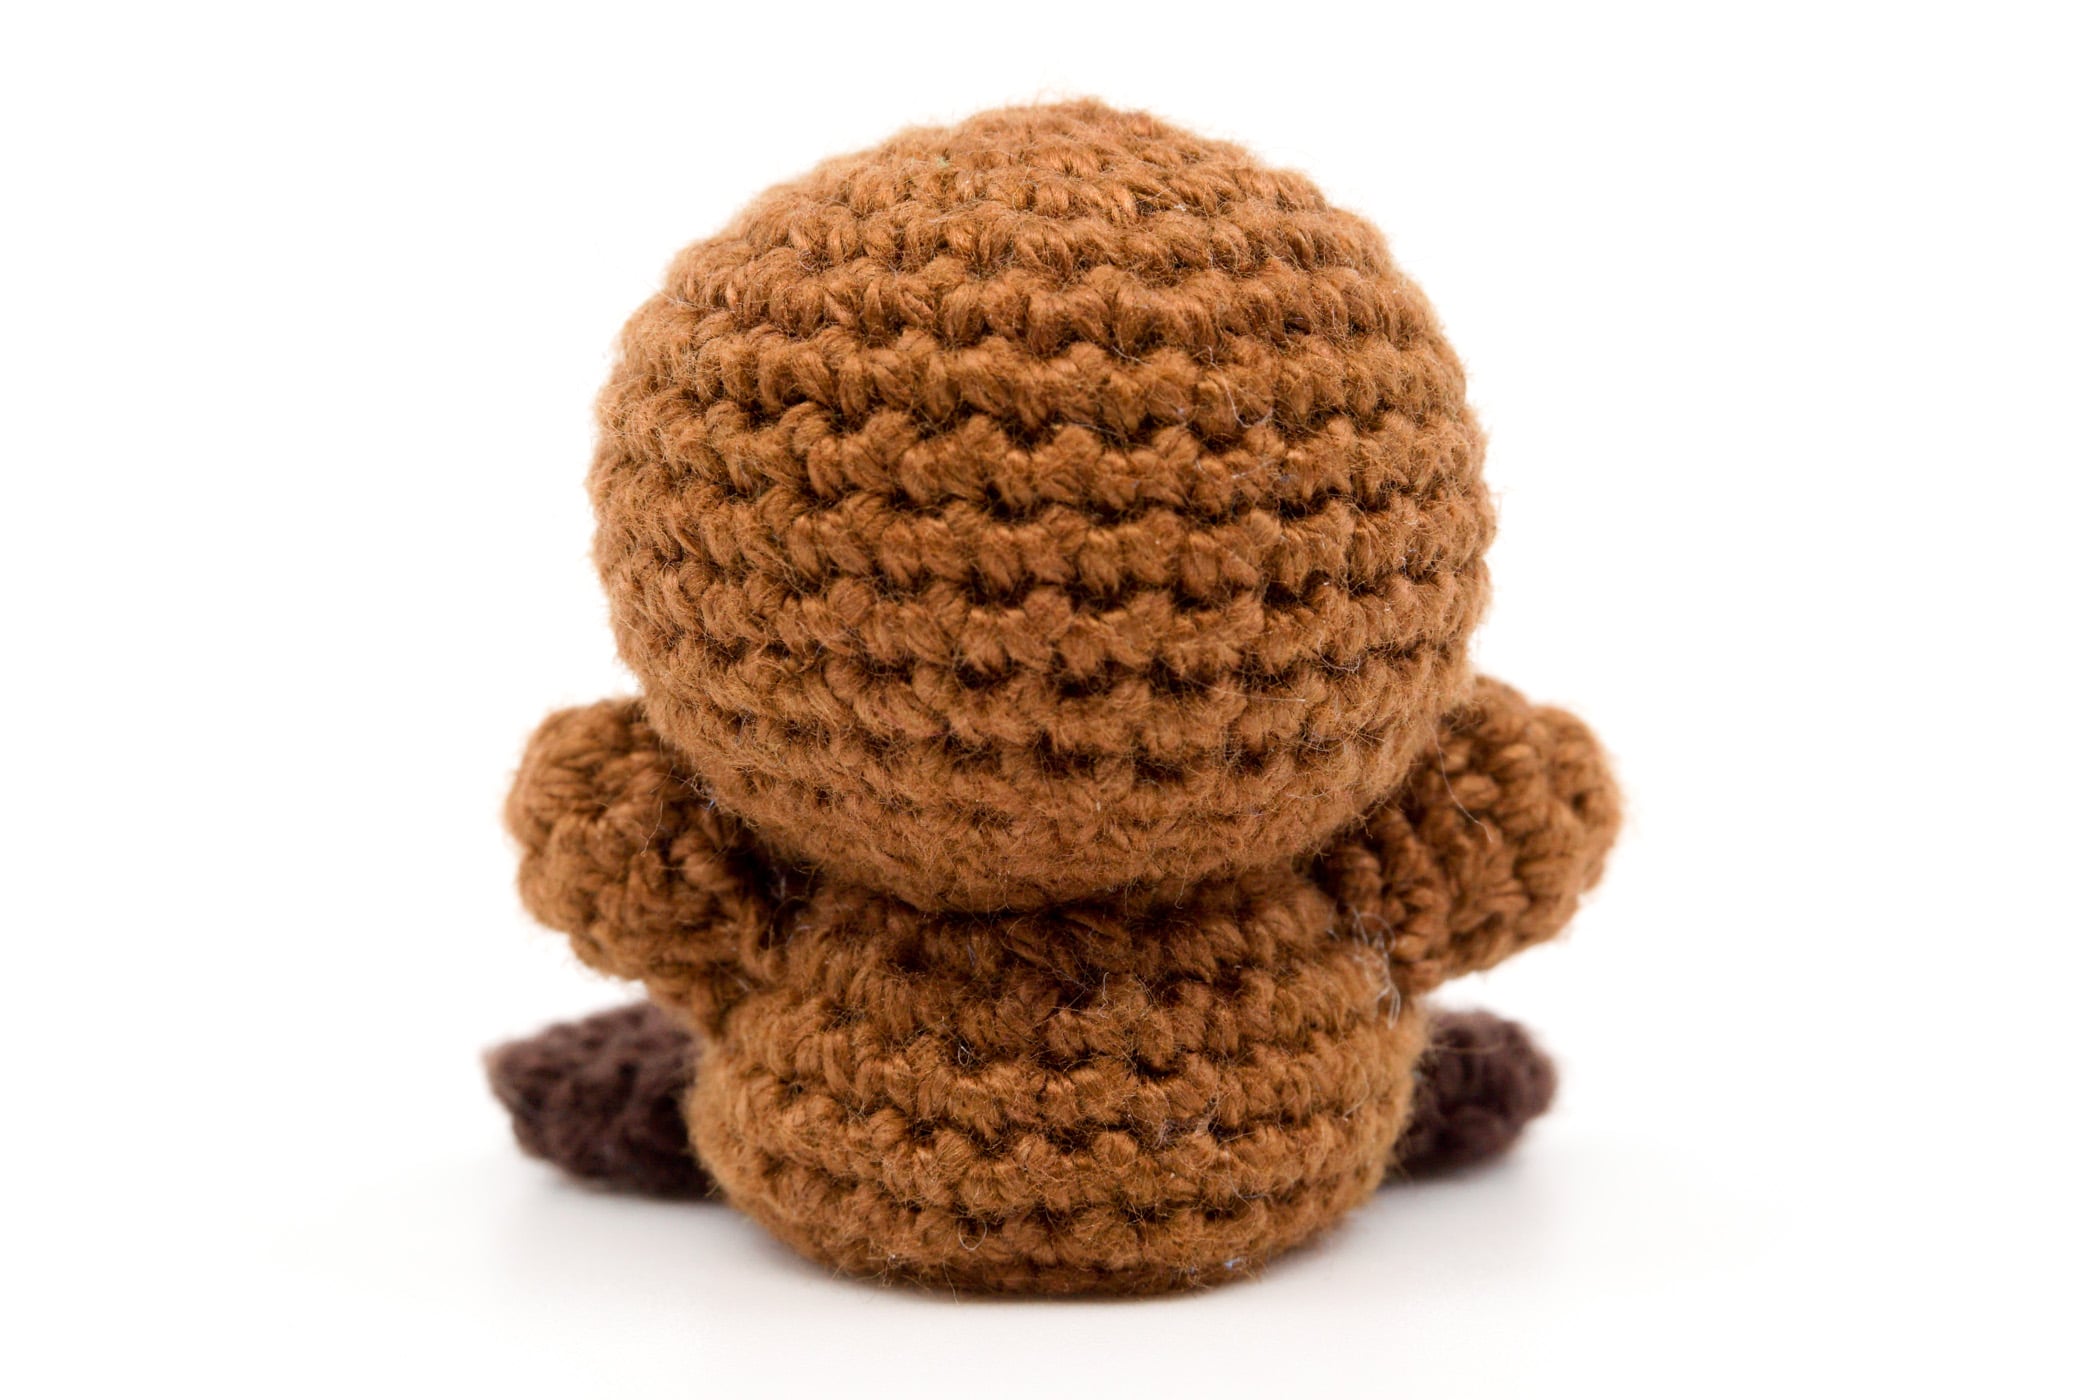
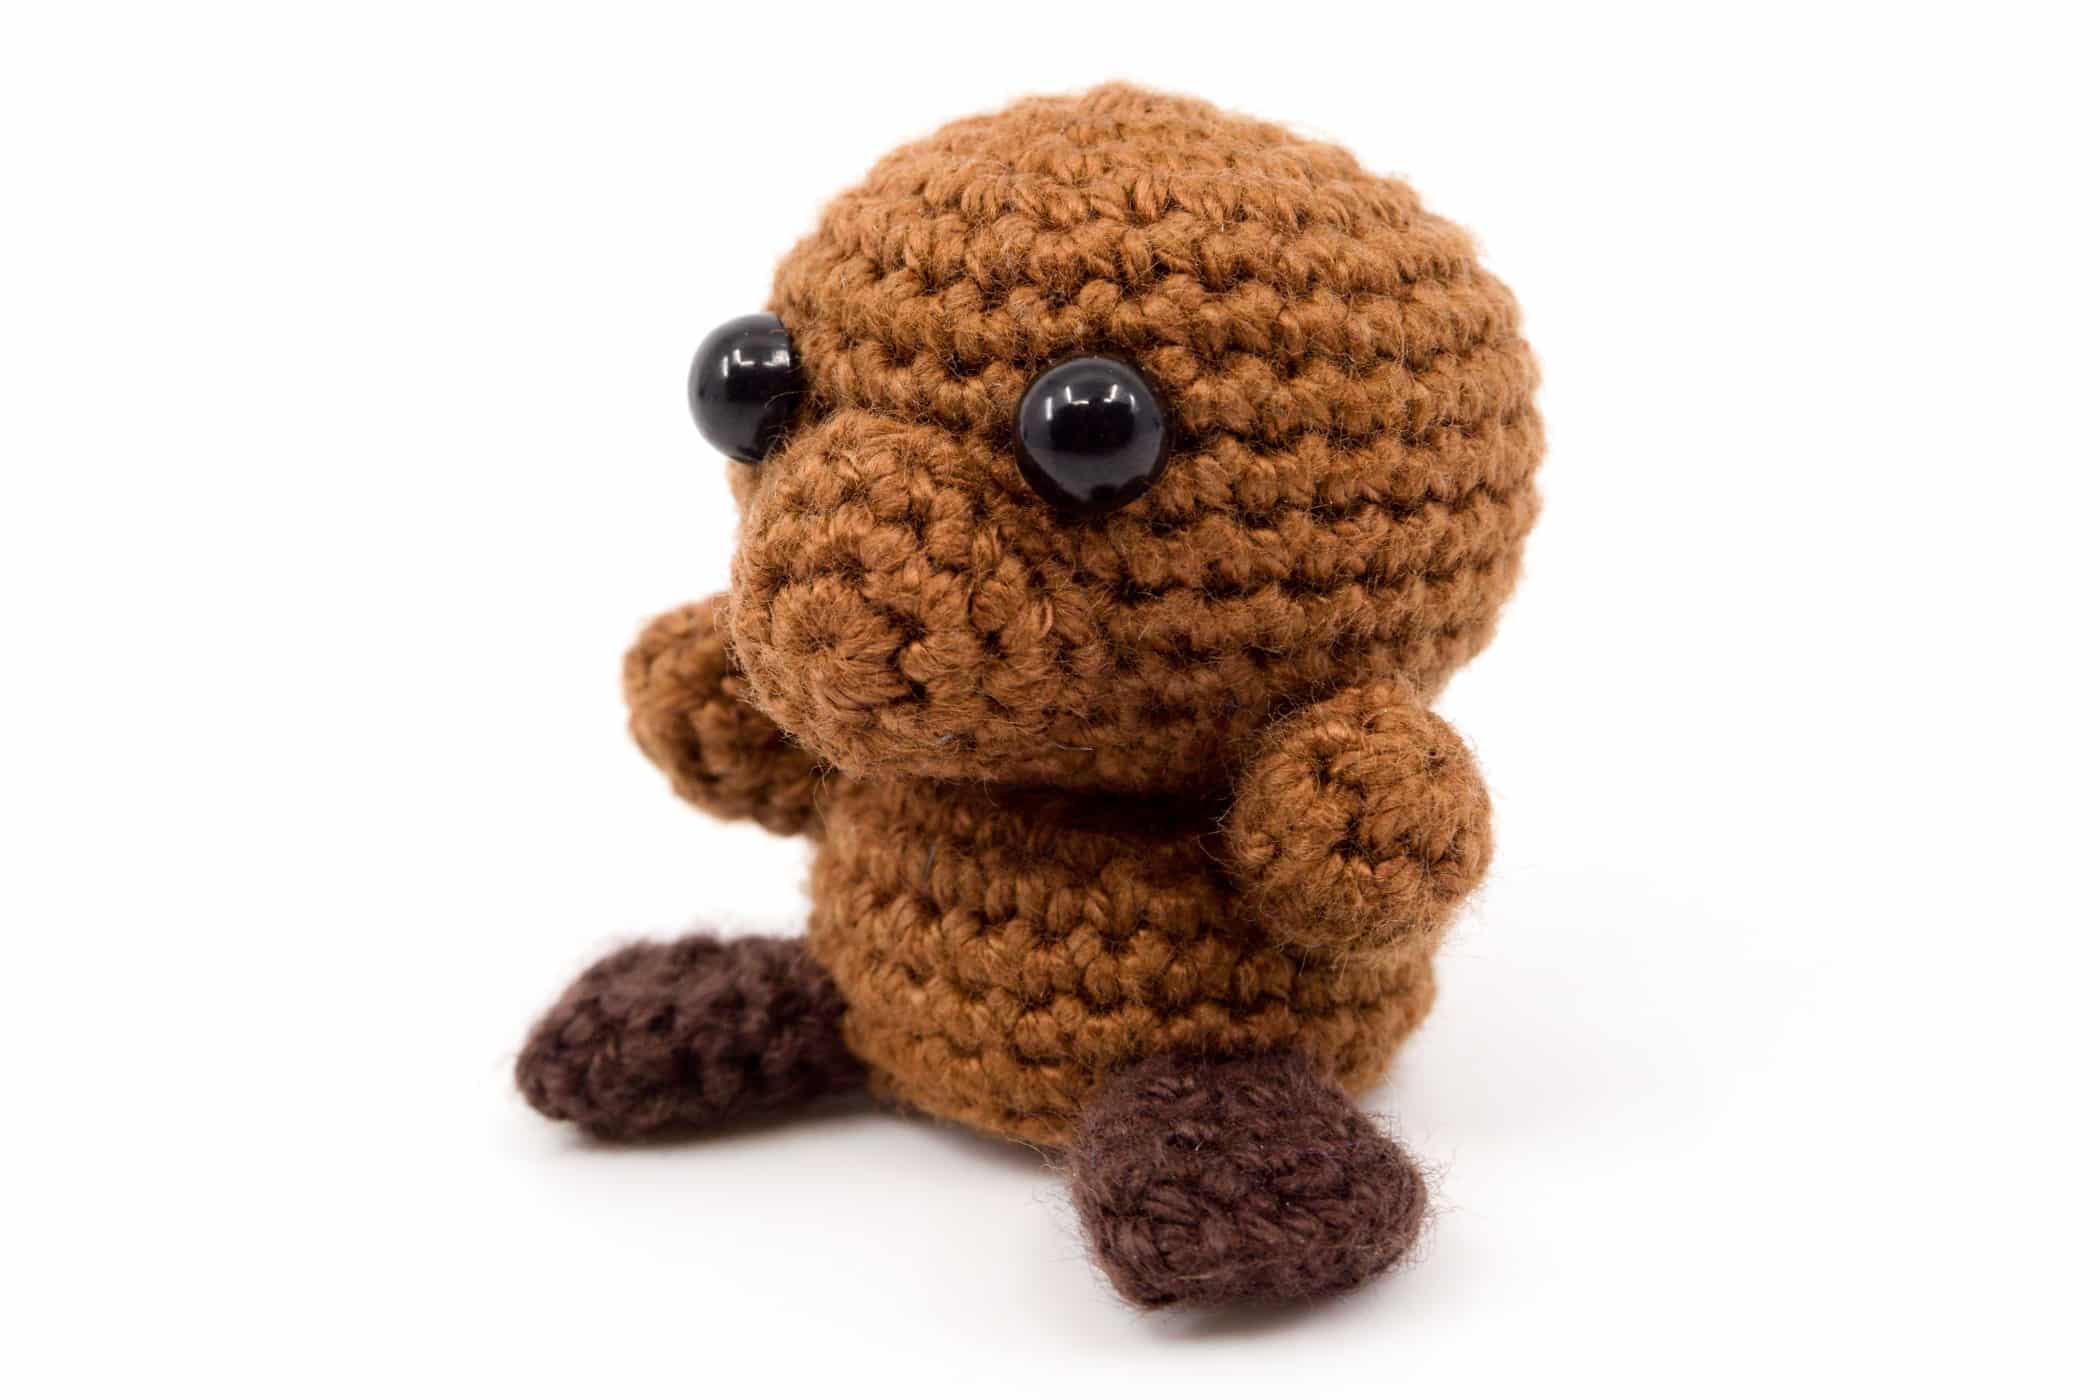
Legs: After you’ve finished crocheting all pieces, start sewing the legs onto the body. Start sewing the first leg onto the body directly over the edge that was created by the round that was crocheted only into the back loop. Sew on the second leg 4 to 5 stitches left or right from the first leg, again just over the edge.
Arms: Sew the arms left and right onto the body, 1 stitch row under the “neck”. Do not sew the arms directly over the legs but slightly behind the legs.
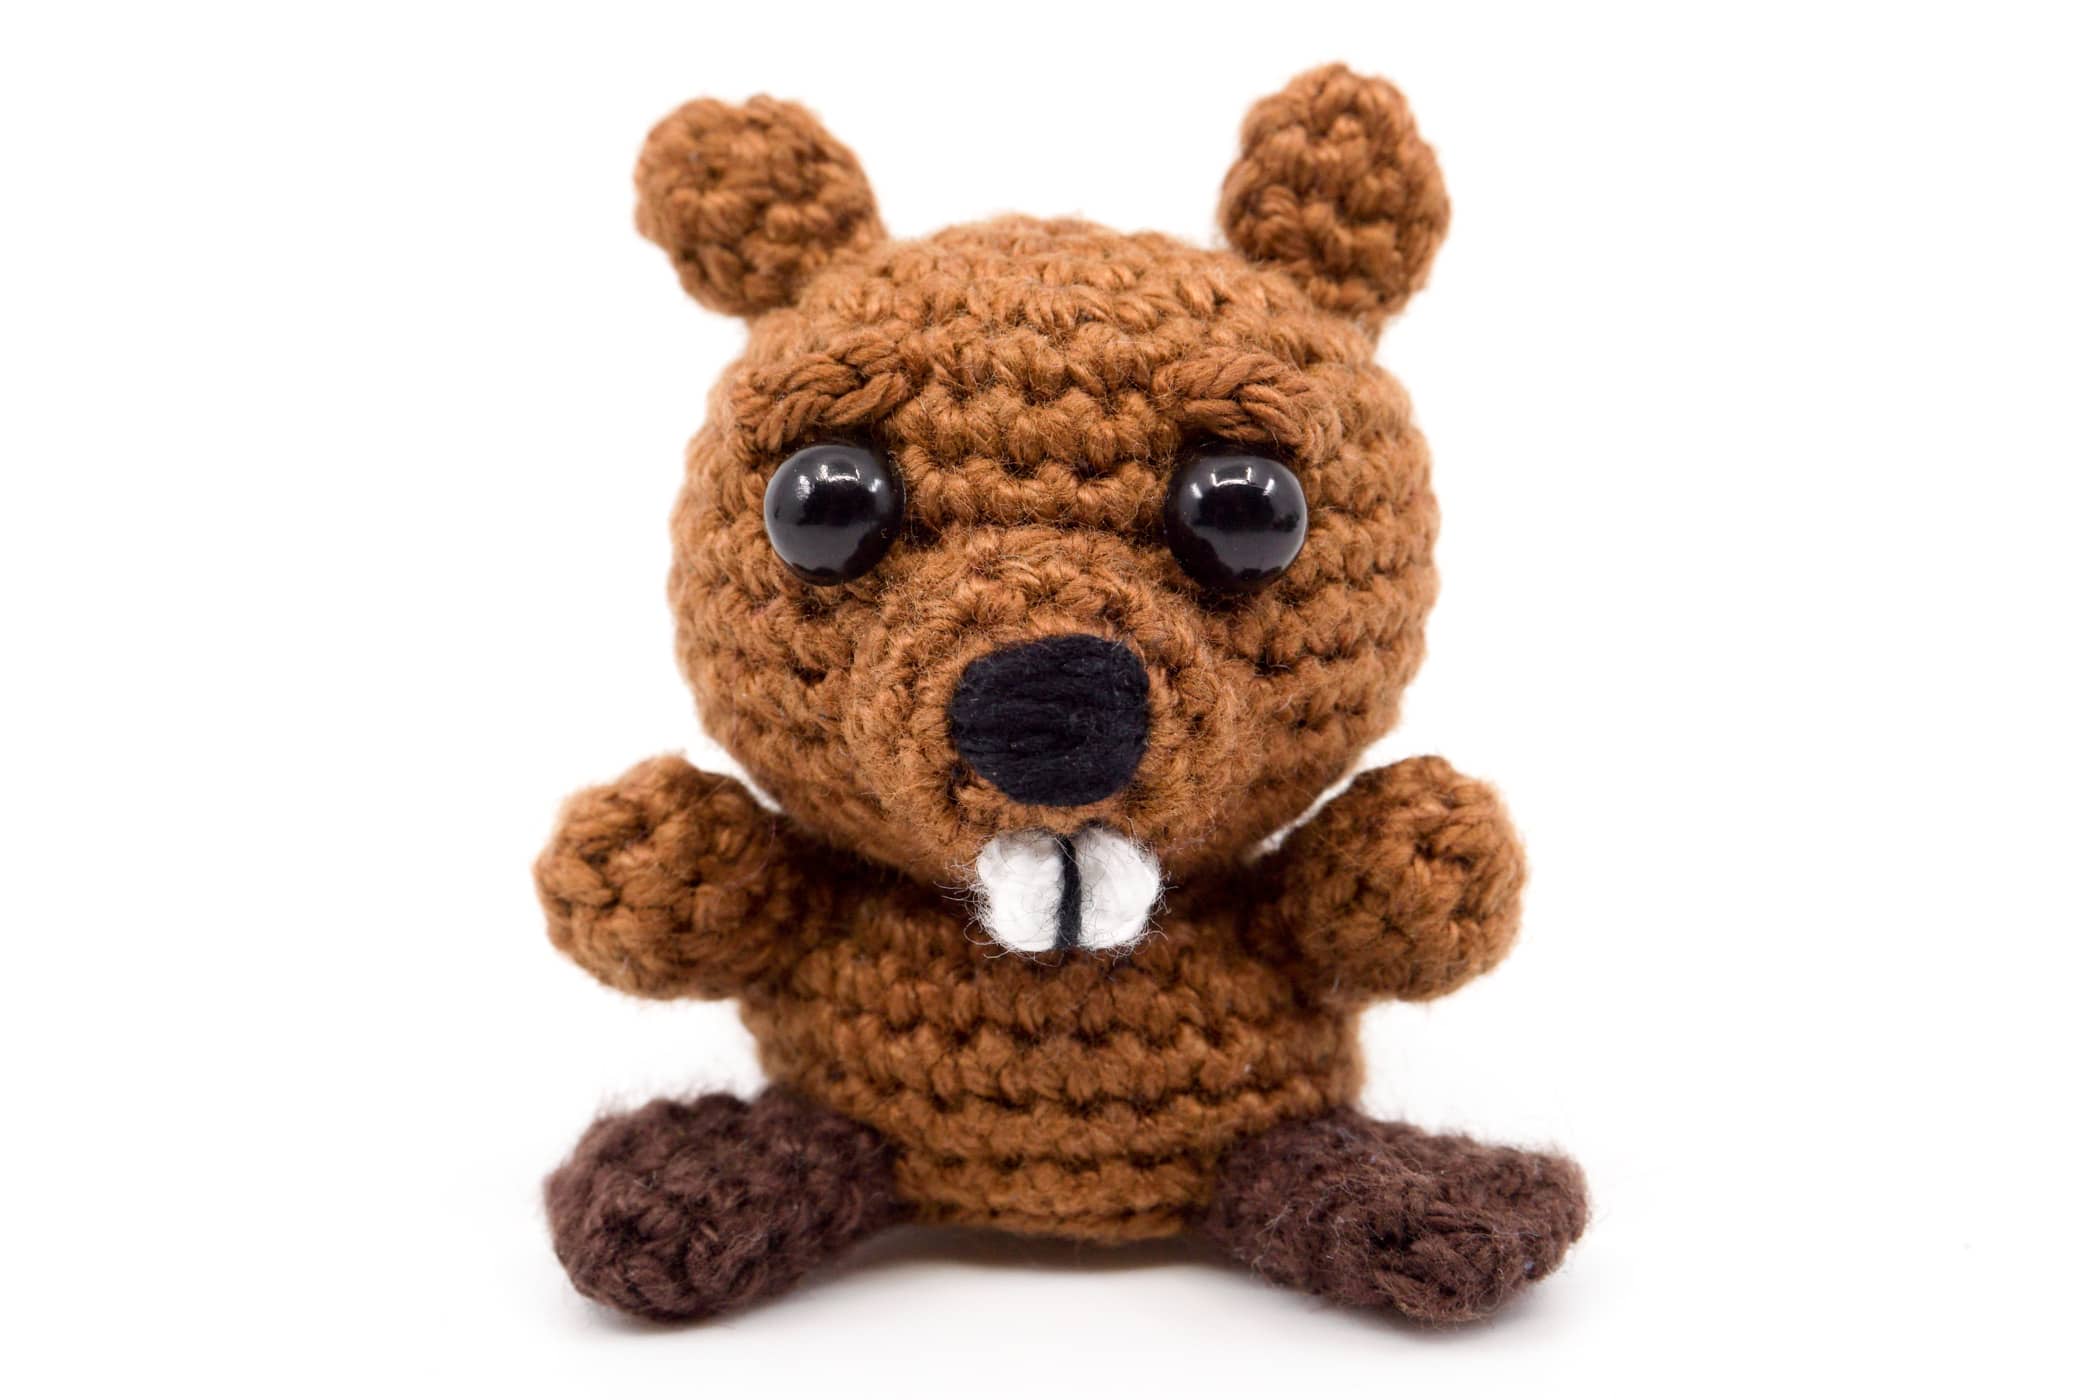
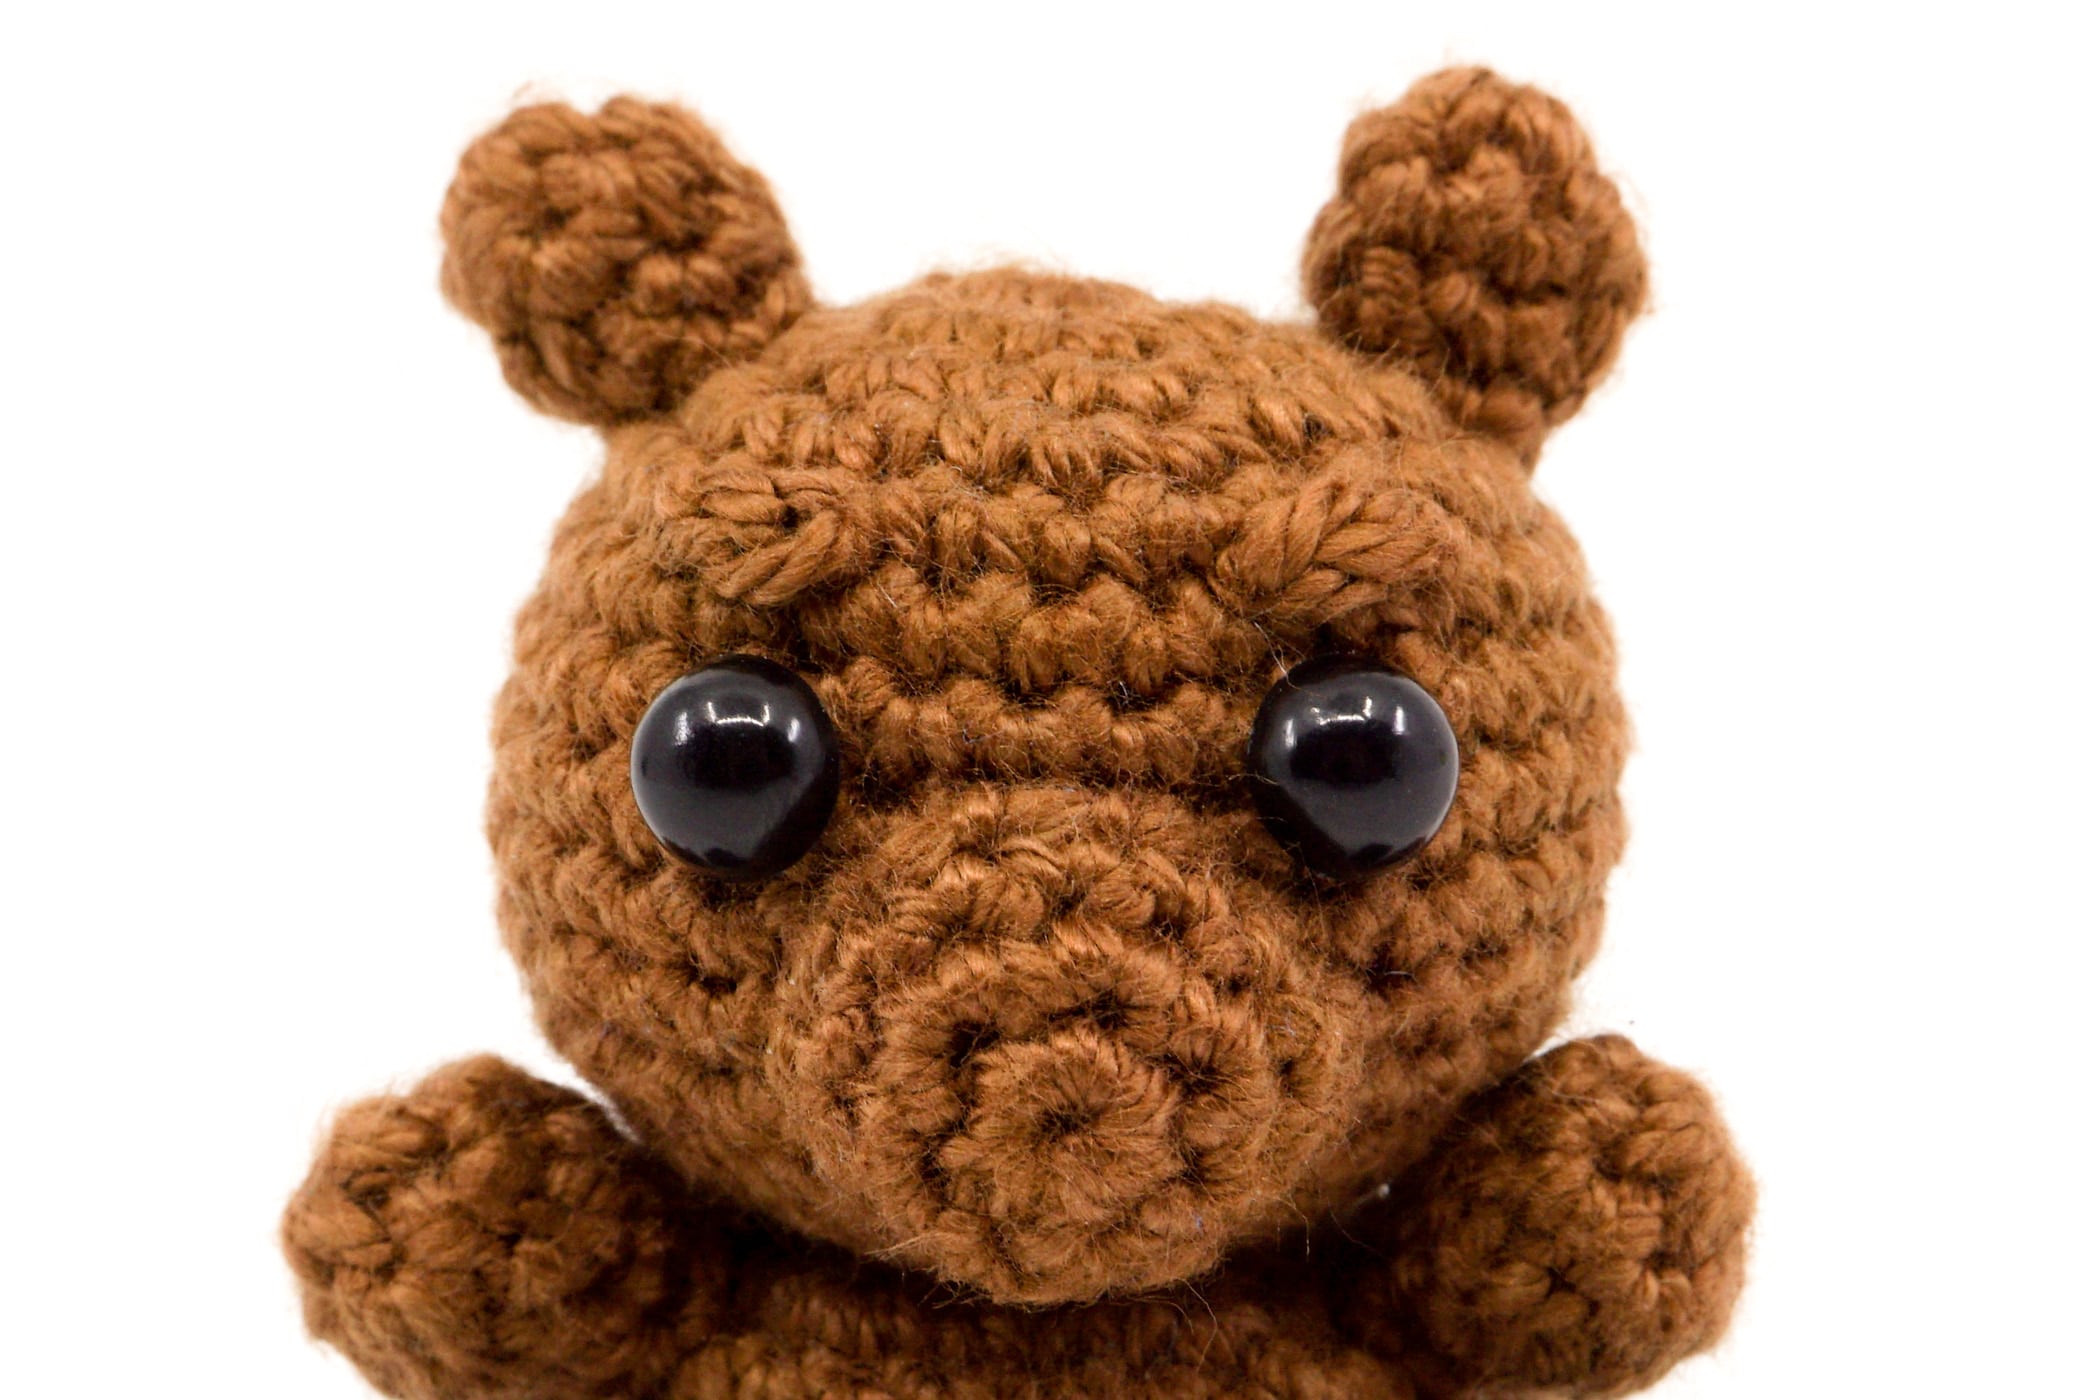
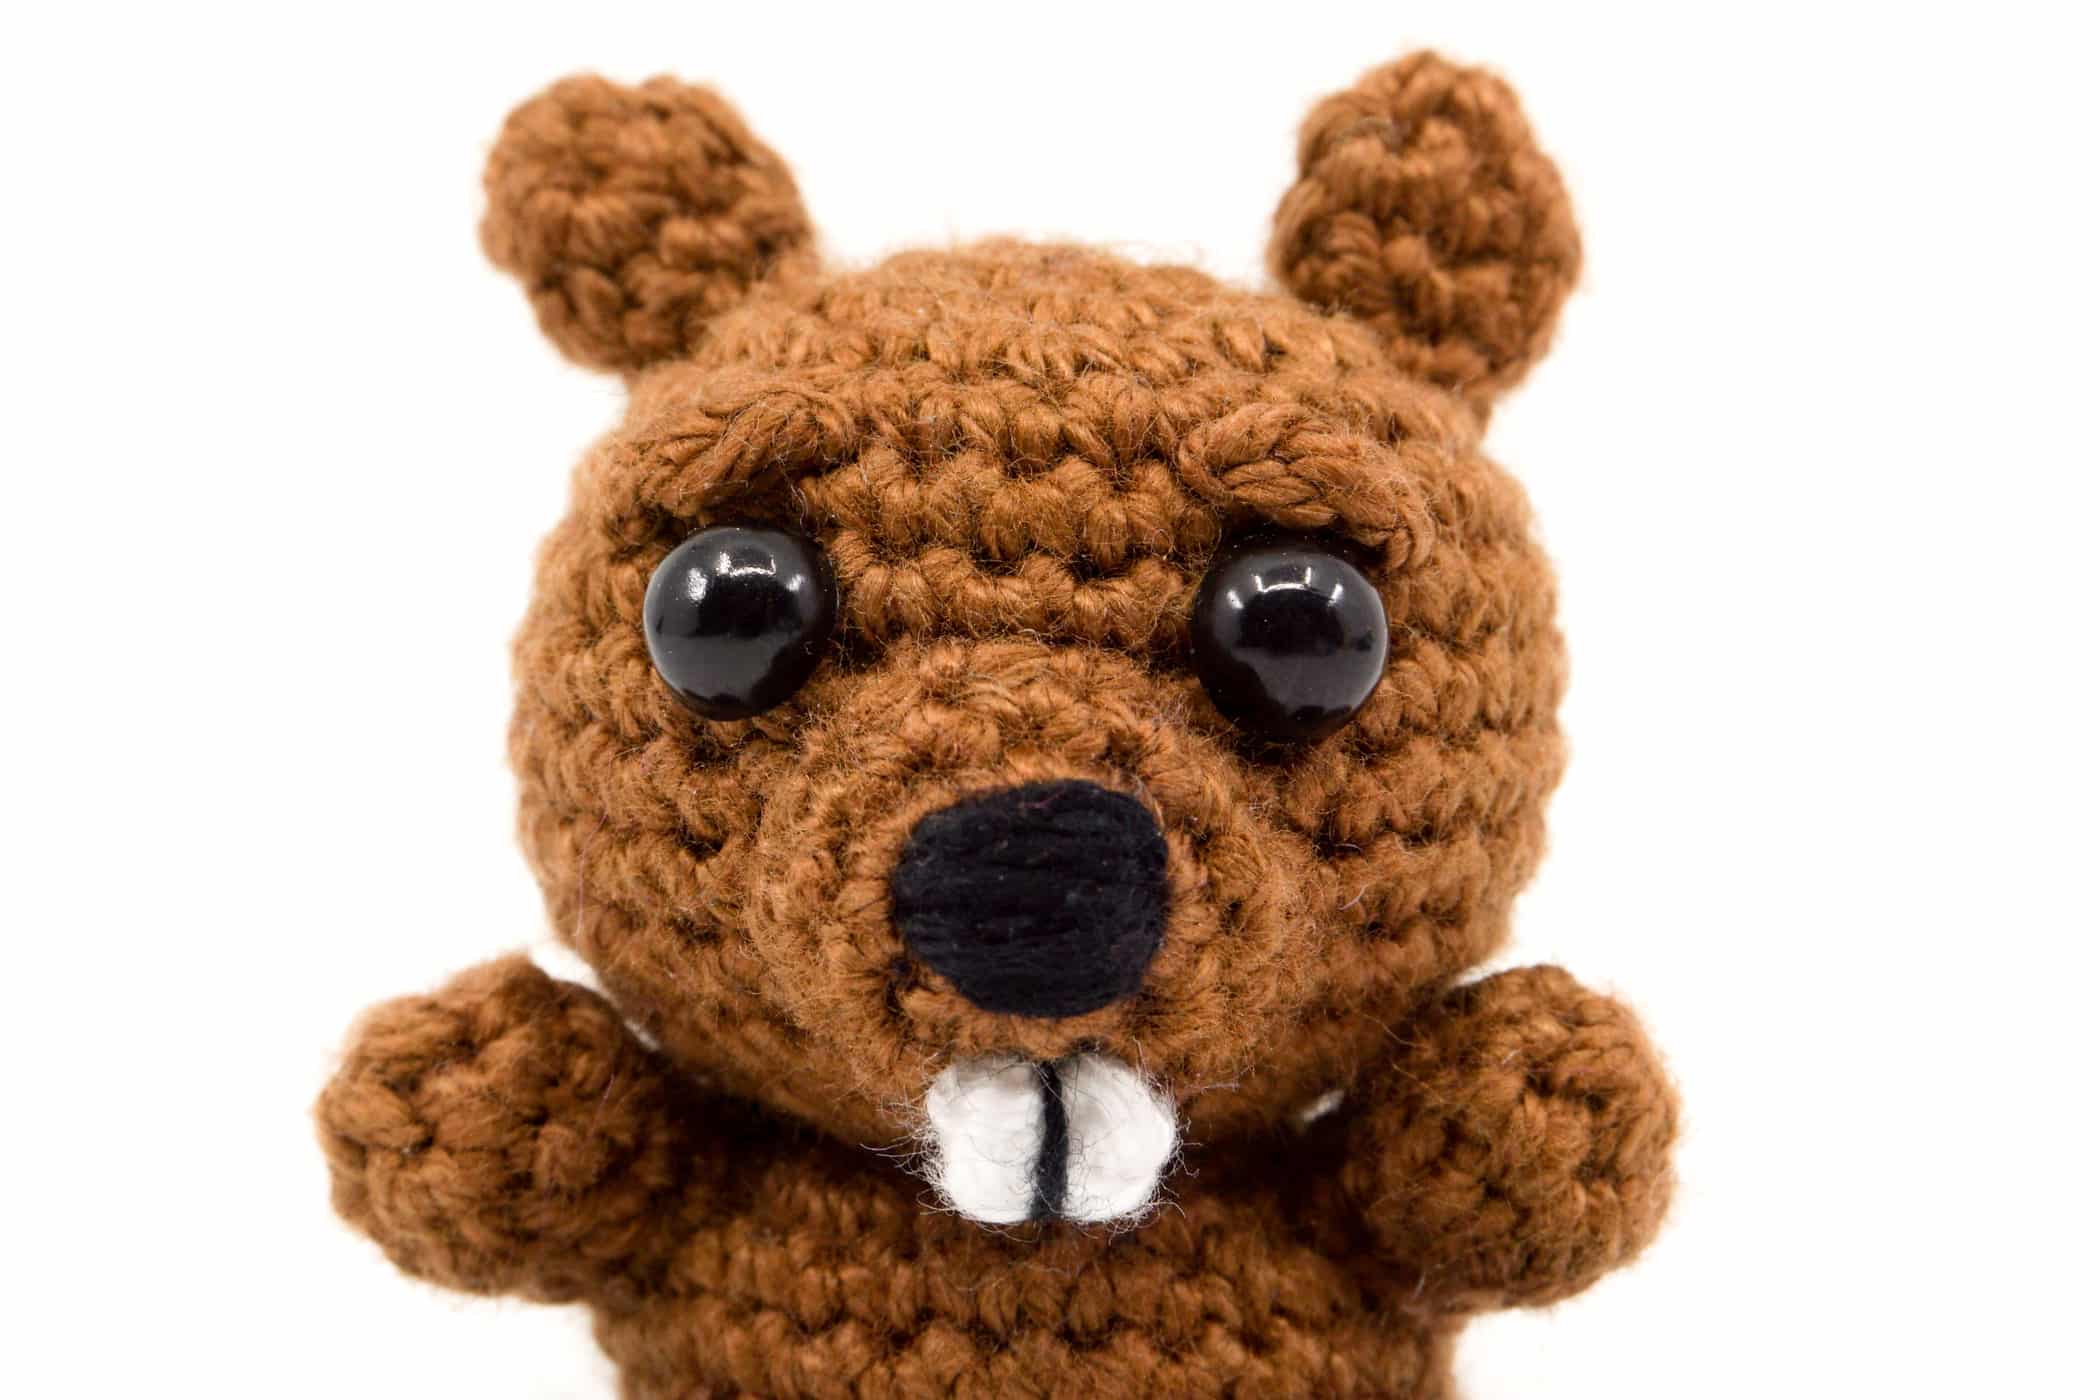
Eyes: Attach the safety eyes after the 7th stitch row counting from the top center of the head. The eyes are 4 stitches apart from each other. Back to the crochet pattern.
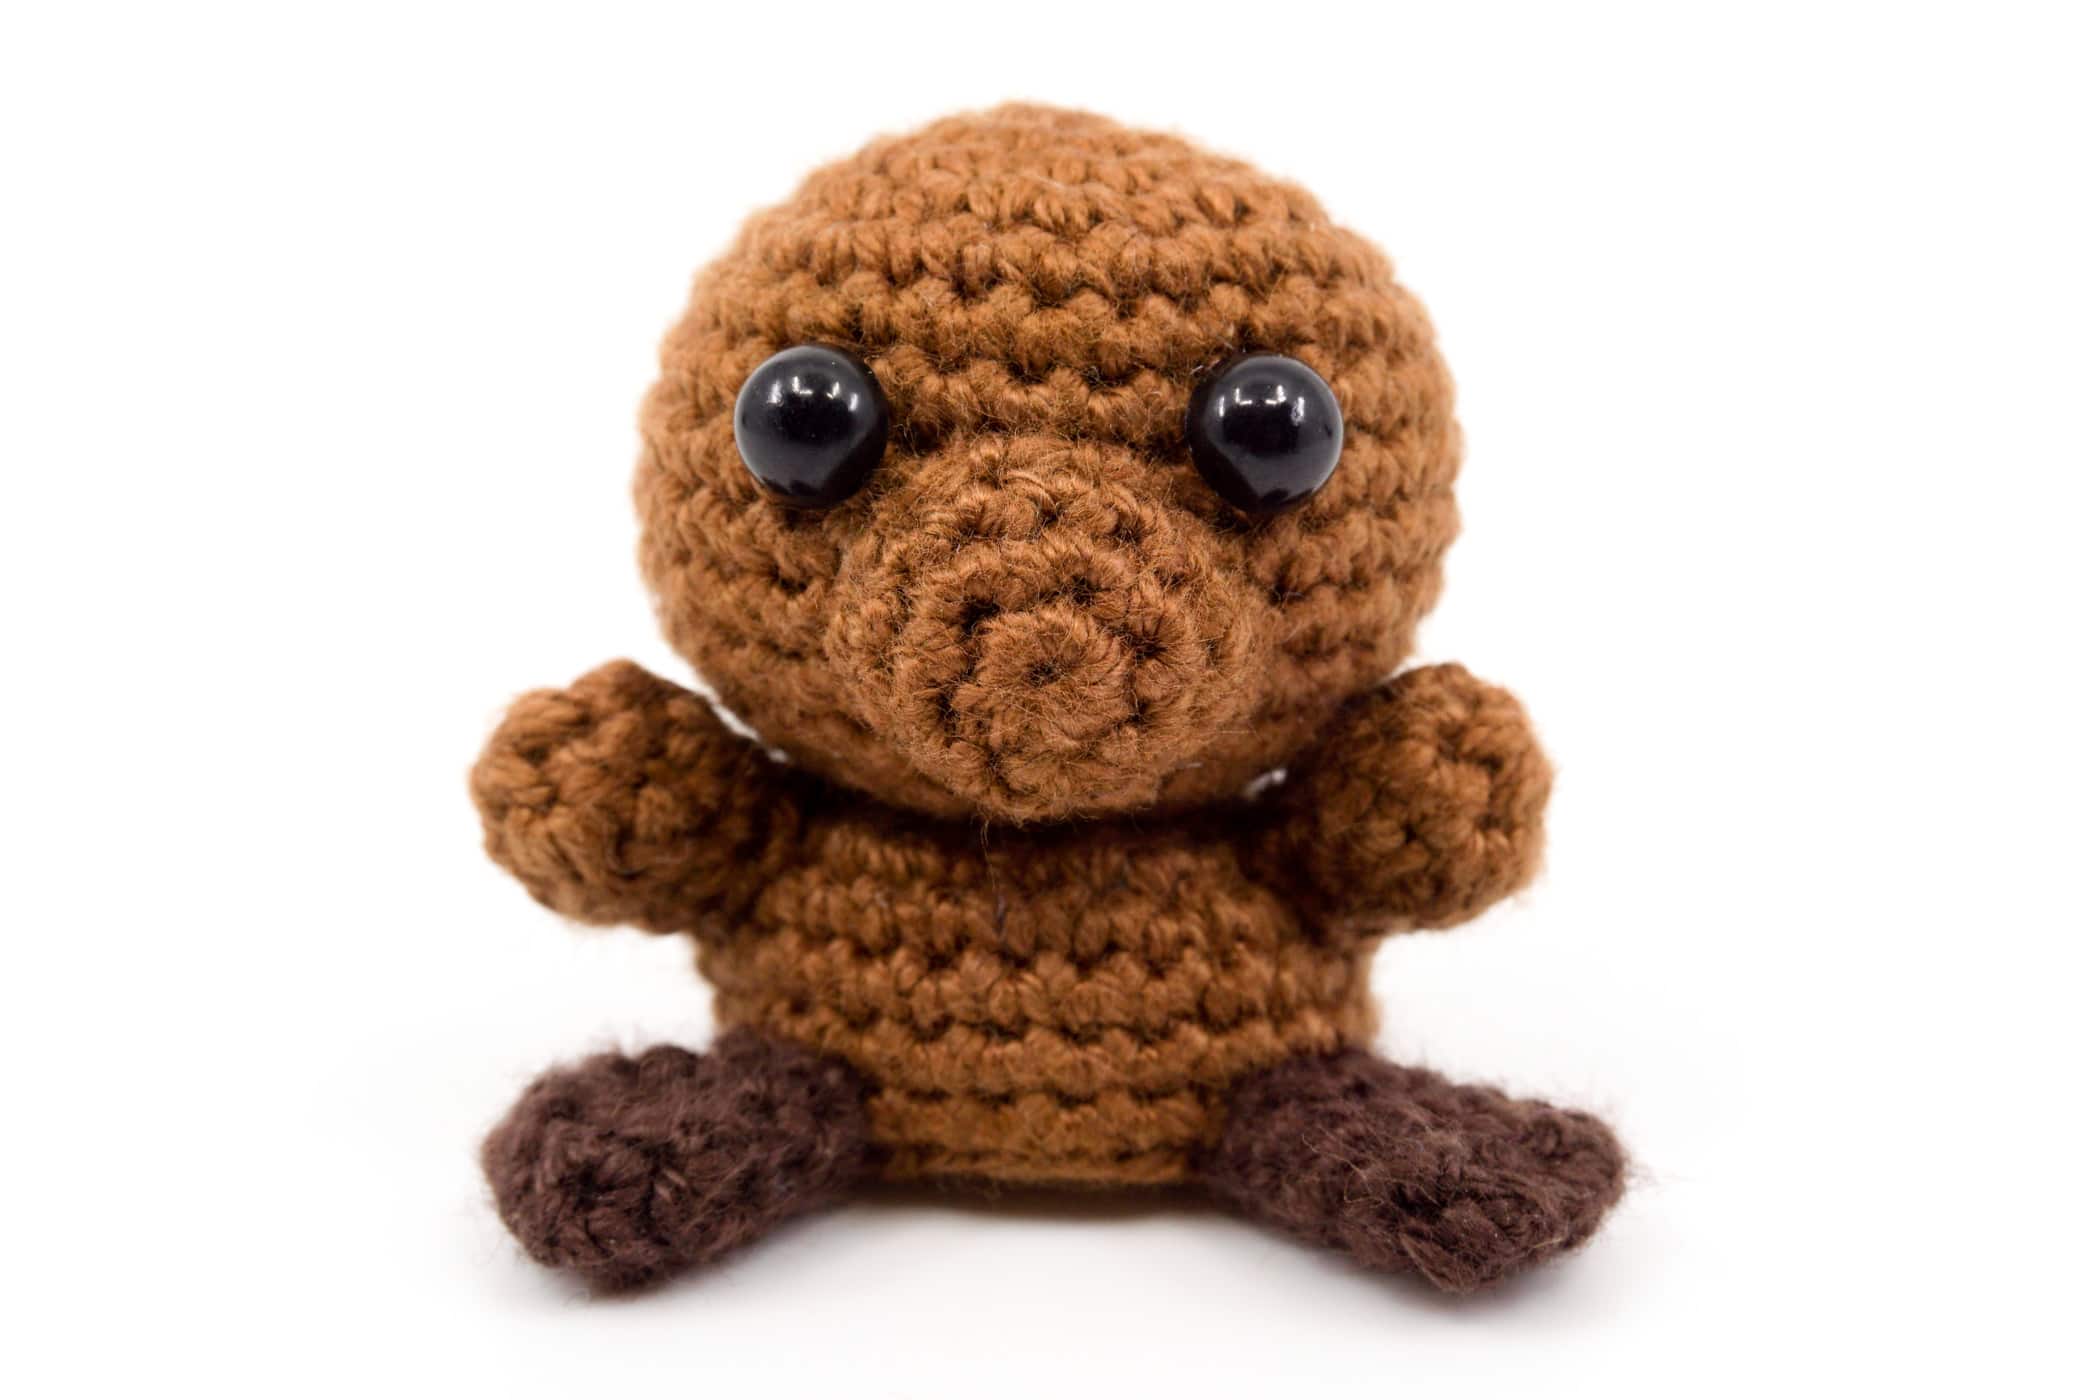
Muzzle: Sew the muzzle centered under the eyes onto the head.
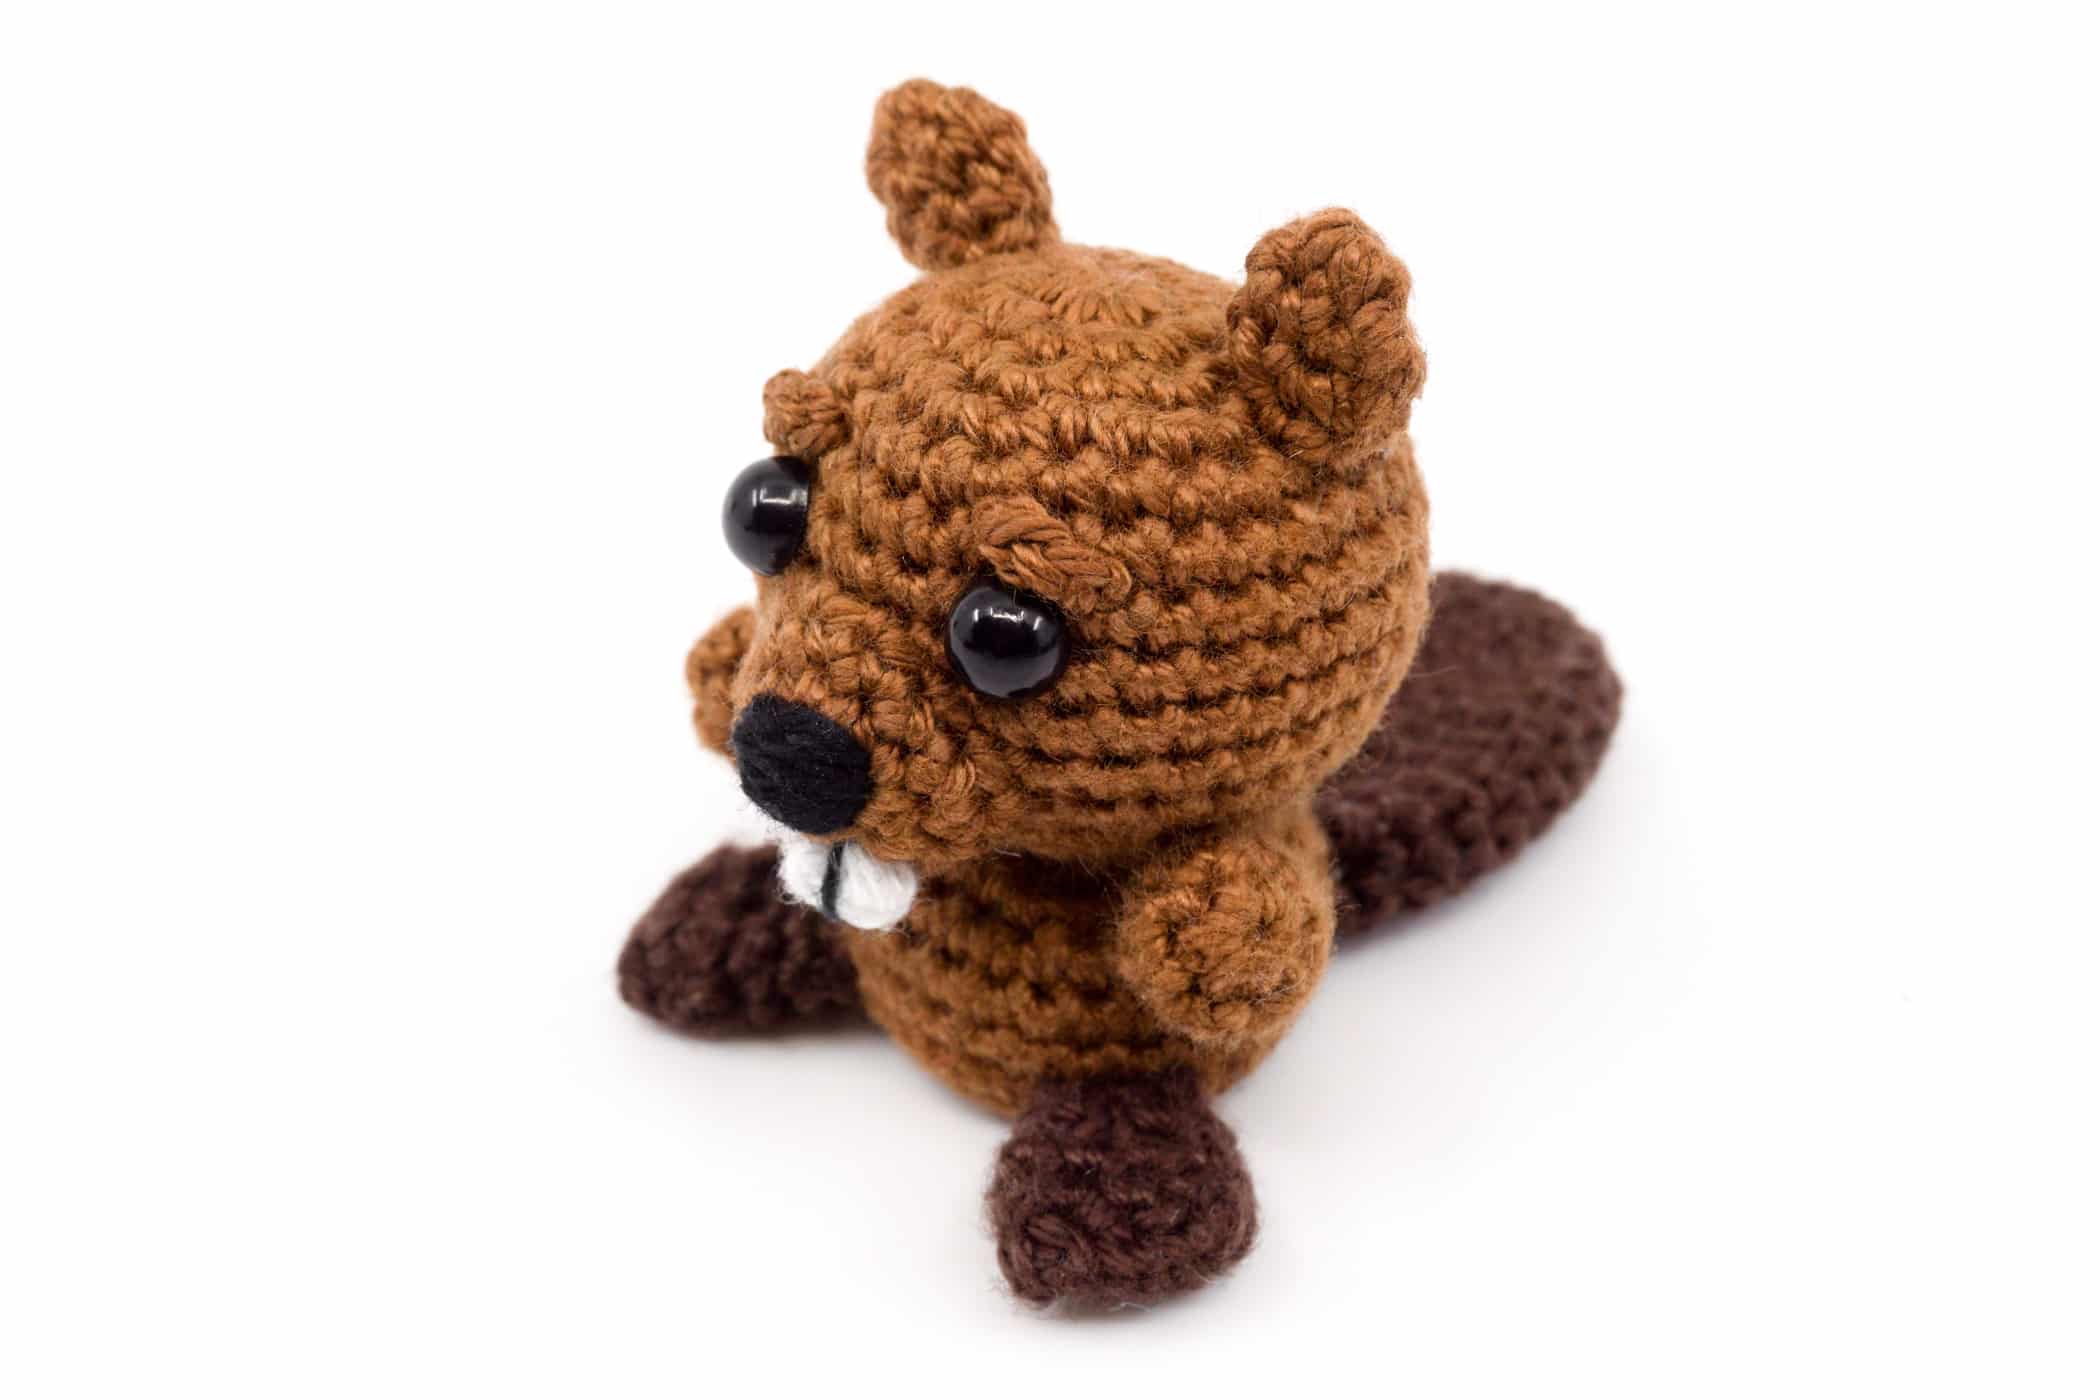
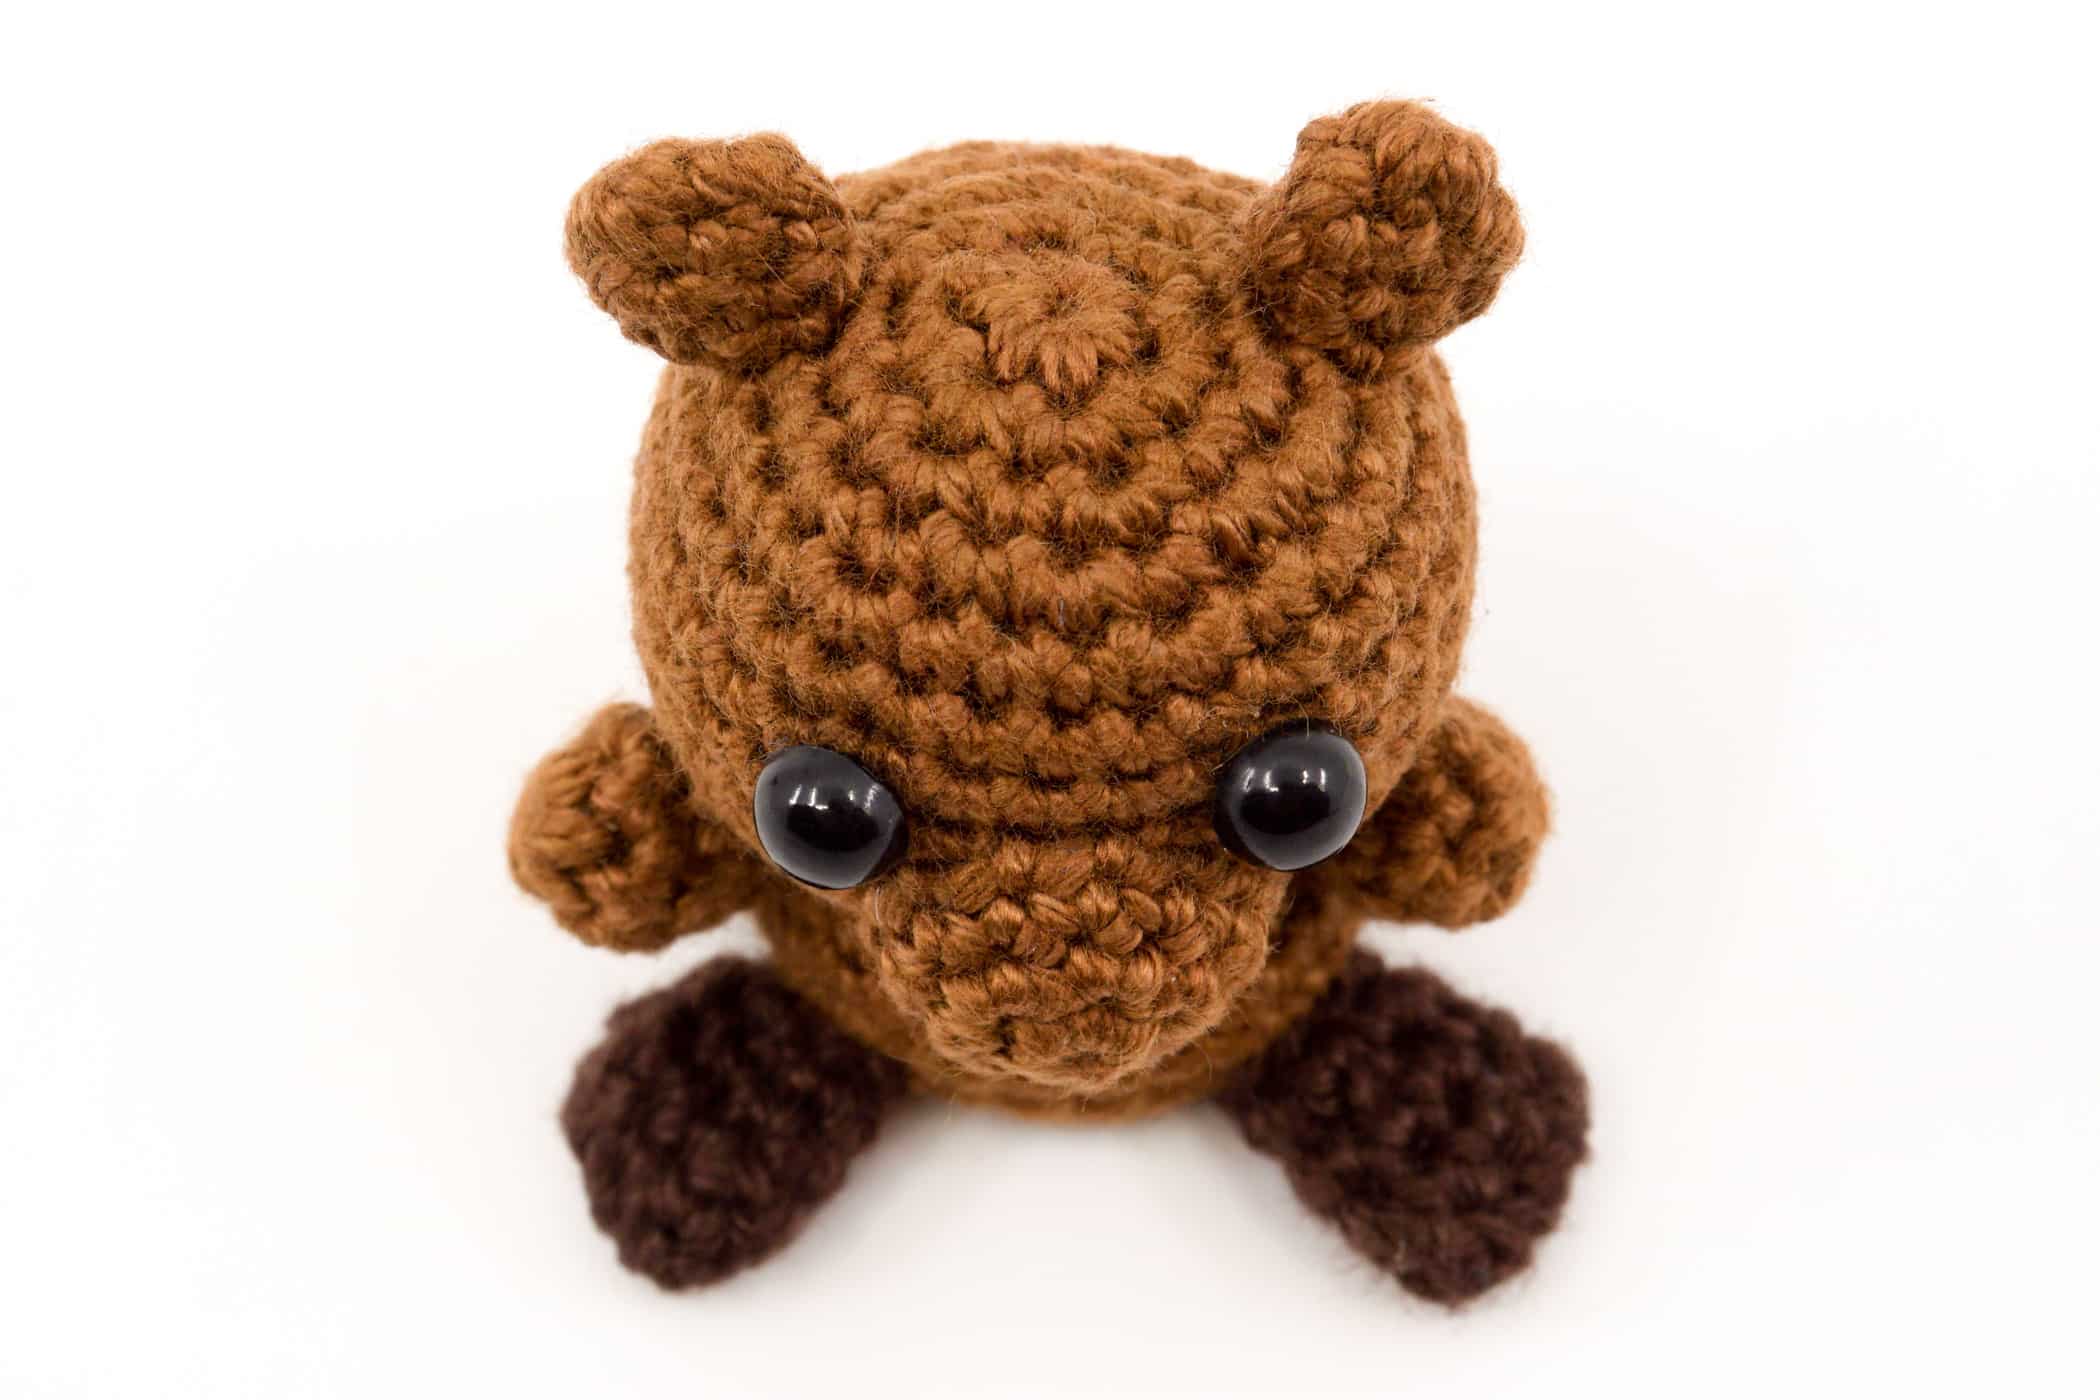
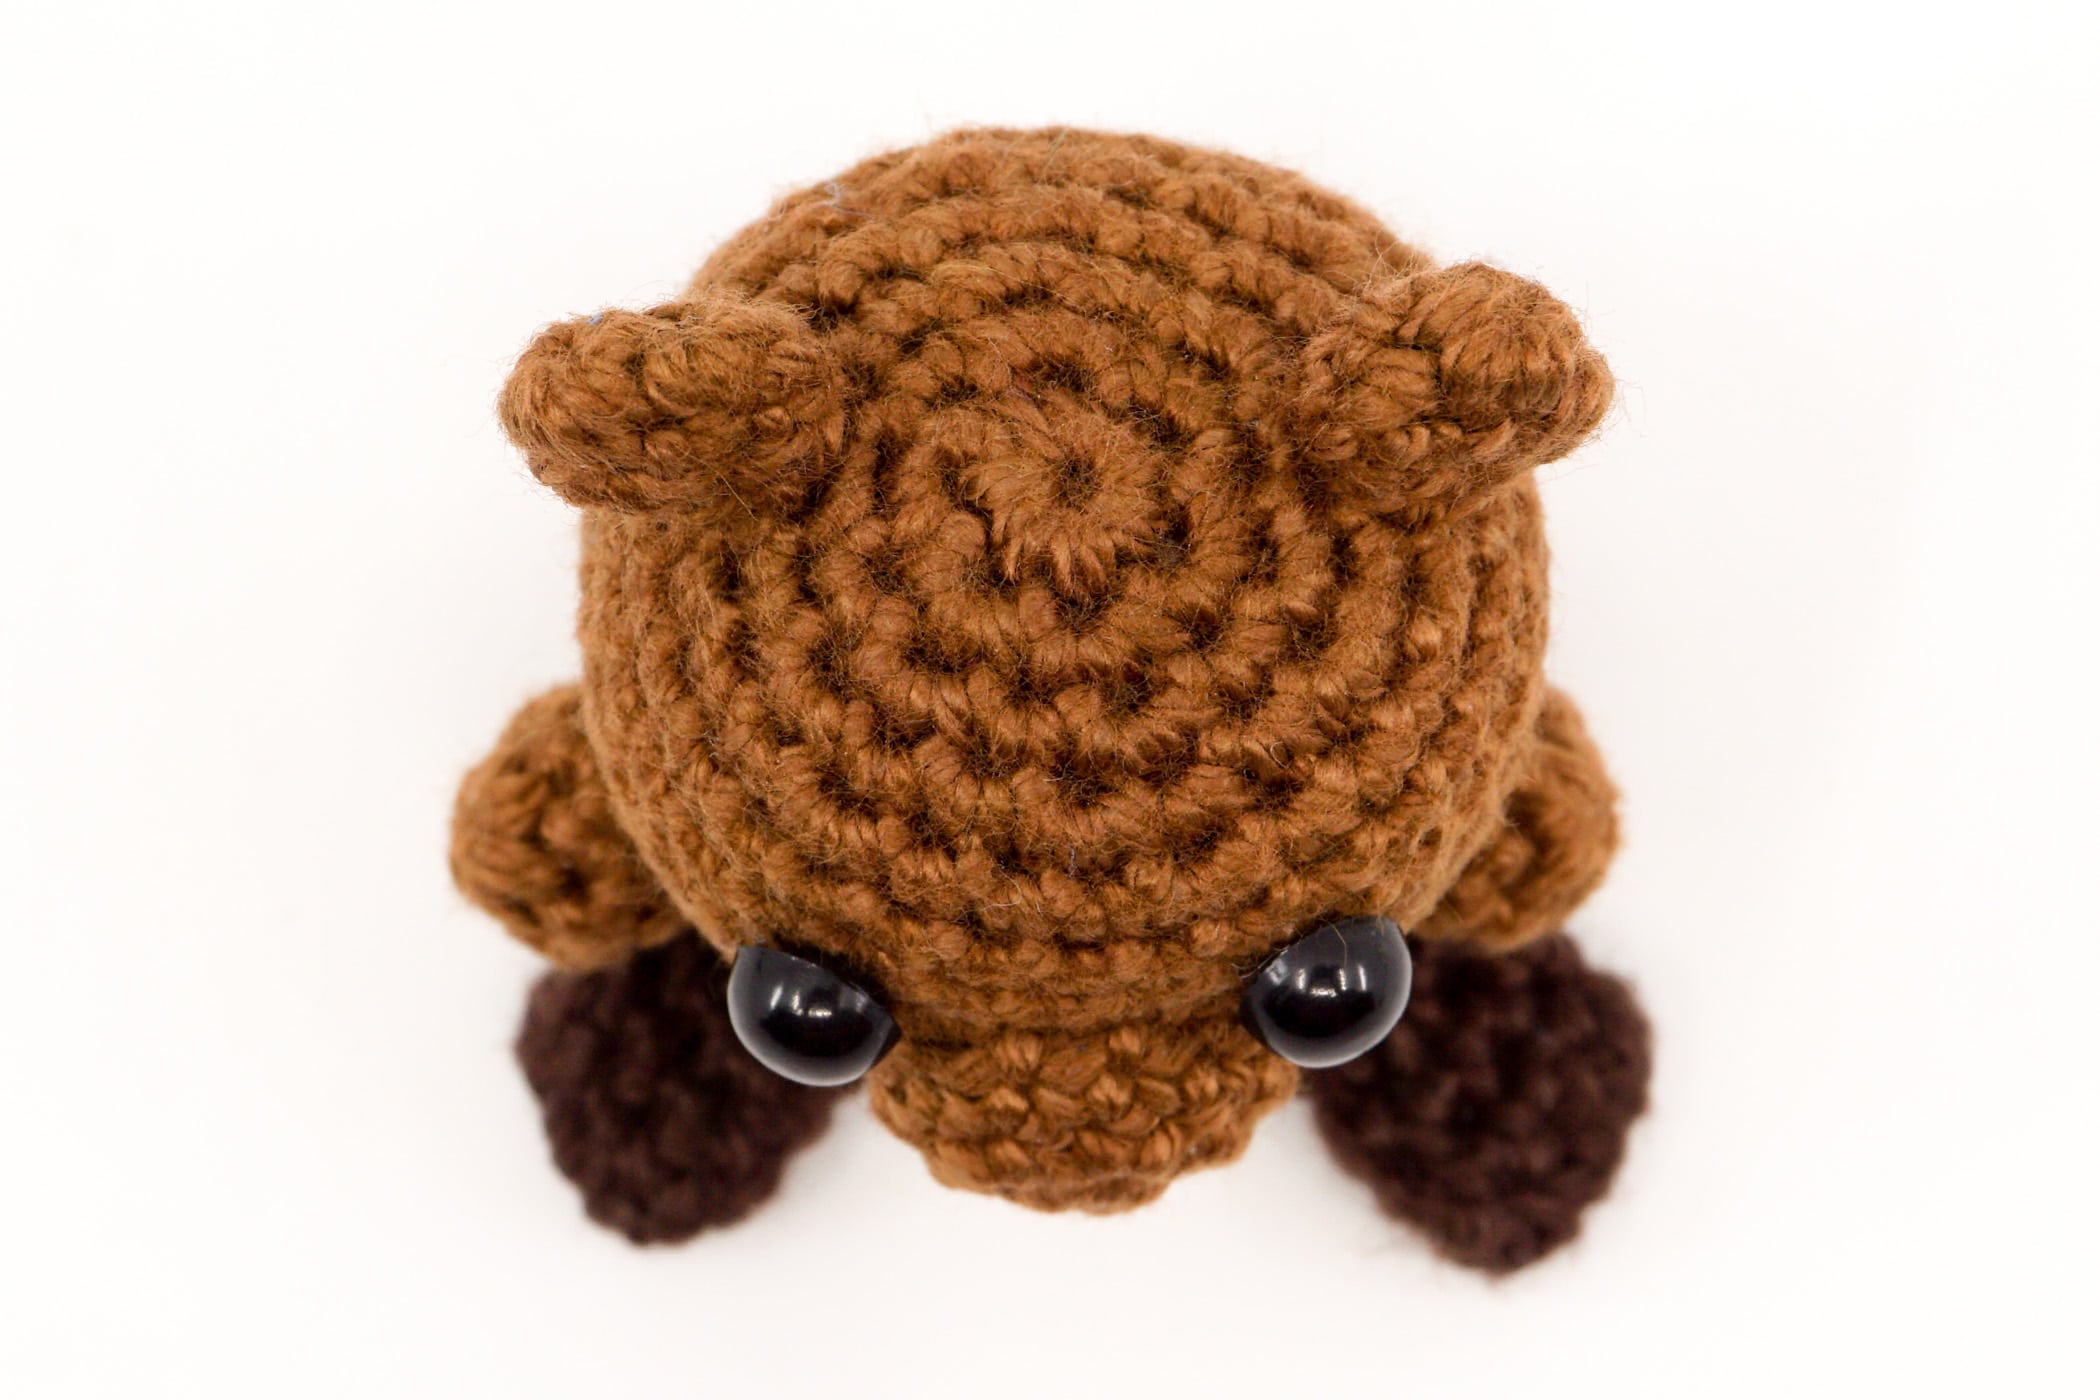
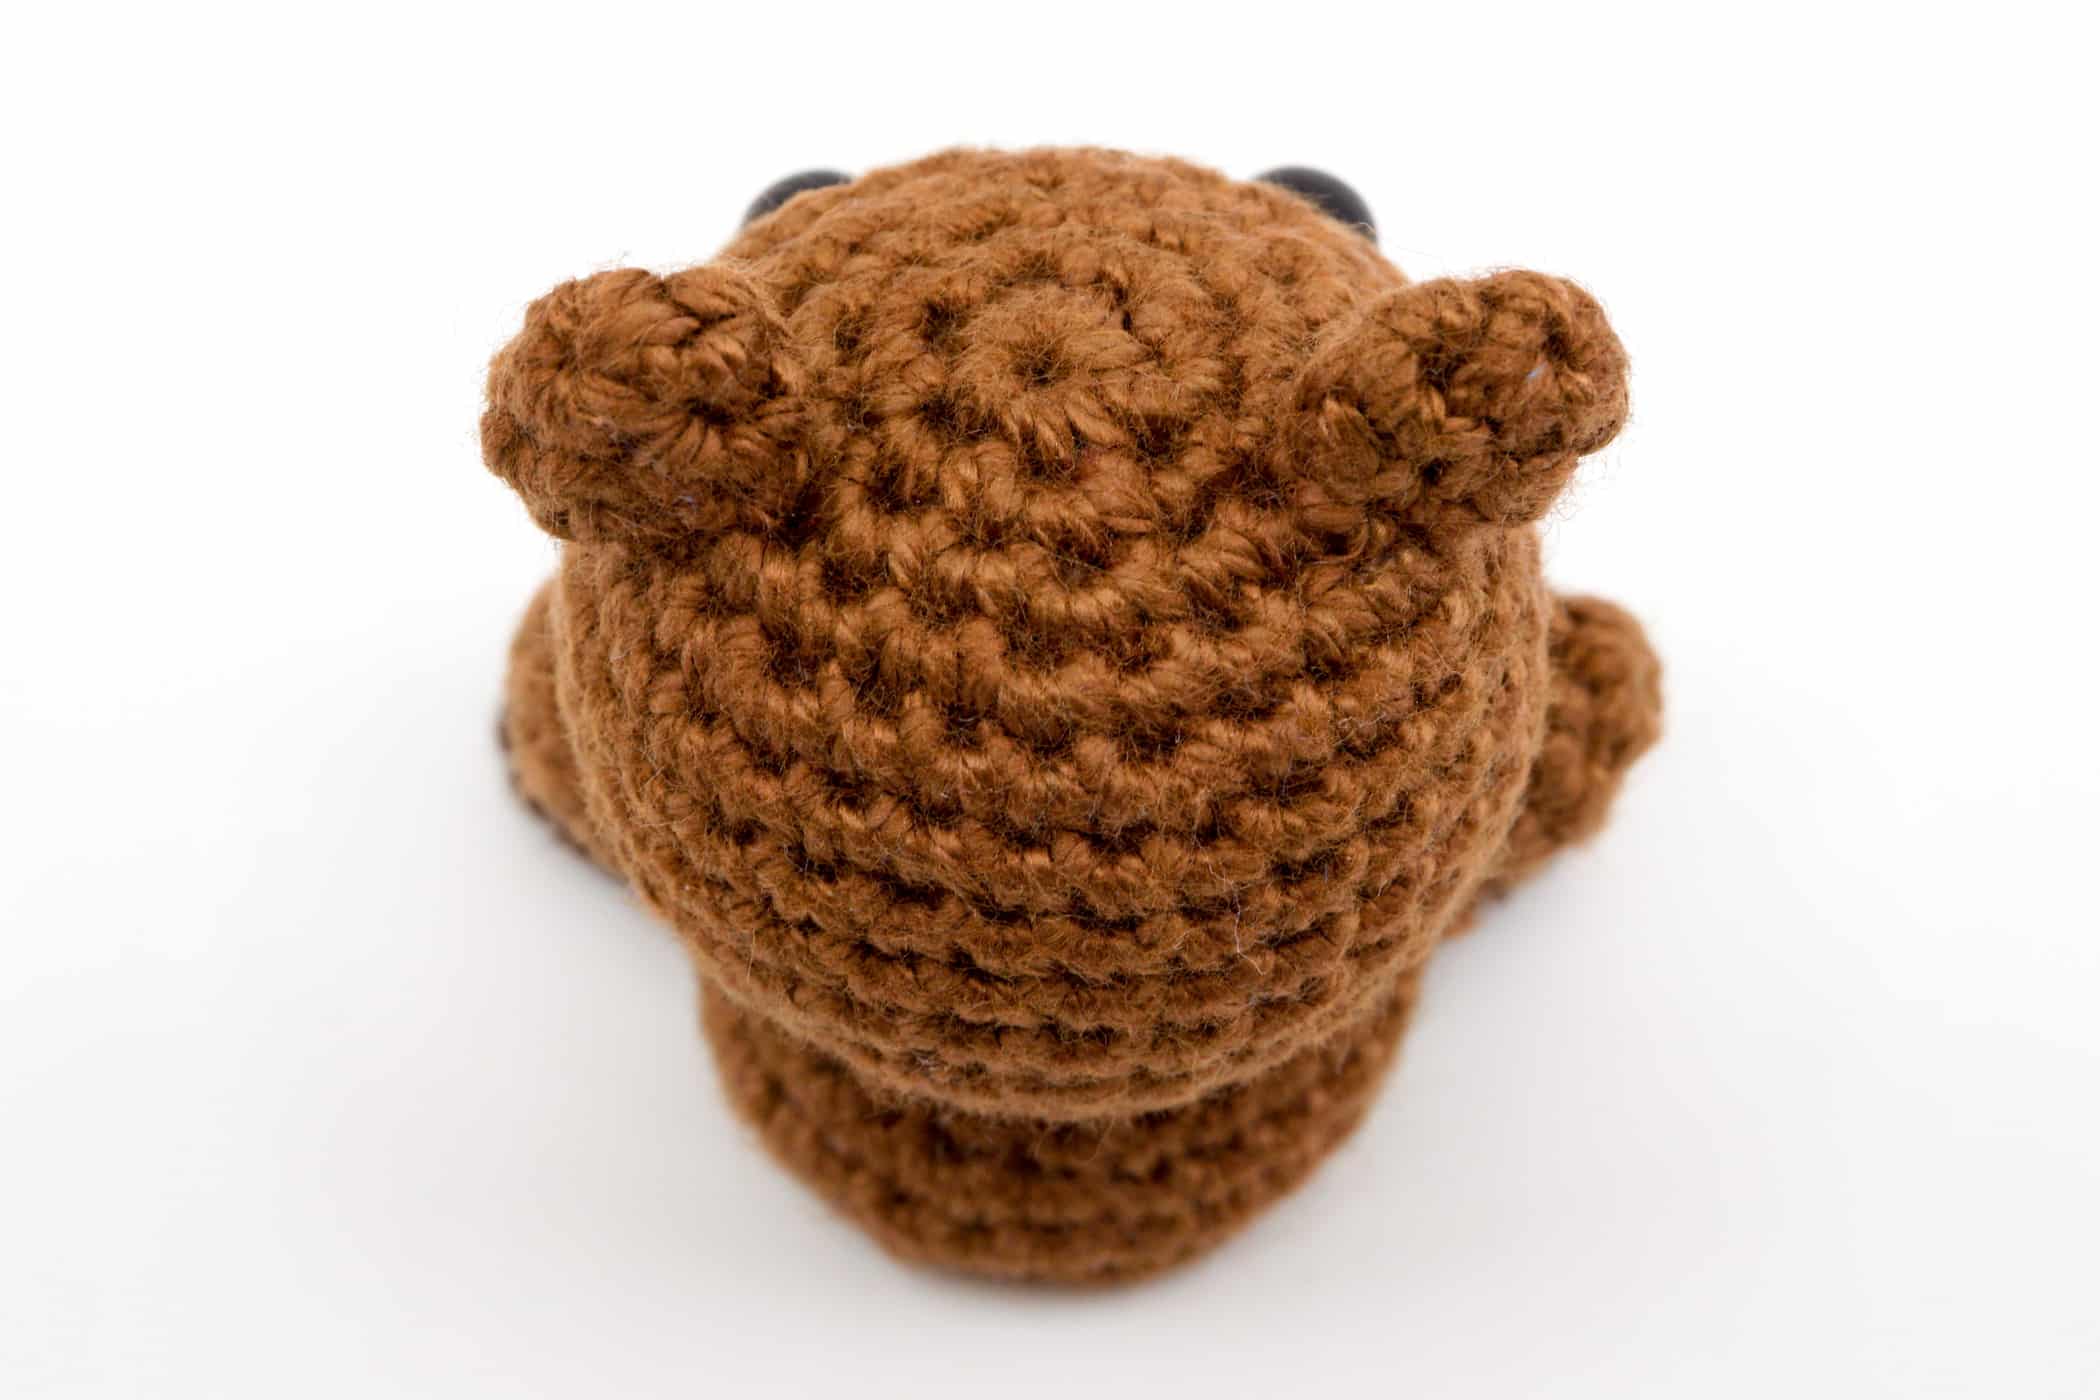
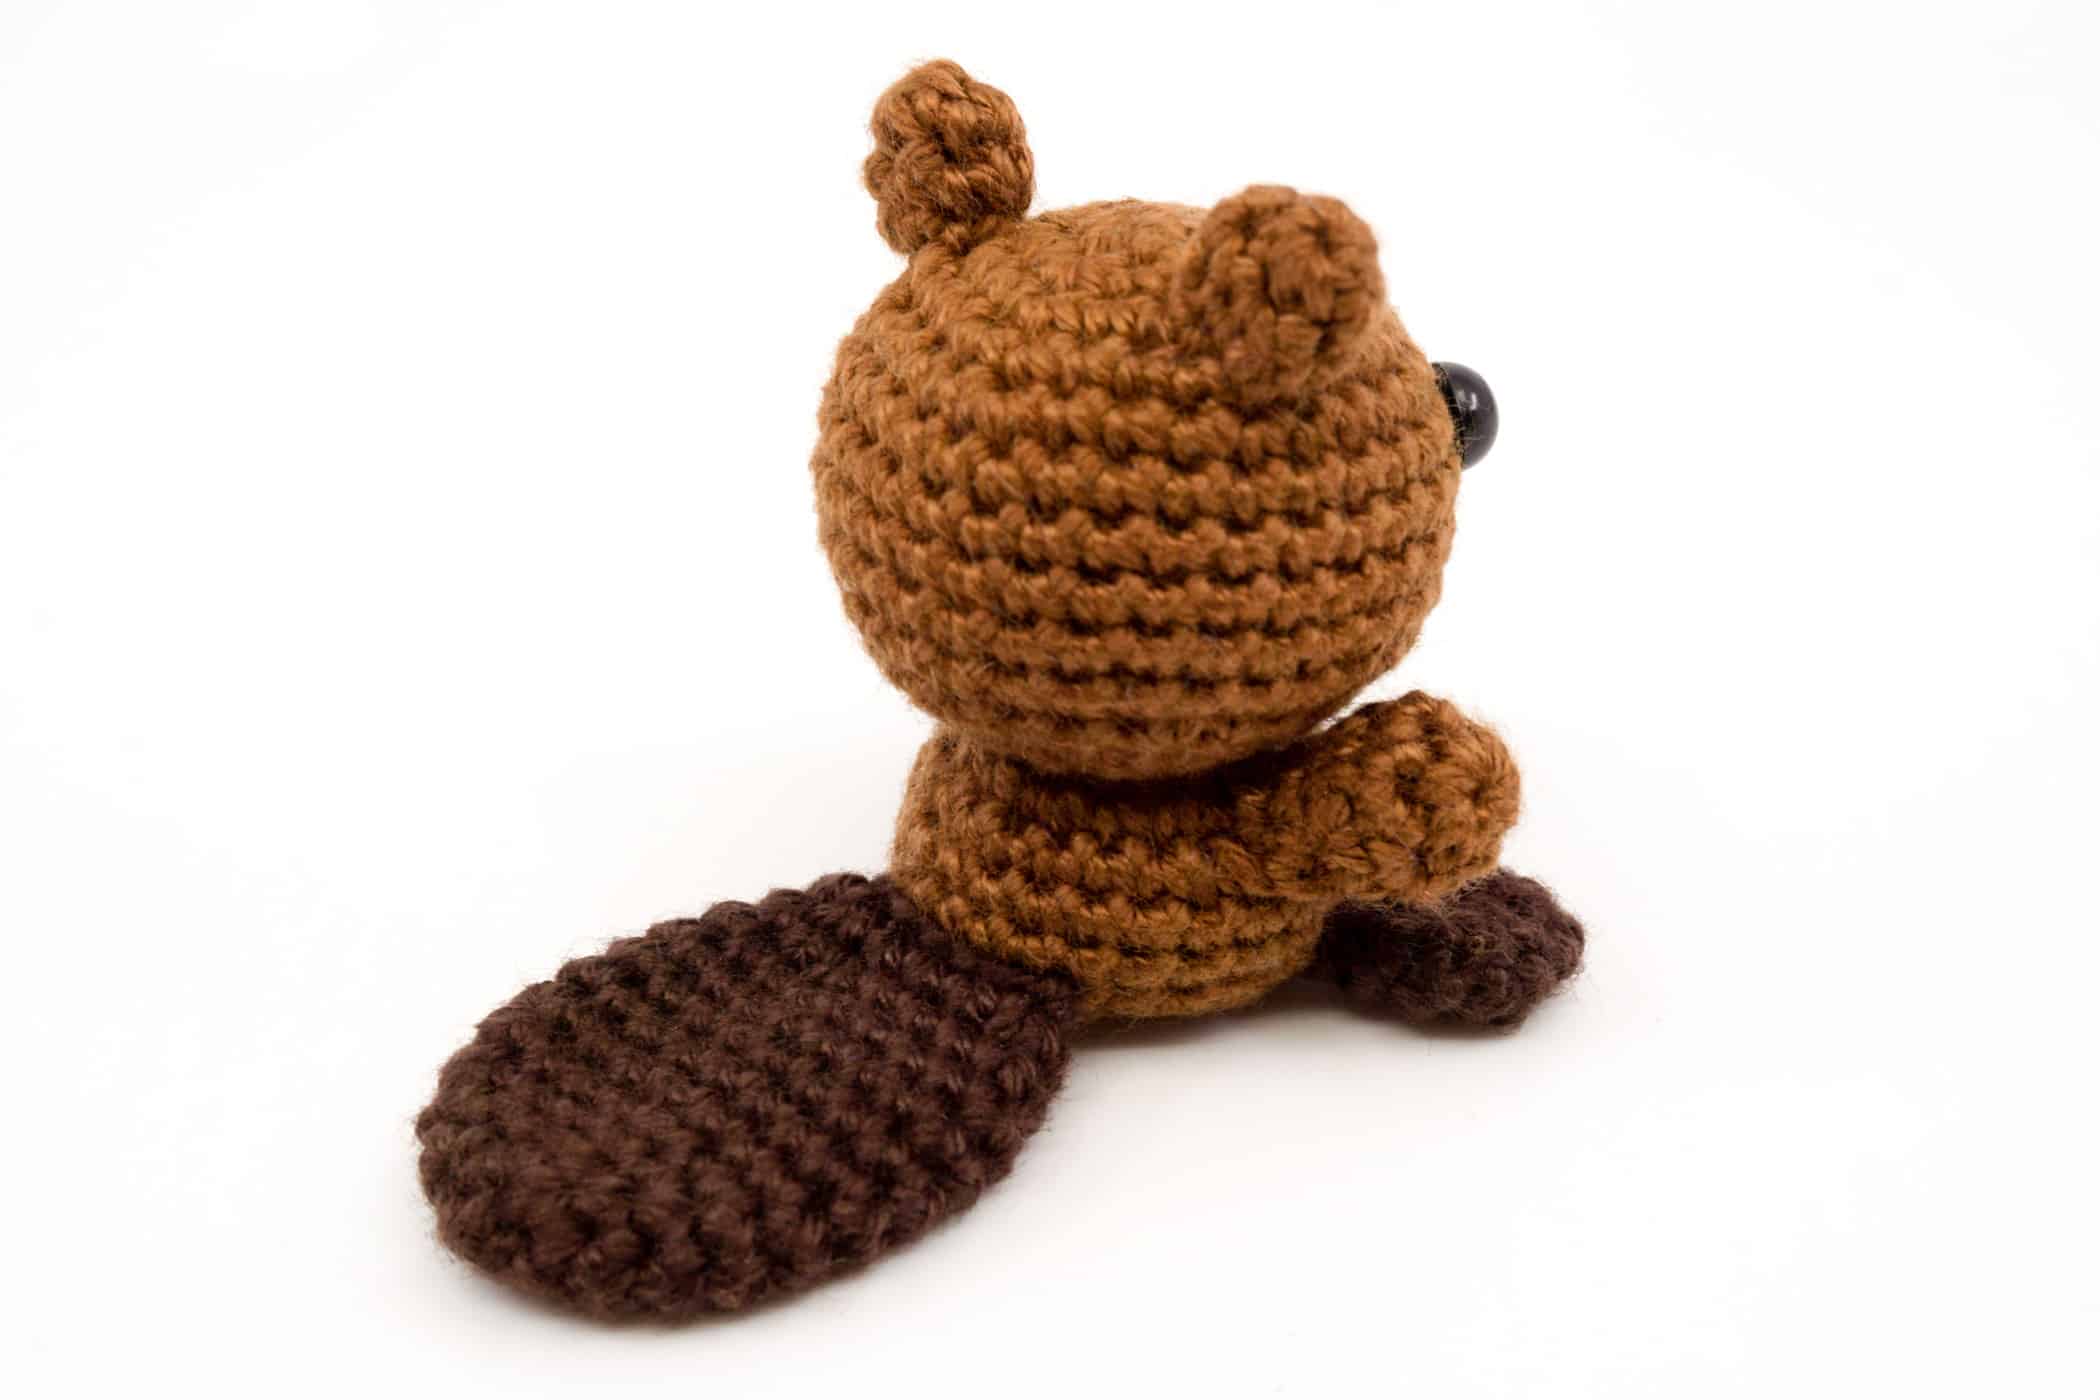
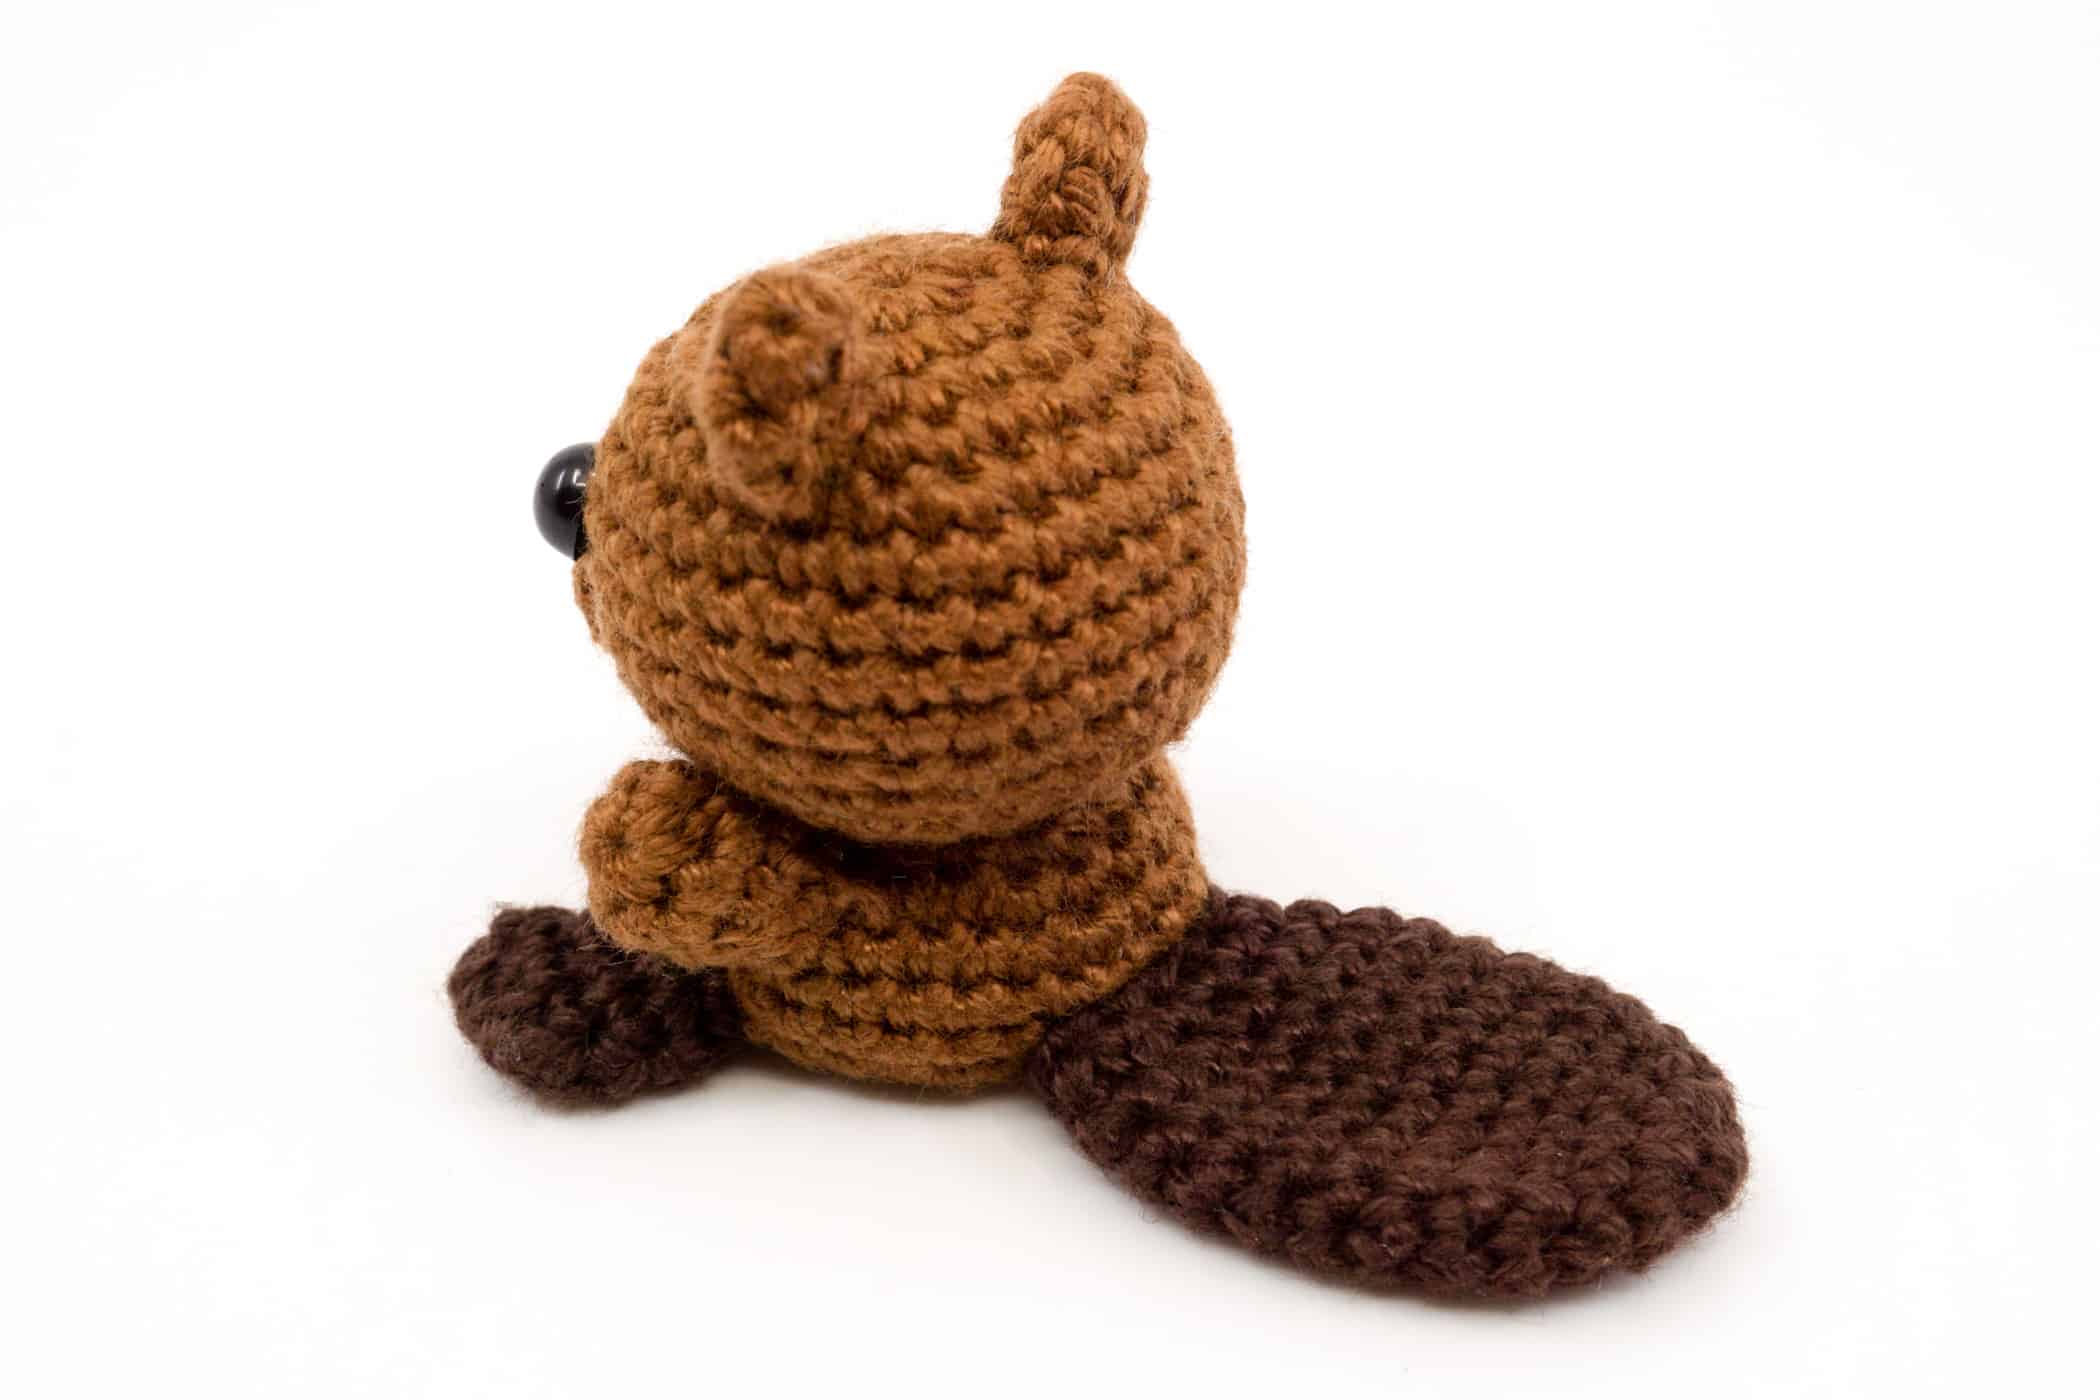
Ears: Sew the ears 3 to 4 stitches, counting from the middle of the head, onto the head, as shown in the pictures.
Eyebrows: Attach the eyebrows right and left, 1 stitch row above the eyes, onto the head.

Alternatively, they can also be attached diagonally above the eyes.


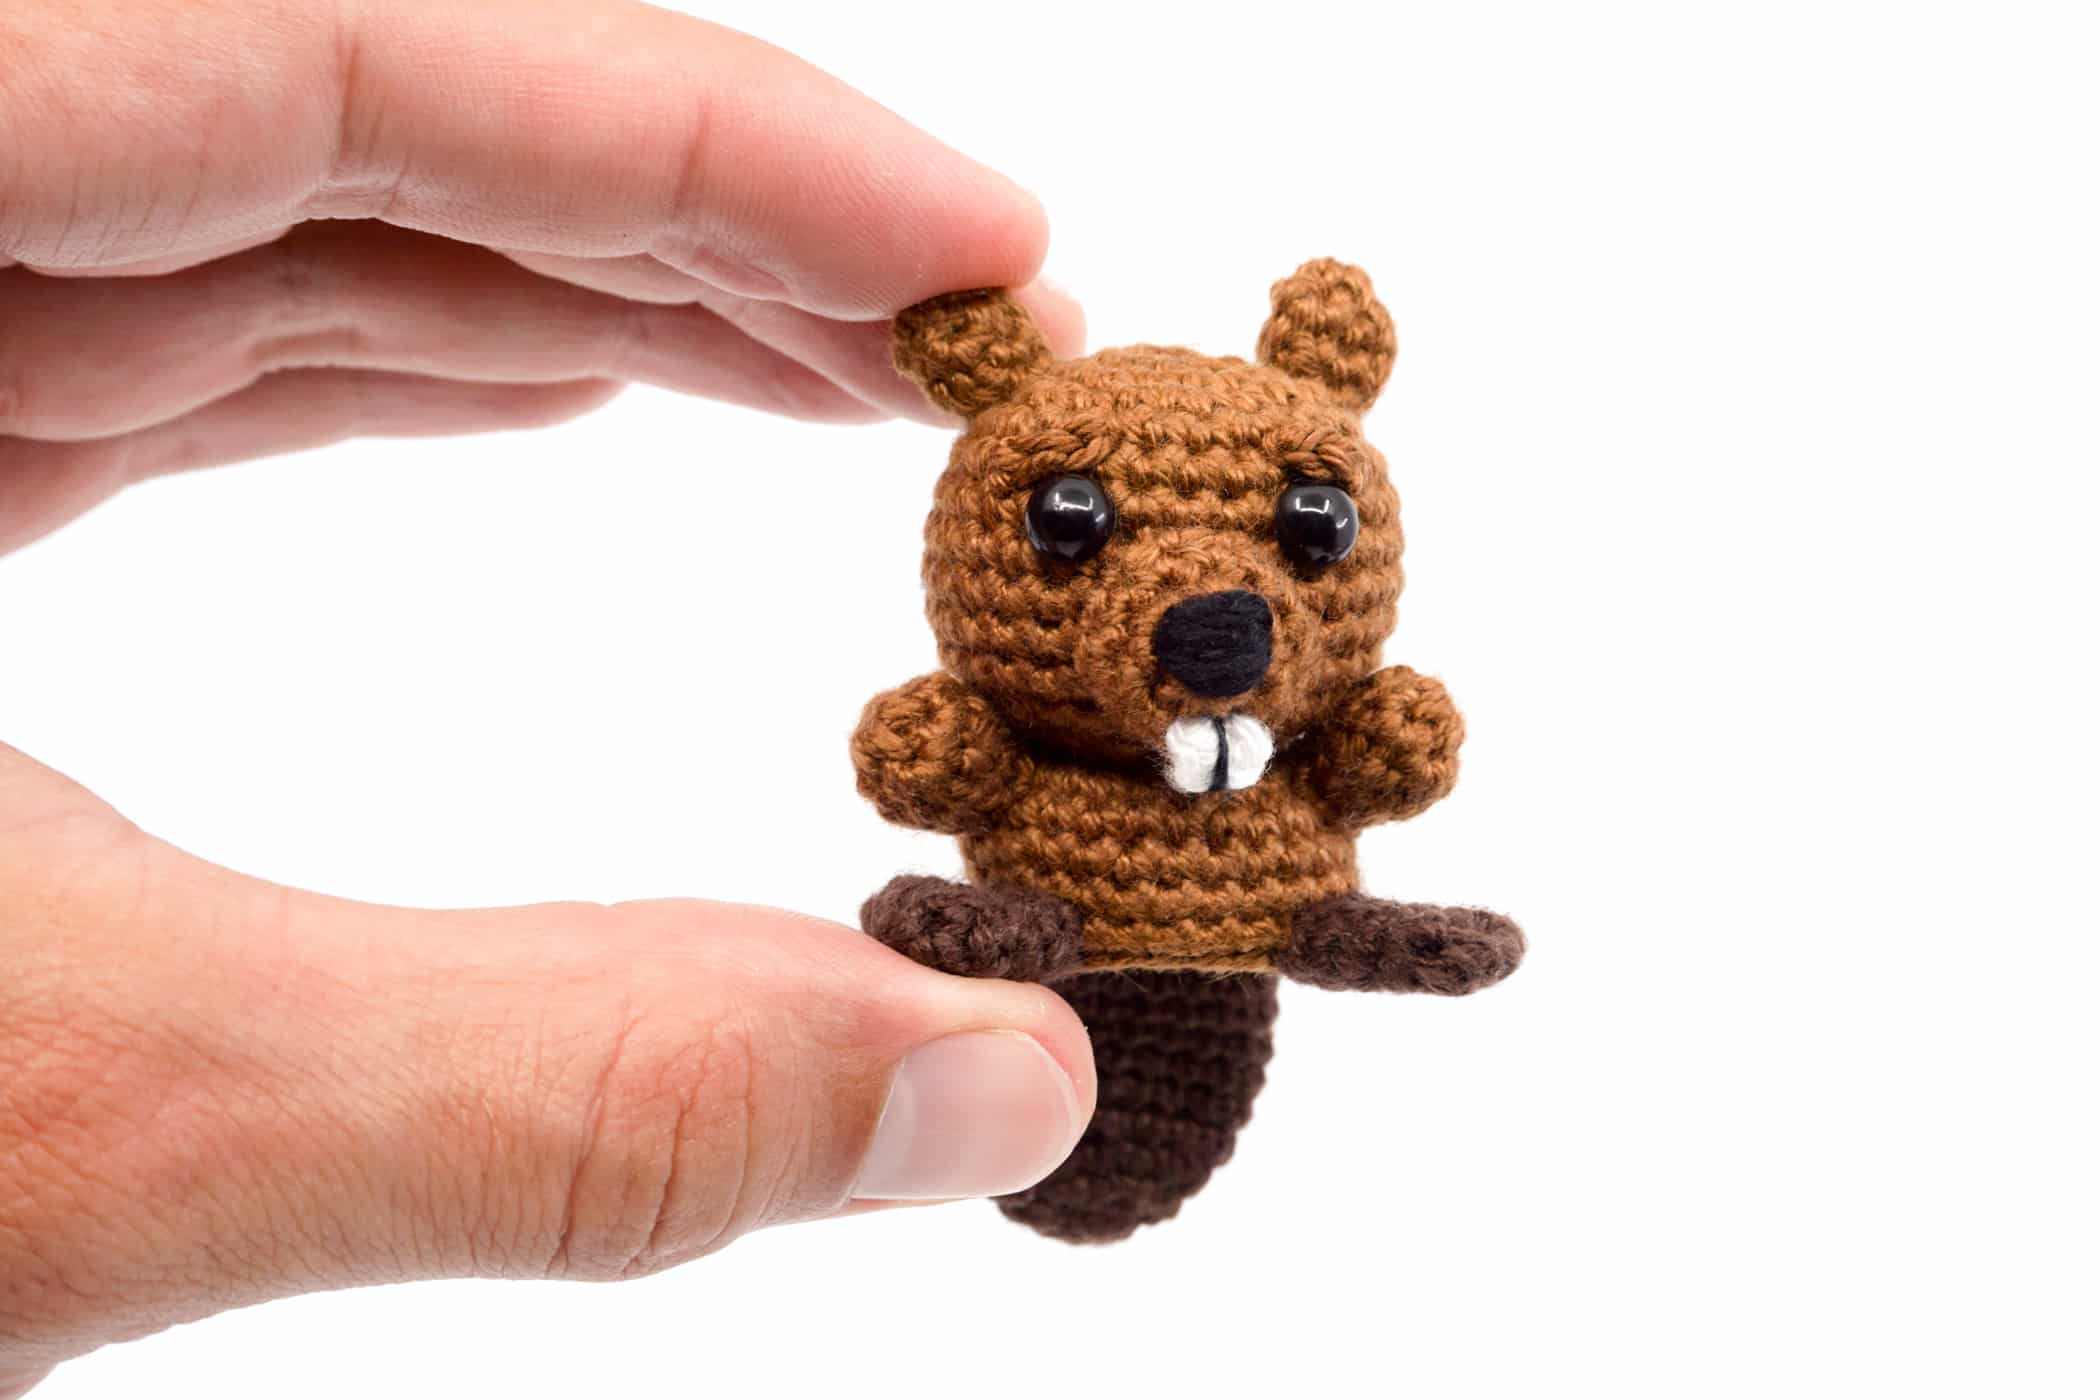
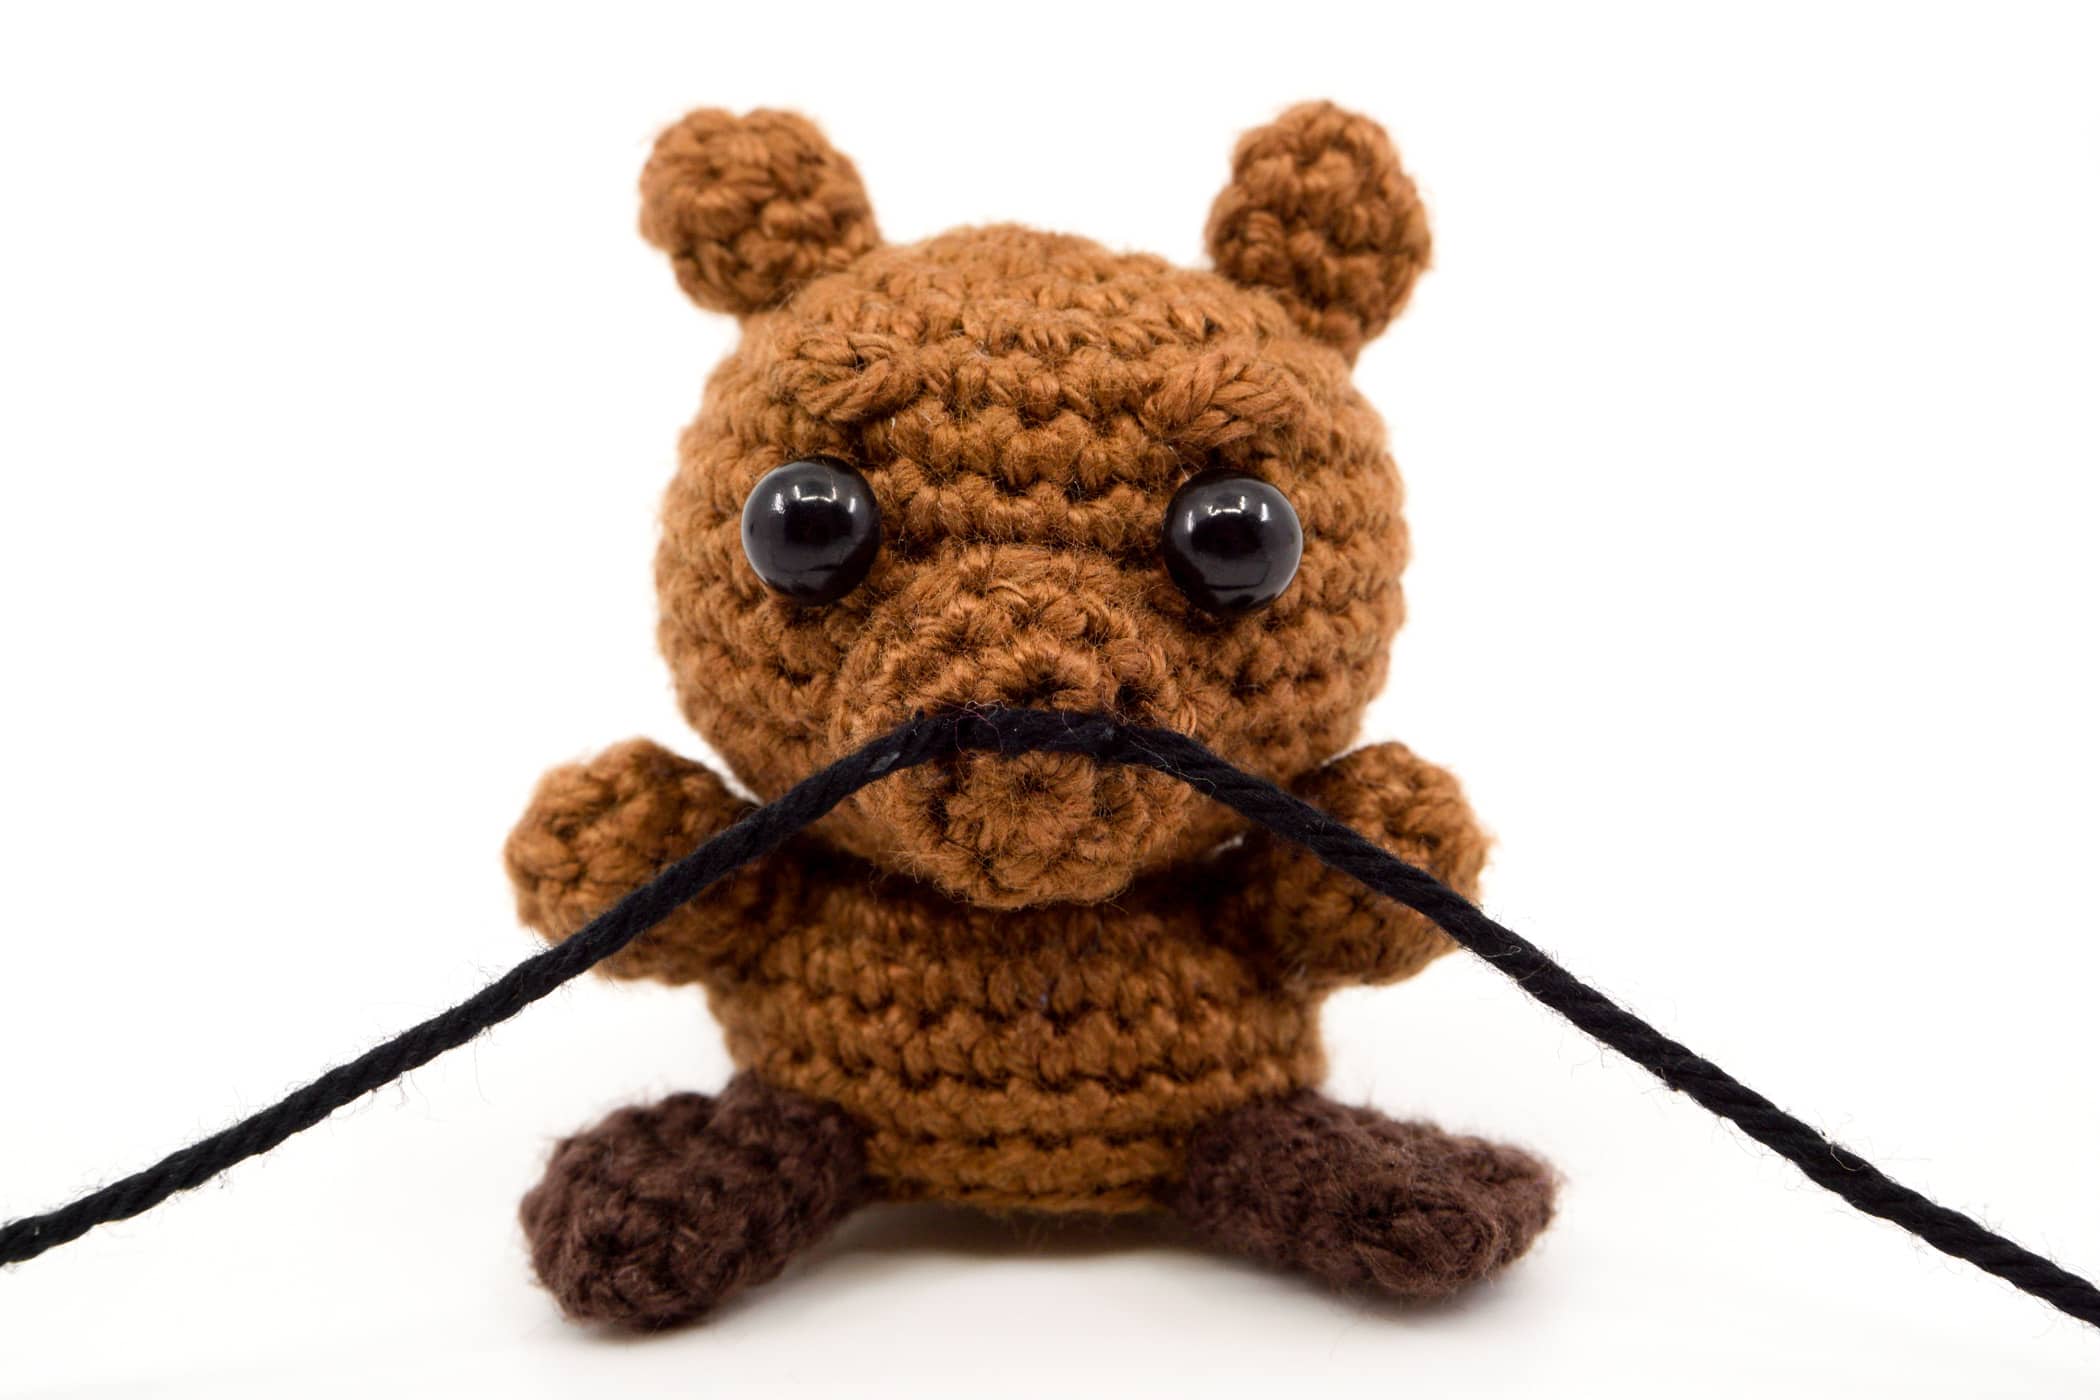
Nose: Embroider the nose with a Black thread on the middle of the muzzle. Use a tapestry needle to pull the thread through one stitch and let it come out 2 stitches further, as shown in the pictures. Repeat this several times until a nose is formed.

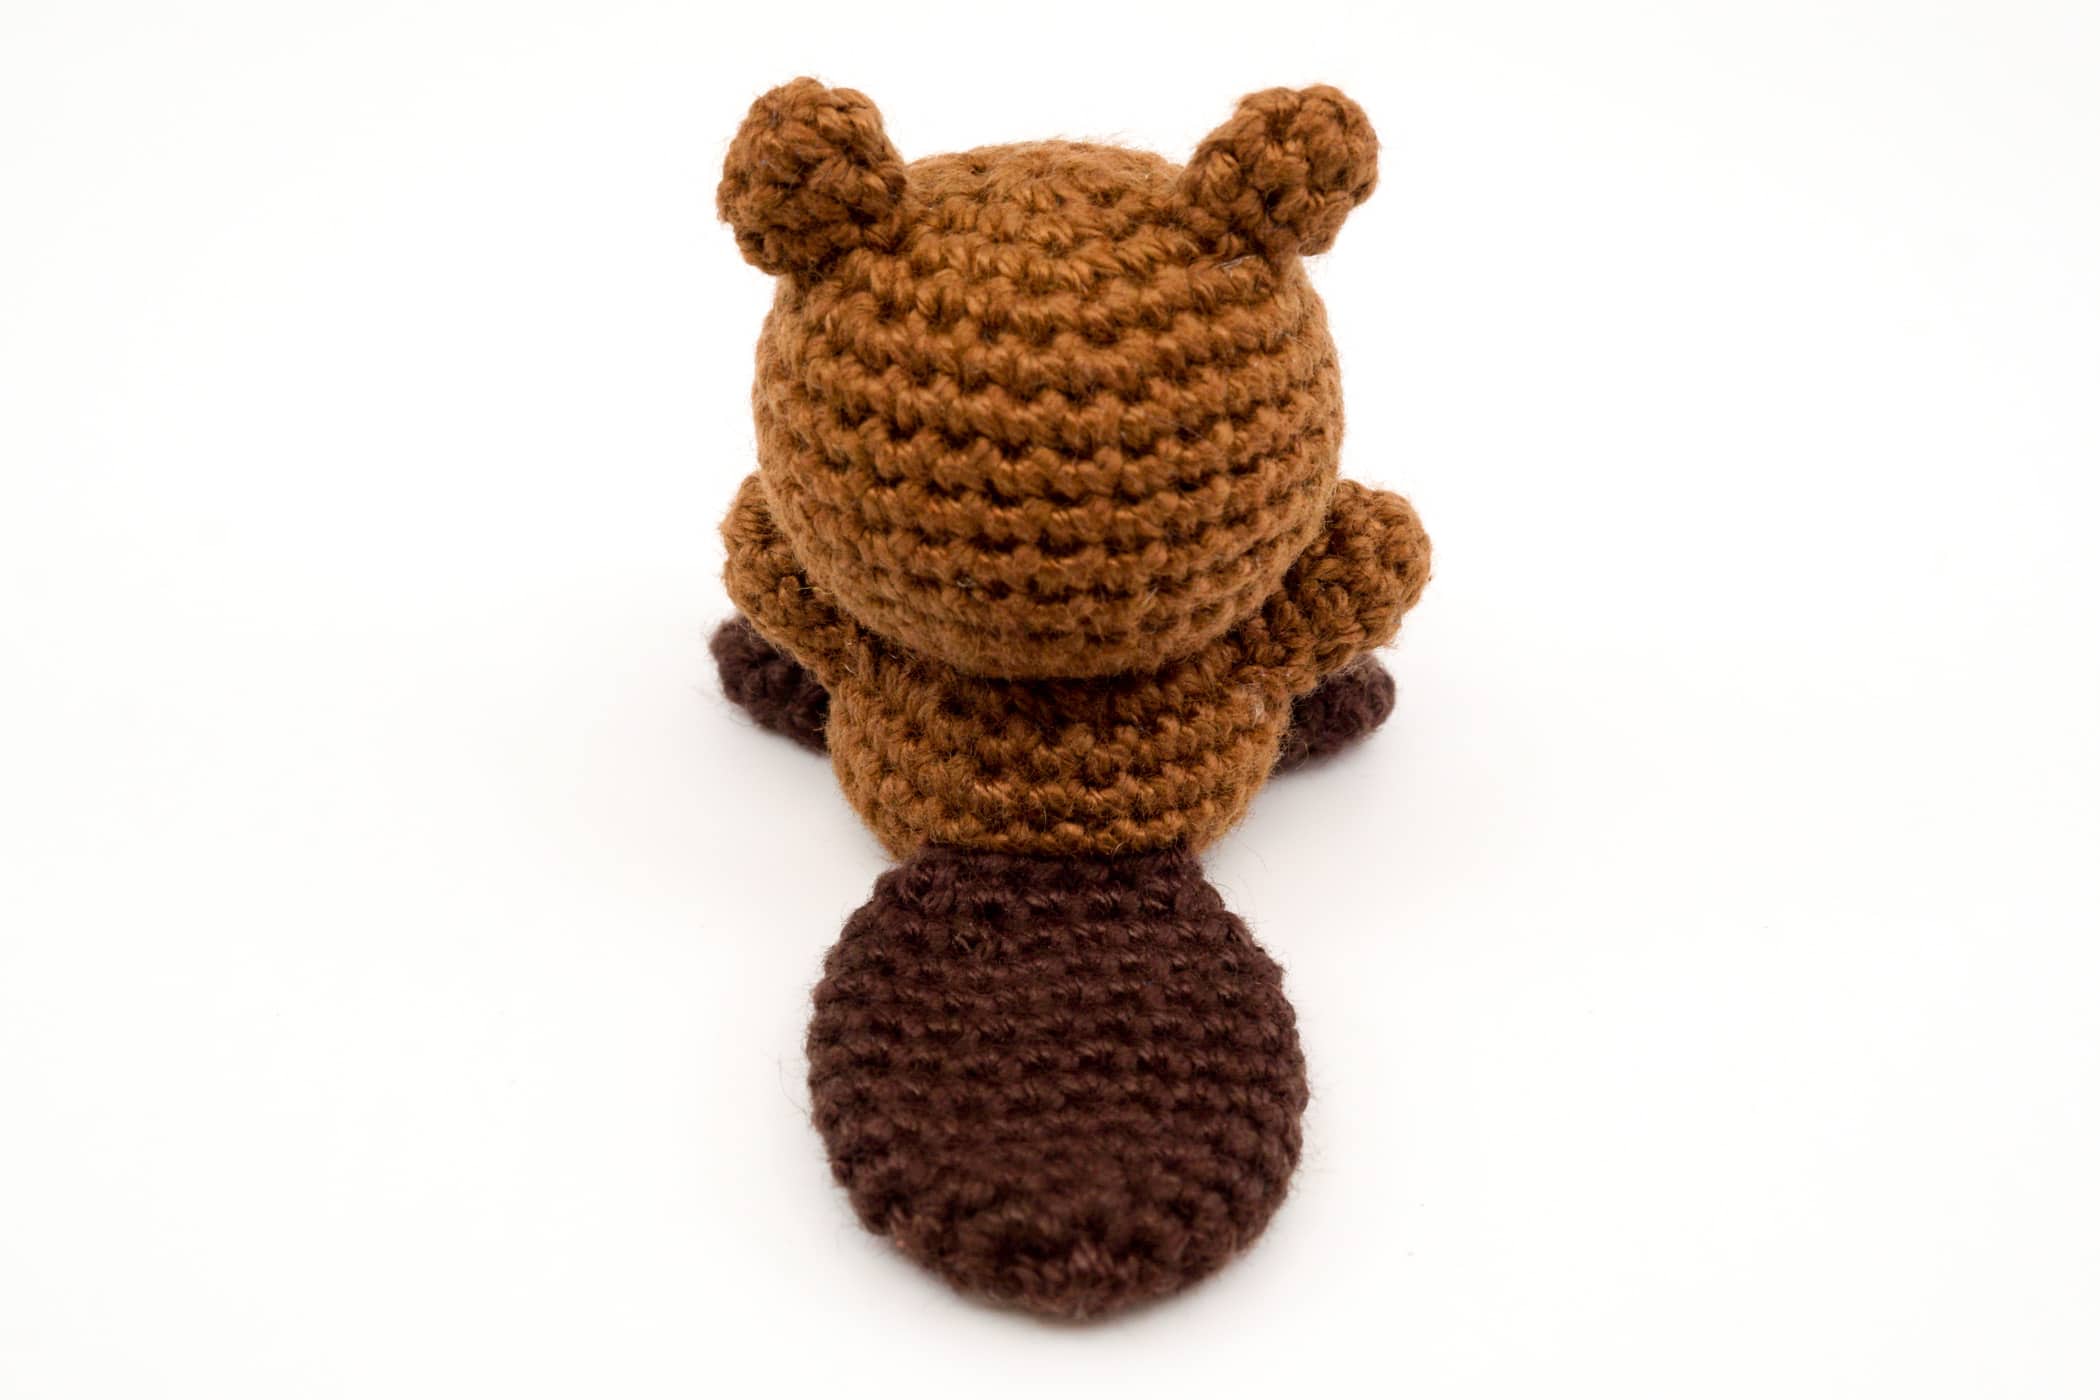
Tail: Sew the tail centered onto the back, just above the stitch edge.
Teeth: Attach the teeth centered one stitch row under the nose.
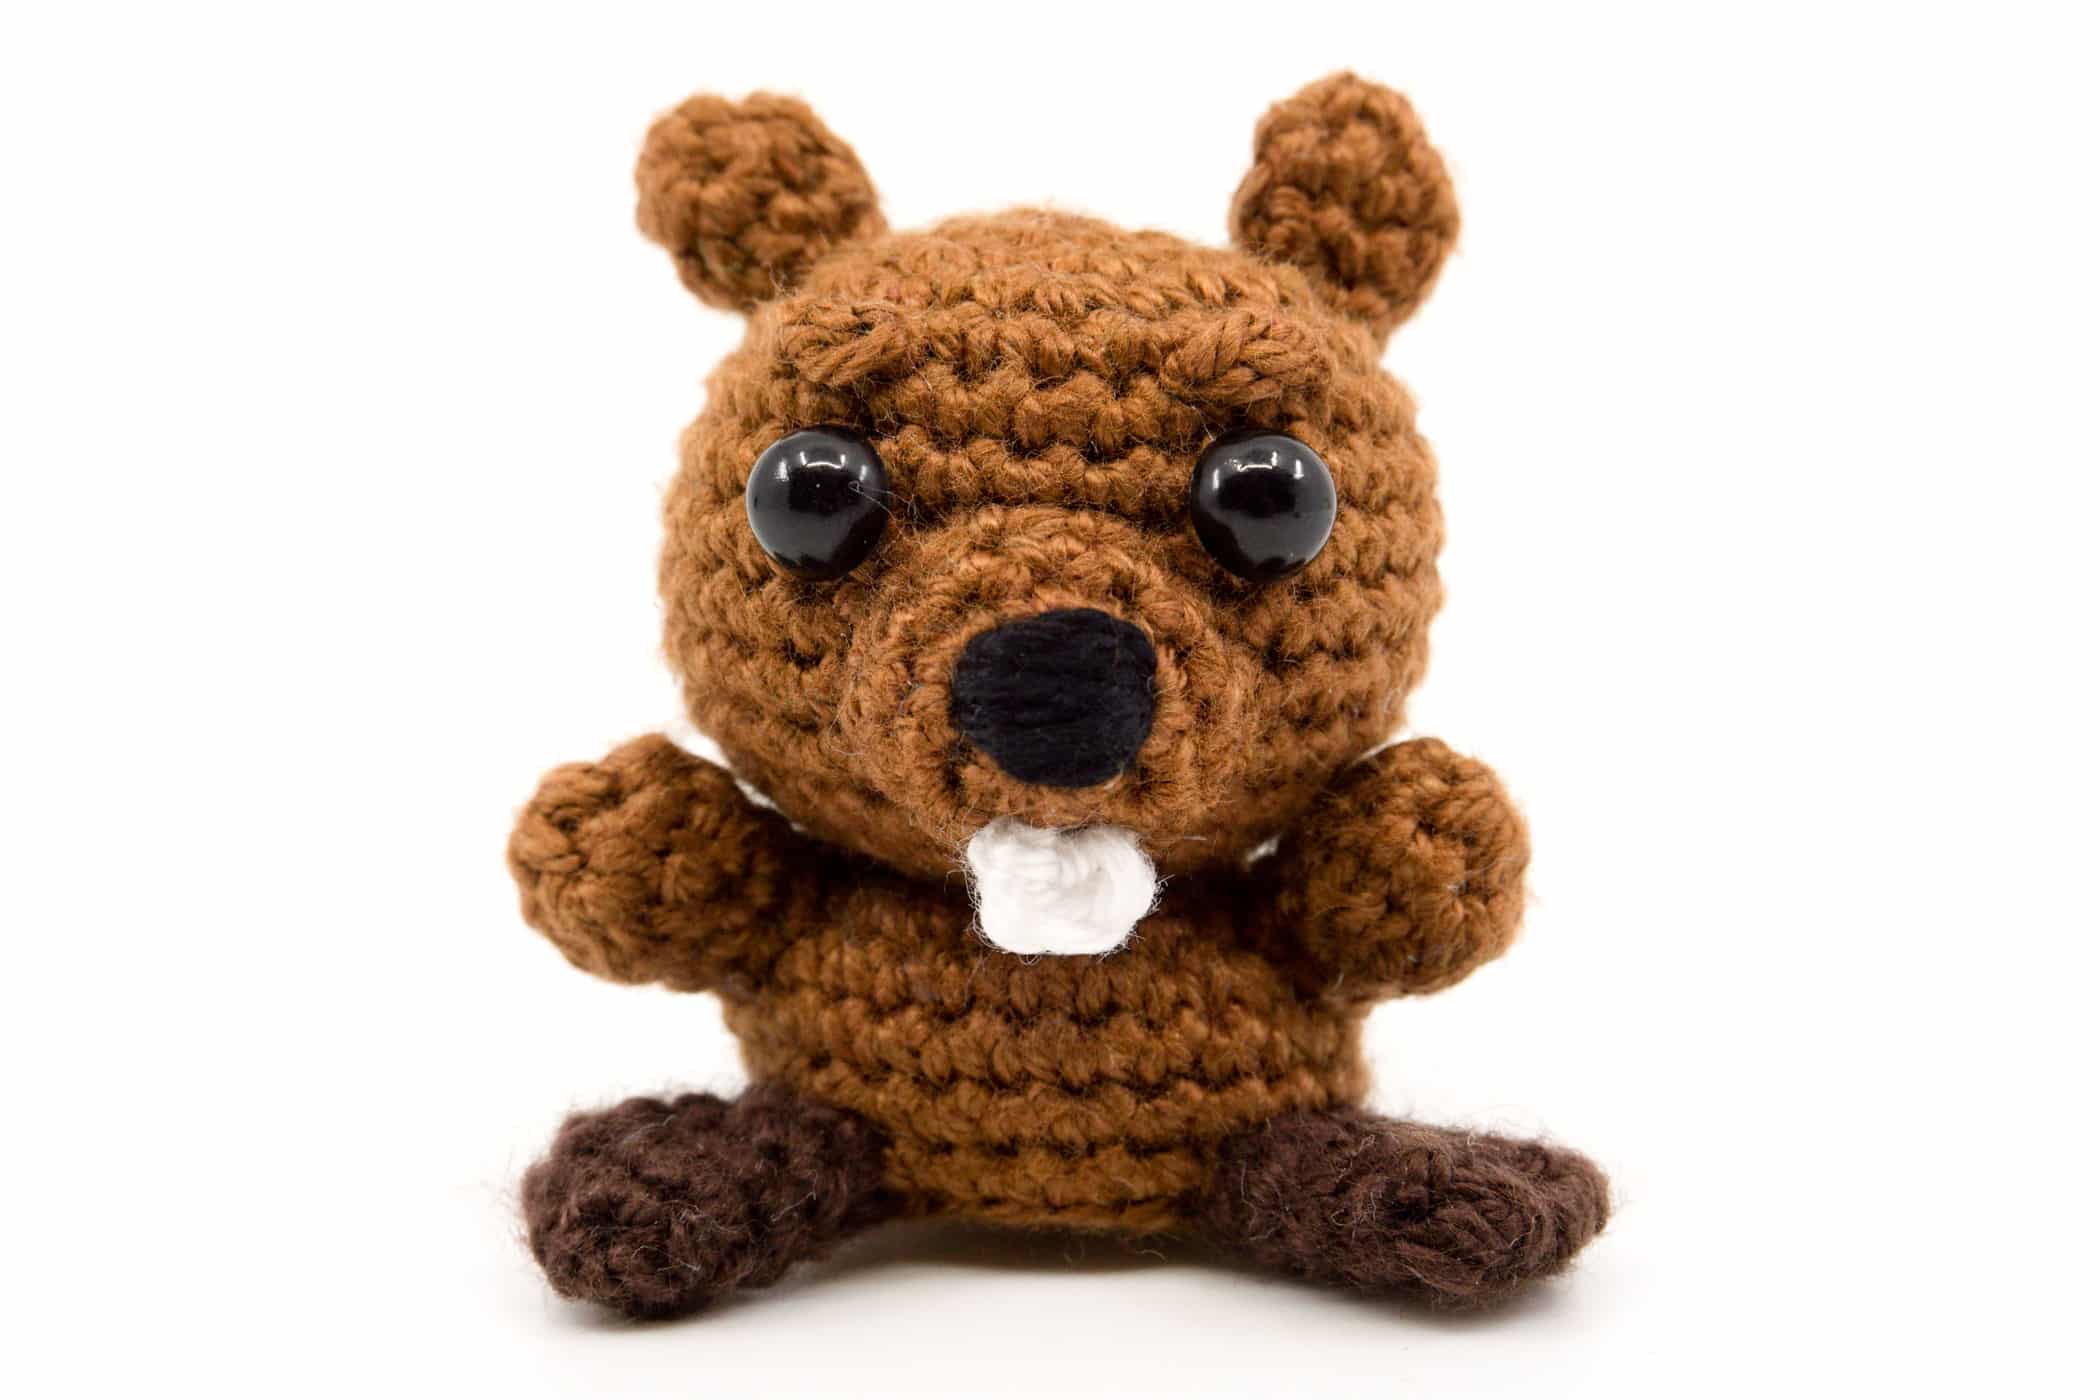

After you have attached the teeth to the muzzle, use a tapestry needle to pull a thin Black thread vertically over the middle of the teeth, as shown in the picture.
DONE!