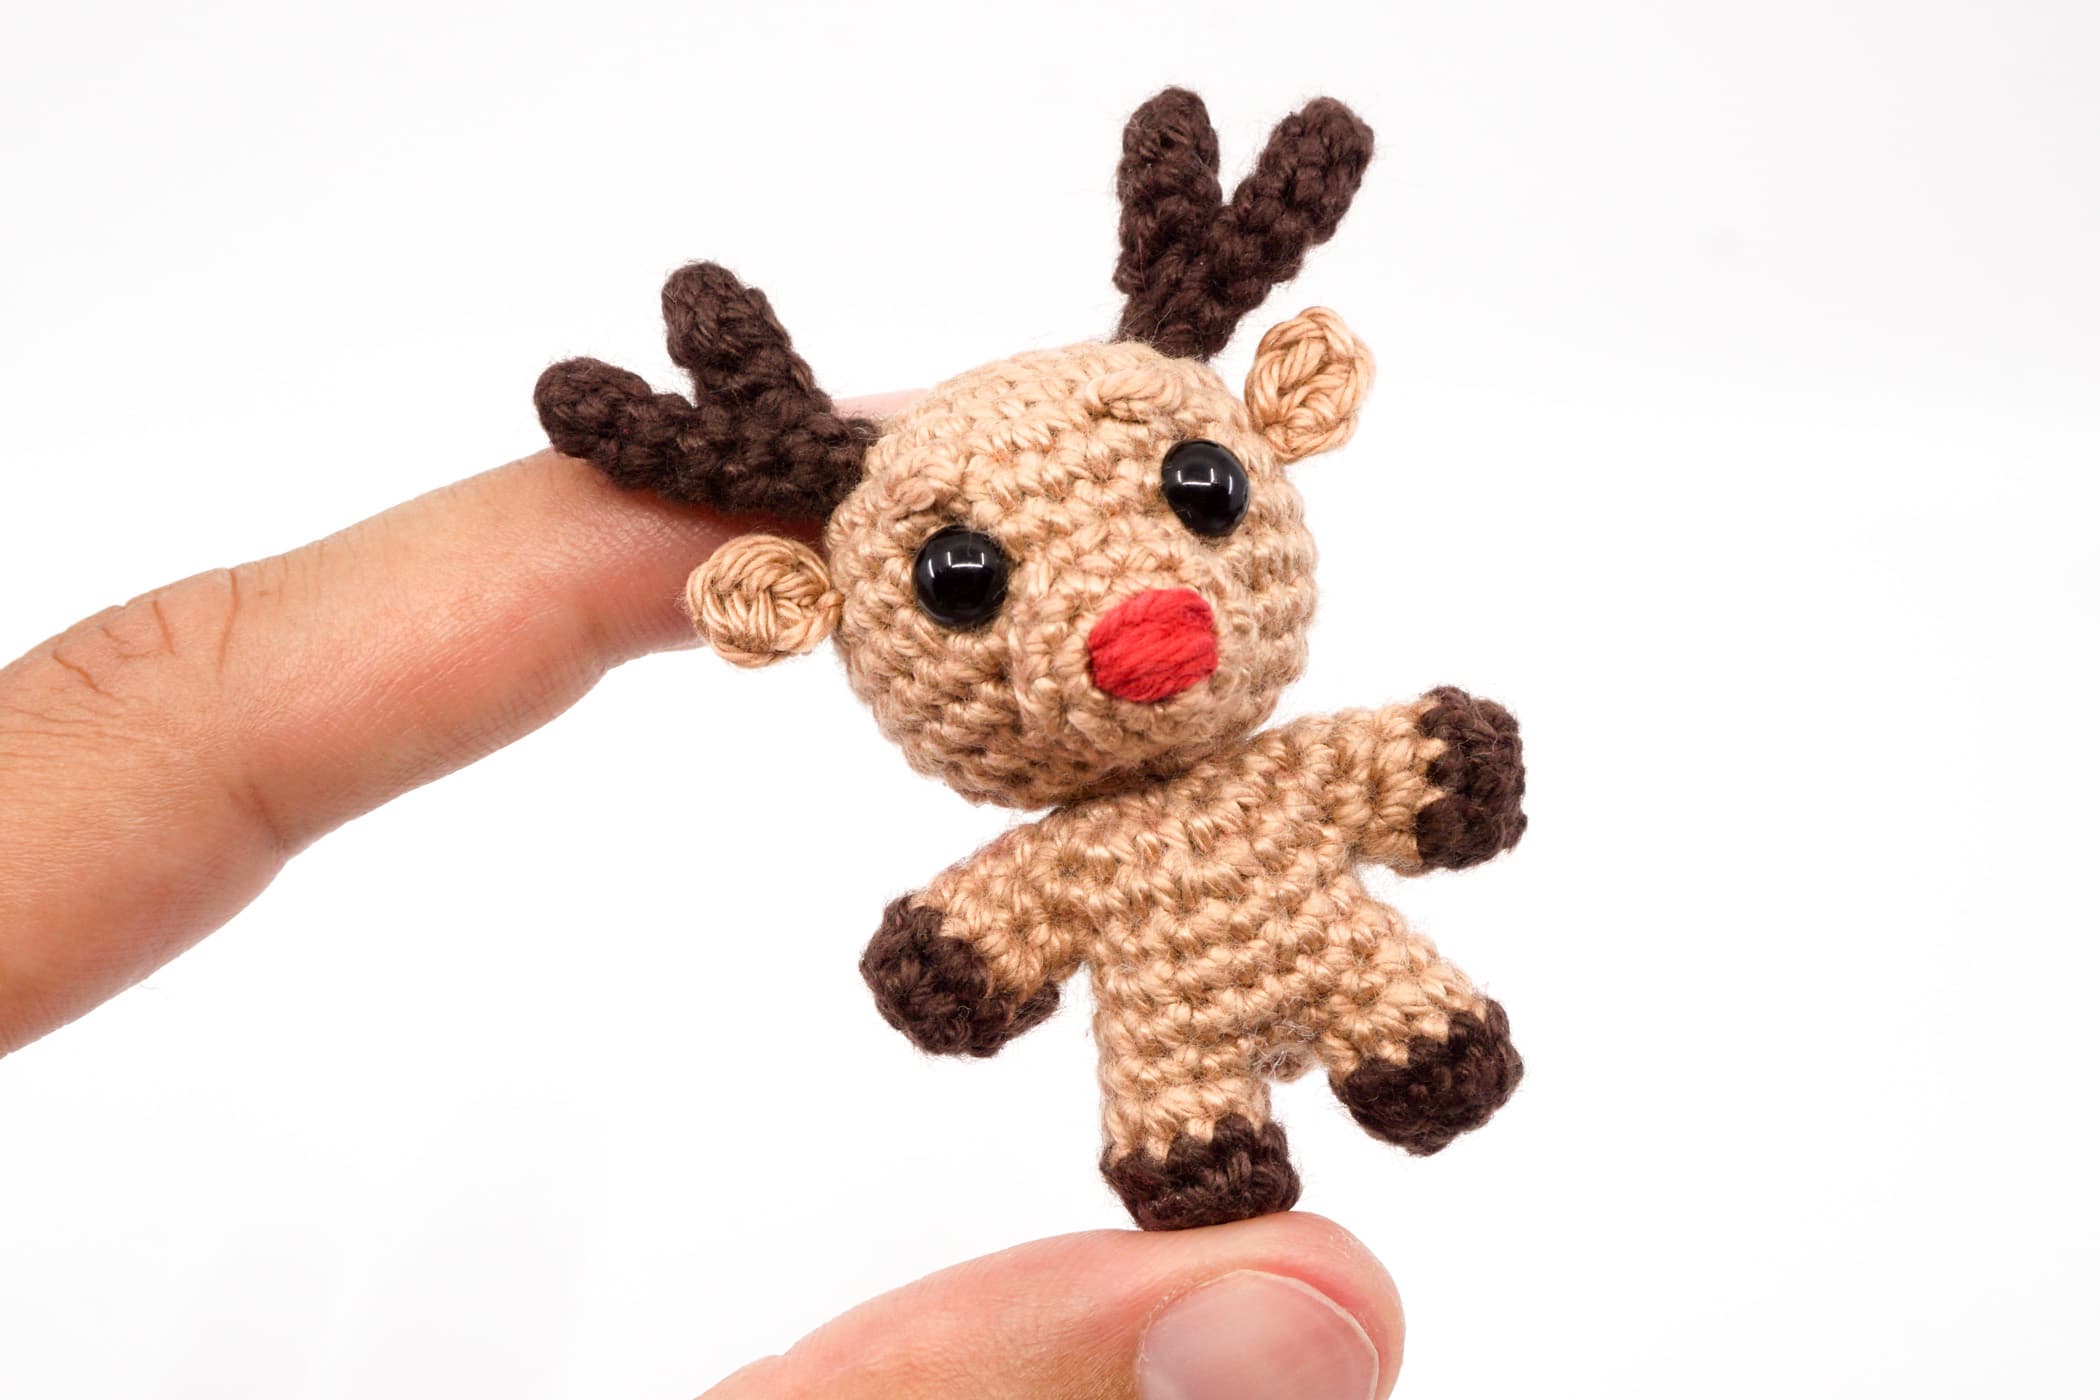
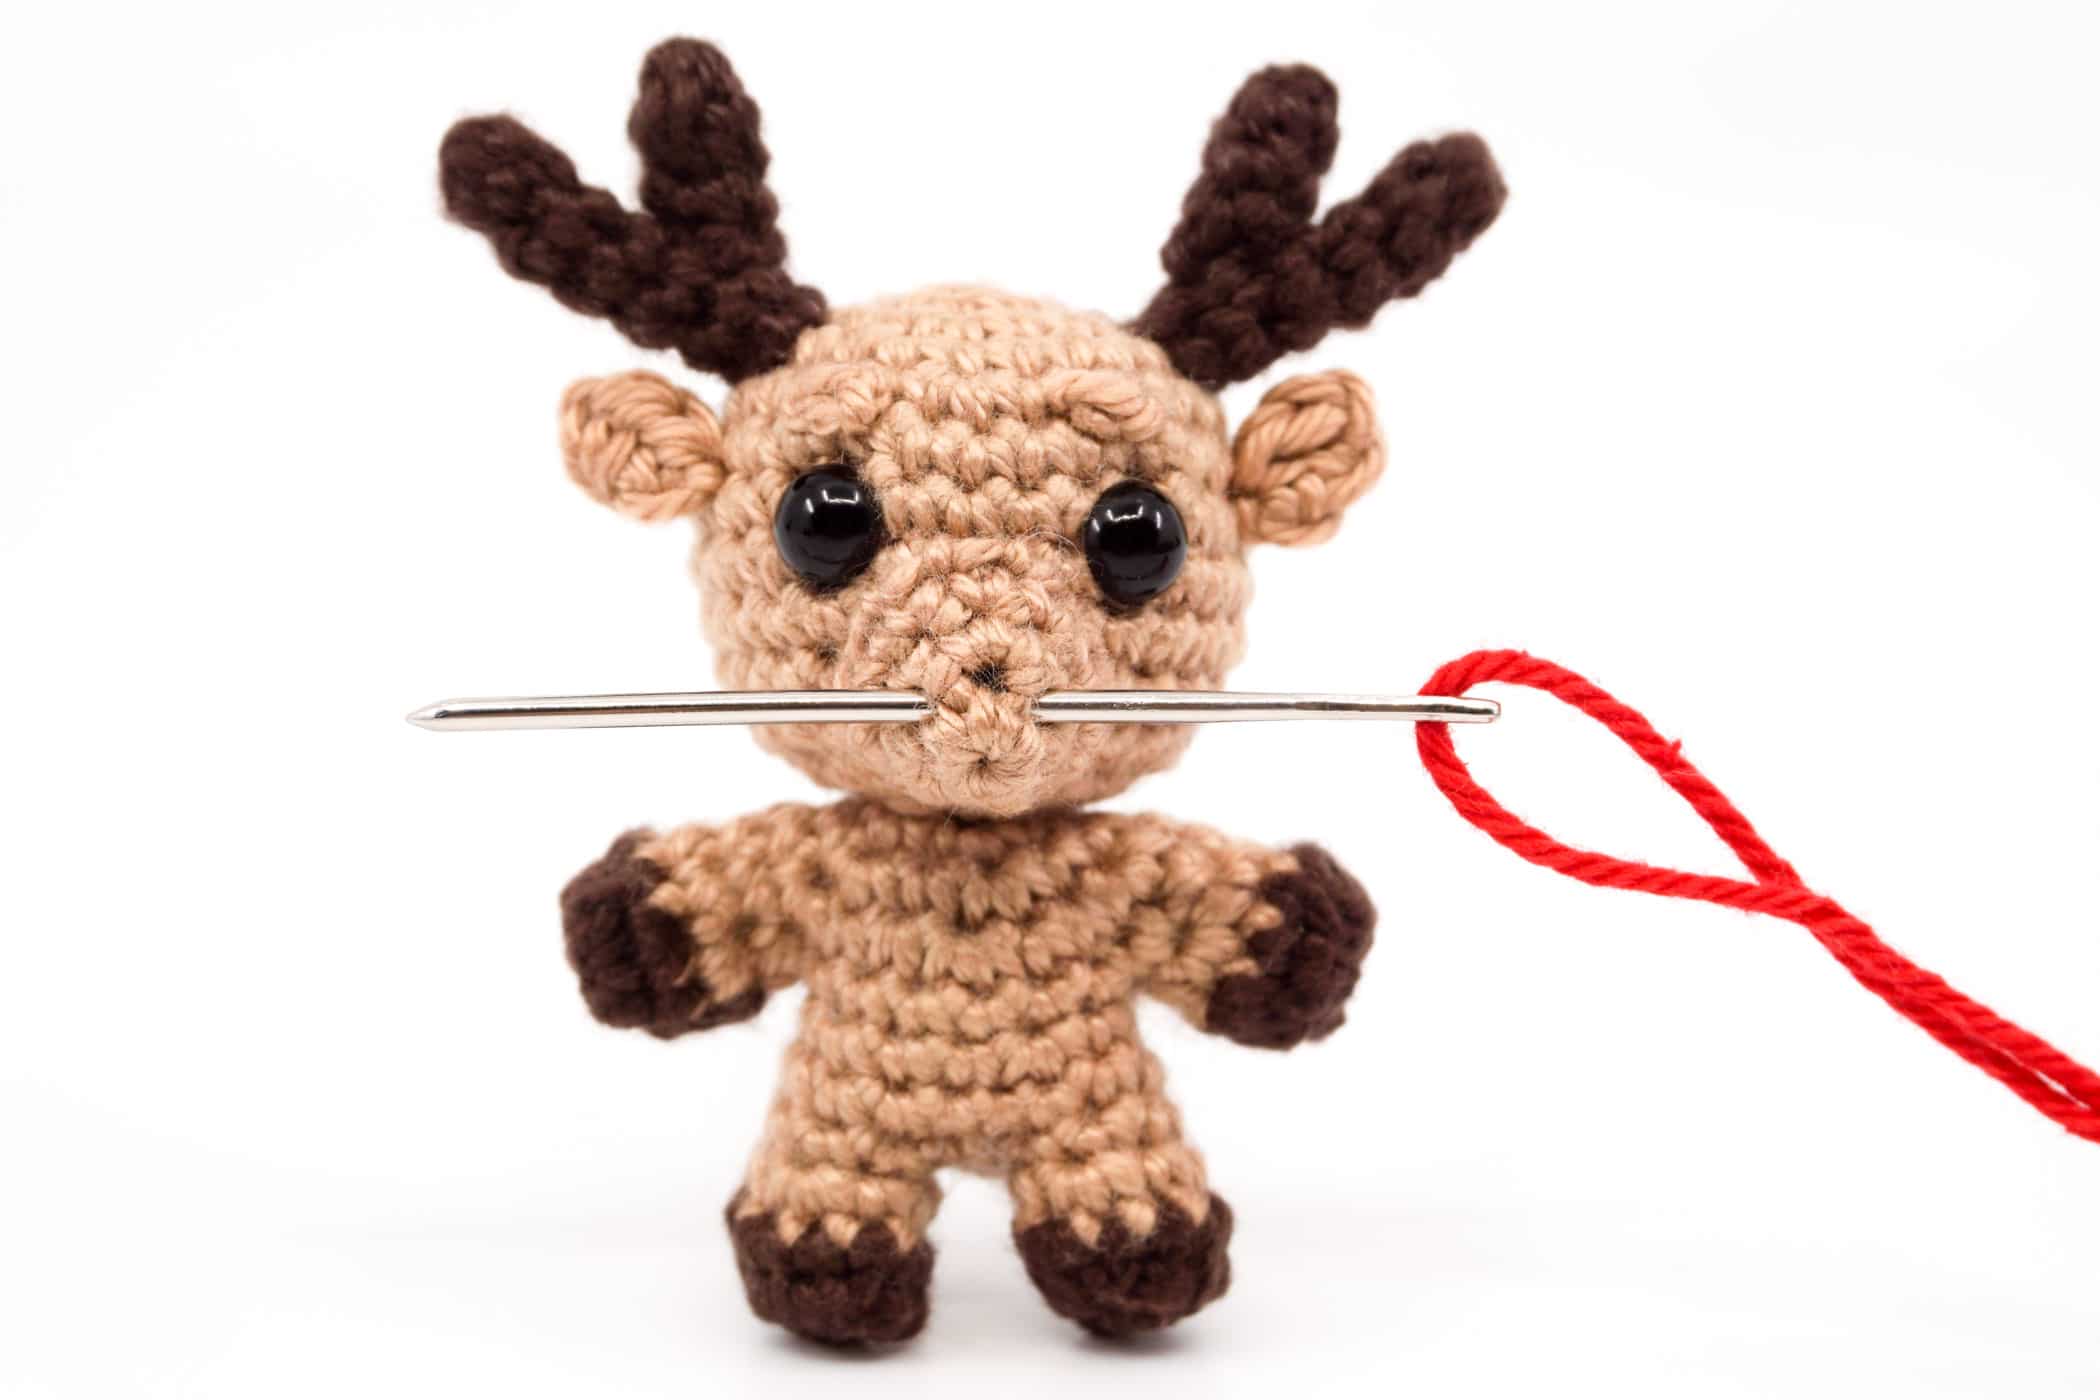
The Noso reindeer can unfortunately not be used to pull Santa’s sleigh, but like his cousin Rudolf has a luminous nose and therefore must unfortunately always serve as a flashing light for the sleigh.
The Nosos (pronounced like “no sew”) are a series of amigurumi whose bodies are crocheted in one piece and without sewing on the arms and legs. Less sewing, more fun!
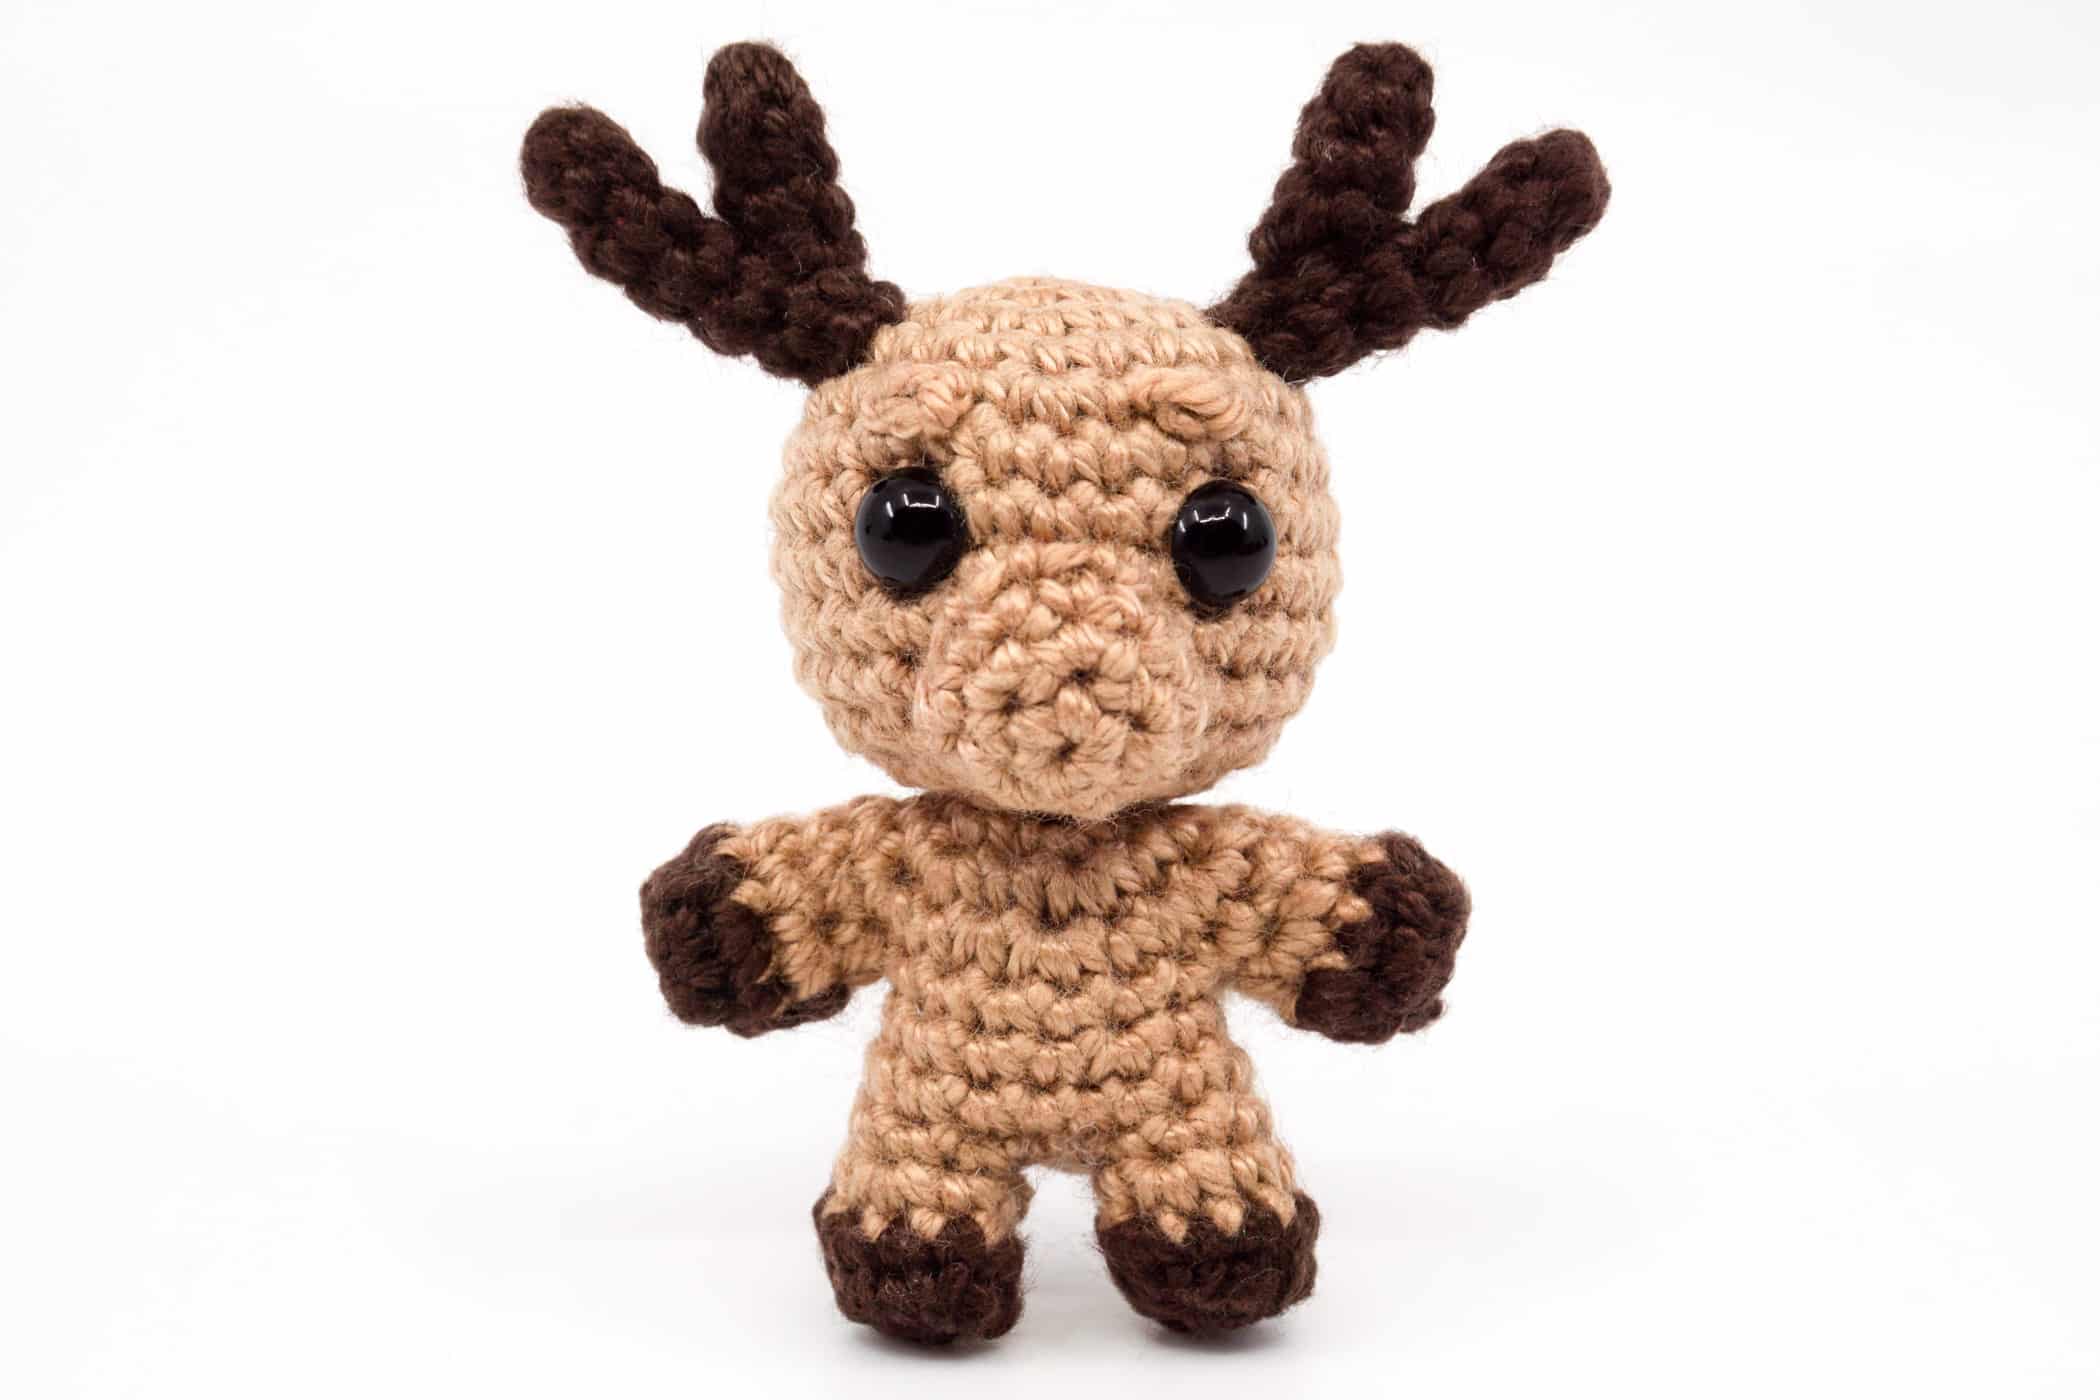
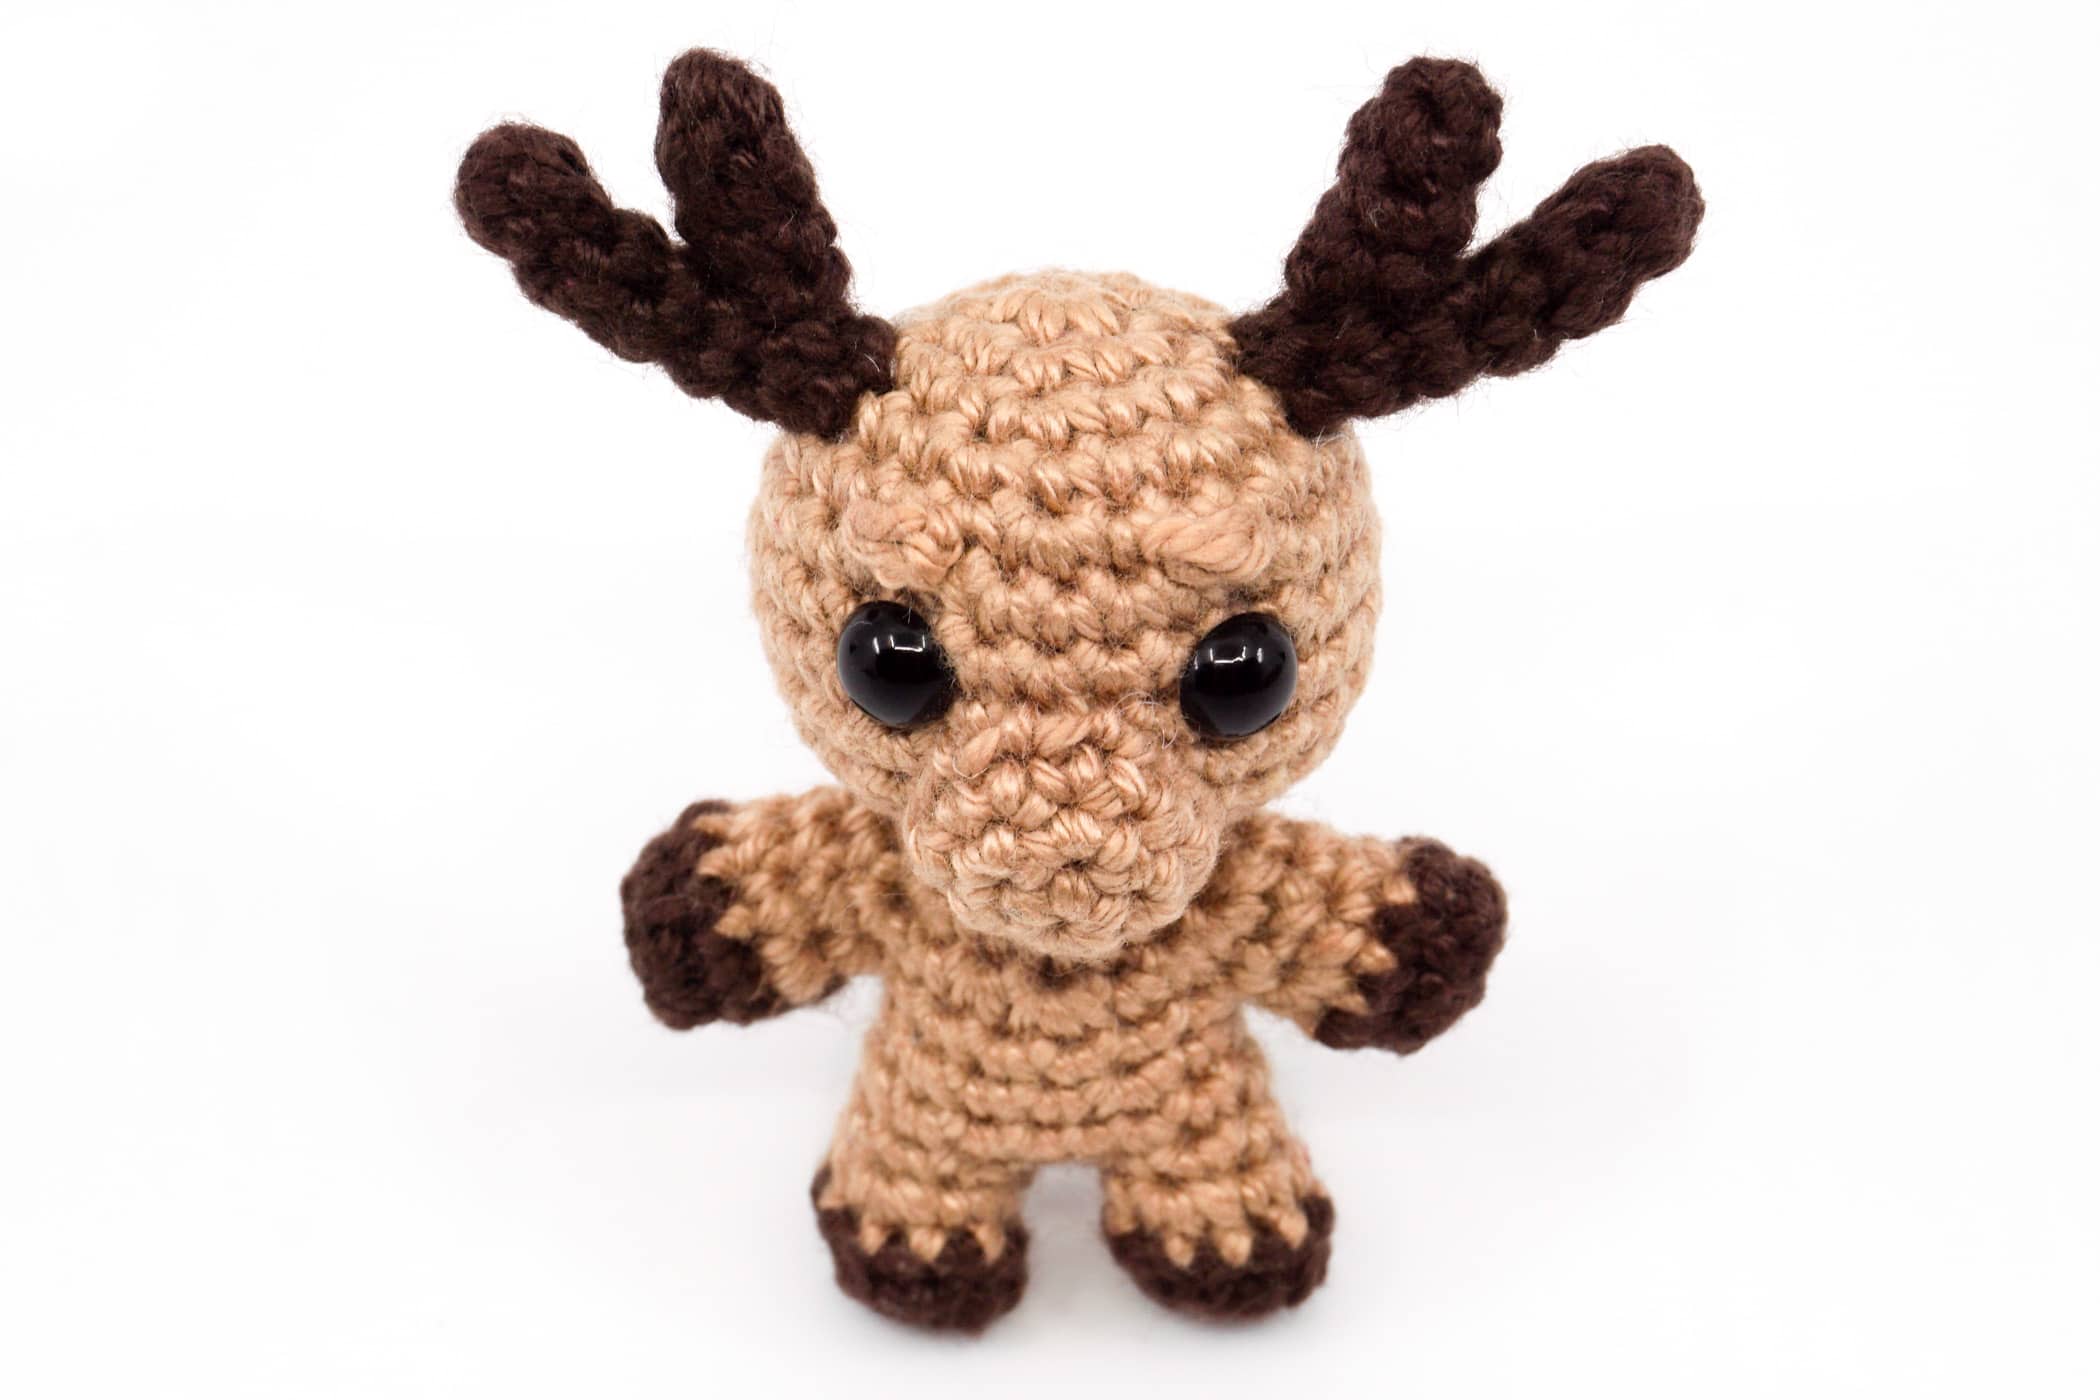
This crochet reindeer is crocheted with chain stitches, single crochet stitches and half double crochet stitches in spiral rounds and in rows and is easy to crochet.
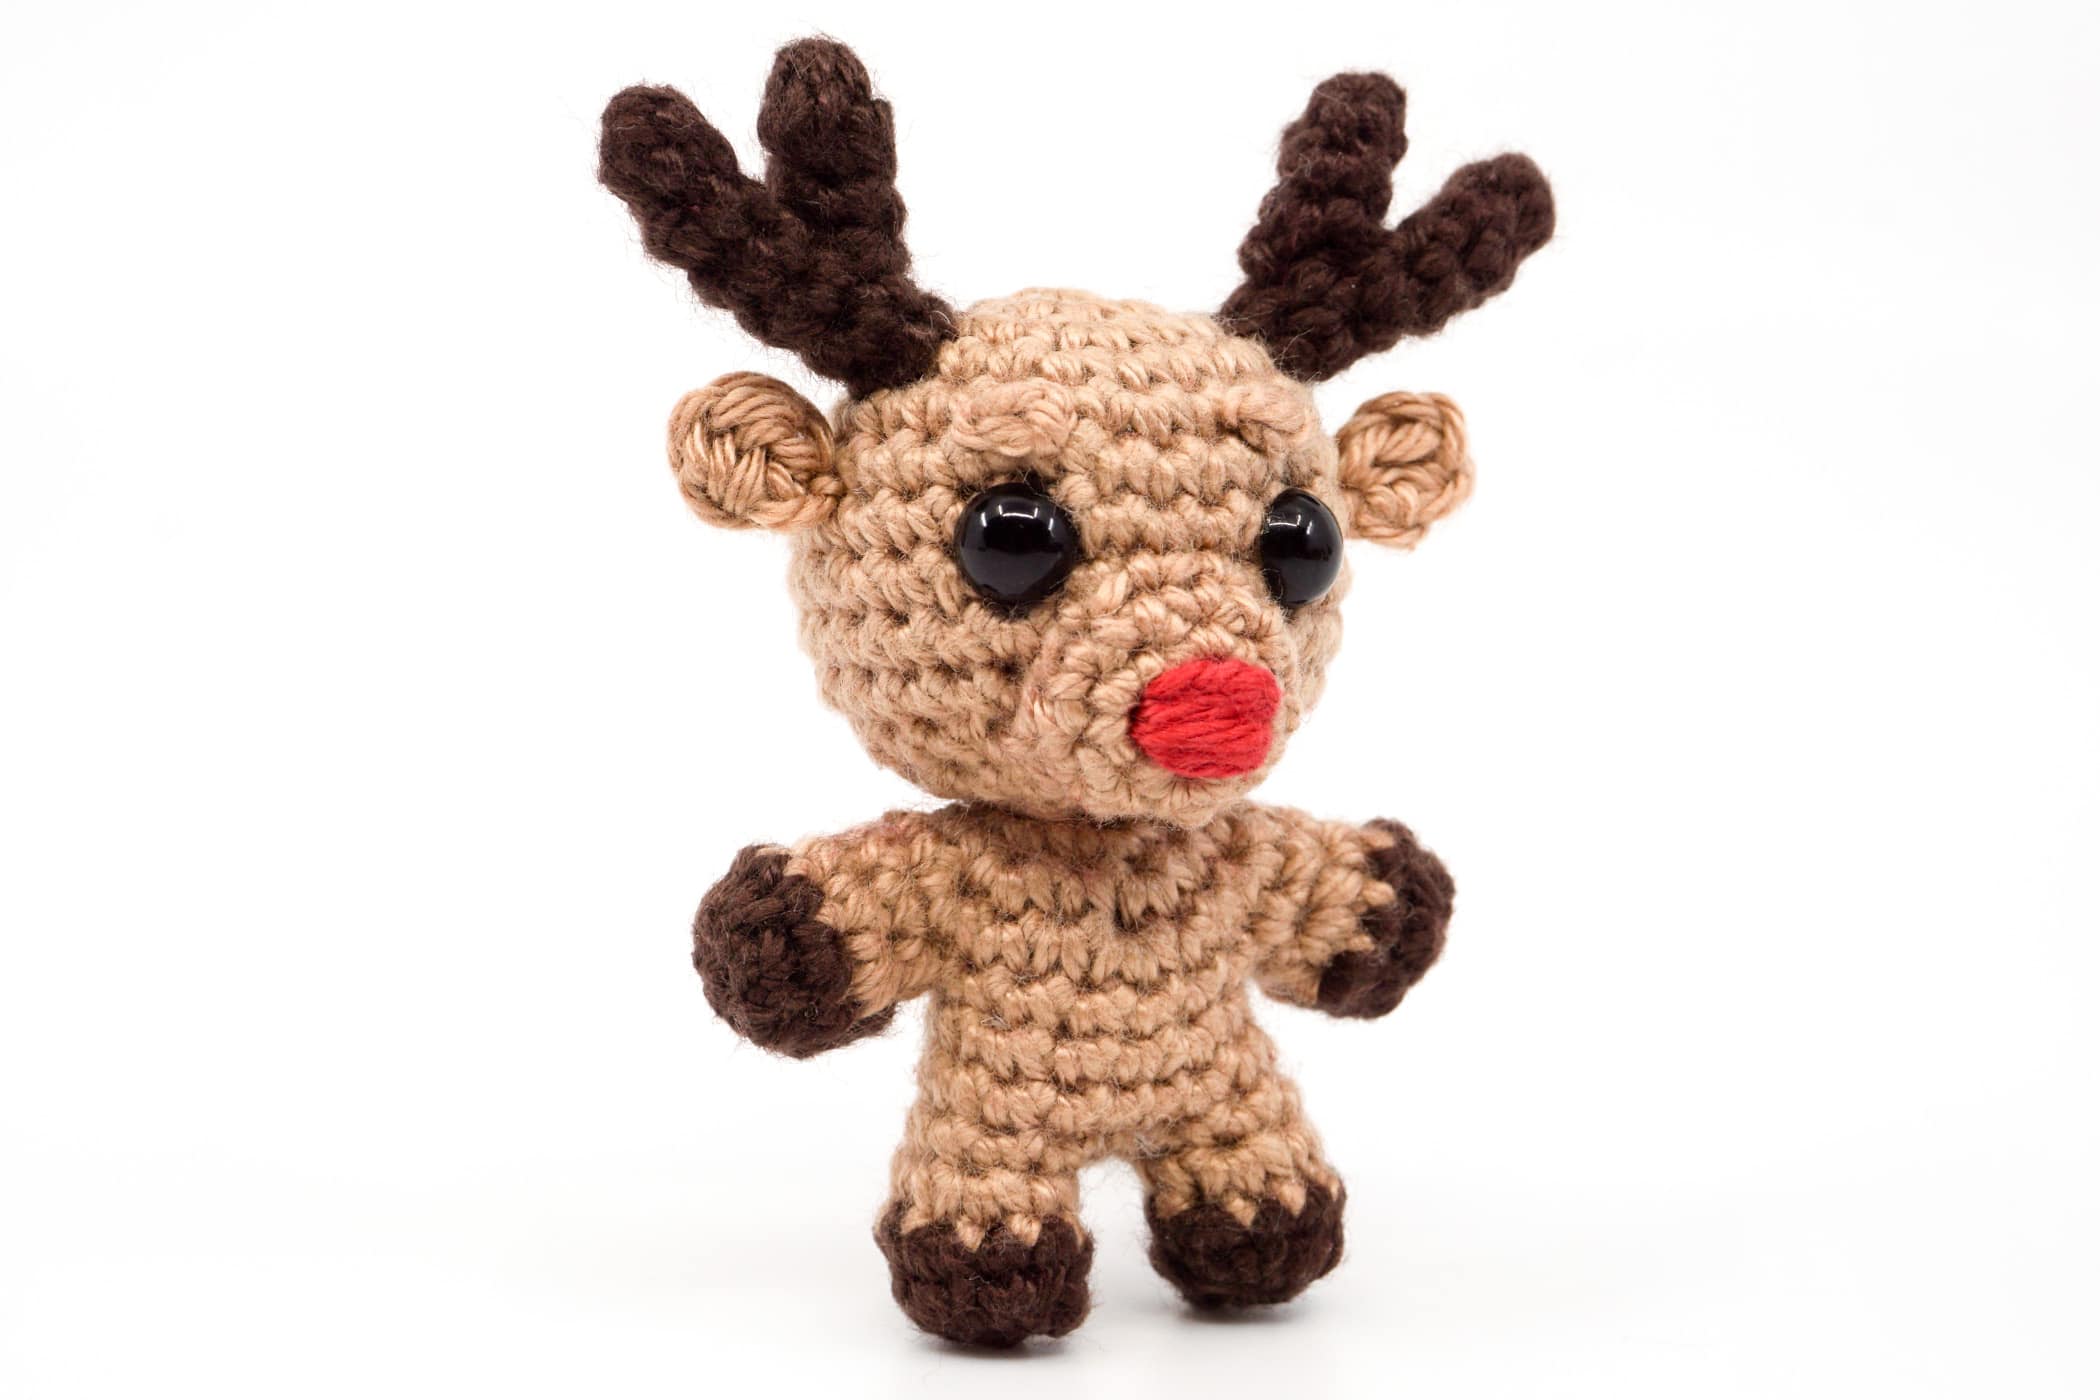
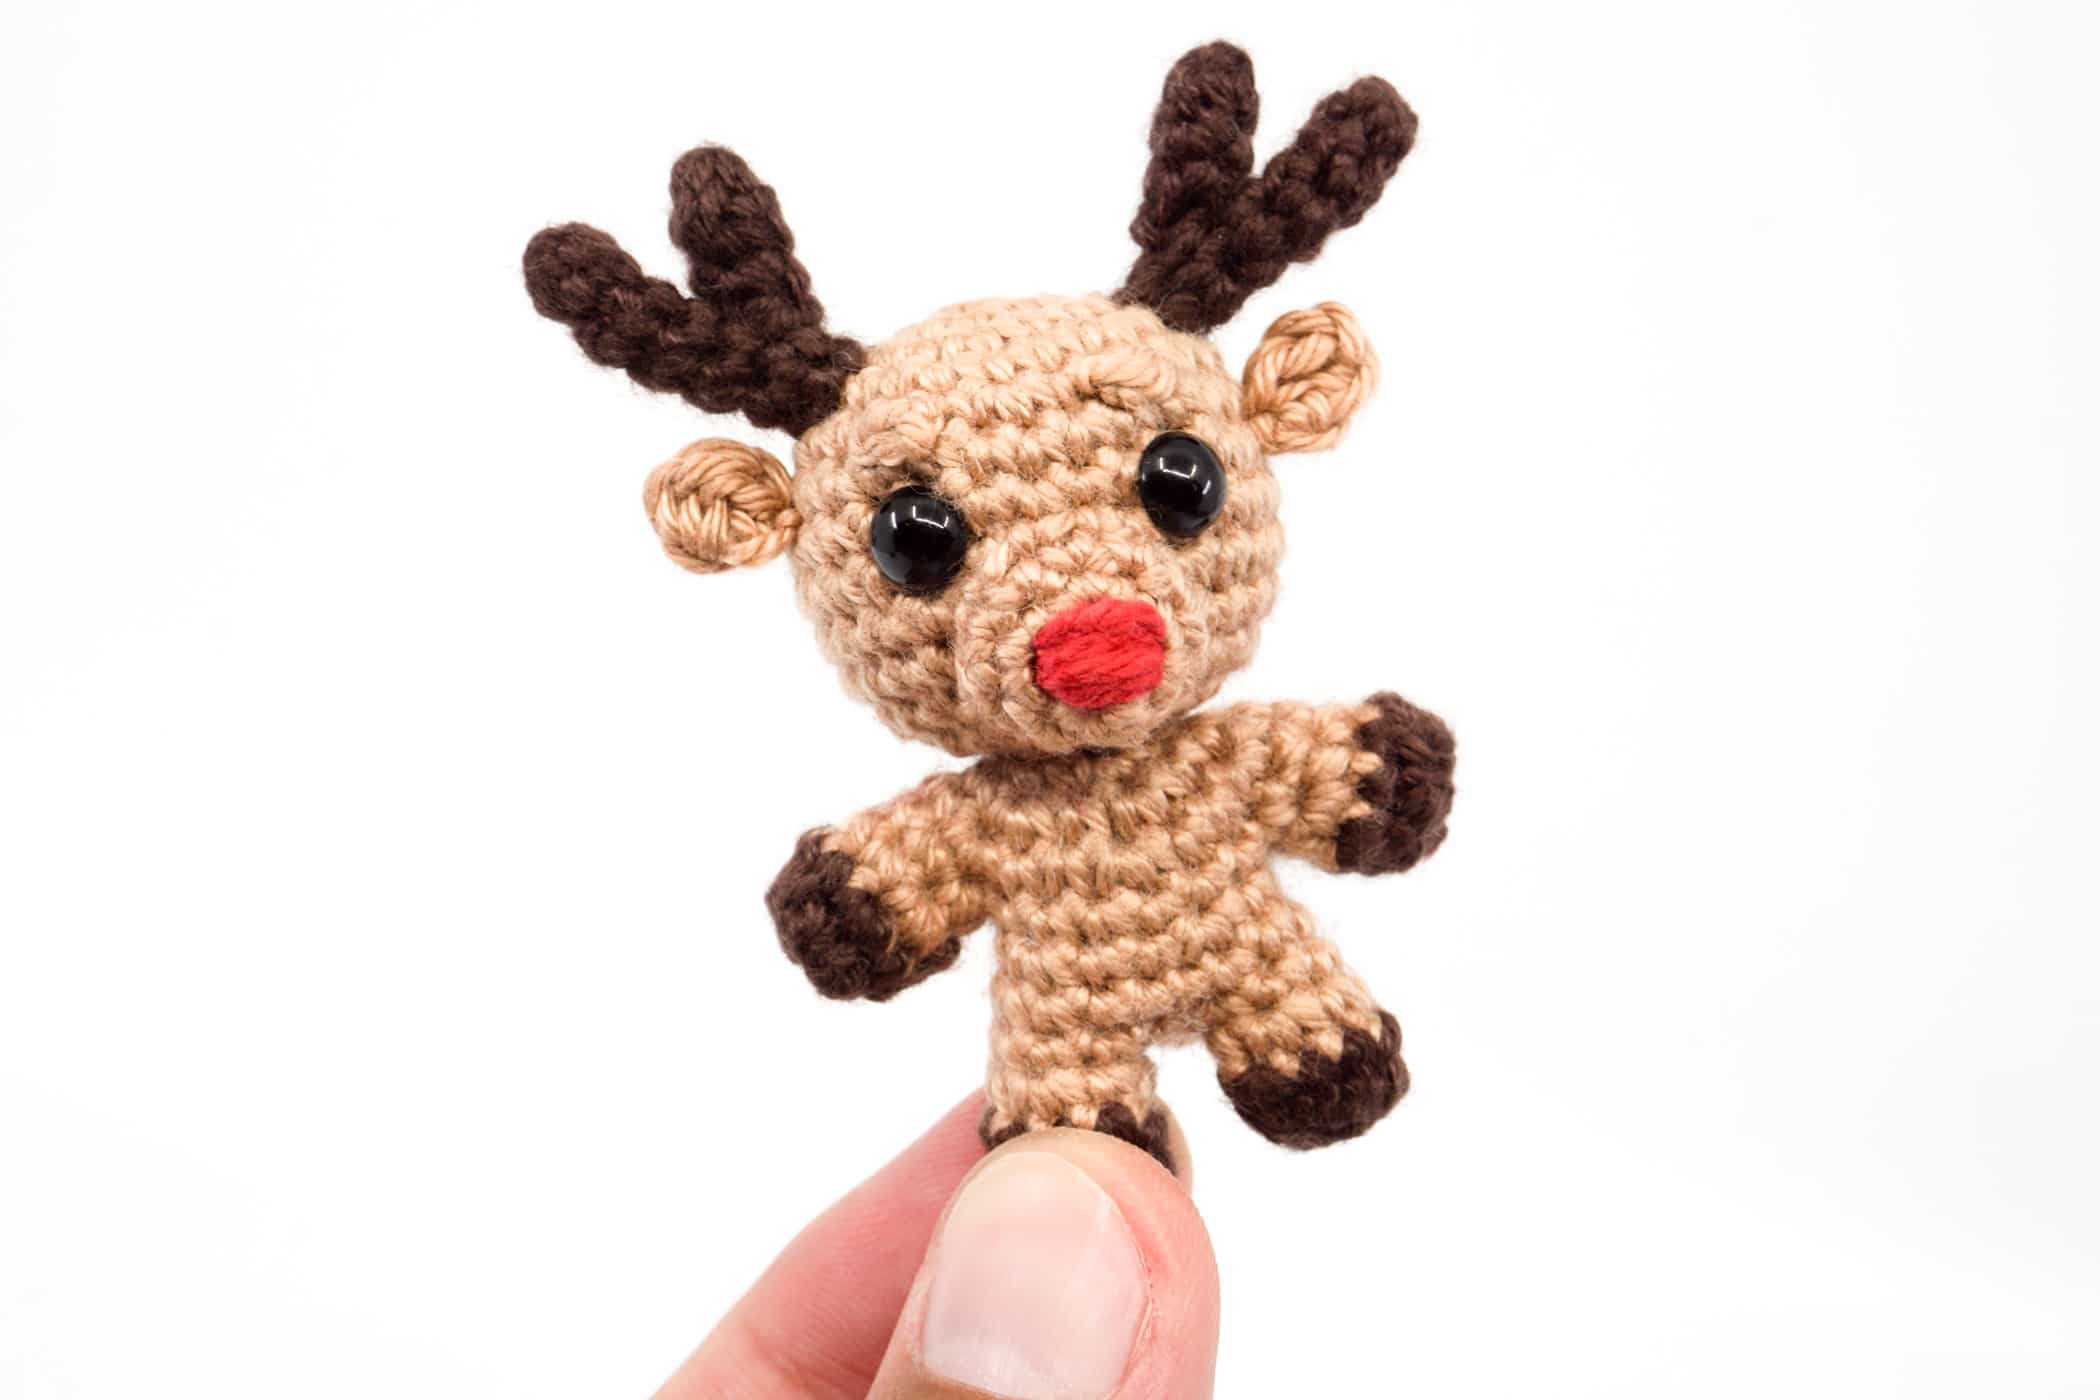
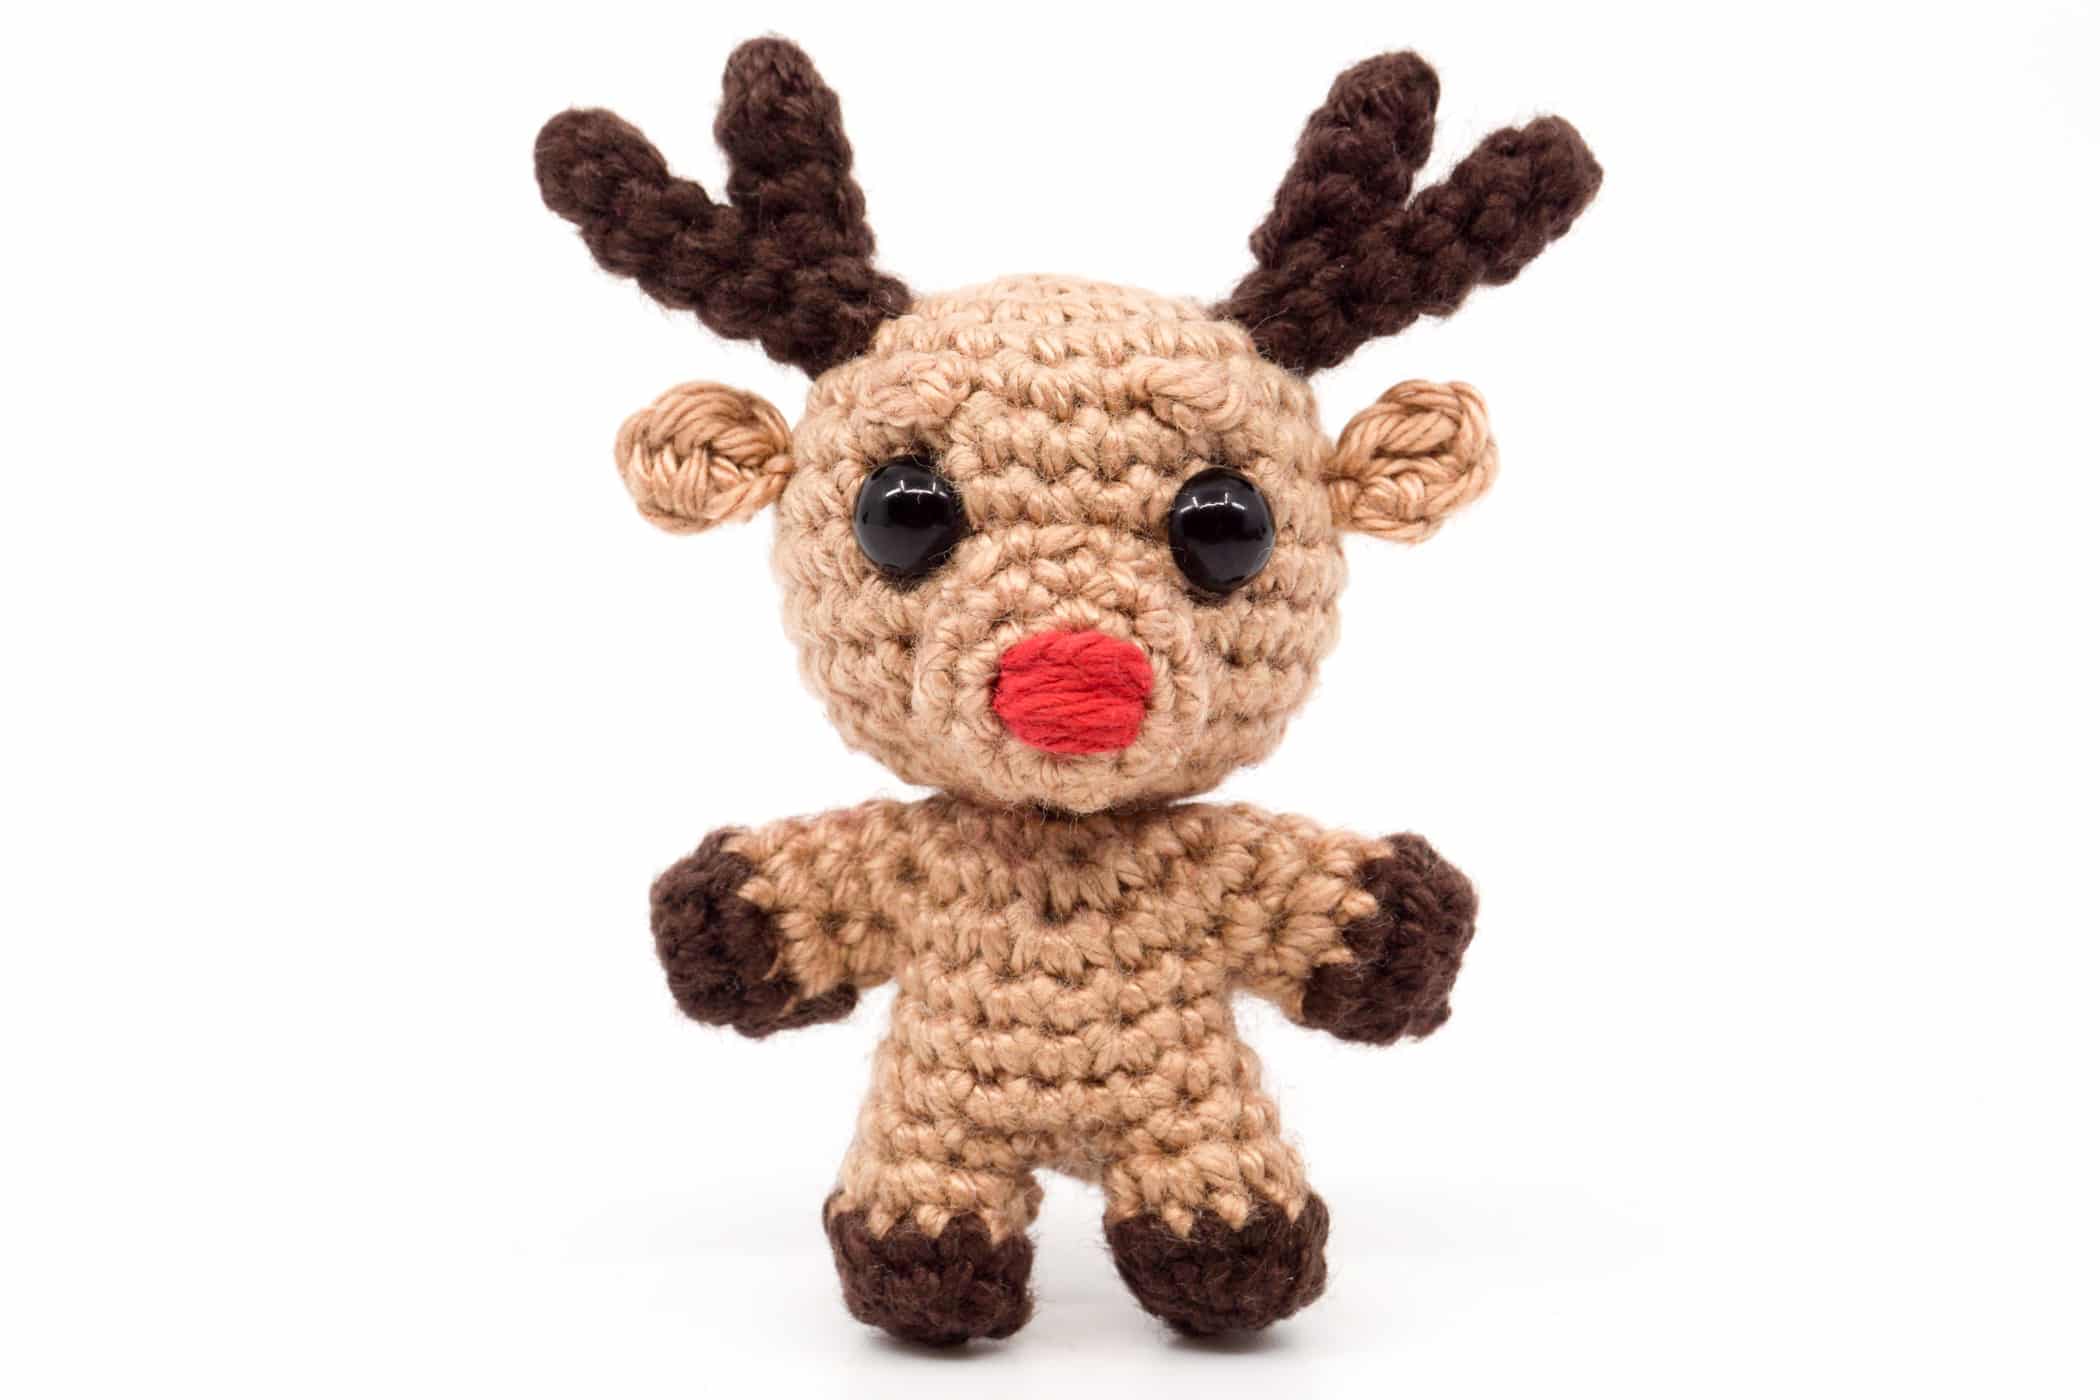
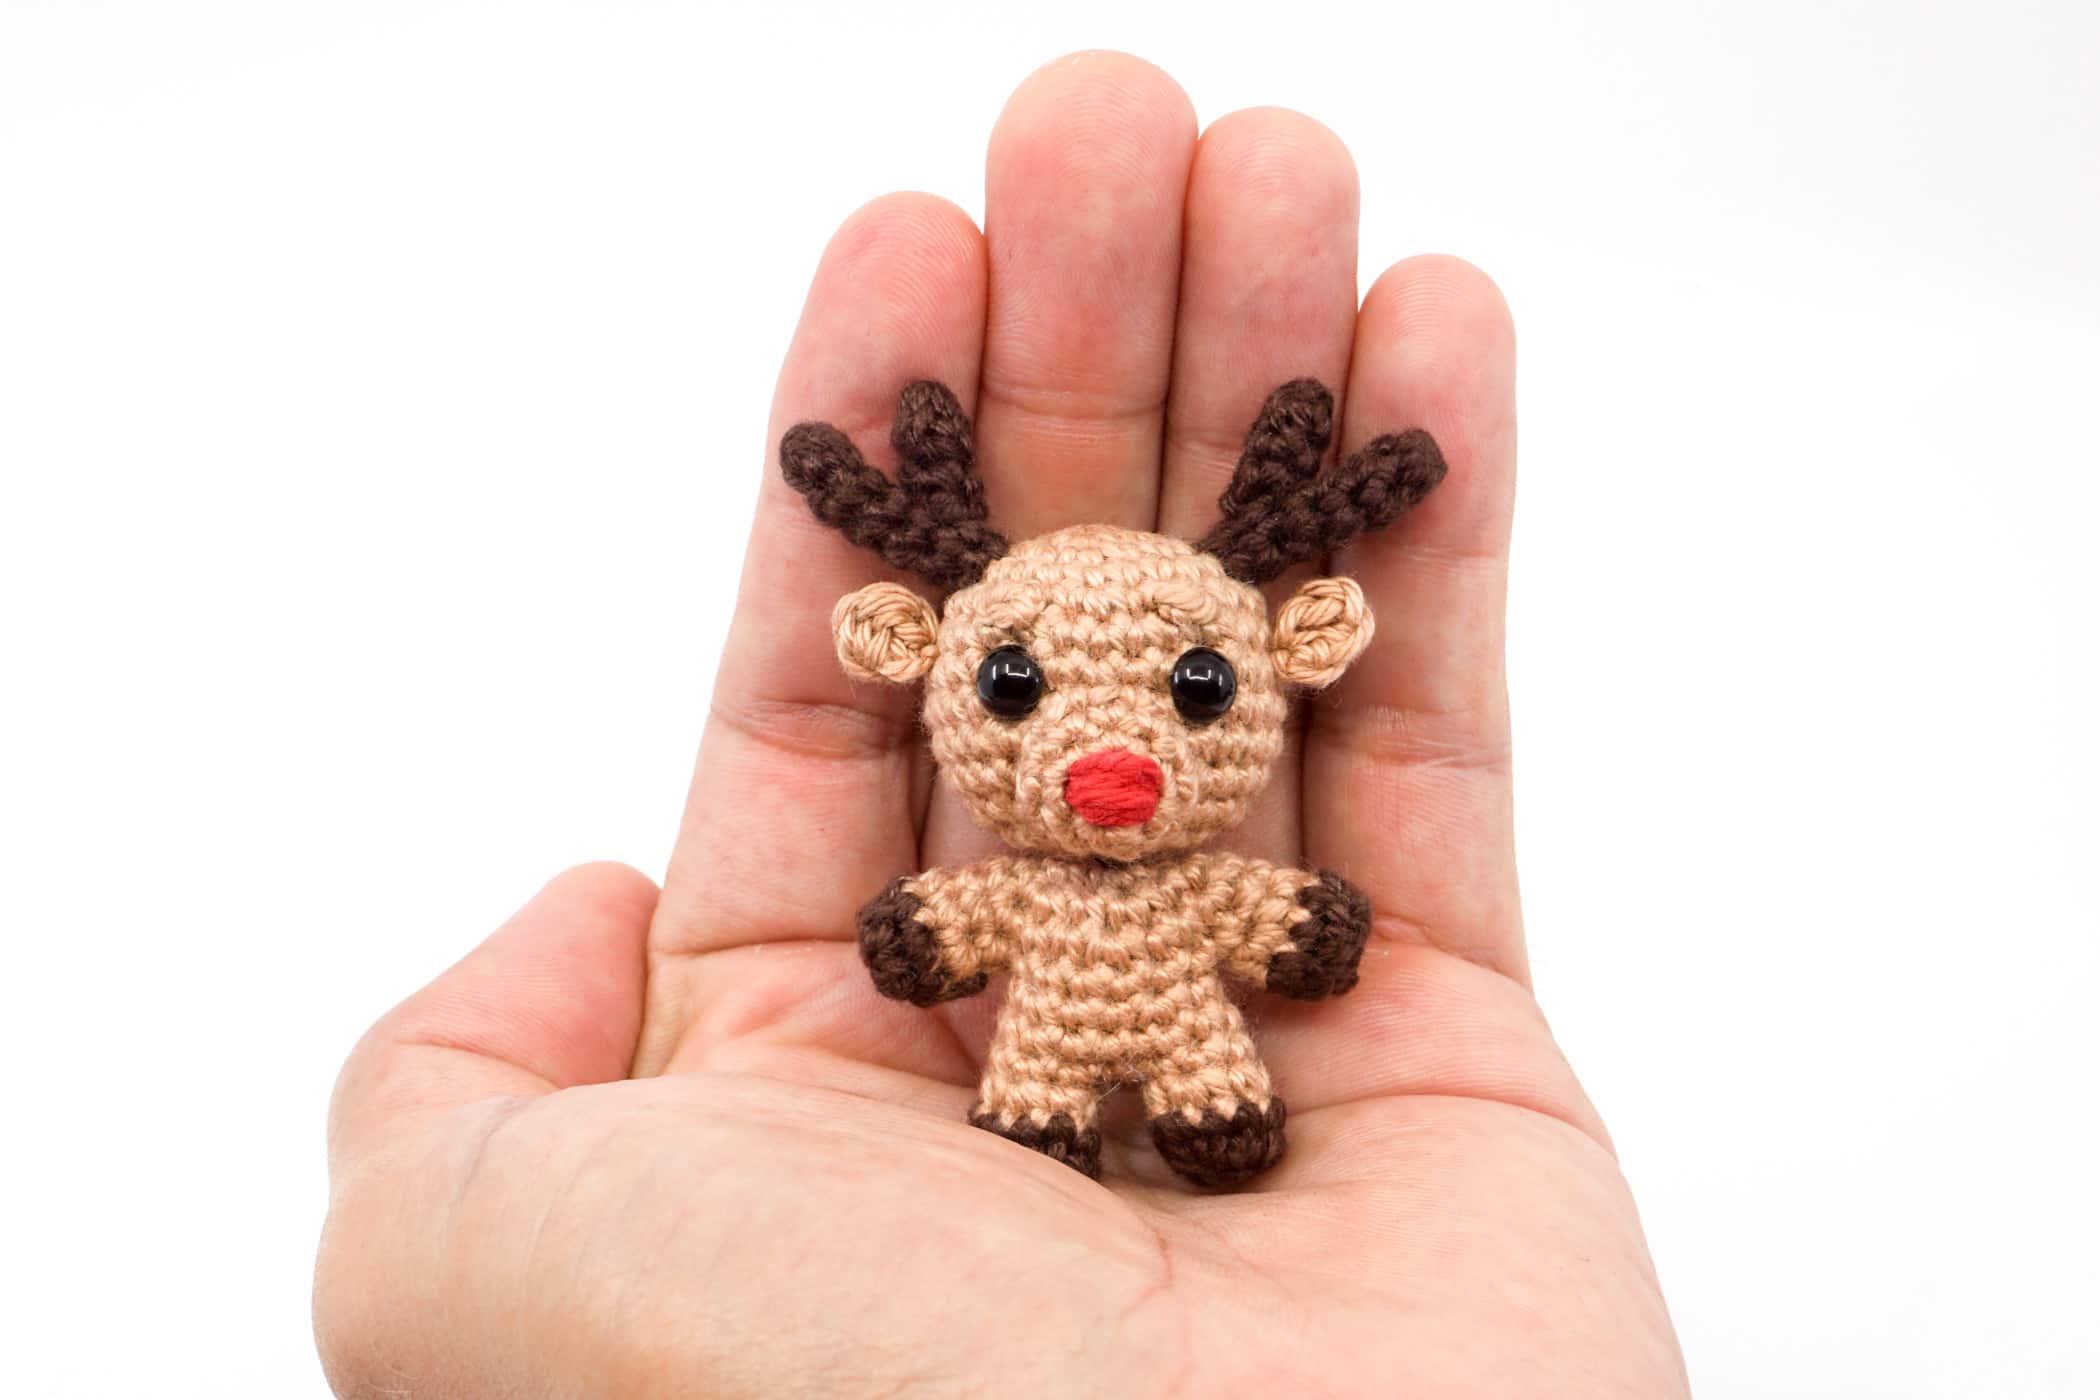
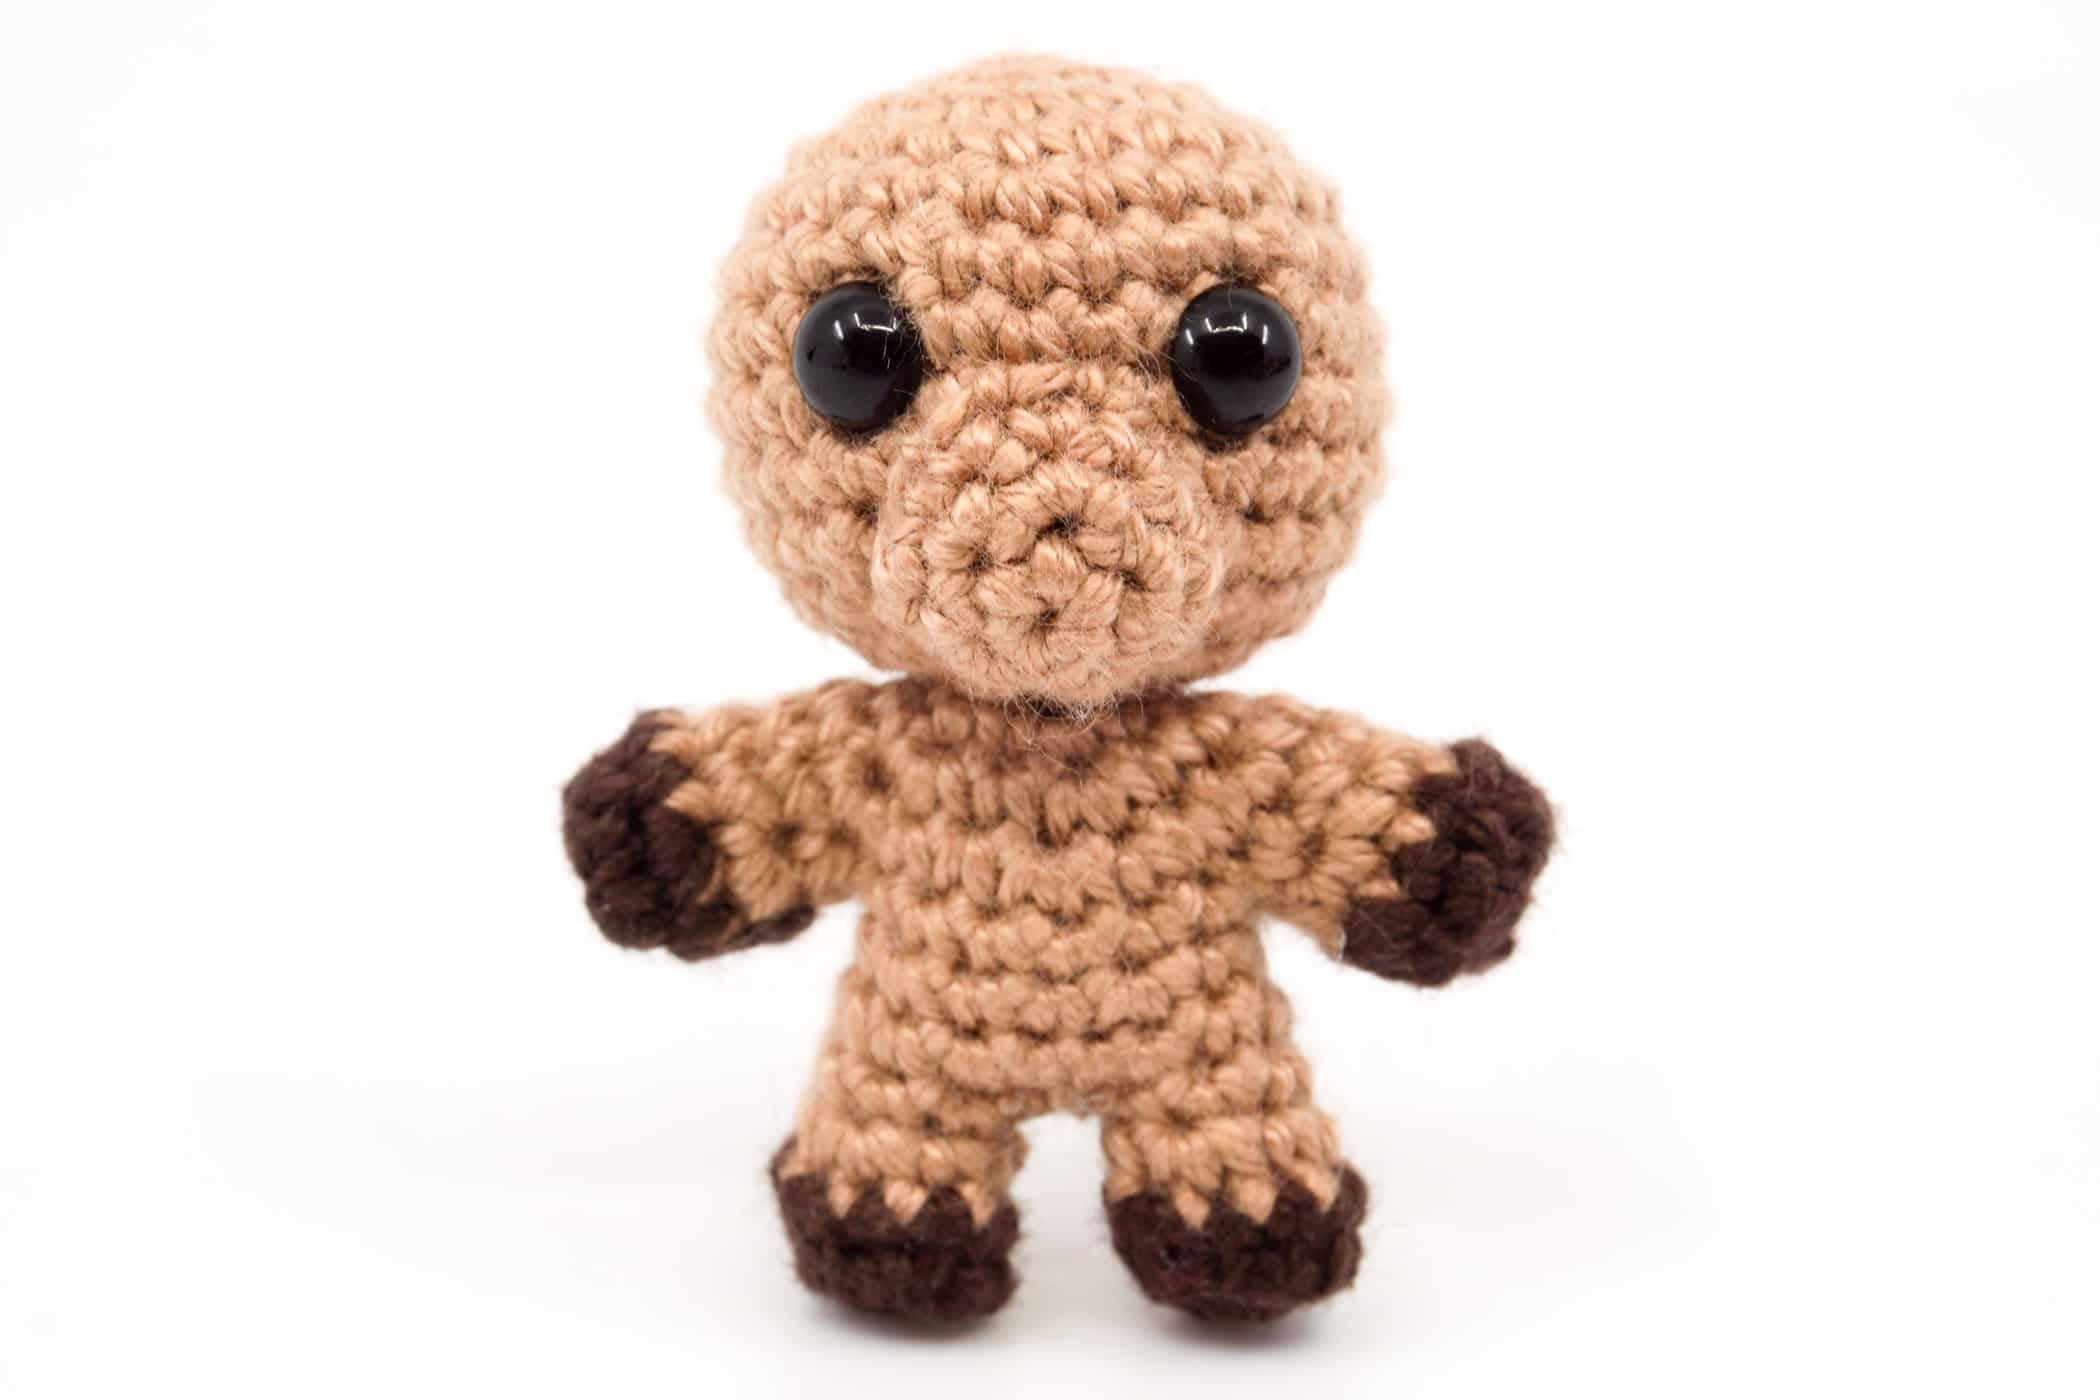
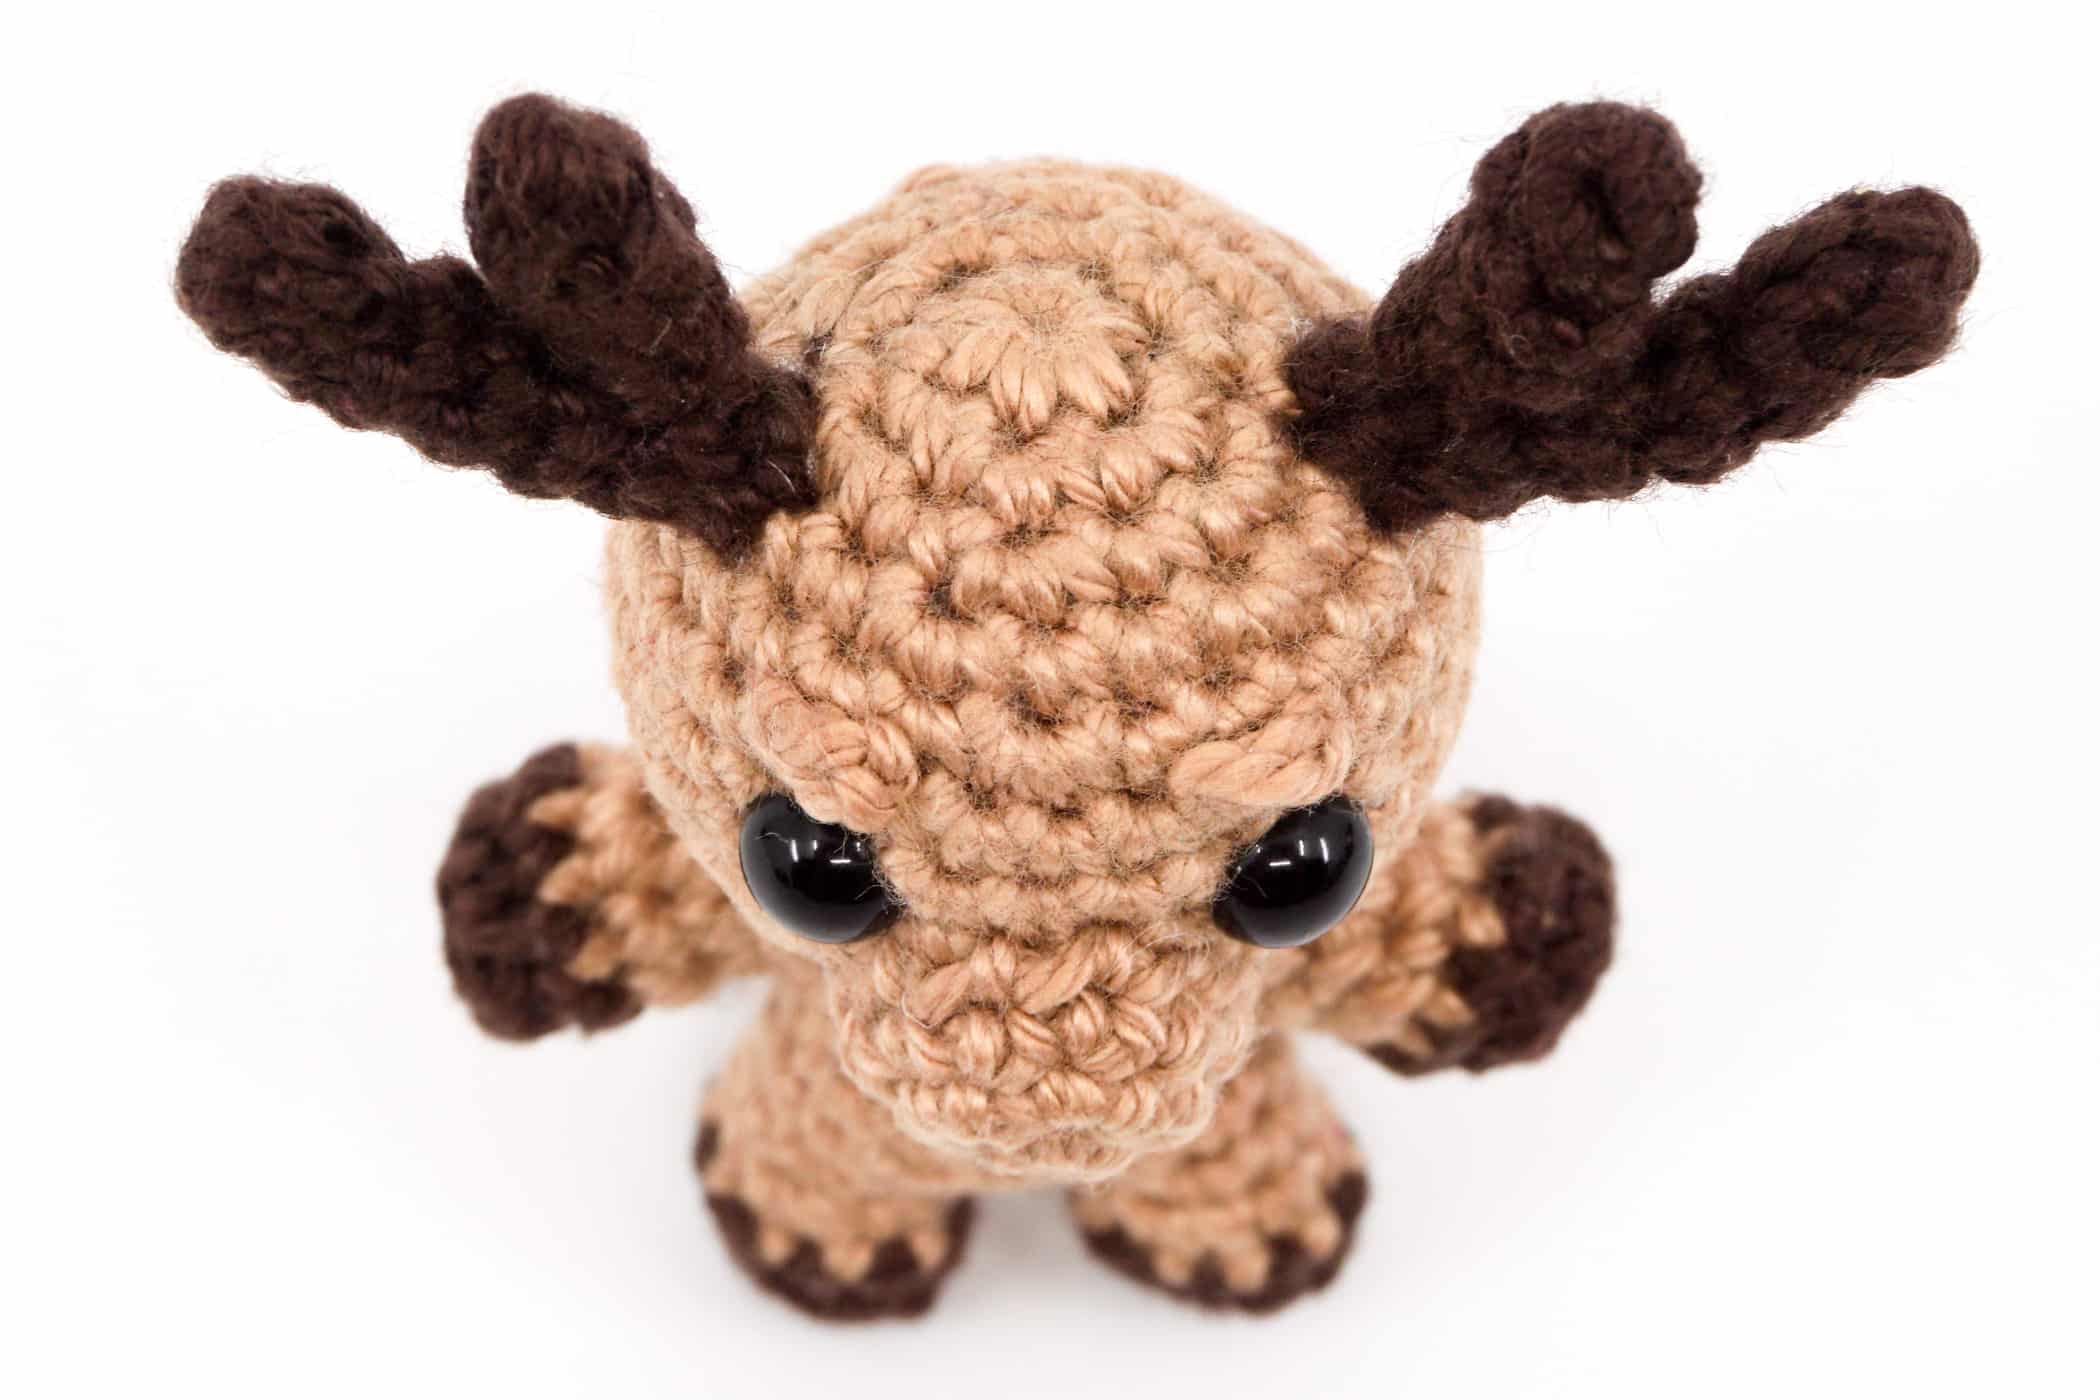
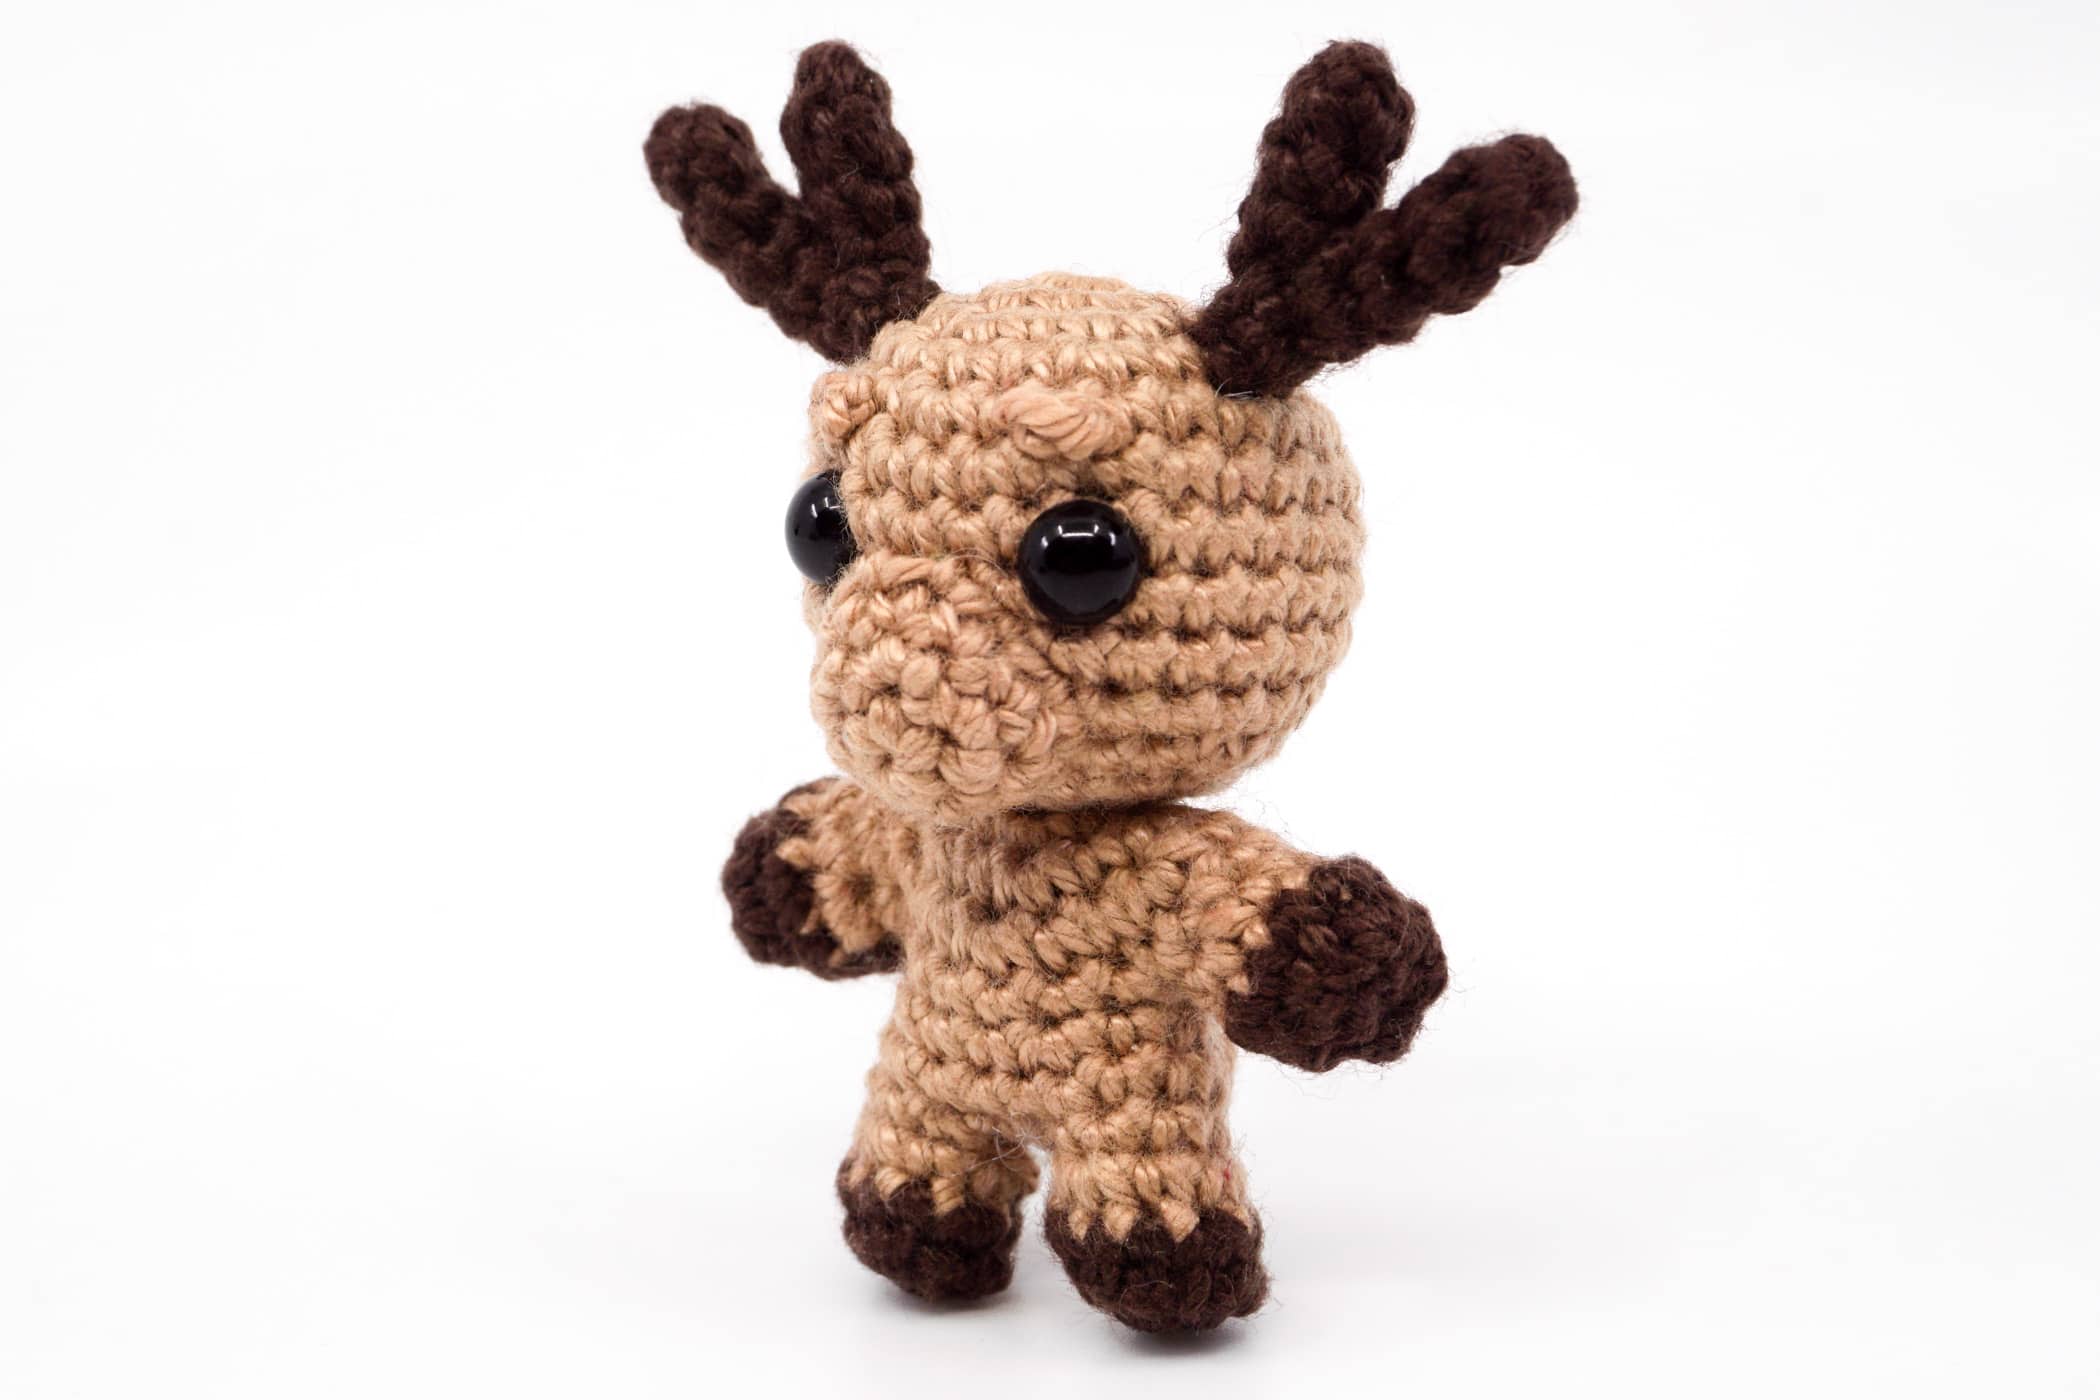
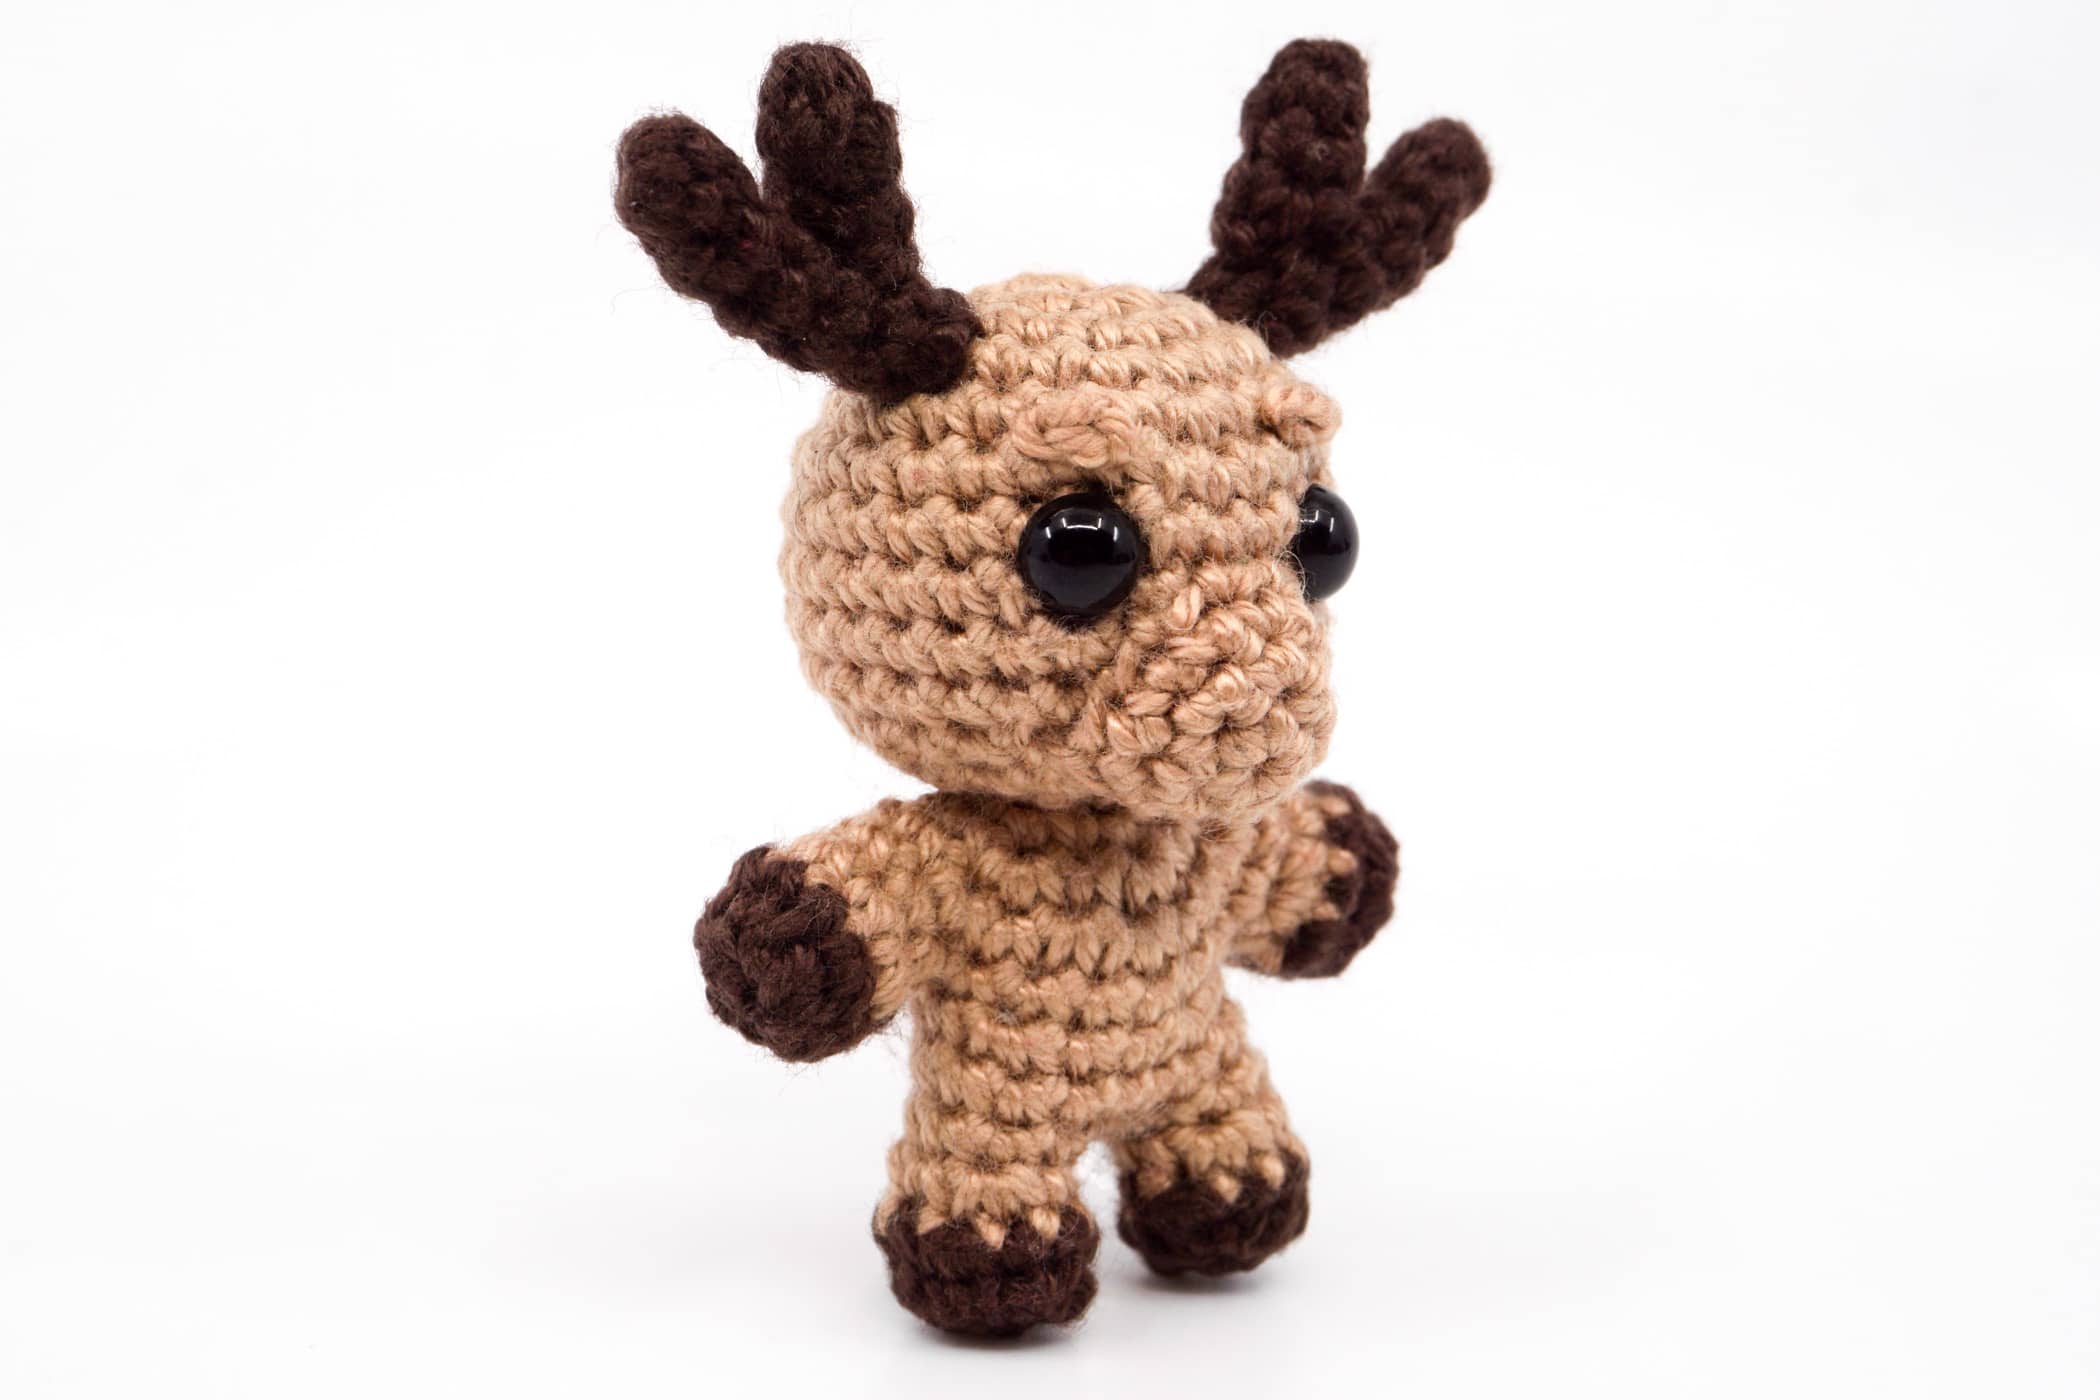
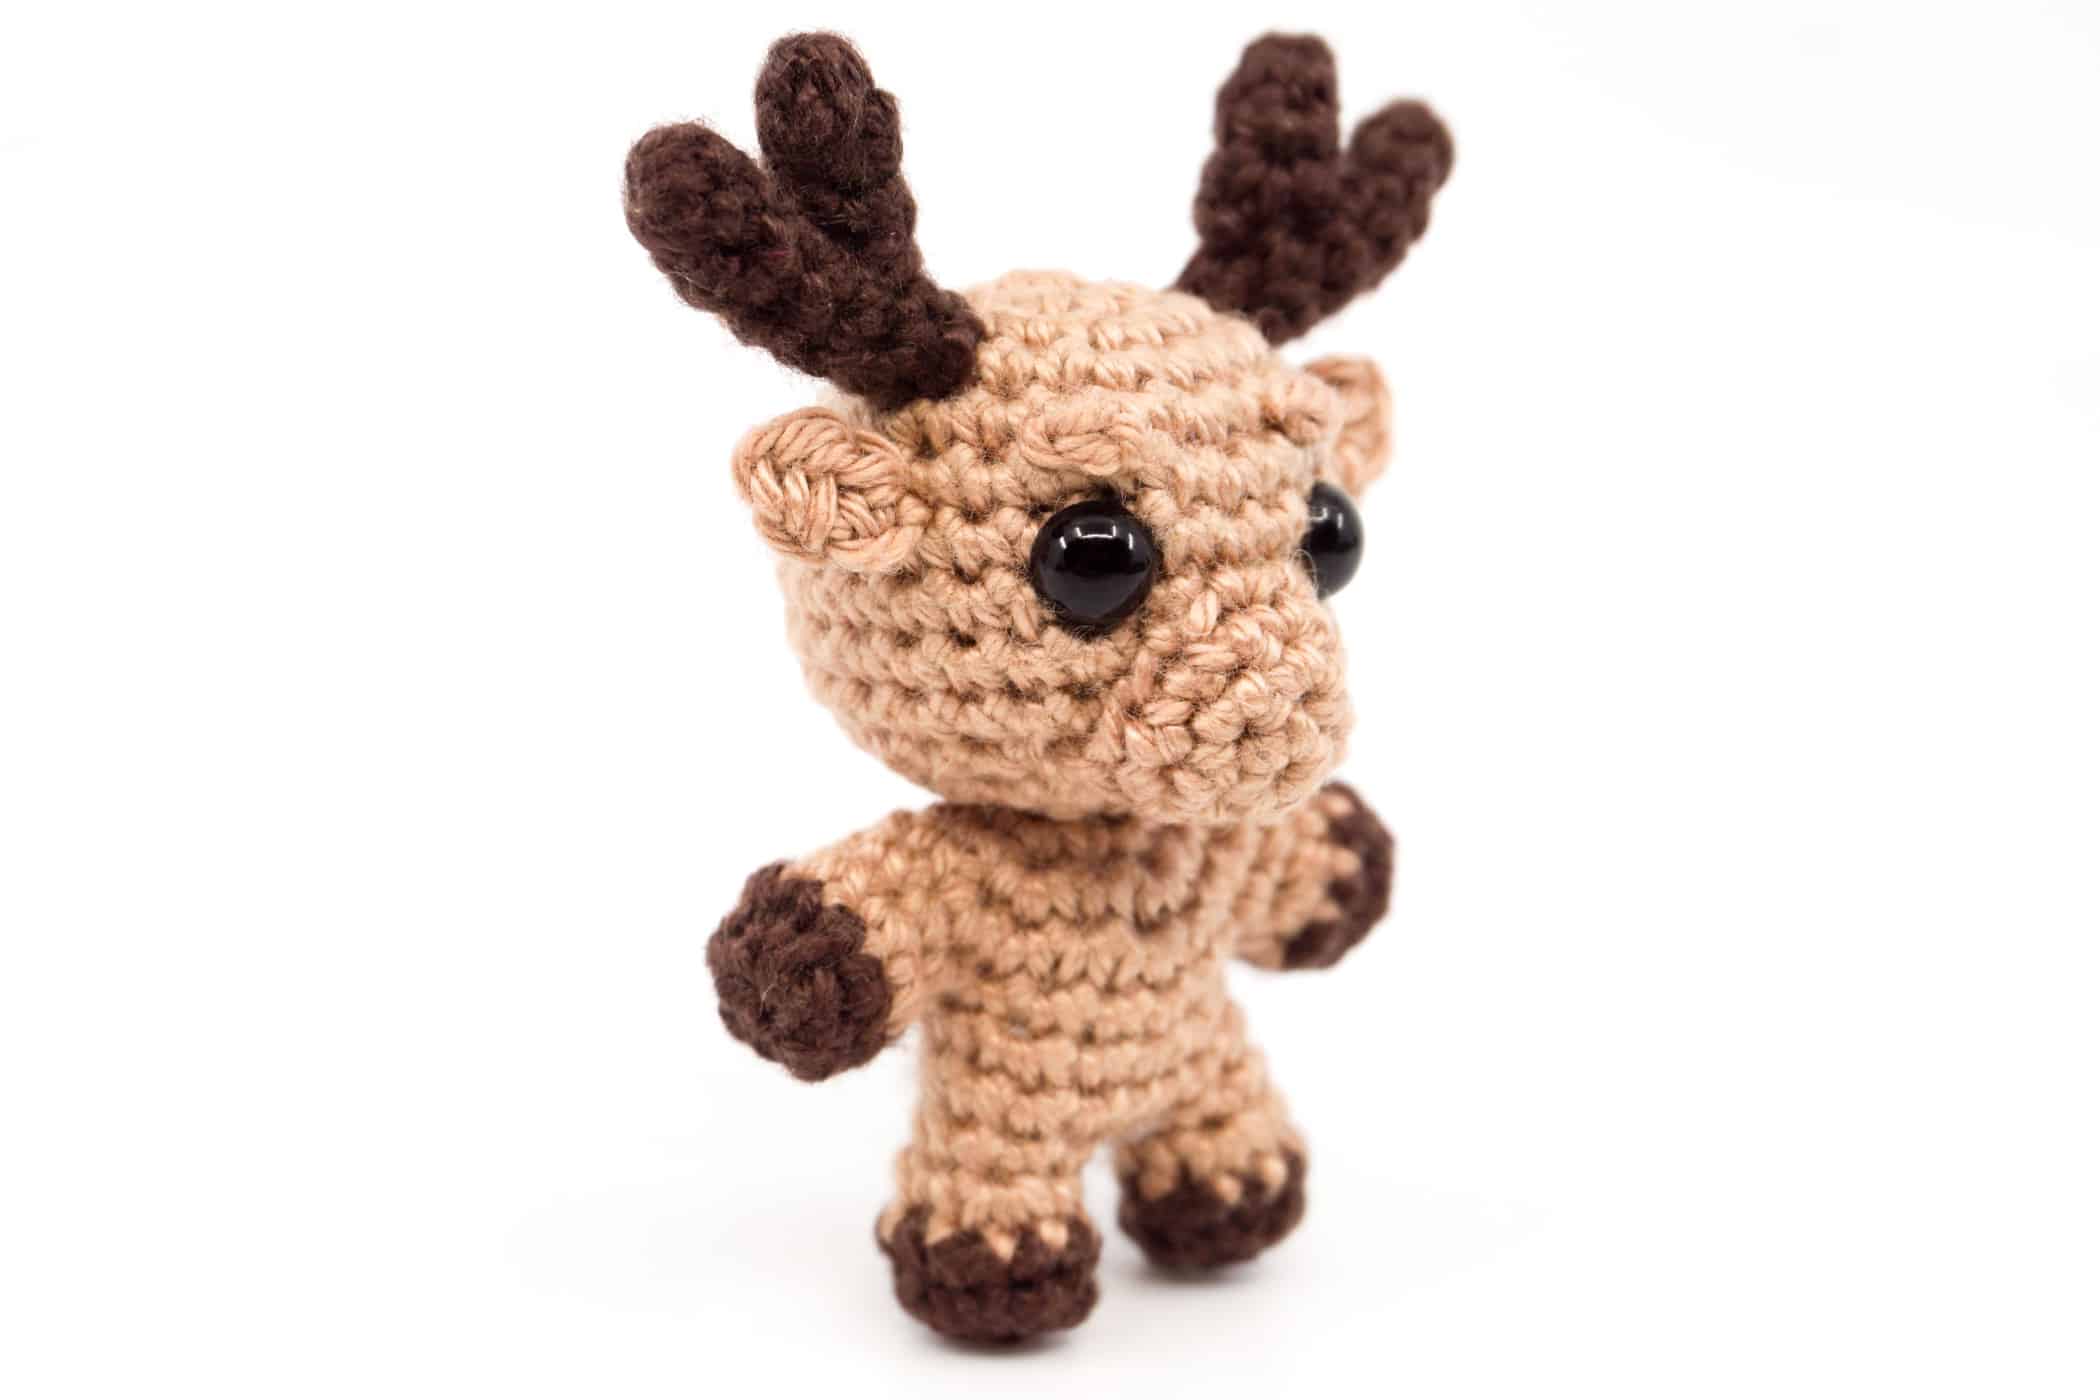
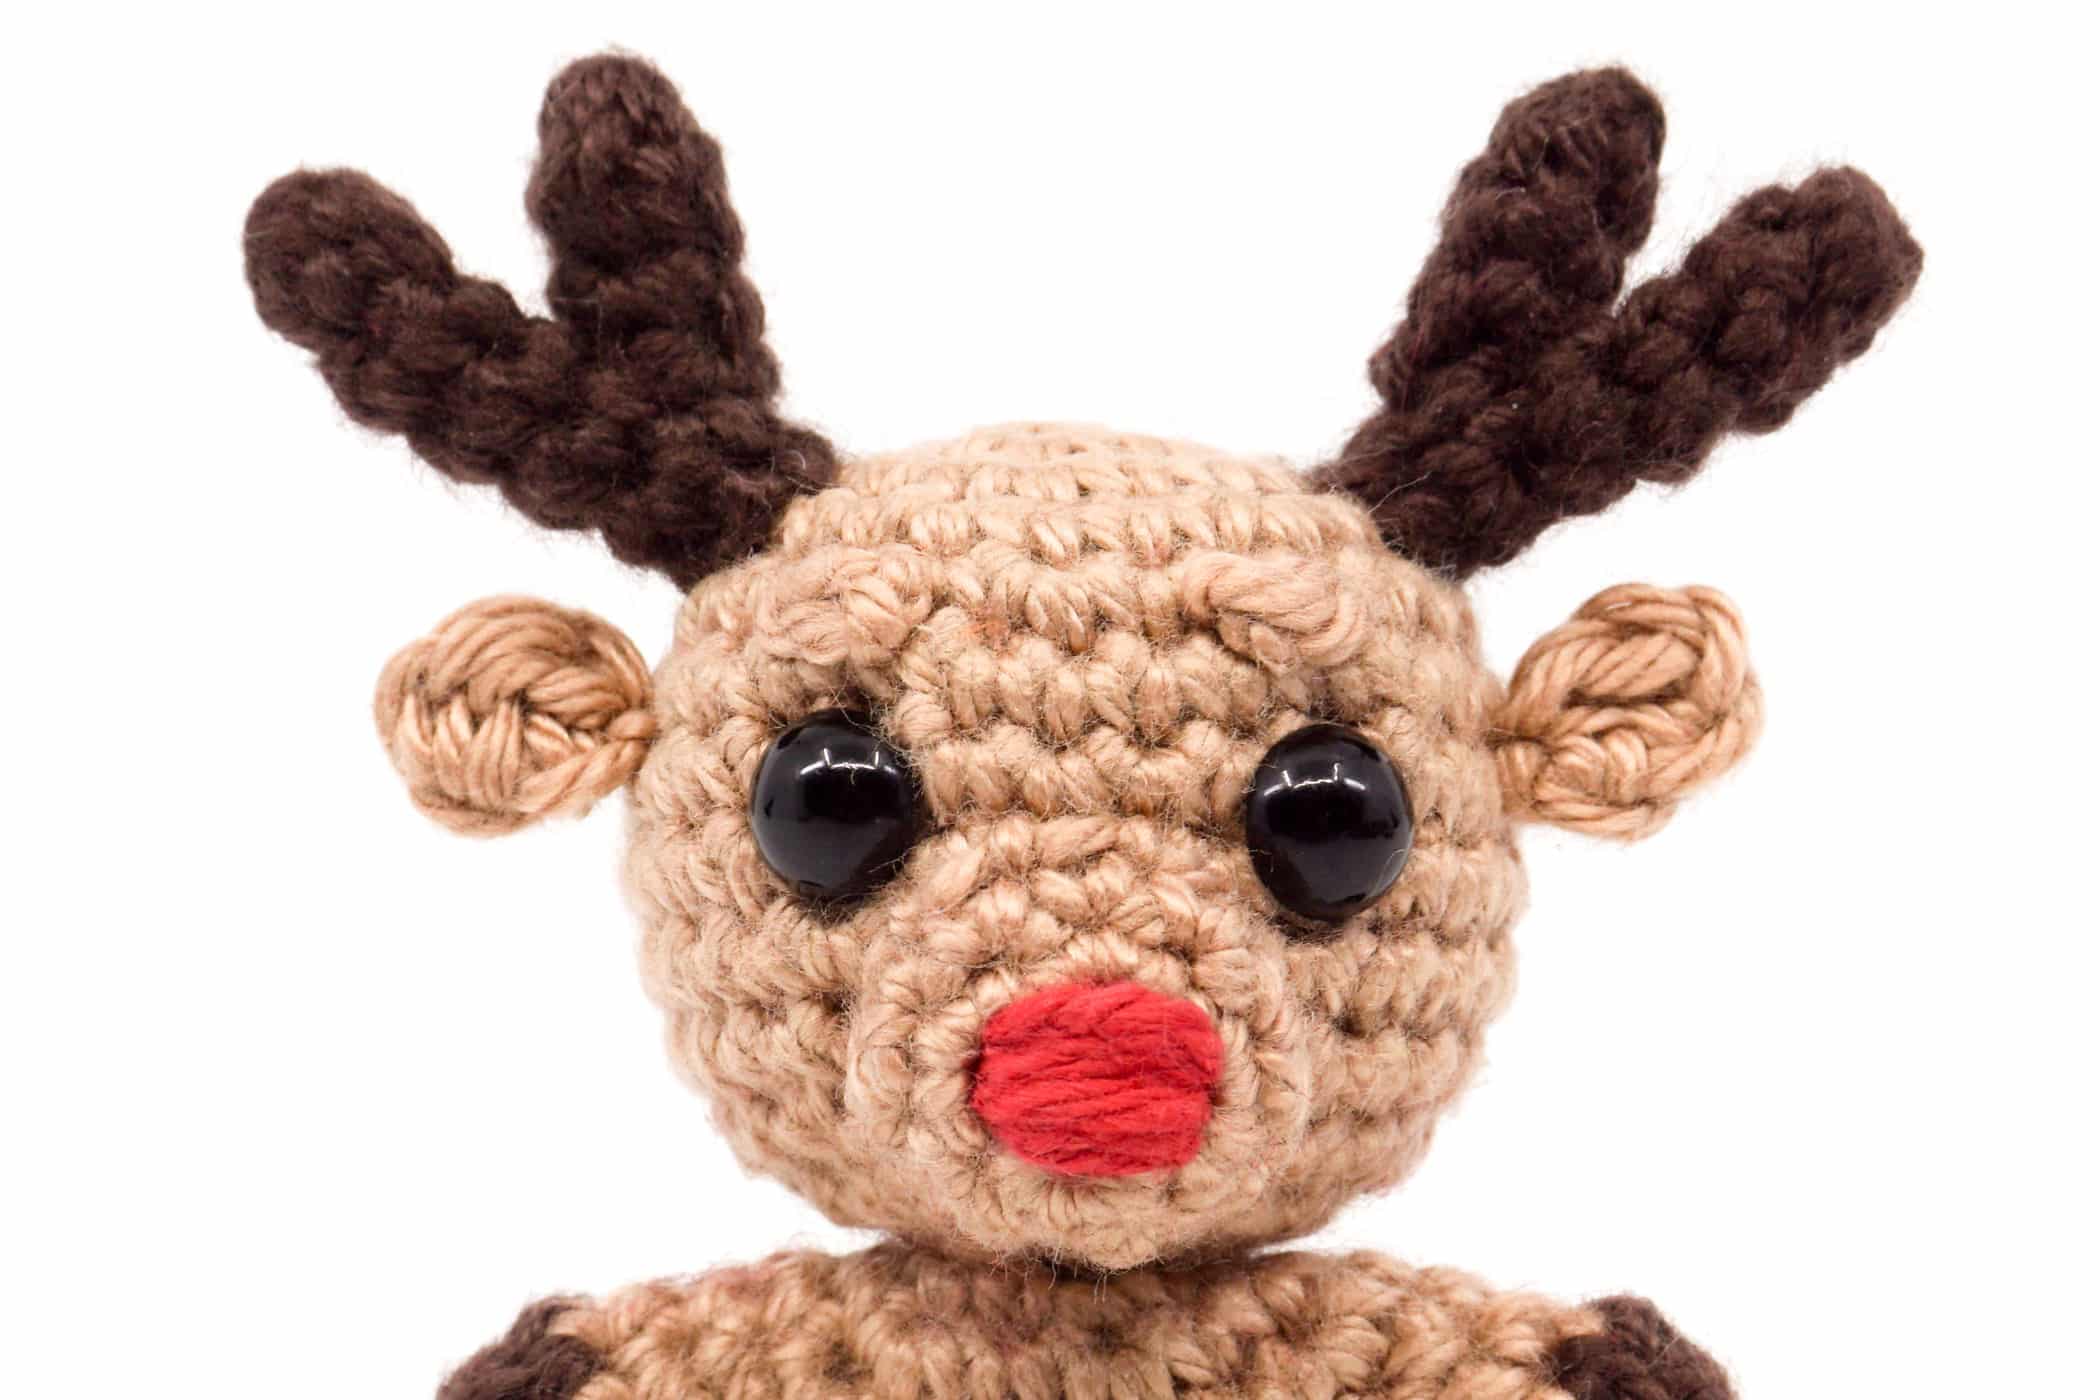
The depicted amigurumi reindeer has been crocheted with the “Schachenmayr Catania” yarn with a 2.5 mm crochet hook and has a height of 6.5 cm.
Free Noso Reindeer Crochet Pattern
ATTENTION: The pattern, in whole or in parts, may not be published, resold, translated, changed or exchanged in any way whatsoever!
Needed Techniques
- Slip Knot
- Magic Ring
- Chain Stitch
- Single Crochet (sc)
- Half Double Crochet
- Increase
- Decrease
- Crochet into Front and Back Loop
- Color Change
- Close Openings
- Sewing
Needed Materials and Tools
To order the materials click on the respective link (affiliate link).
- Colors: brown, dark brown, red
- This pattern was crocheted using the “Schachenmayr Catania” yarn (100% Cotton, Meterage: 125 m, Yarn Ball Weight: 50 g, Yarn Weight: Sport – 5ply / Fine (2)) in the following colors:
- Sun-Kissed (Sun-Kissed (437)), Coffee (Kaffee (162)), Cherry (Kirsche (424))
- 2.5 mm Crochet Hook
- 6 mm Safety Eyes
- Polyfill
- Scissors
- Tapestry Needle
- Stitch Marker
No products found.
Crochet the Head, Upper Body and First Leg
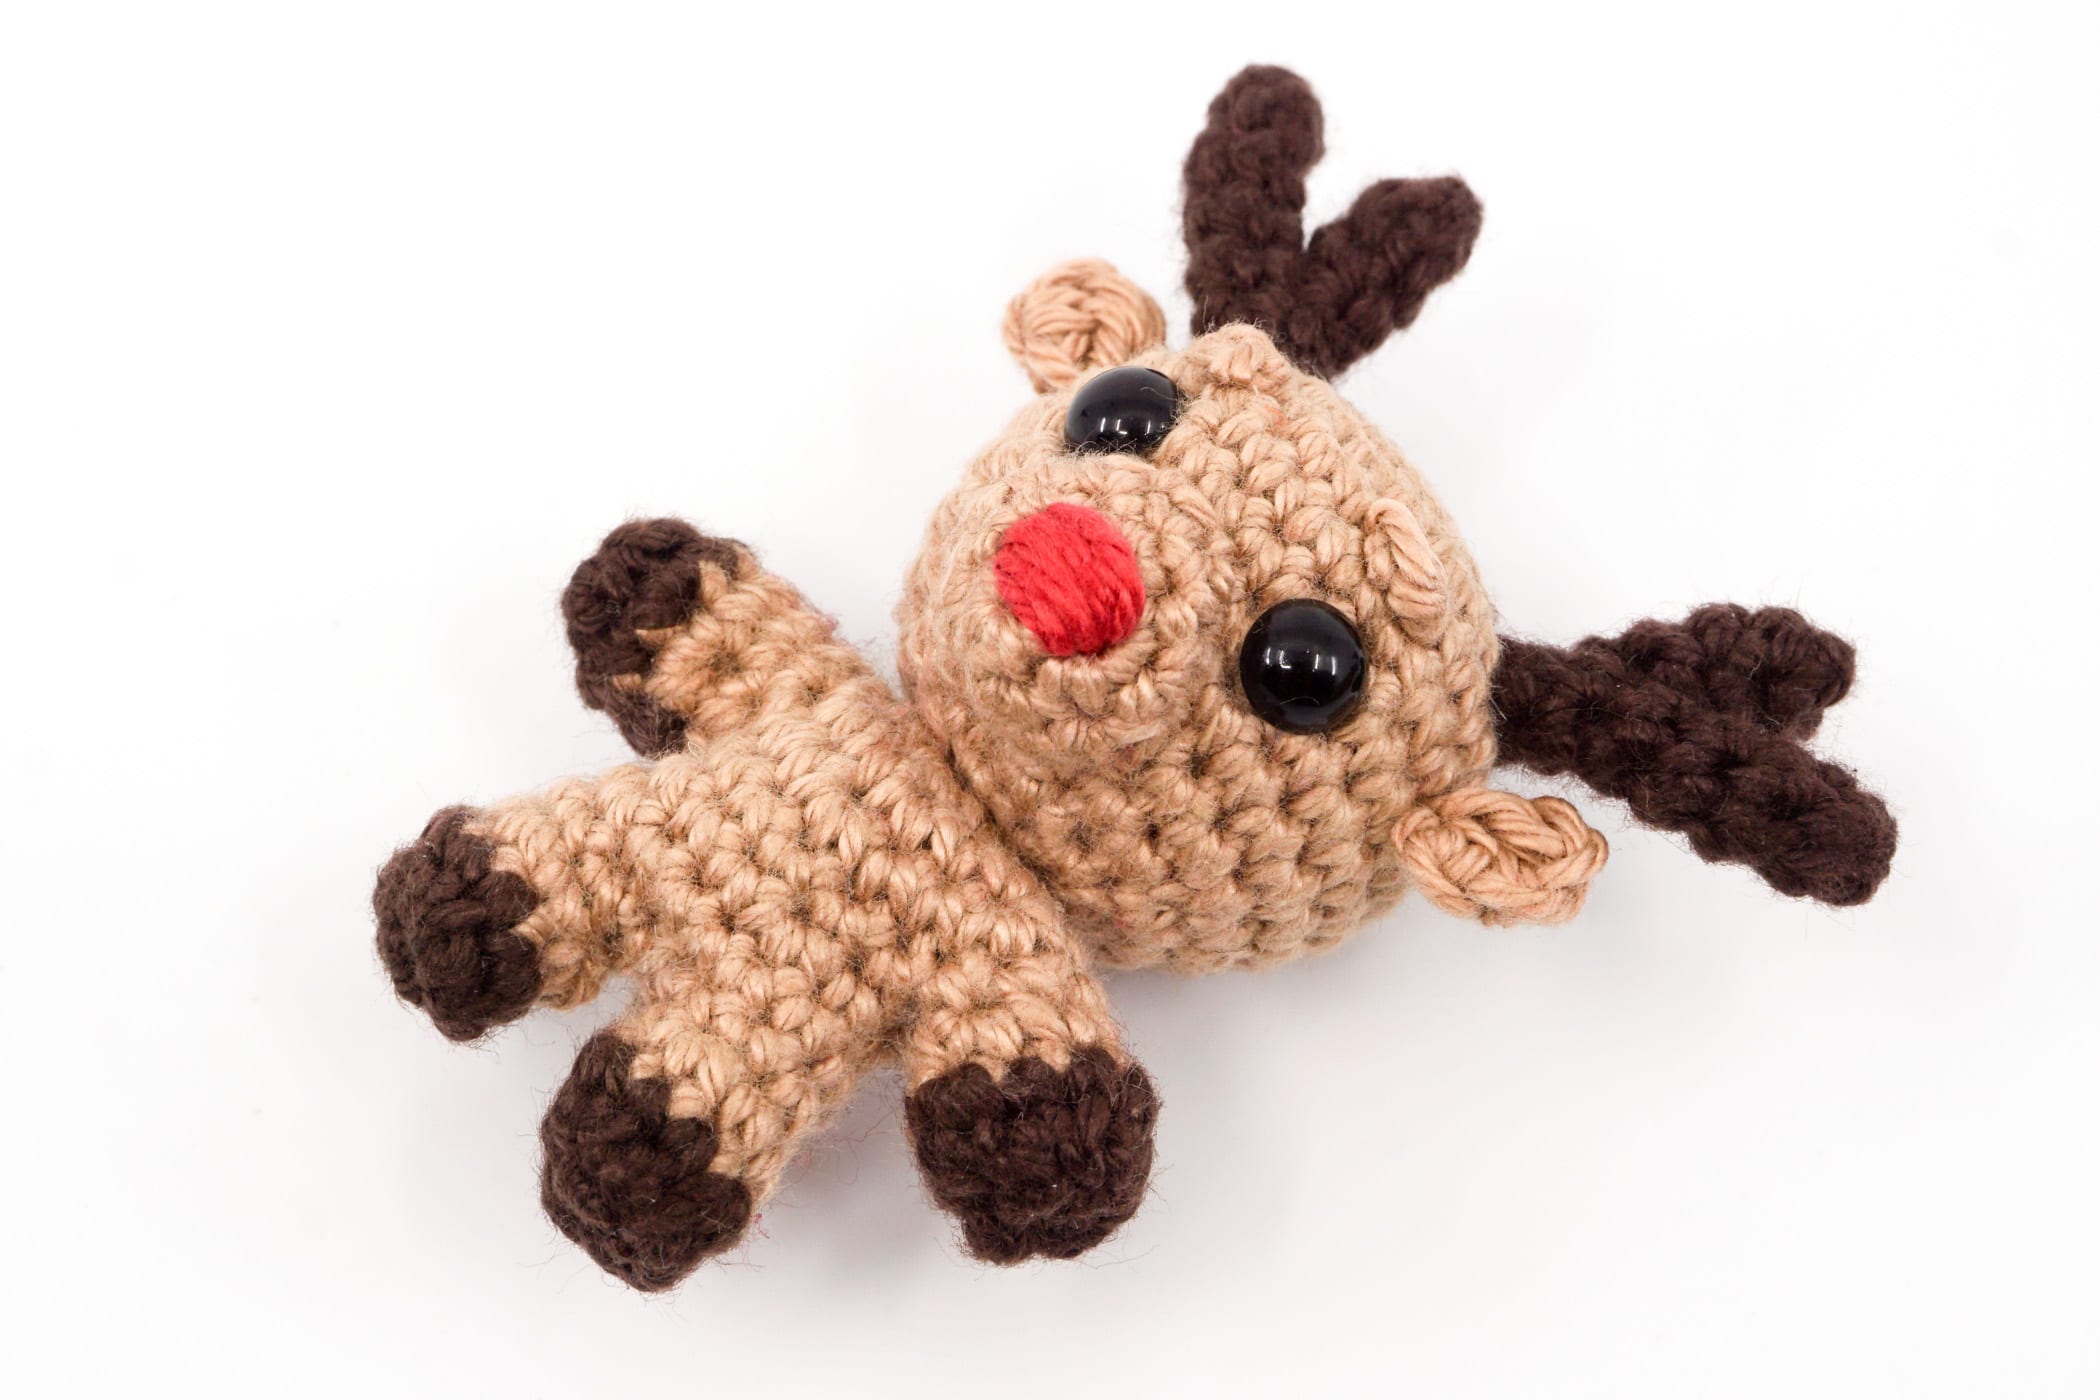
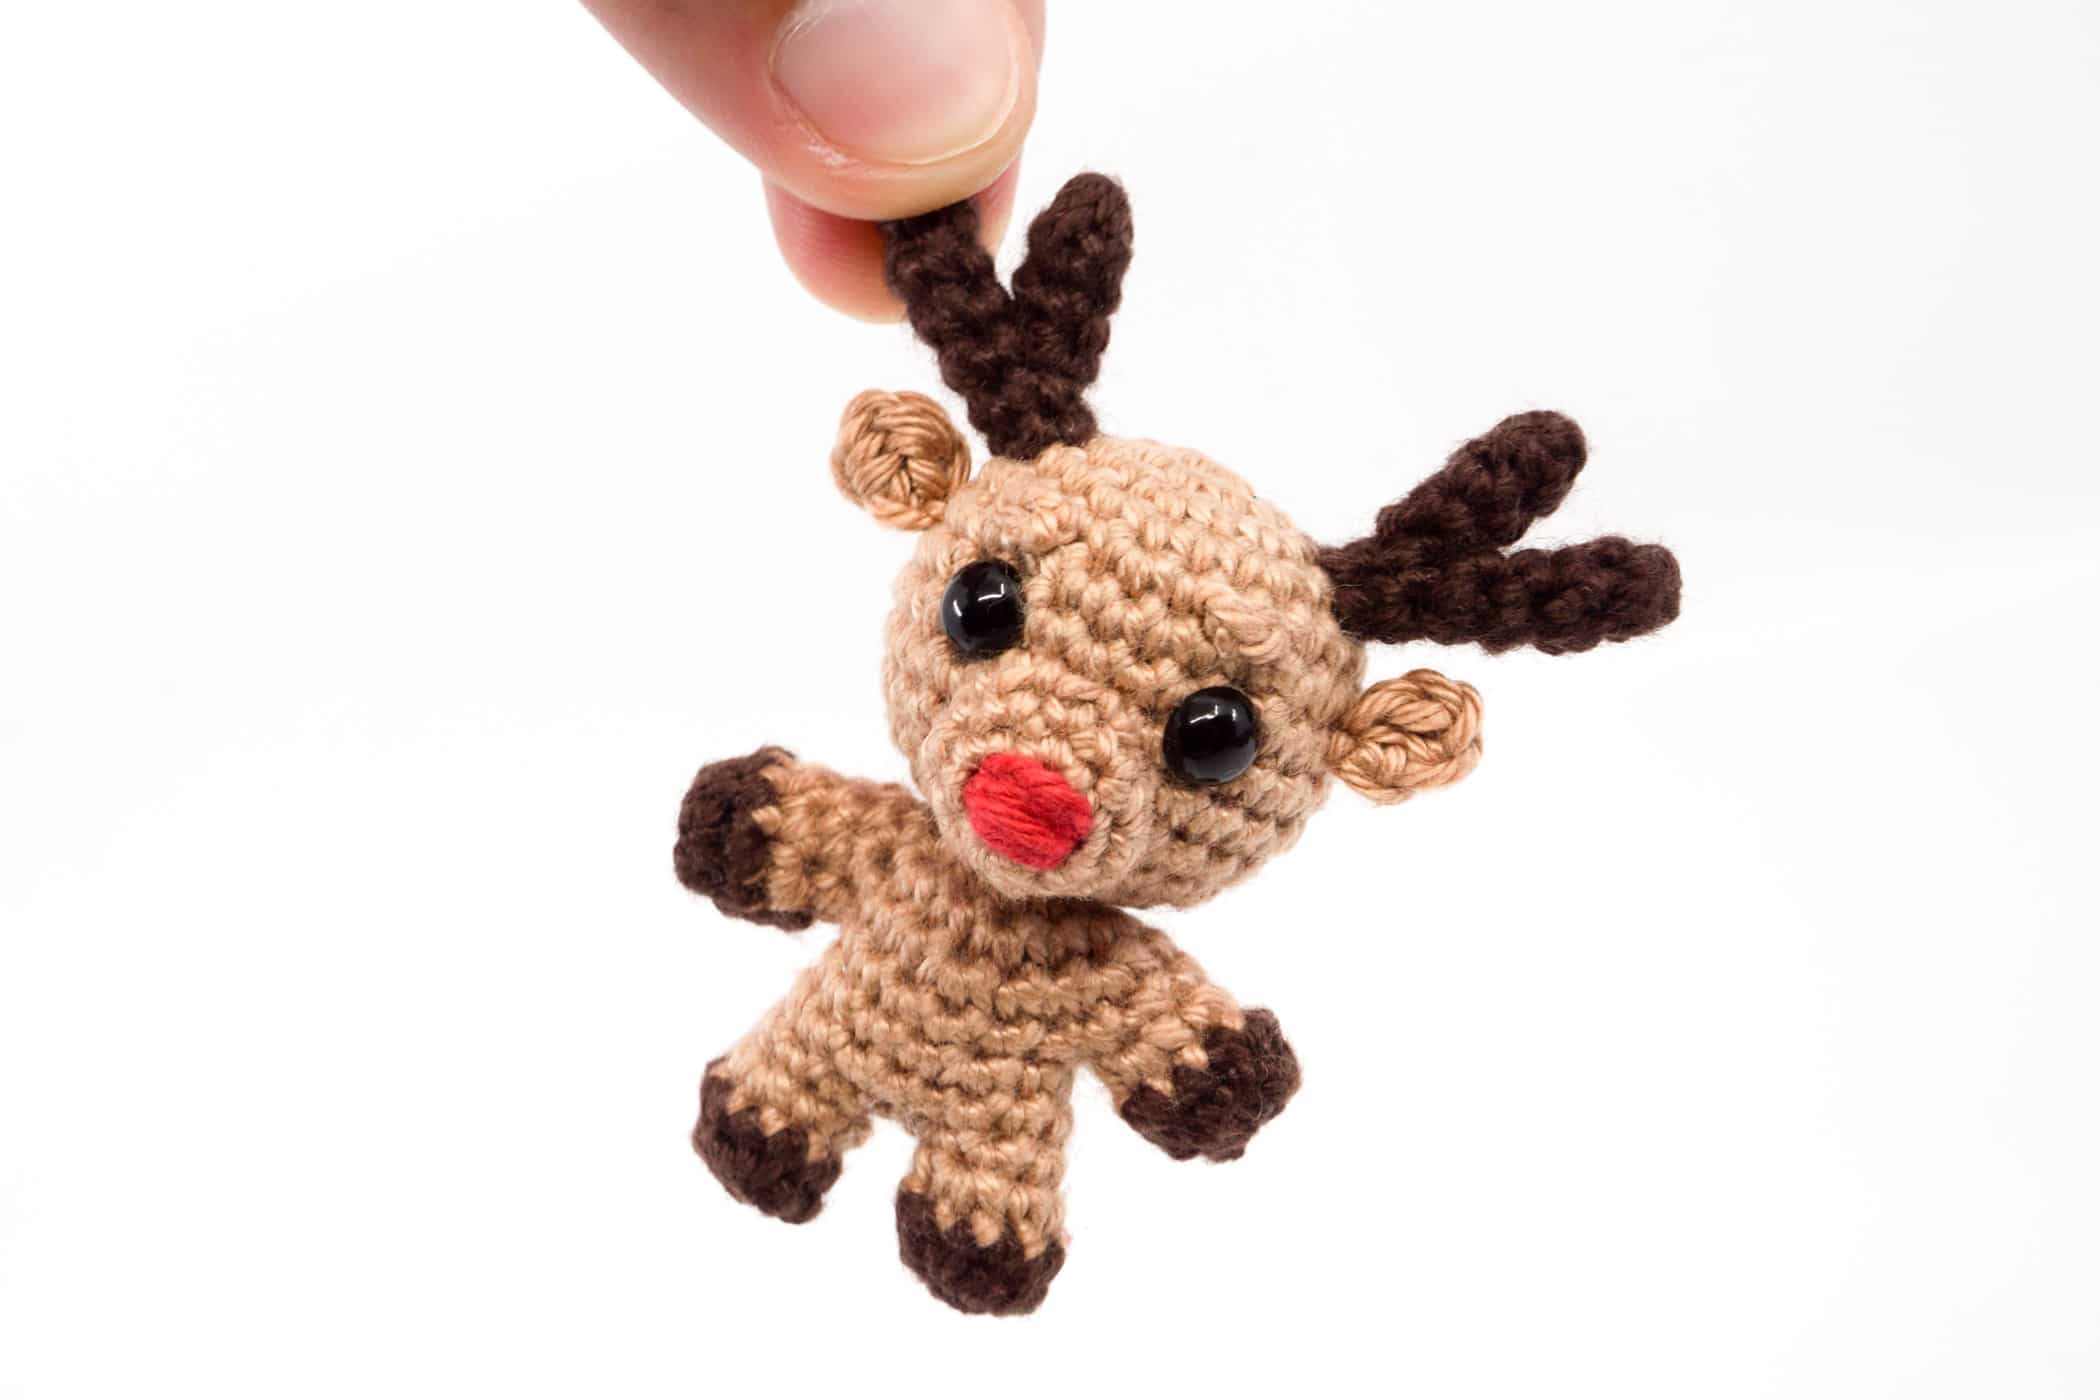
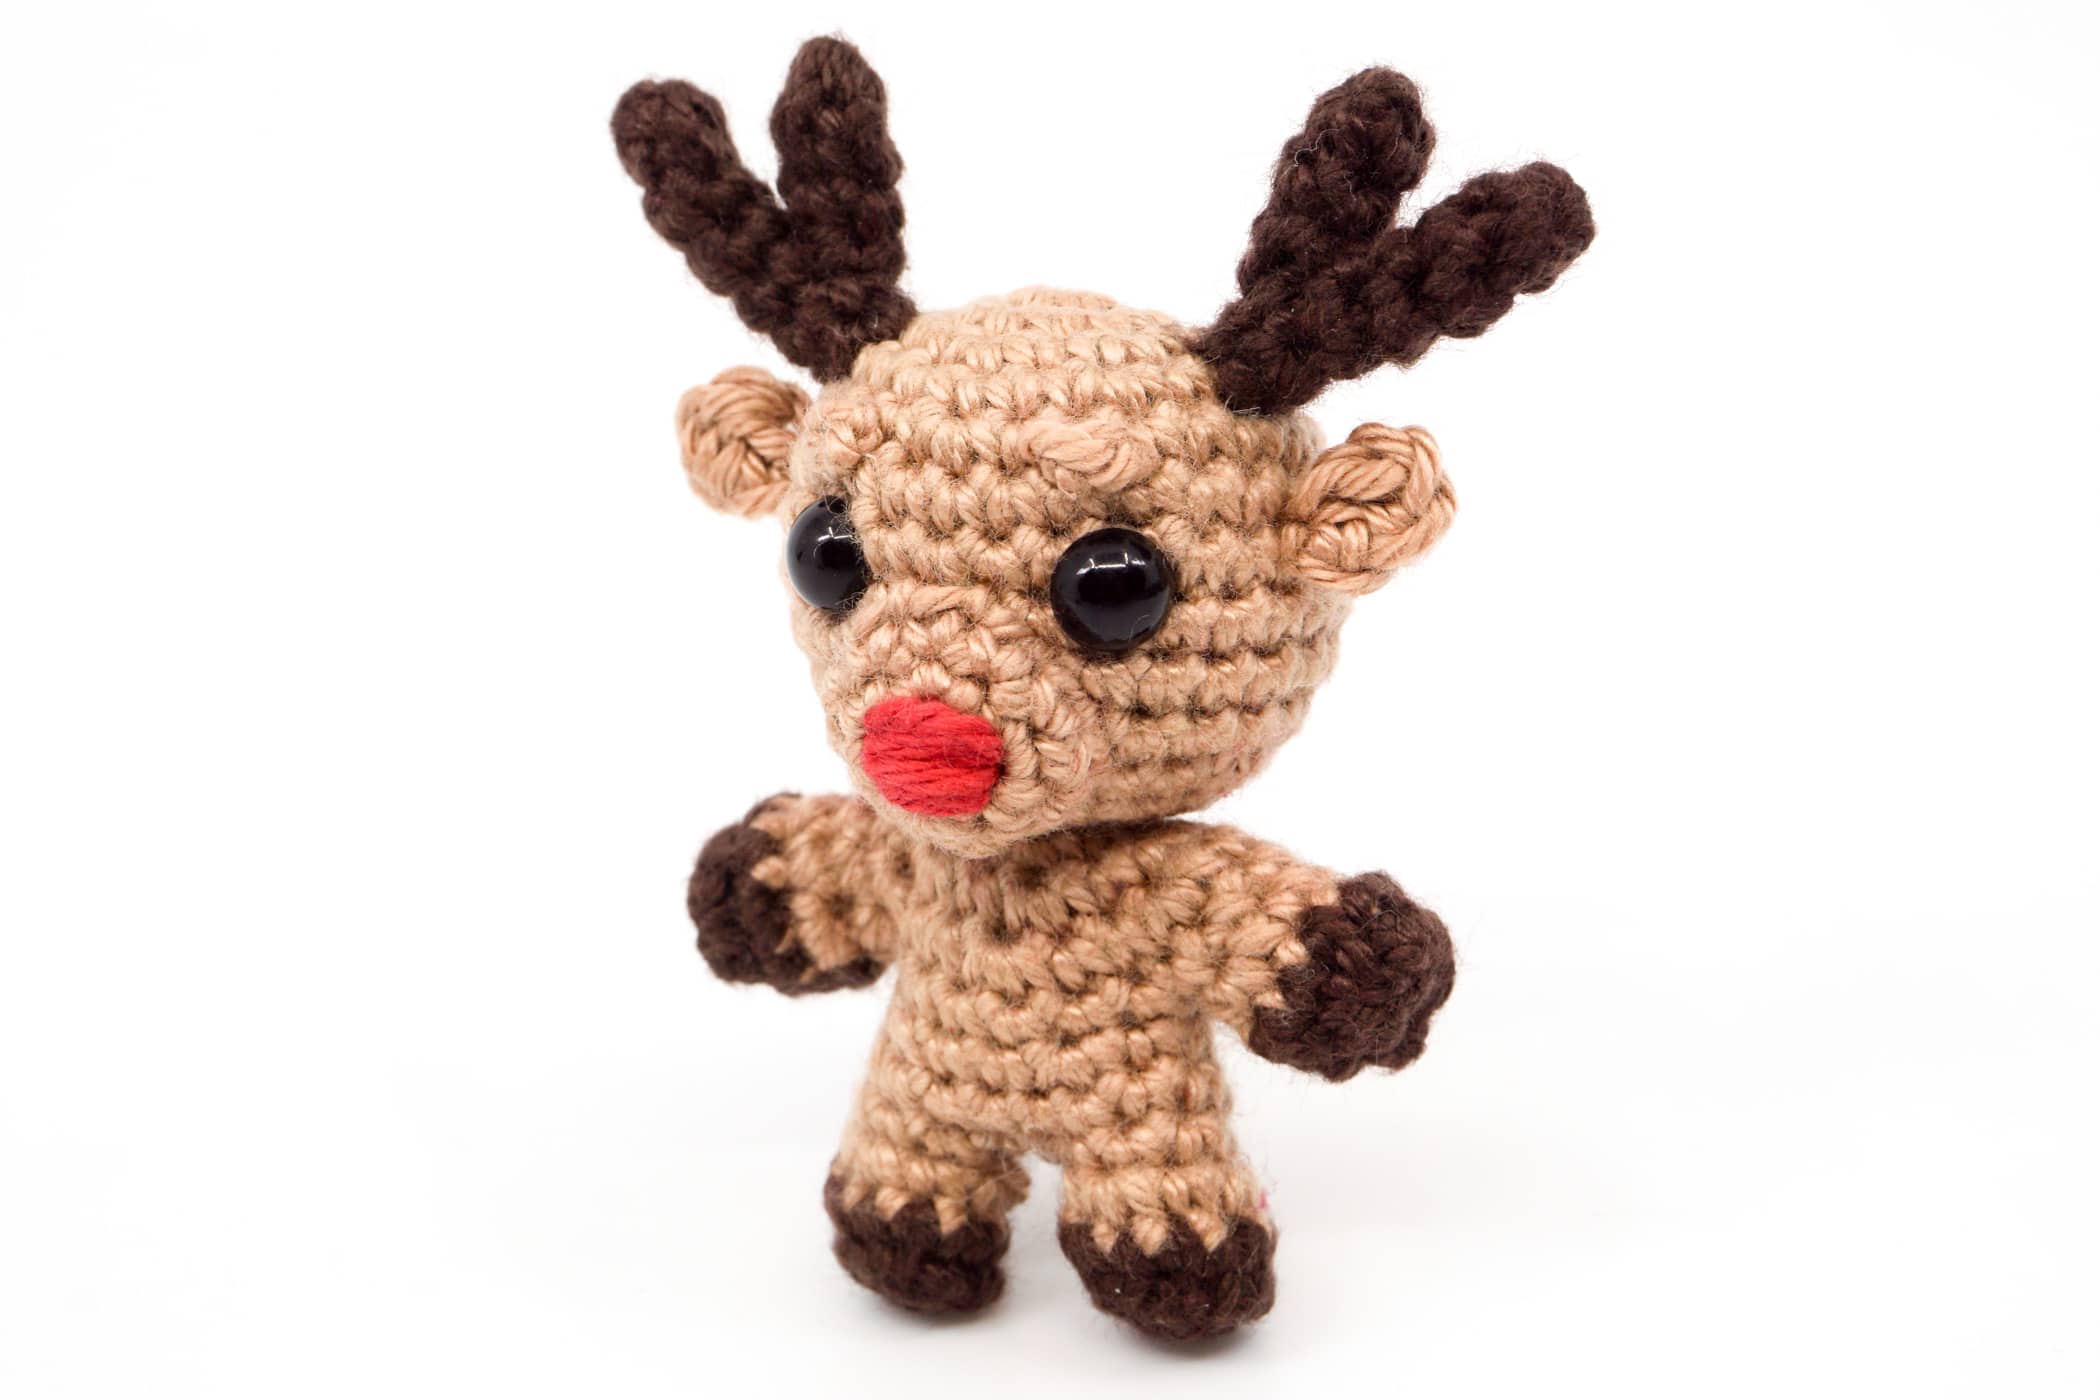
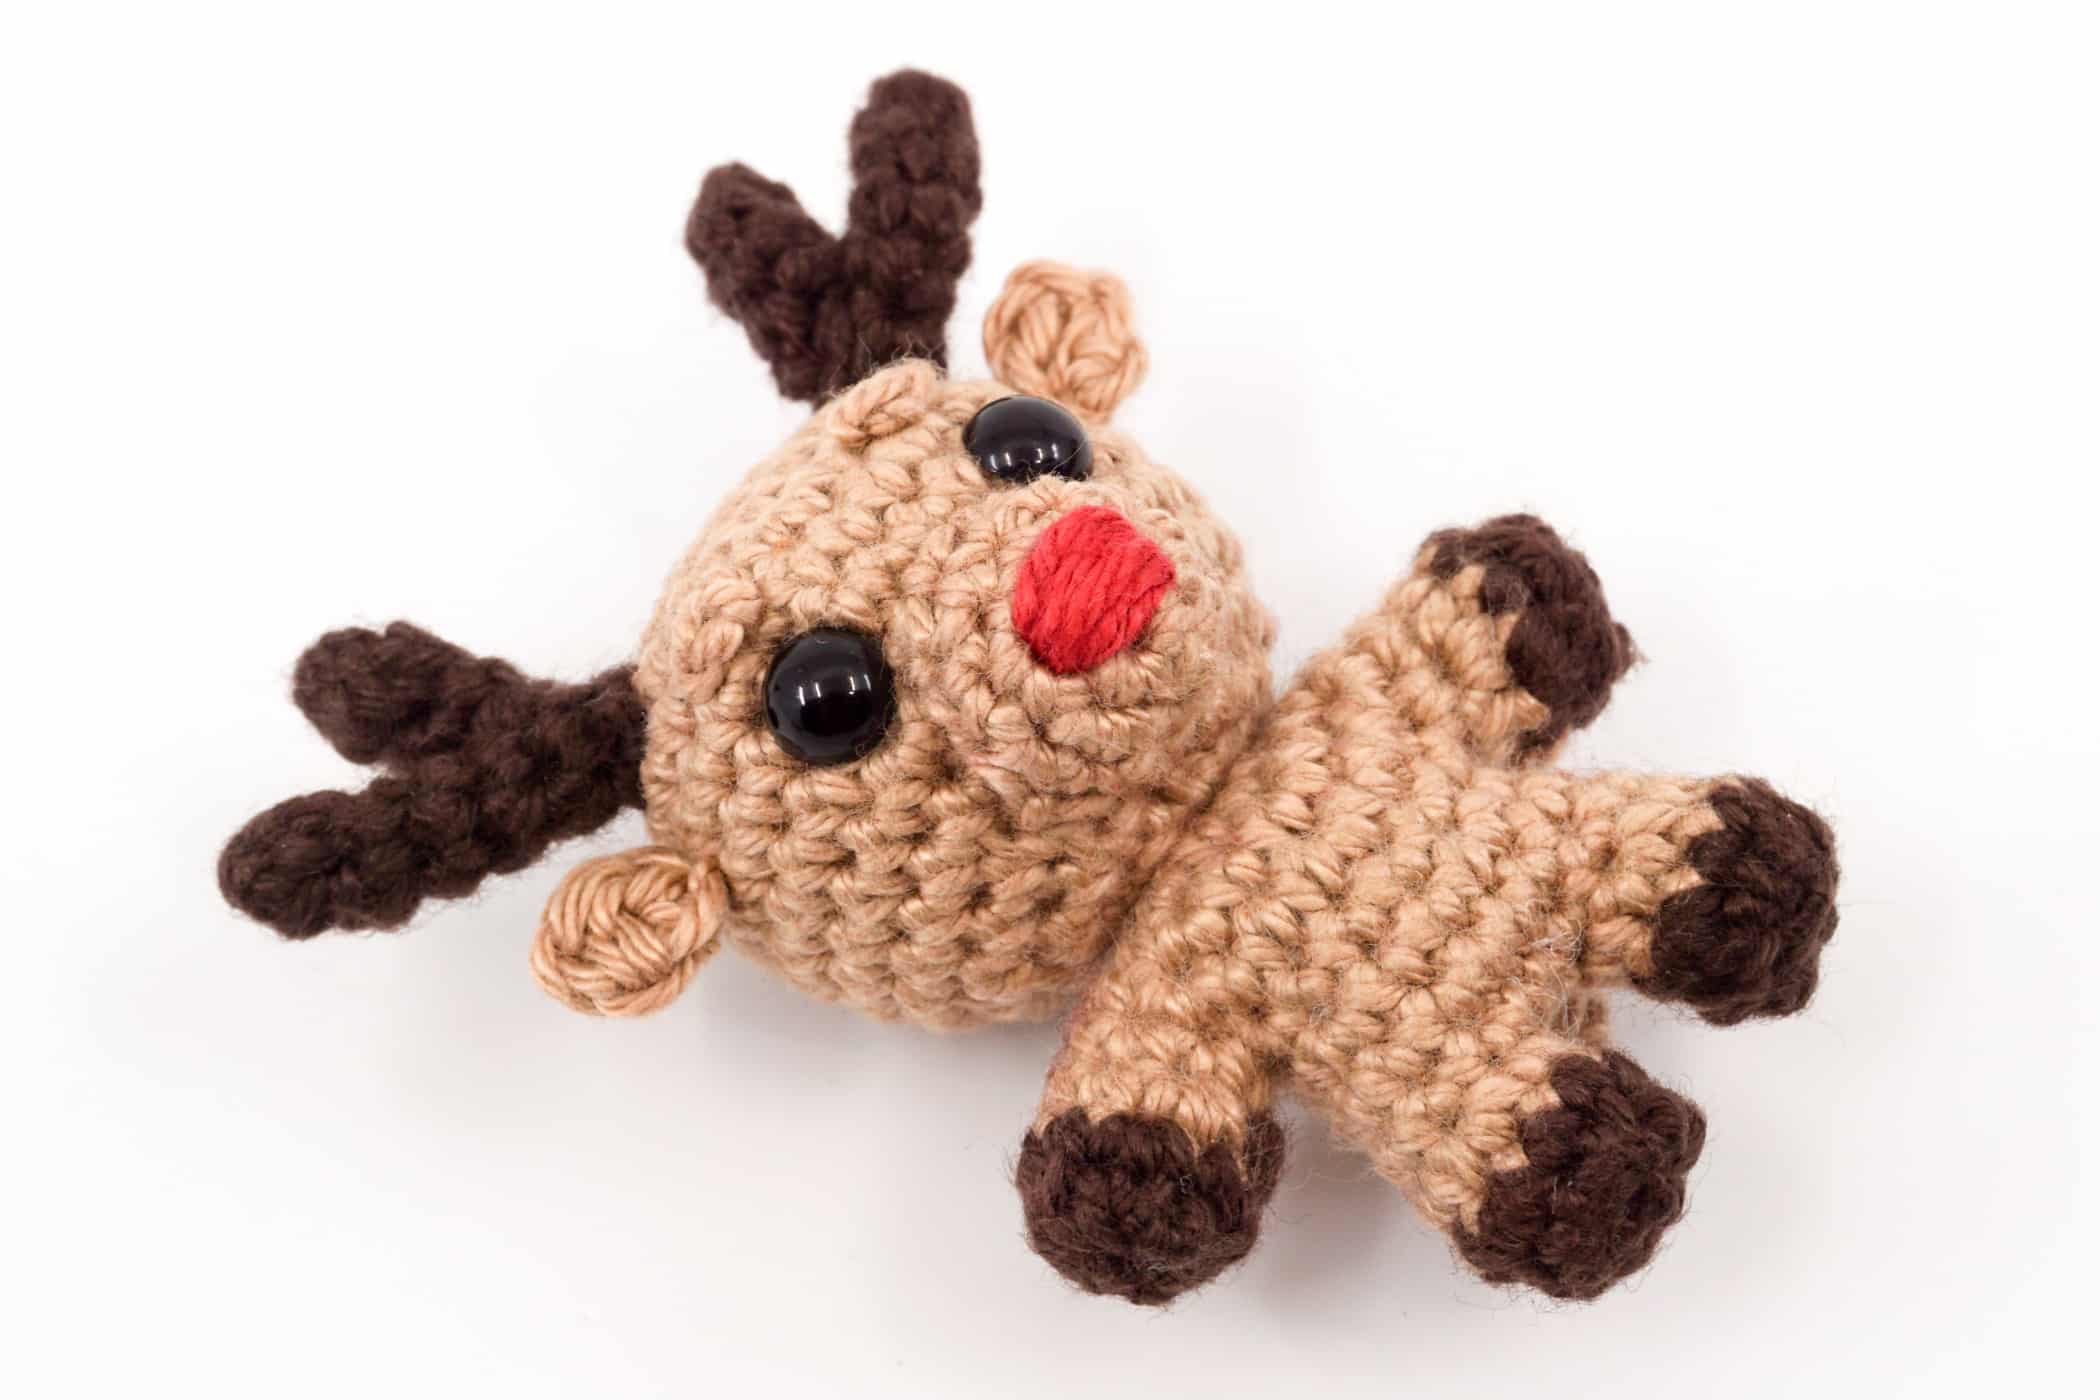
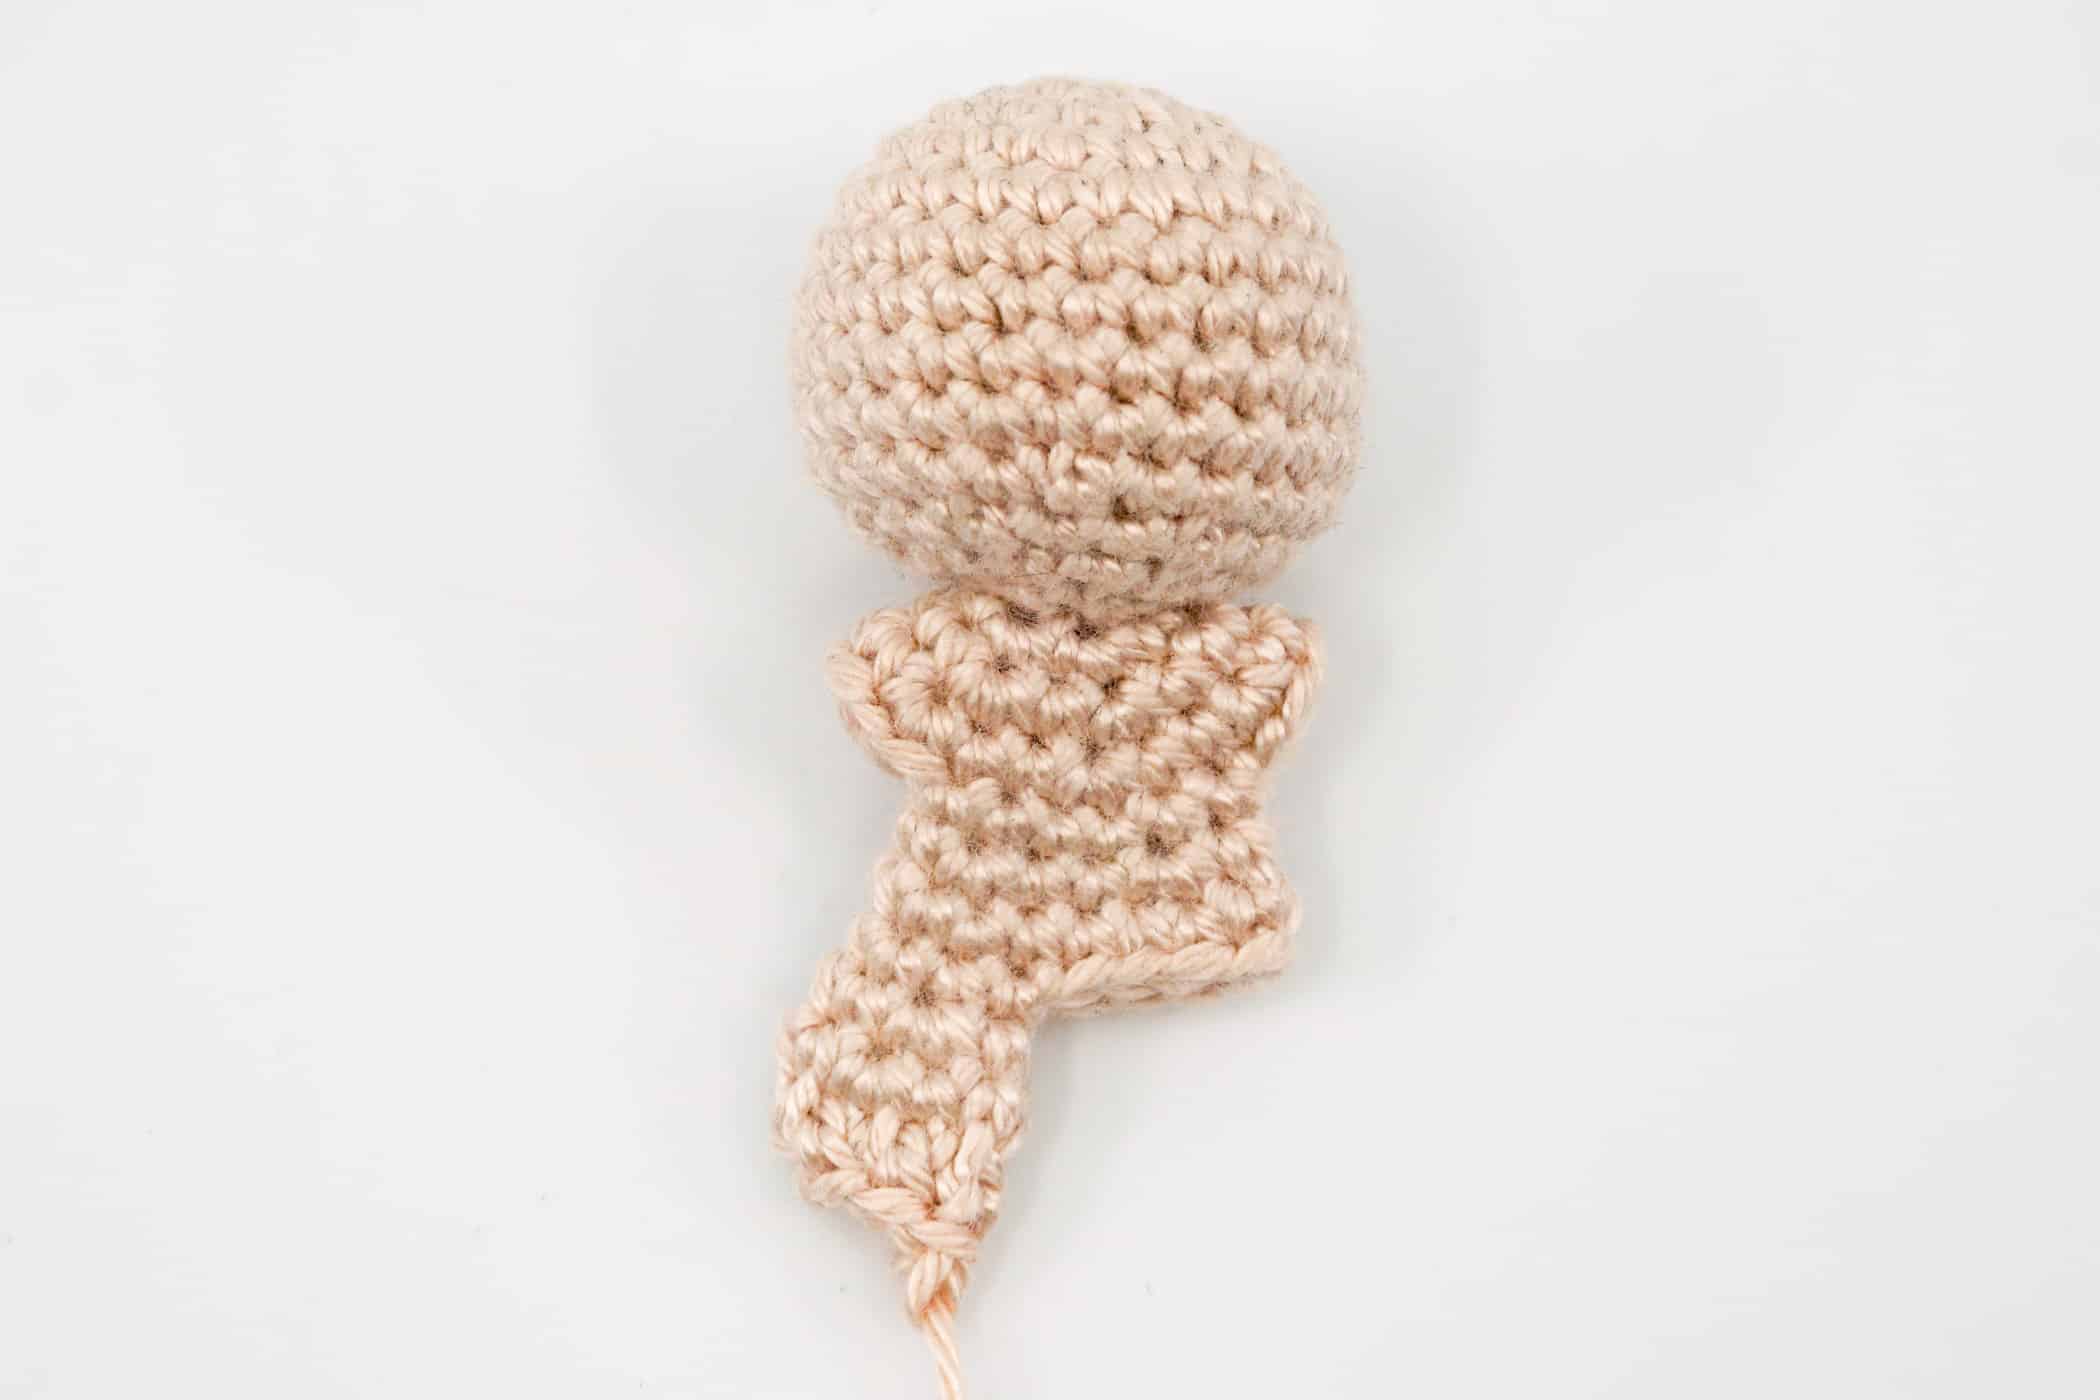
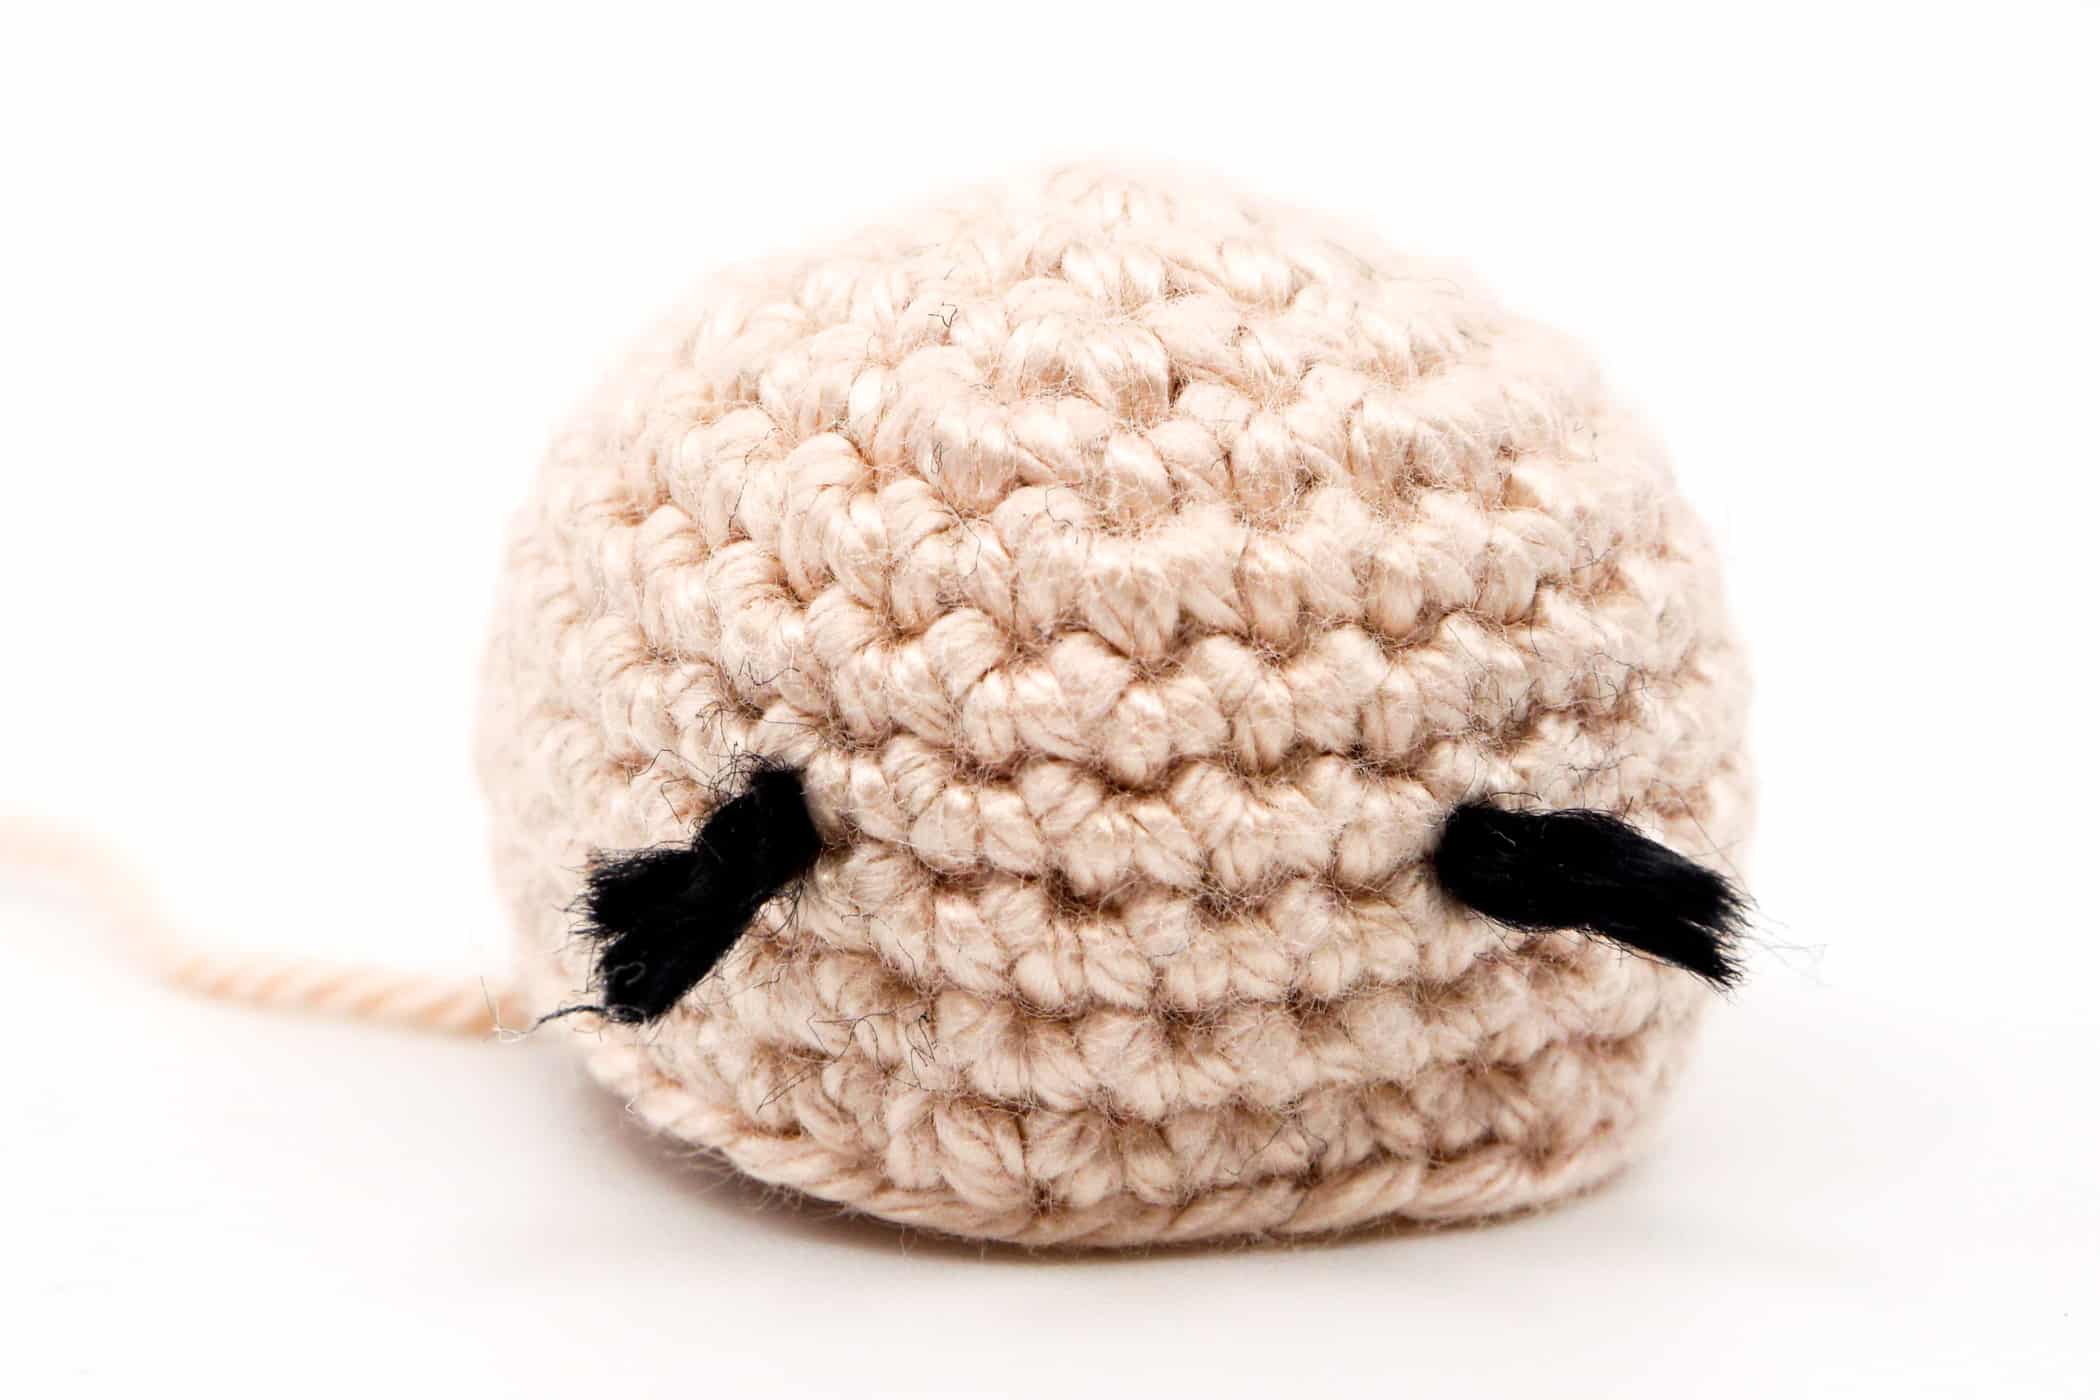
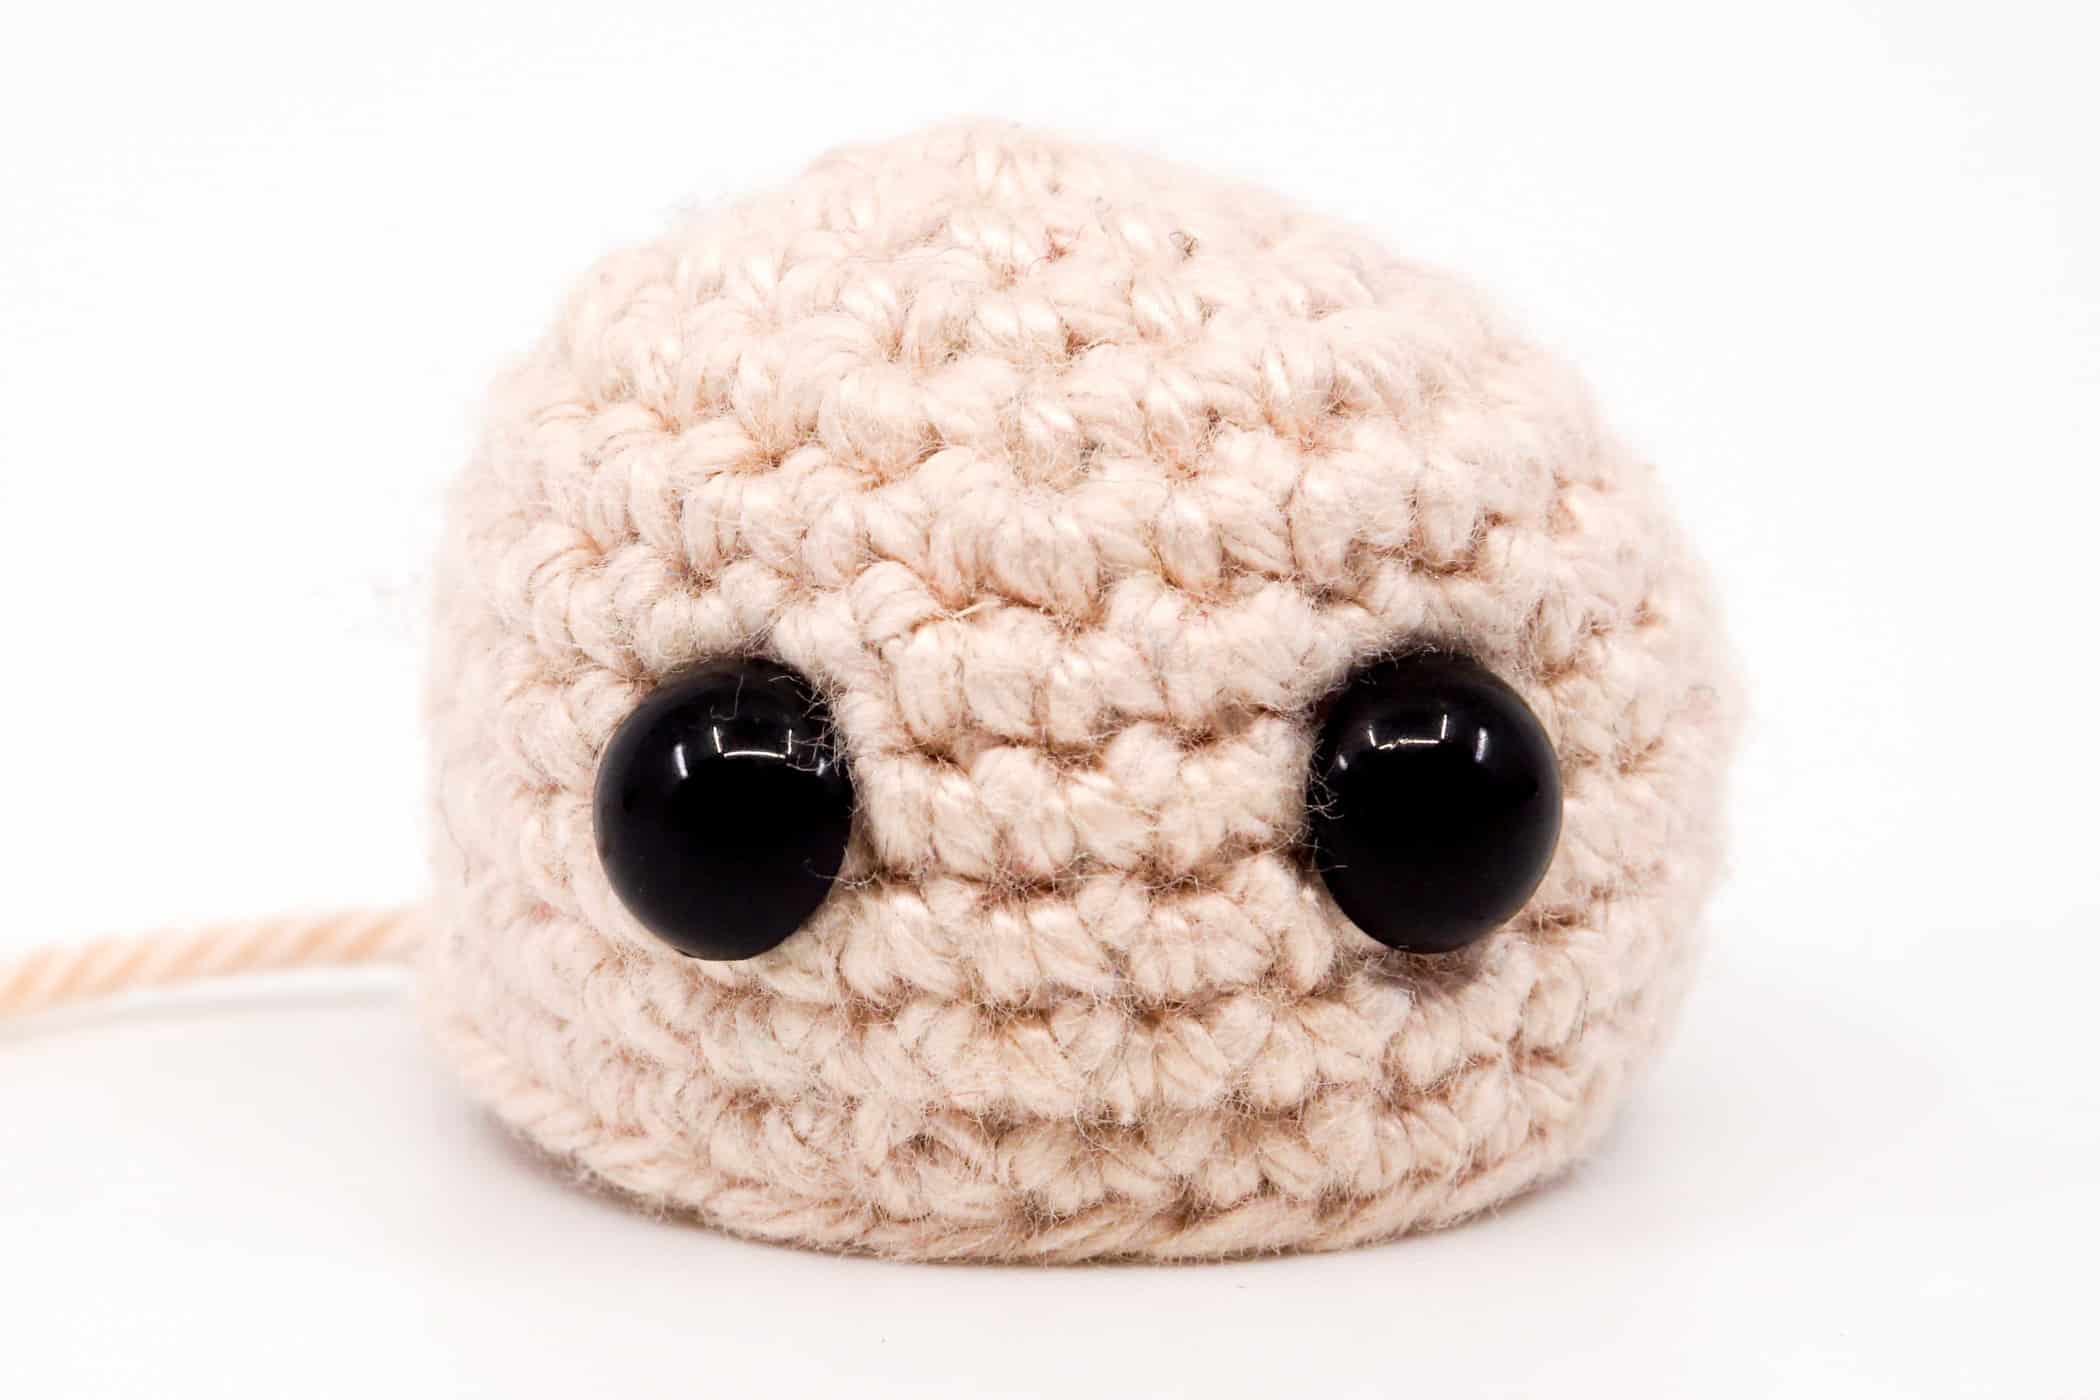
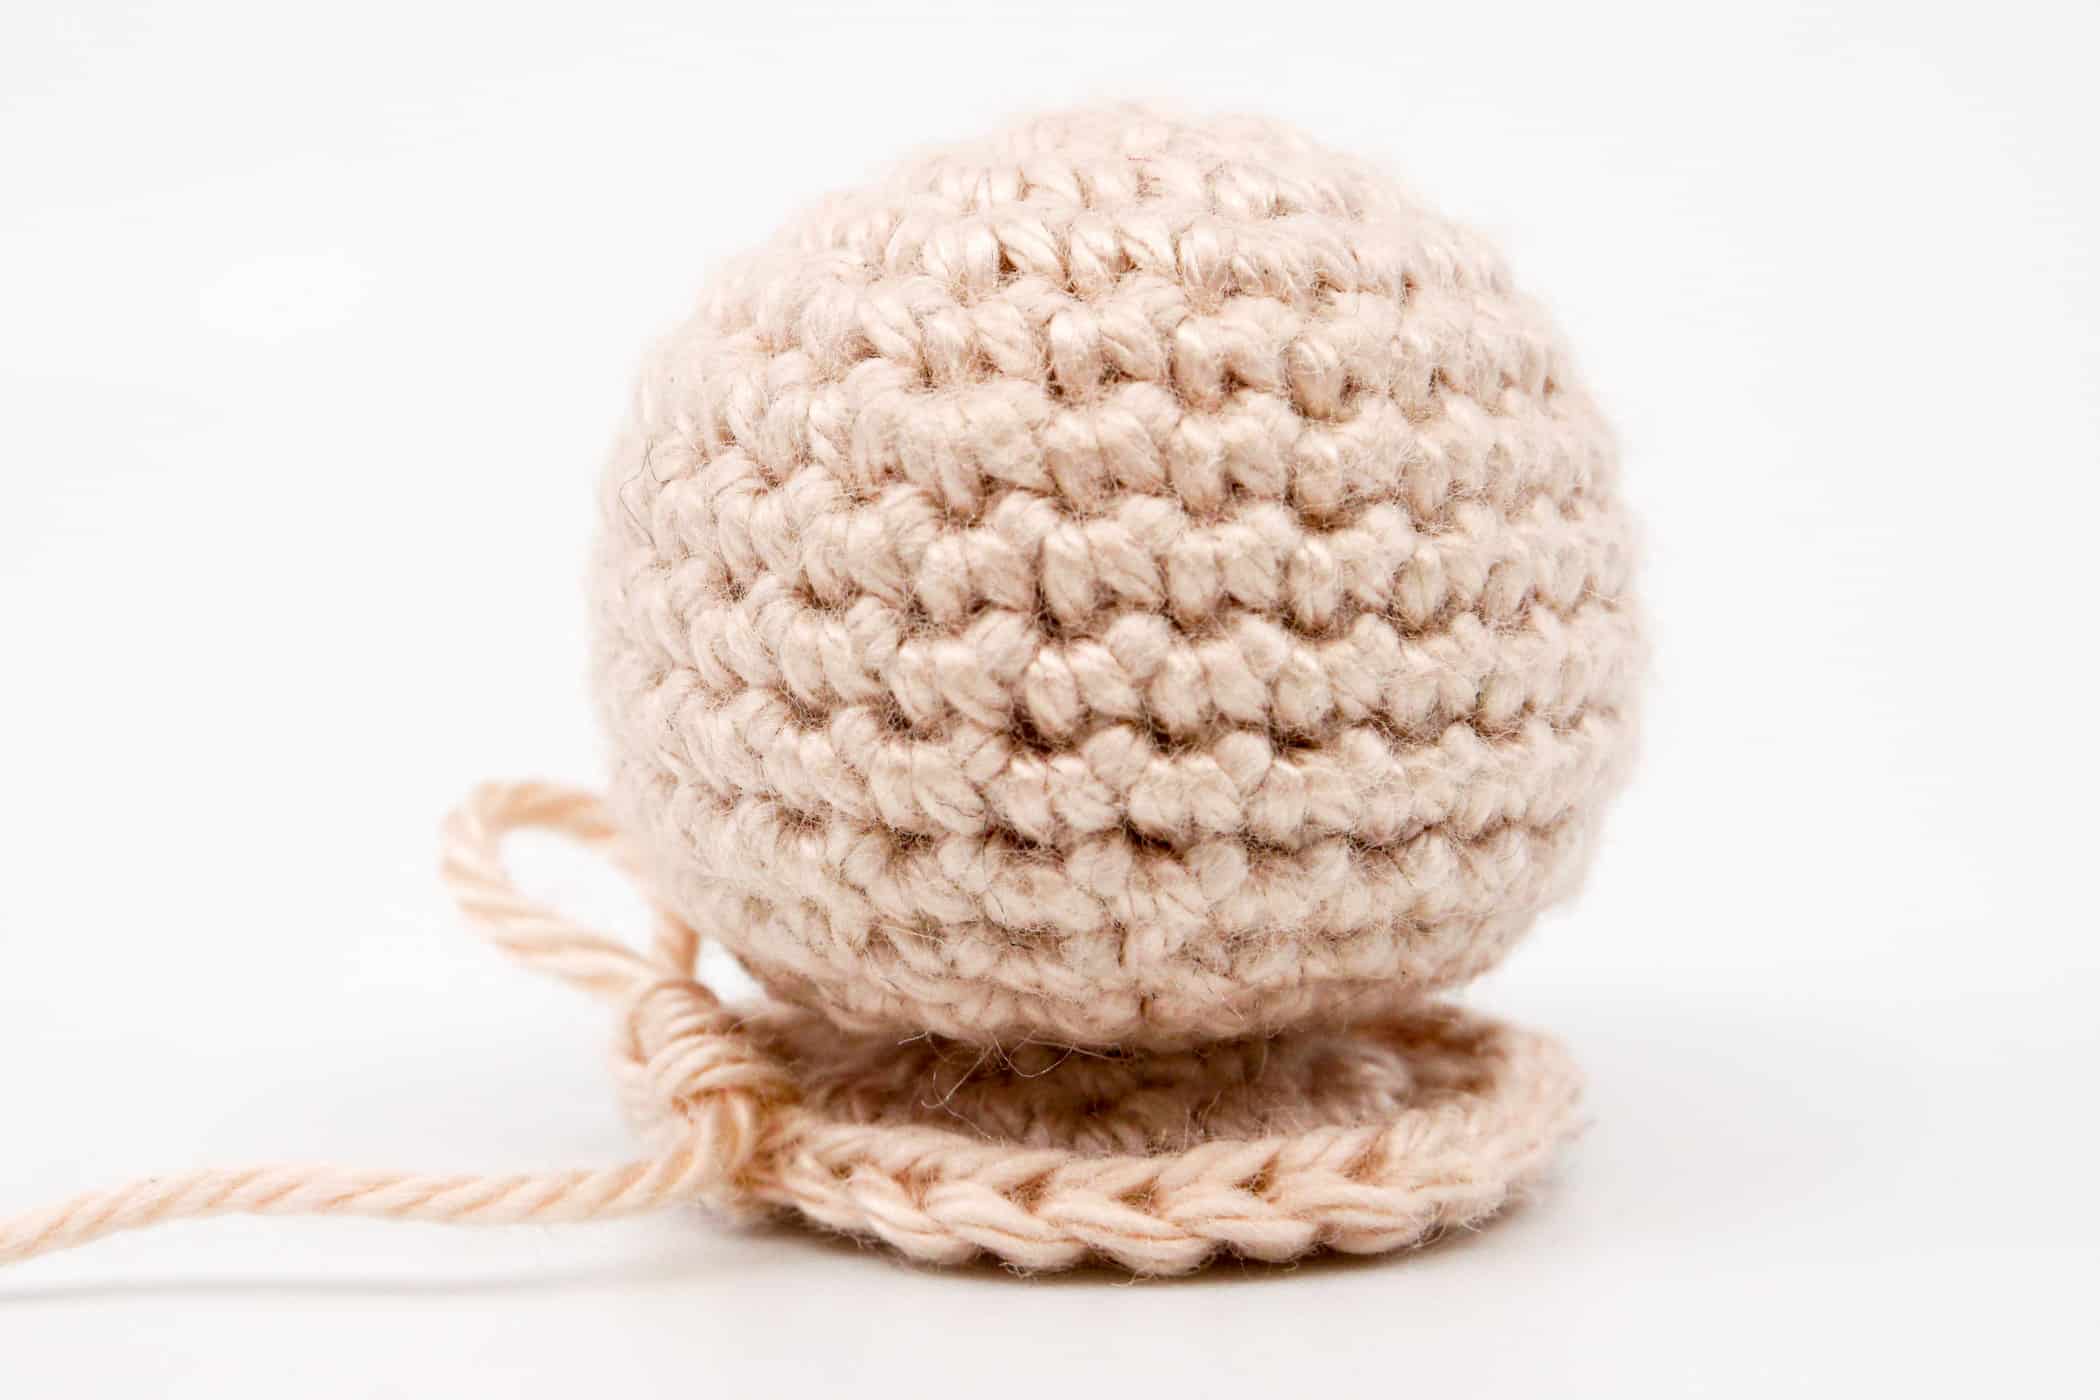
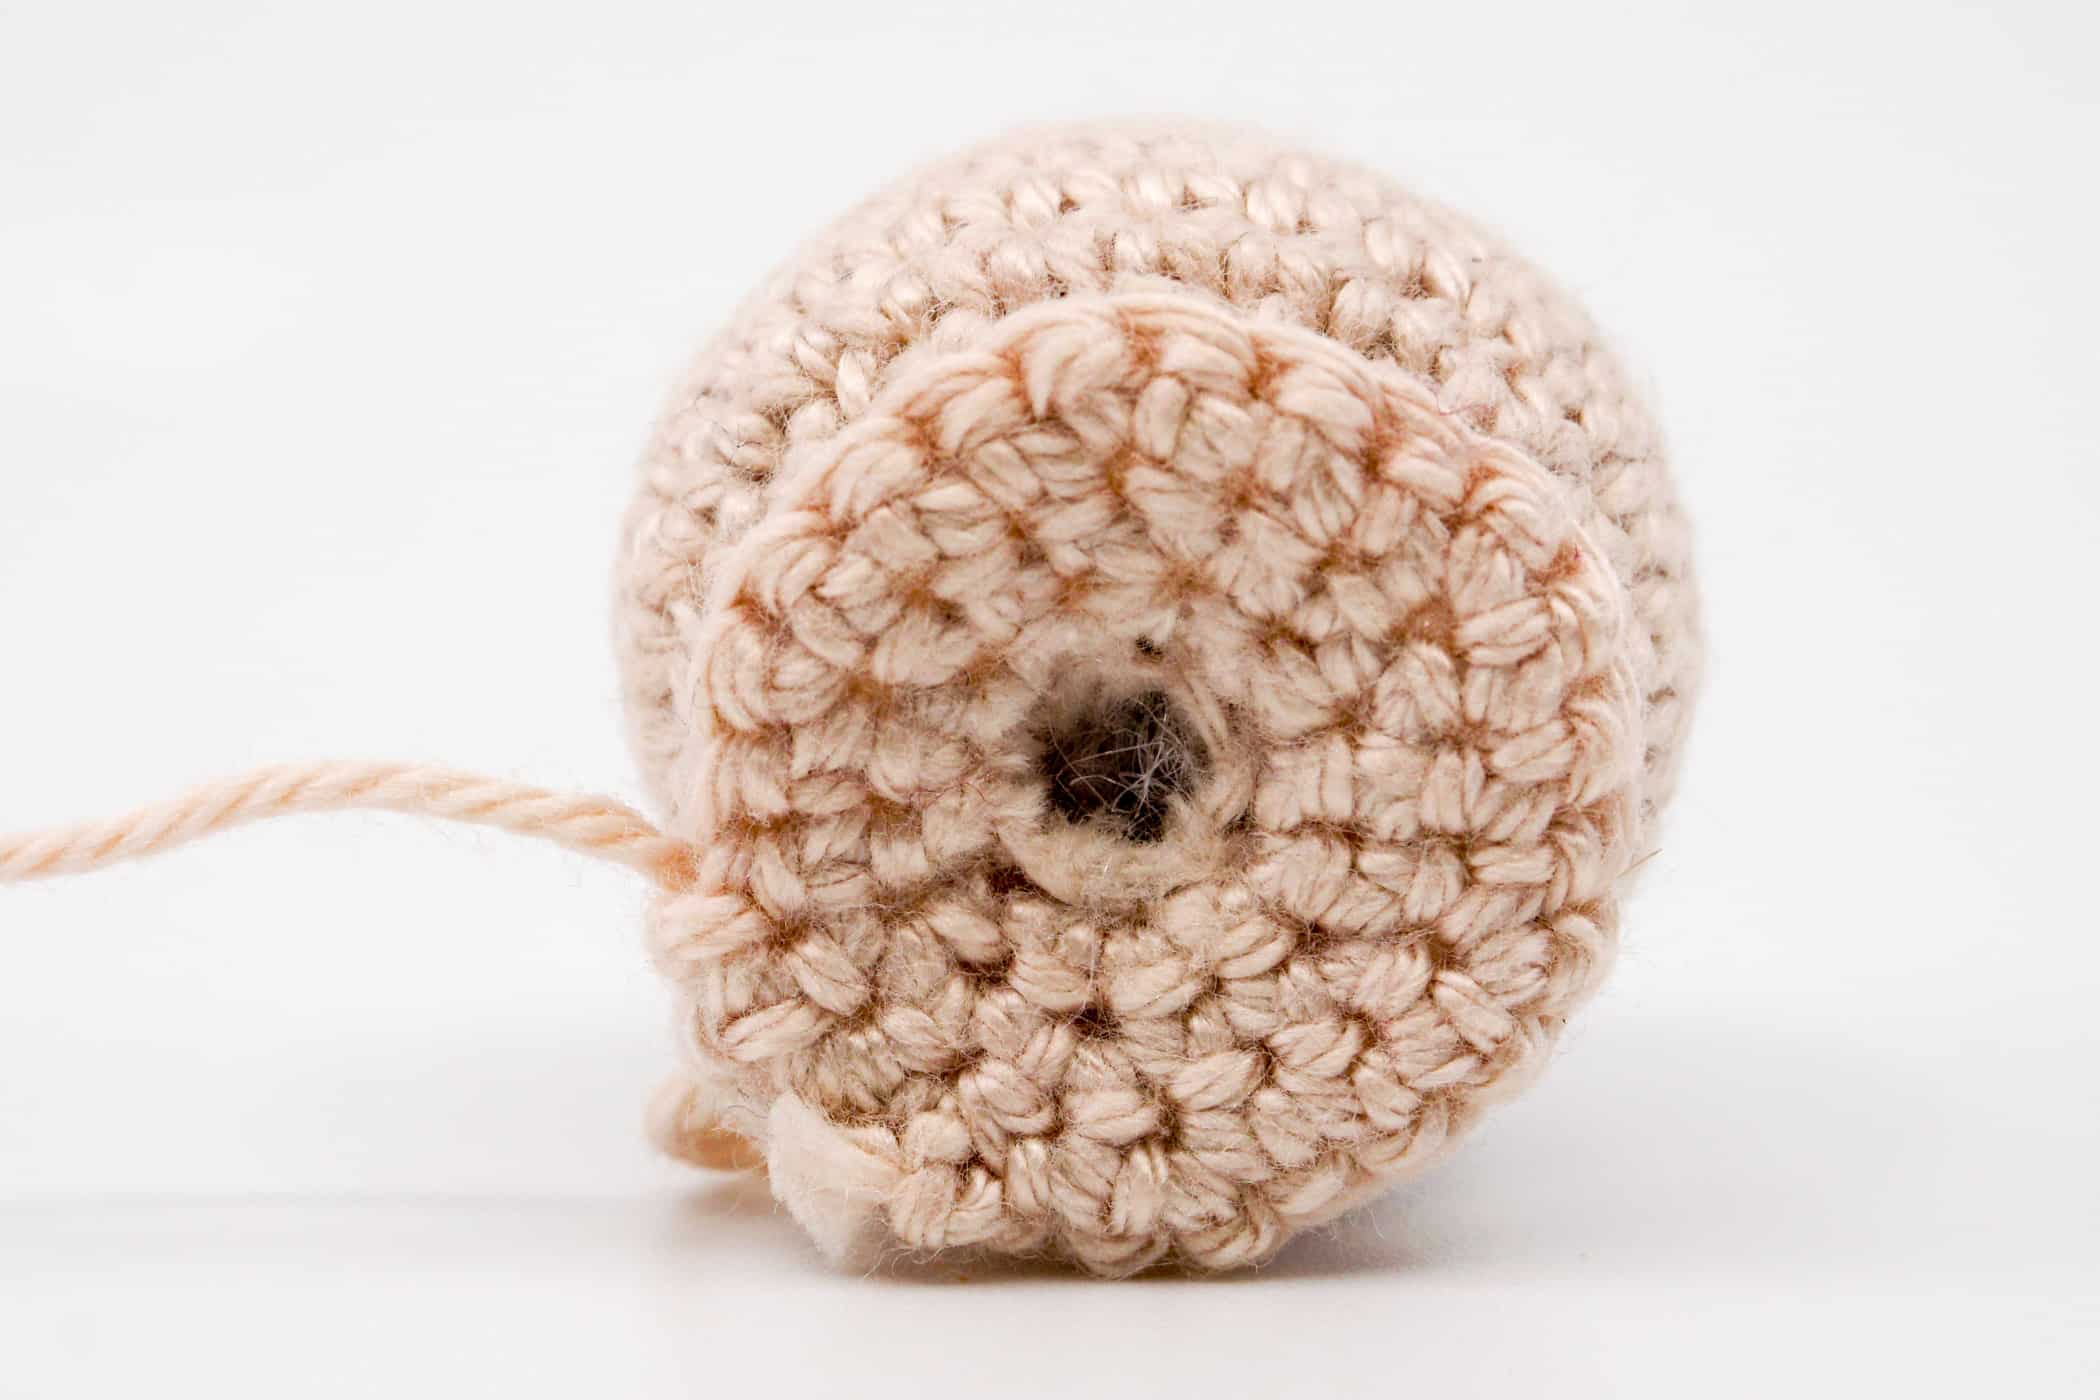
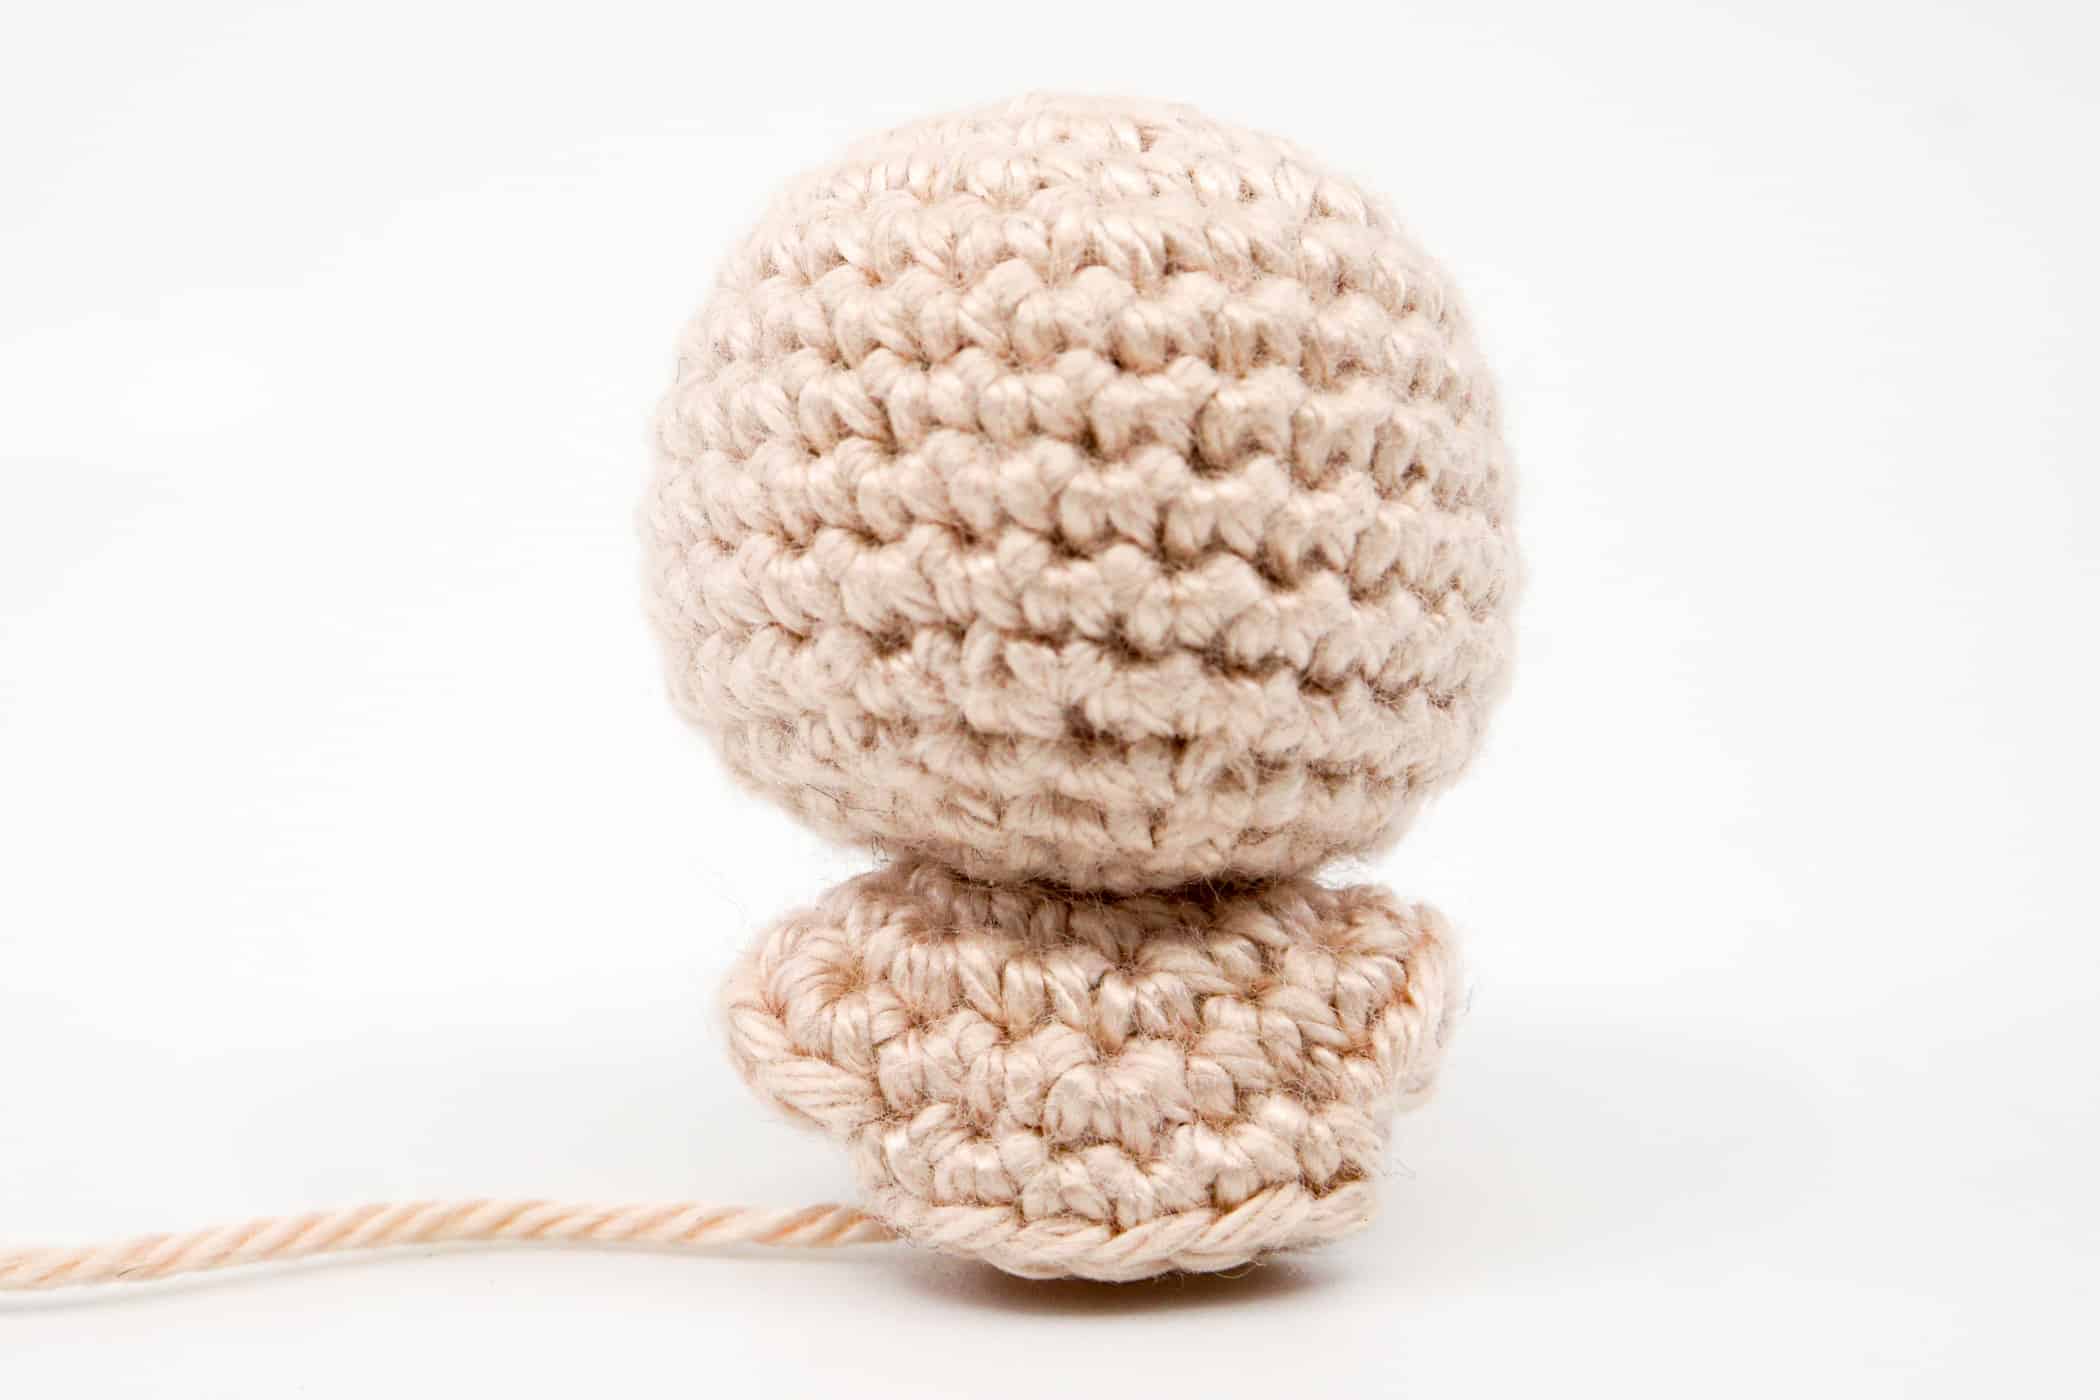
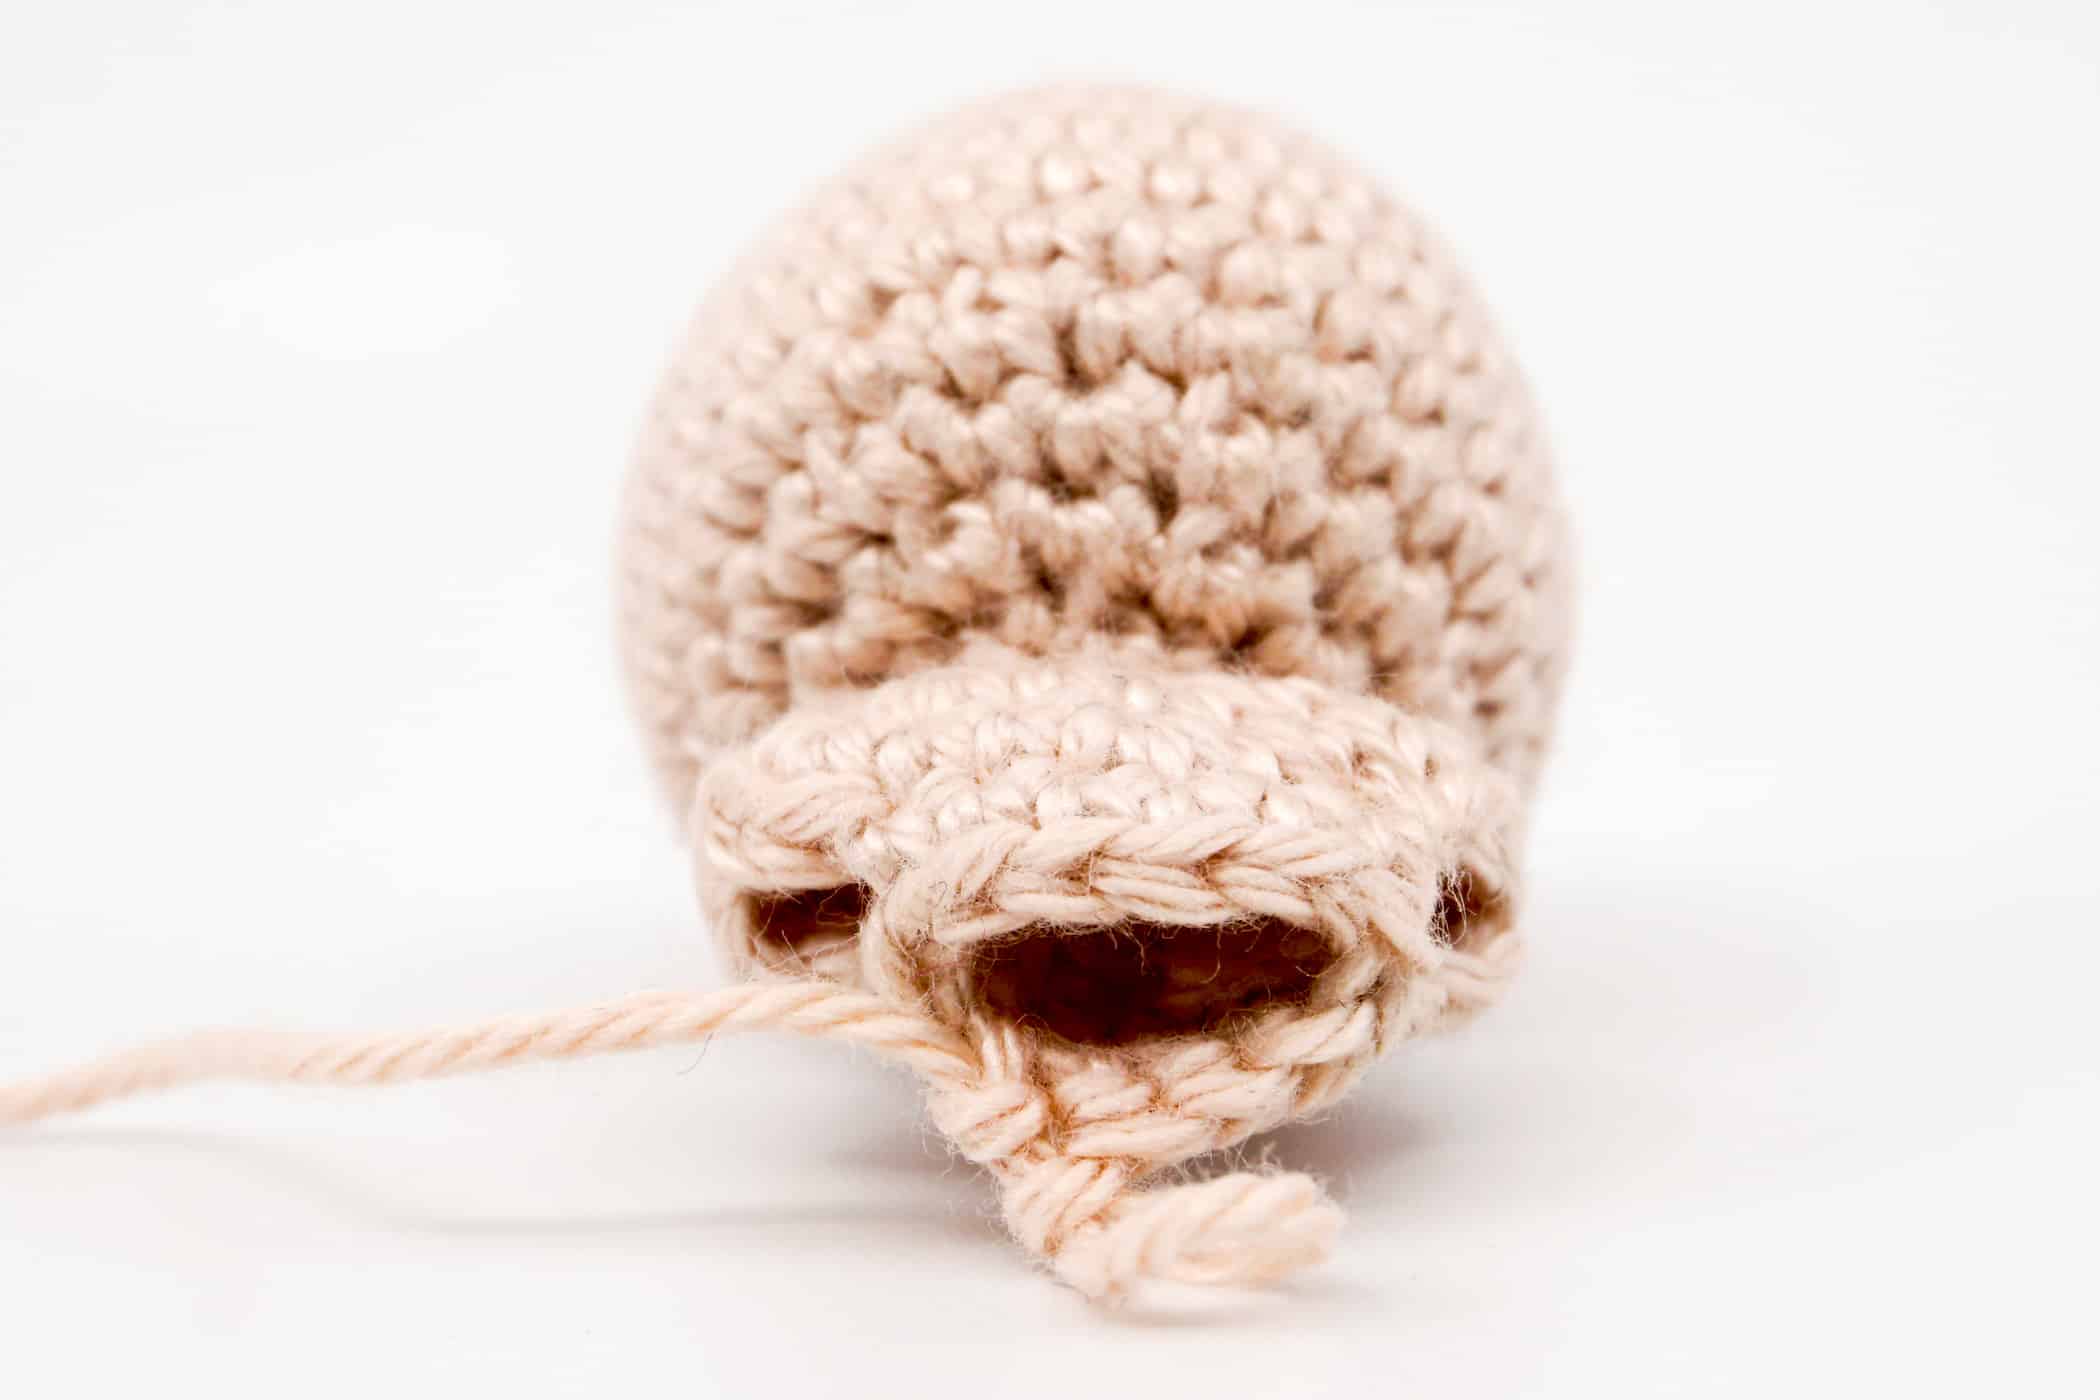
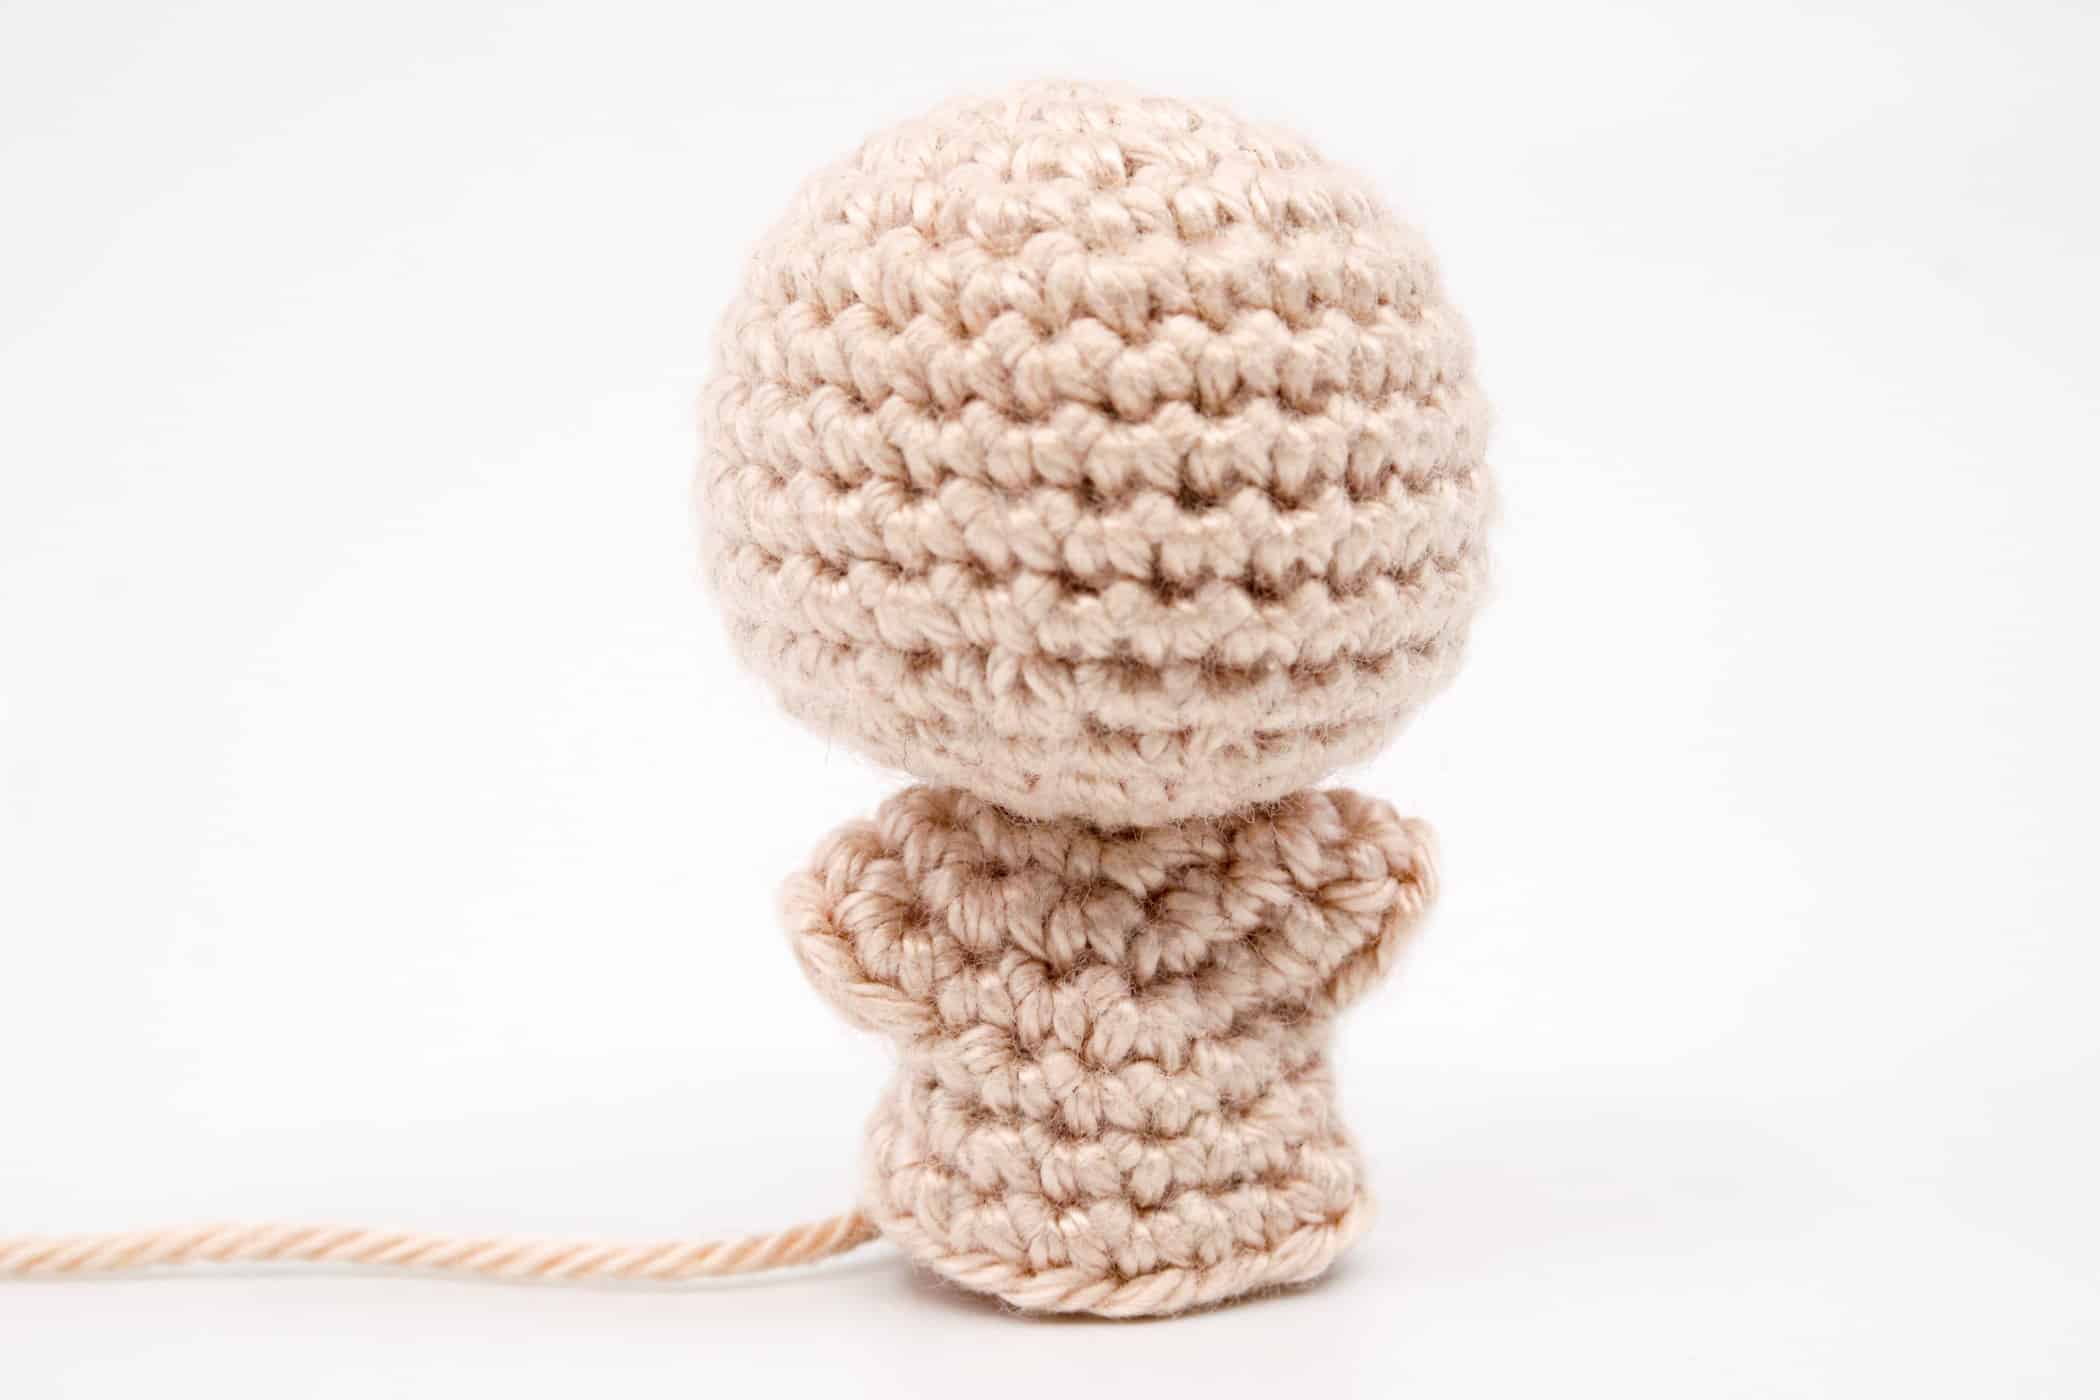
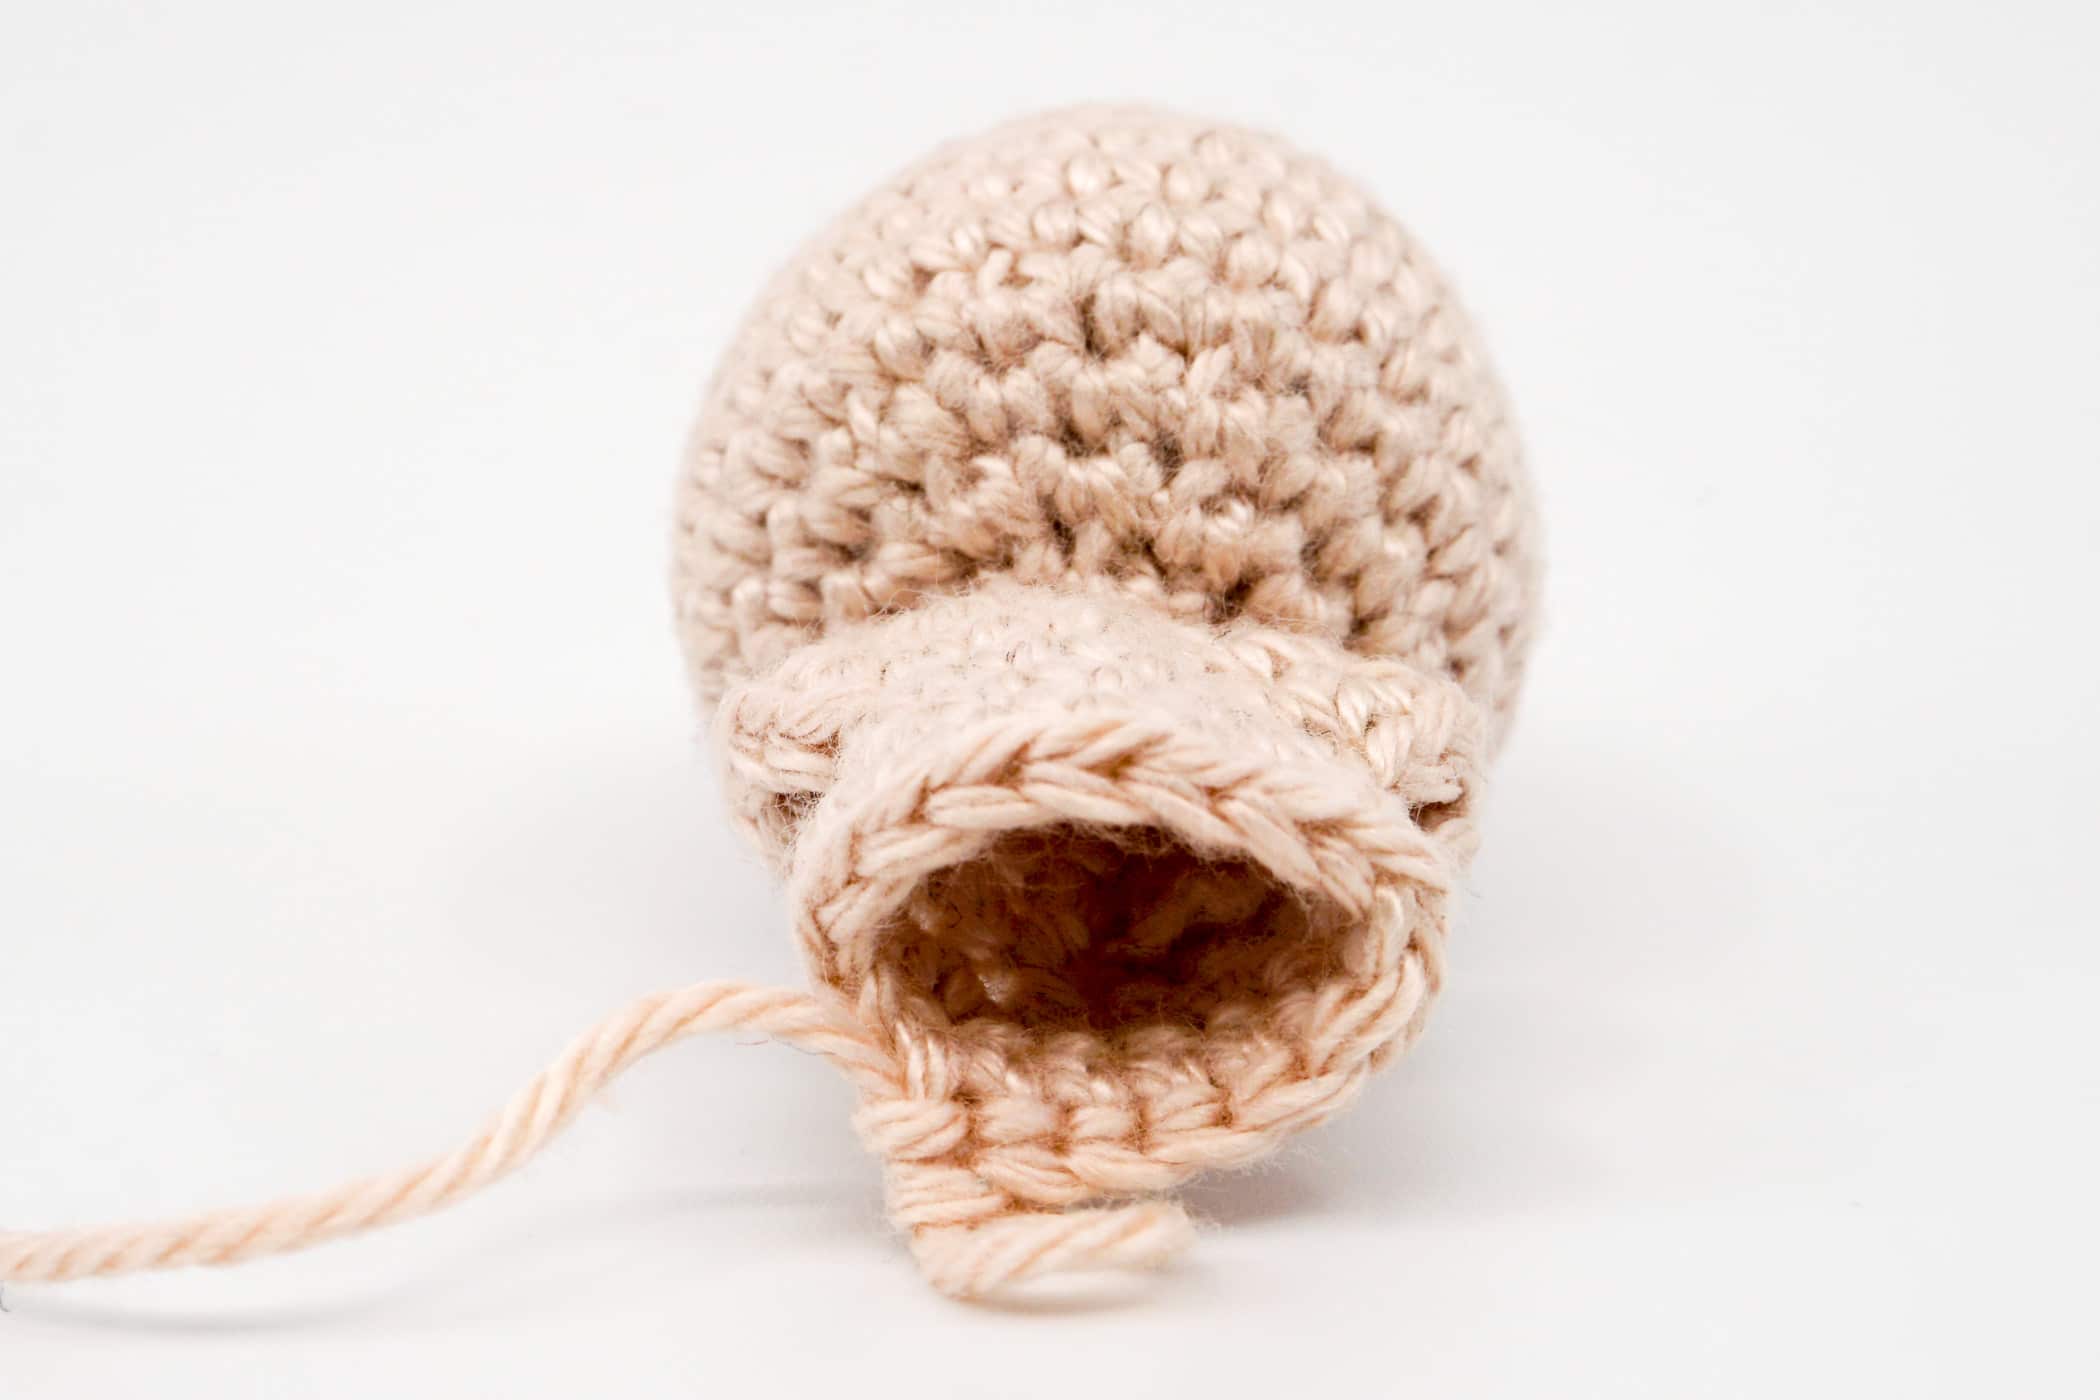
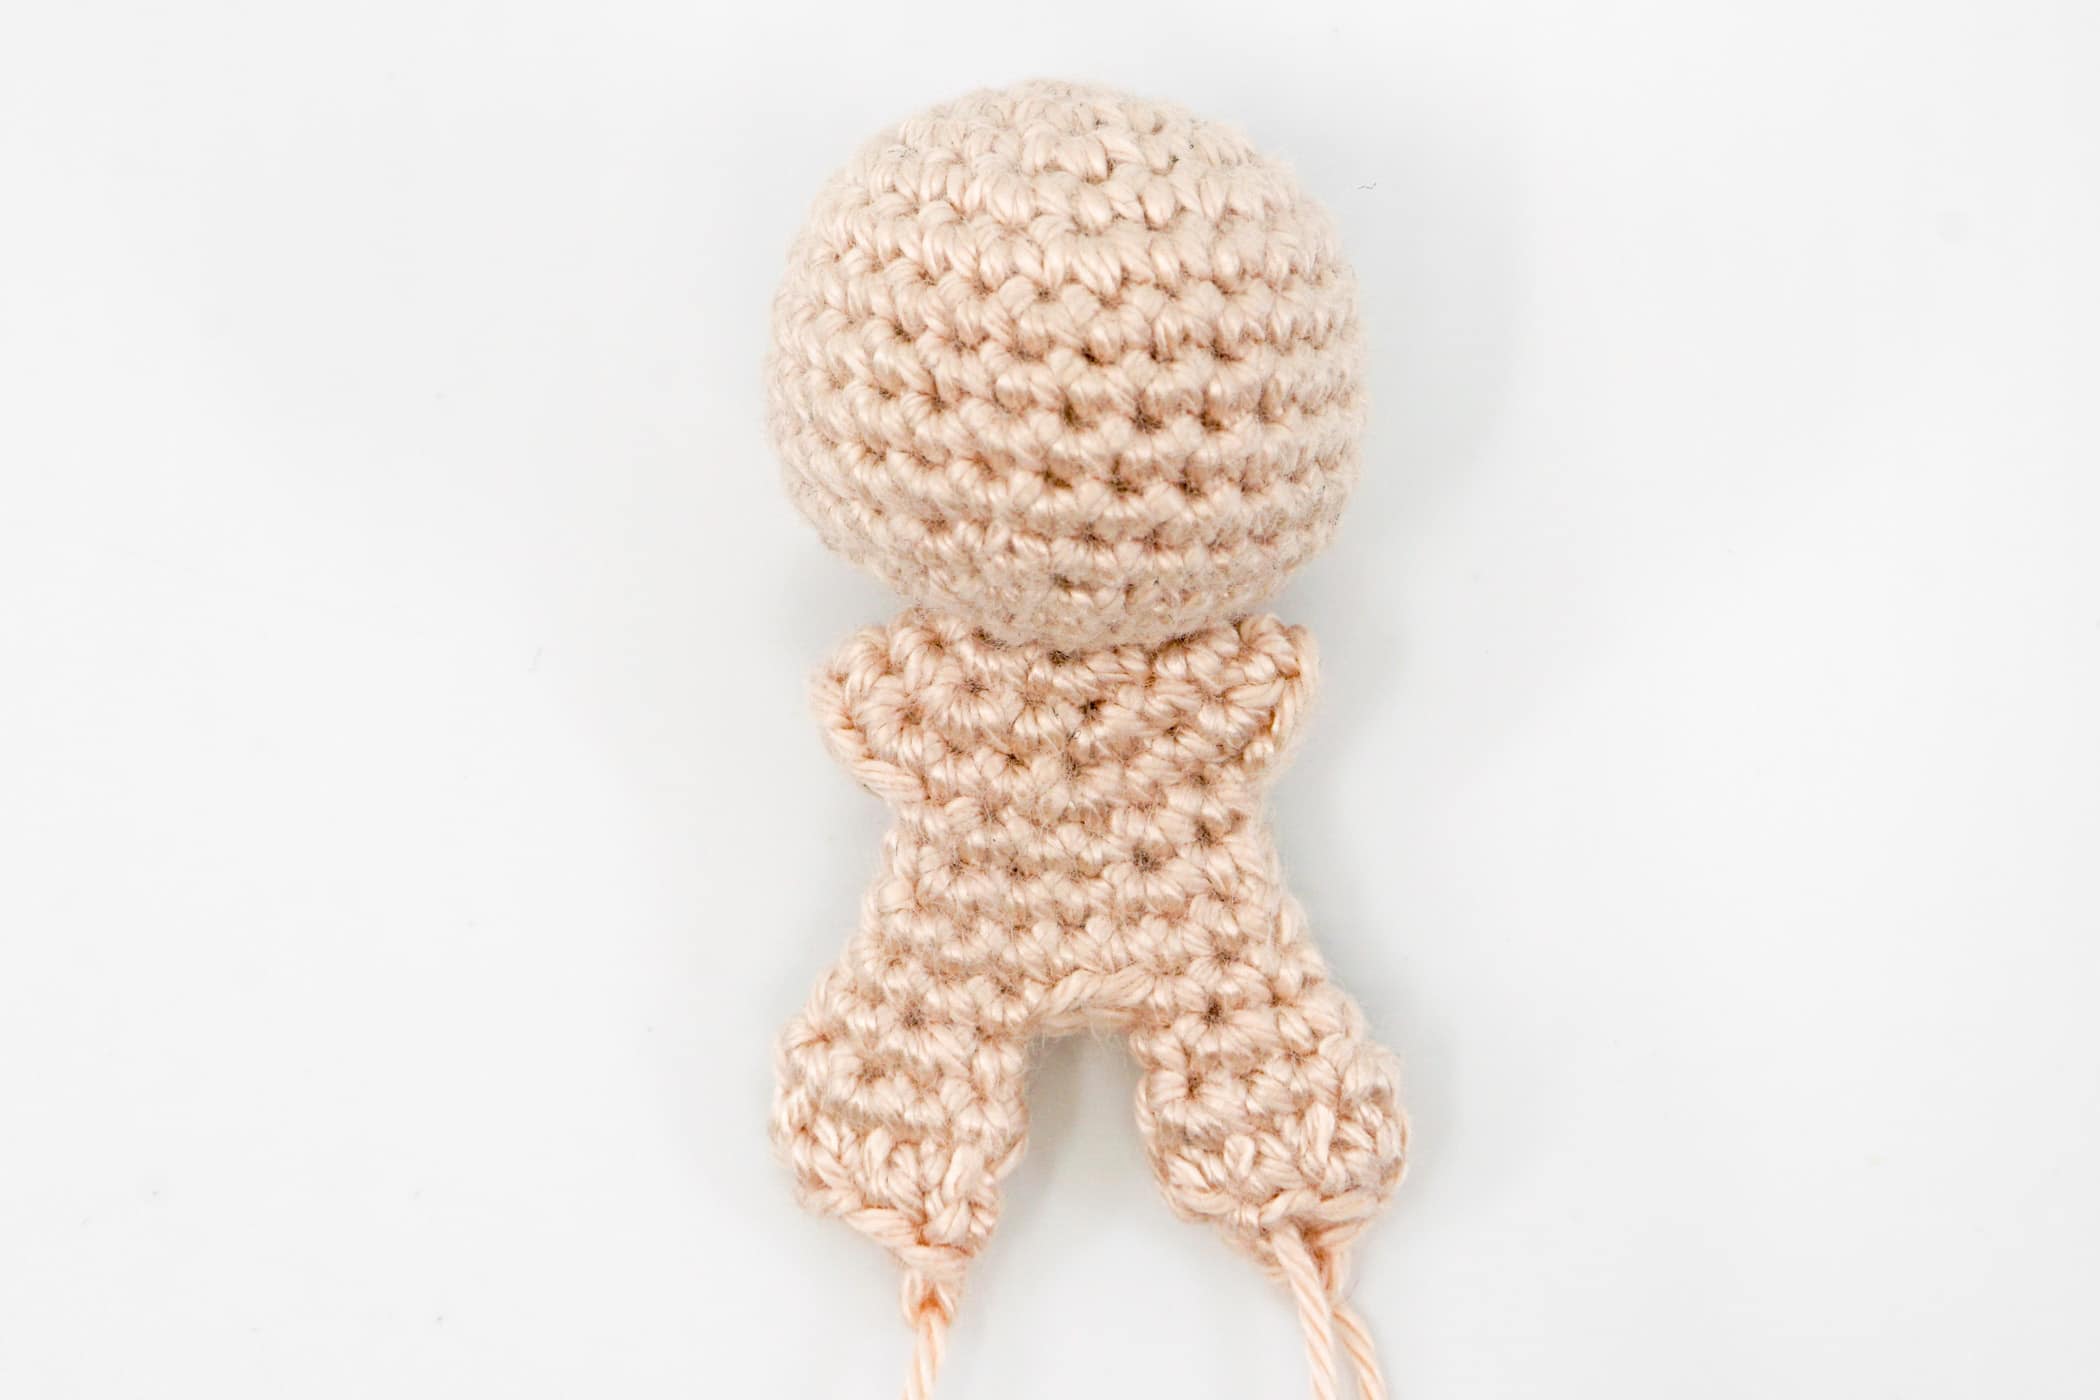
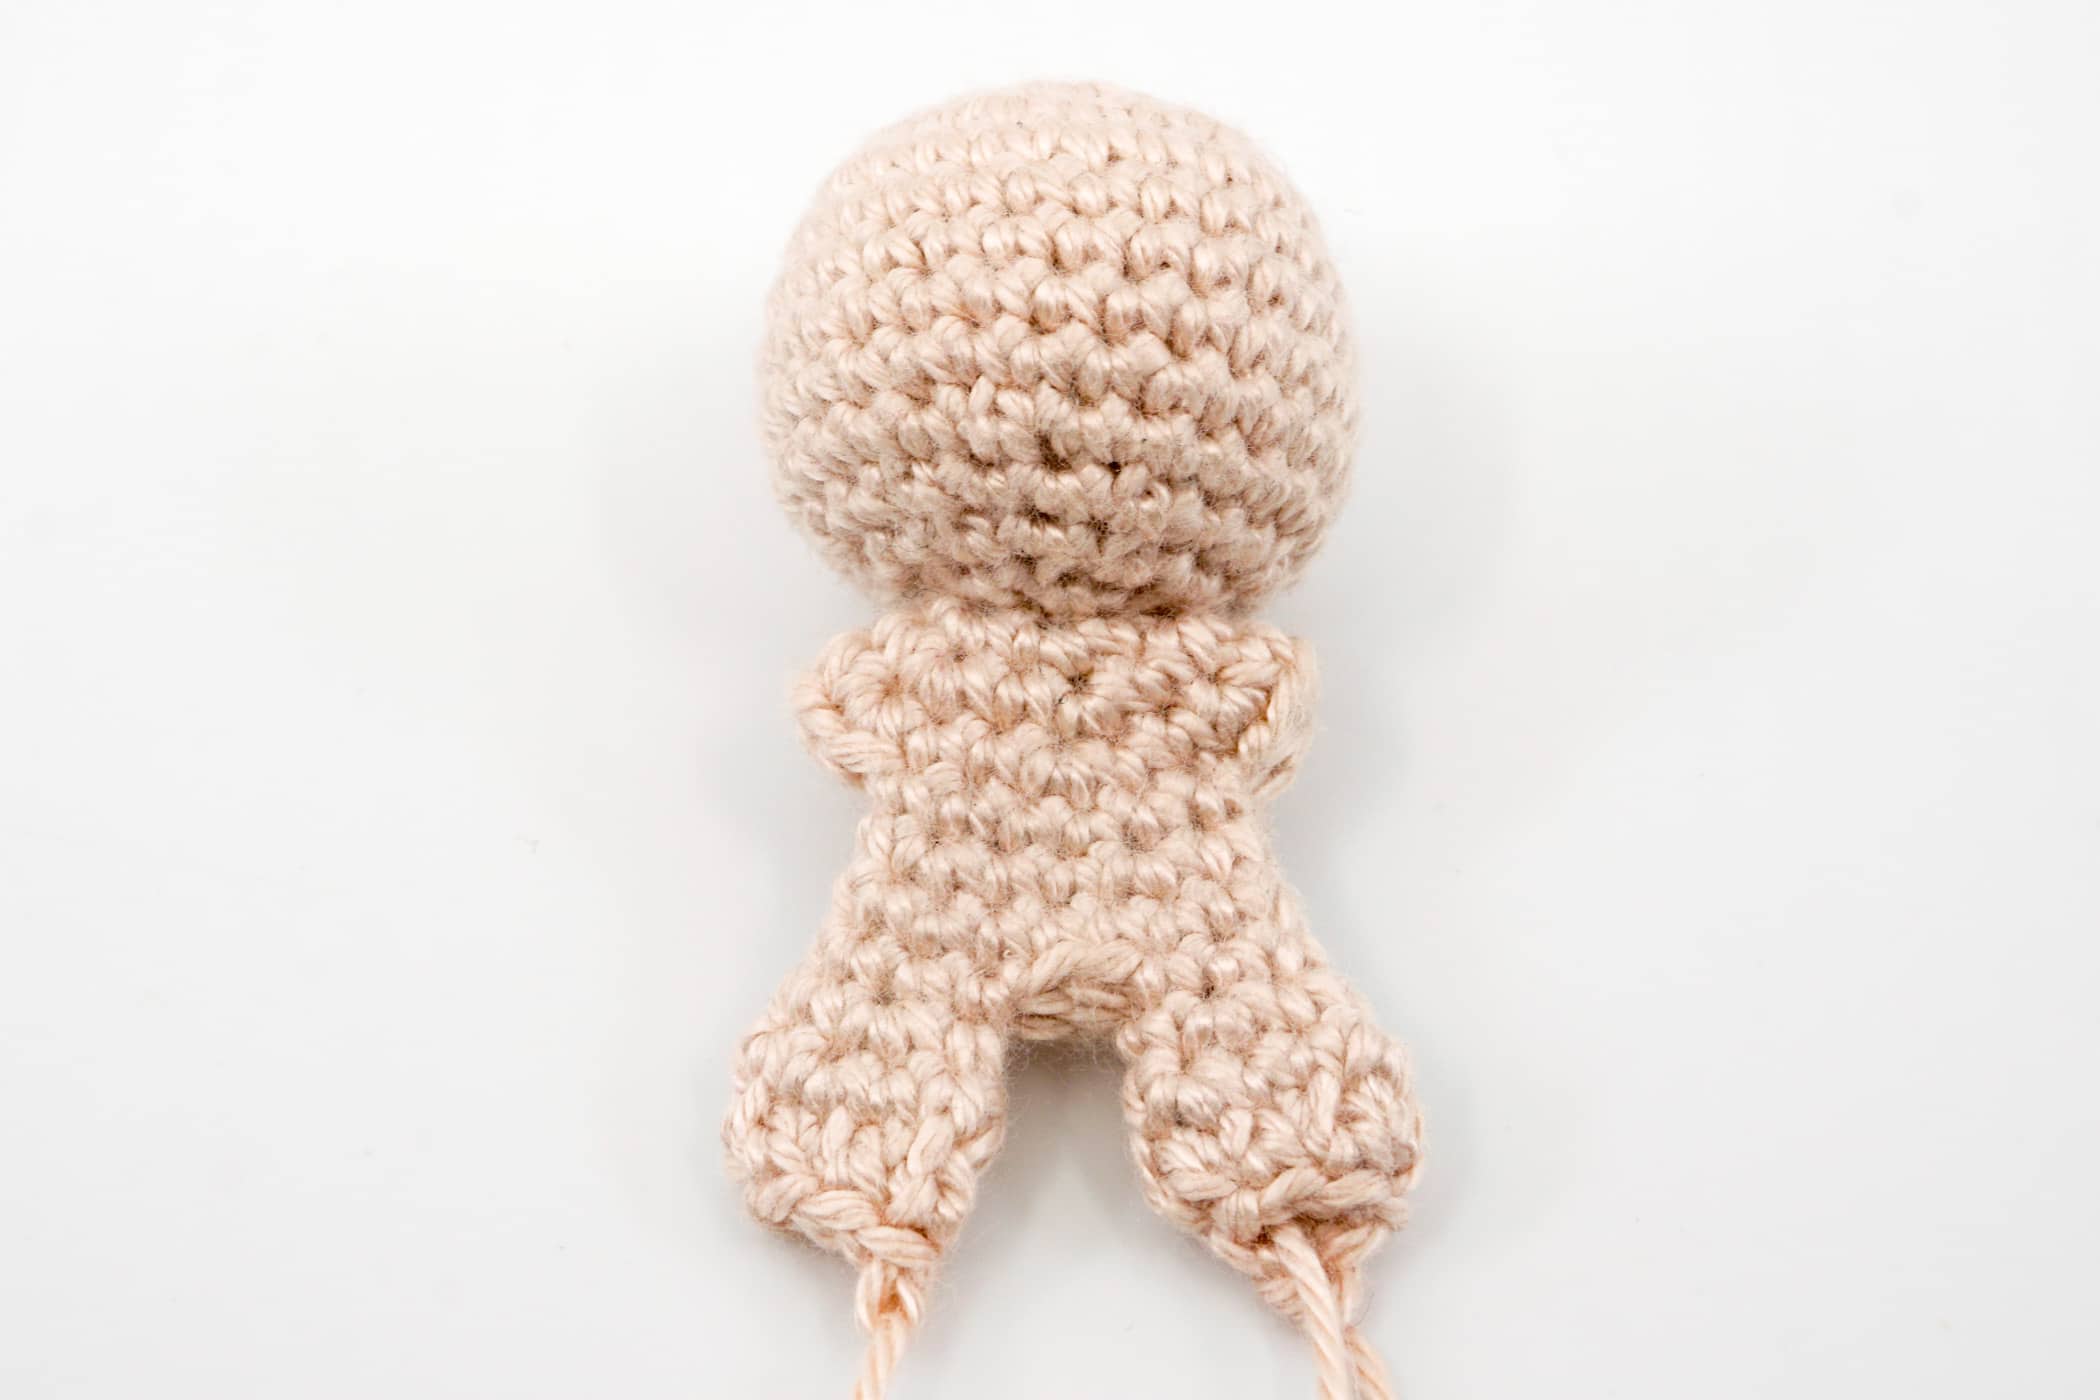
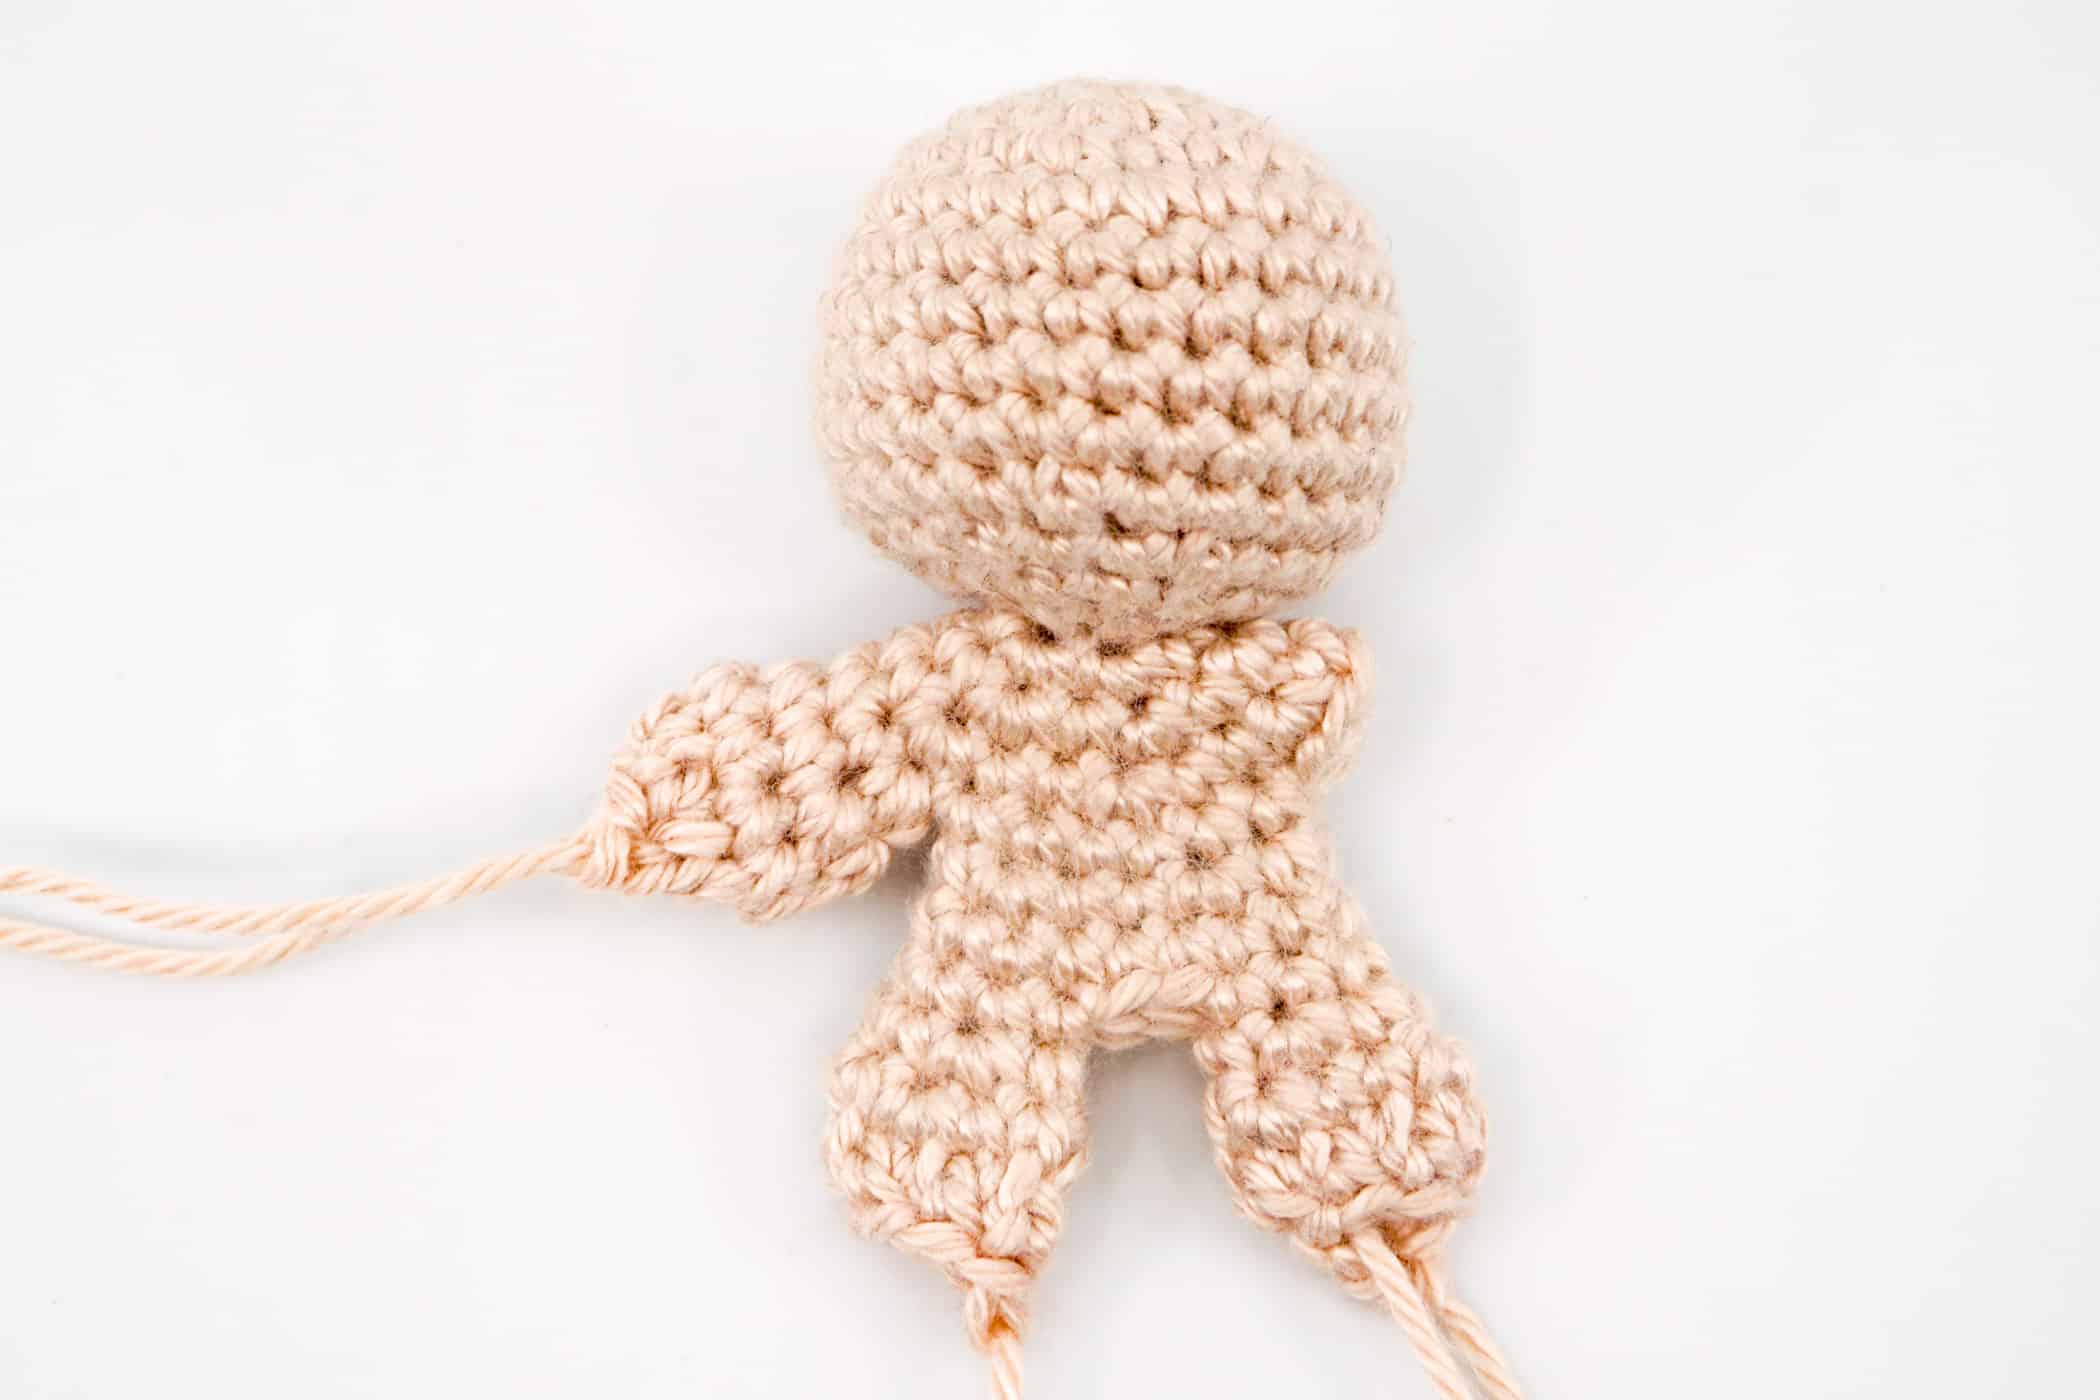
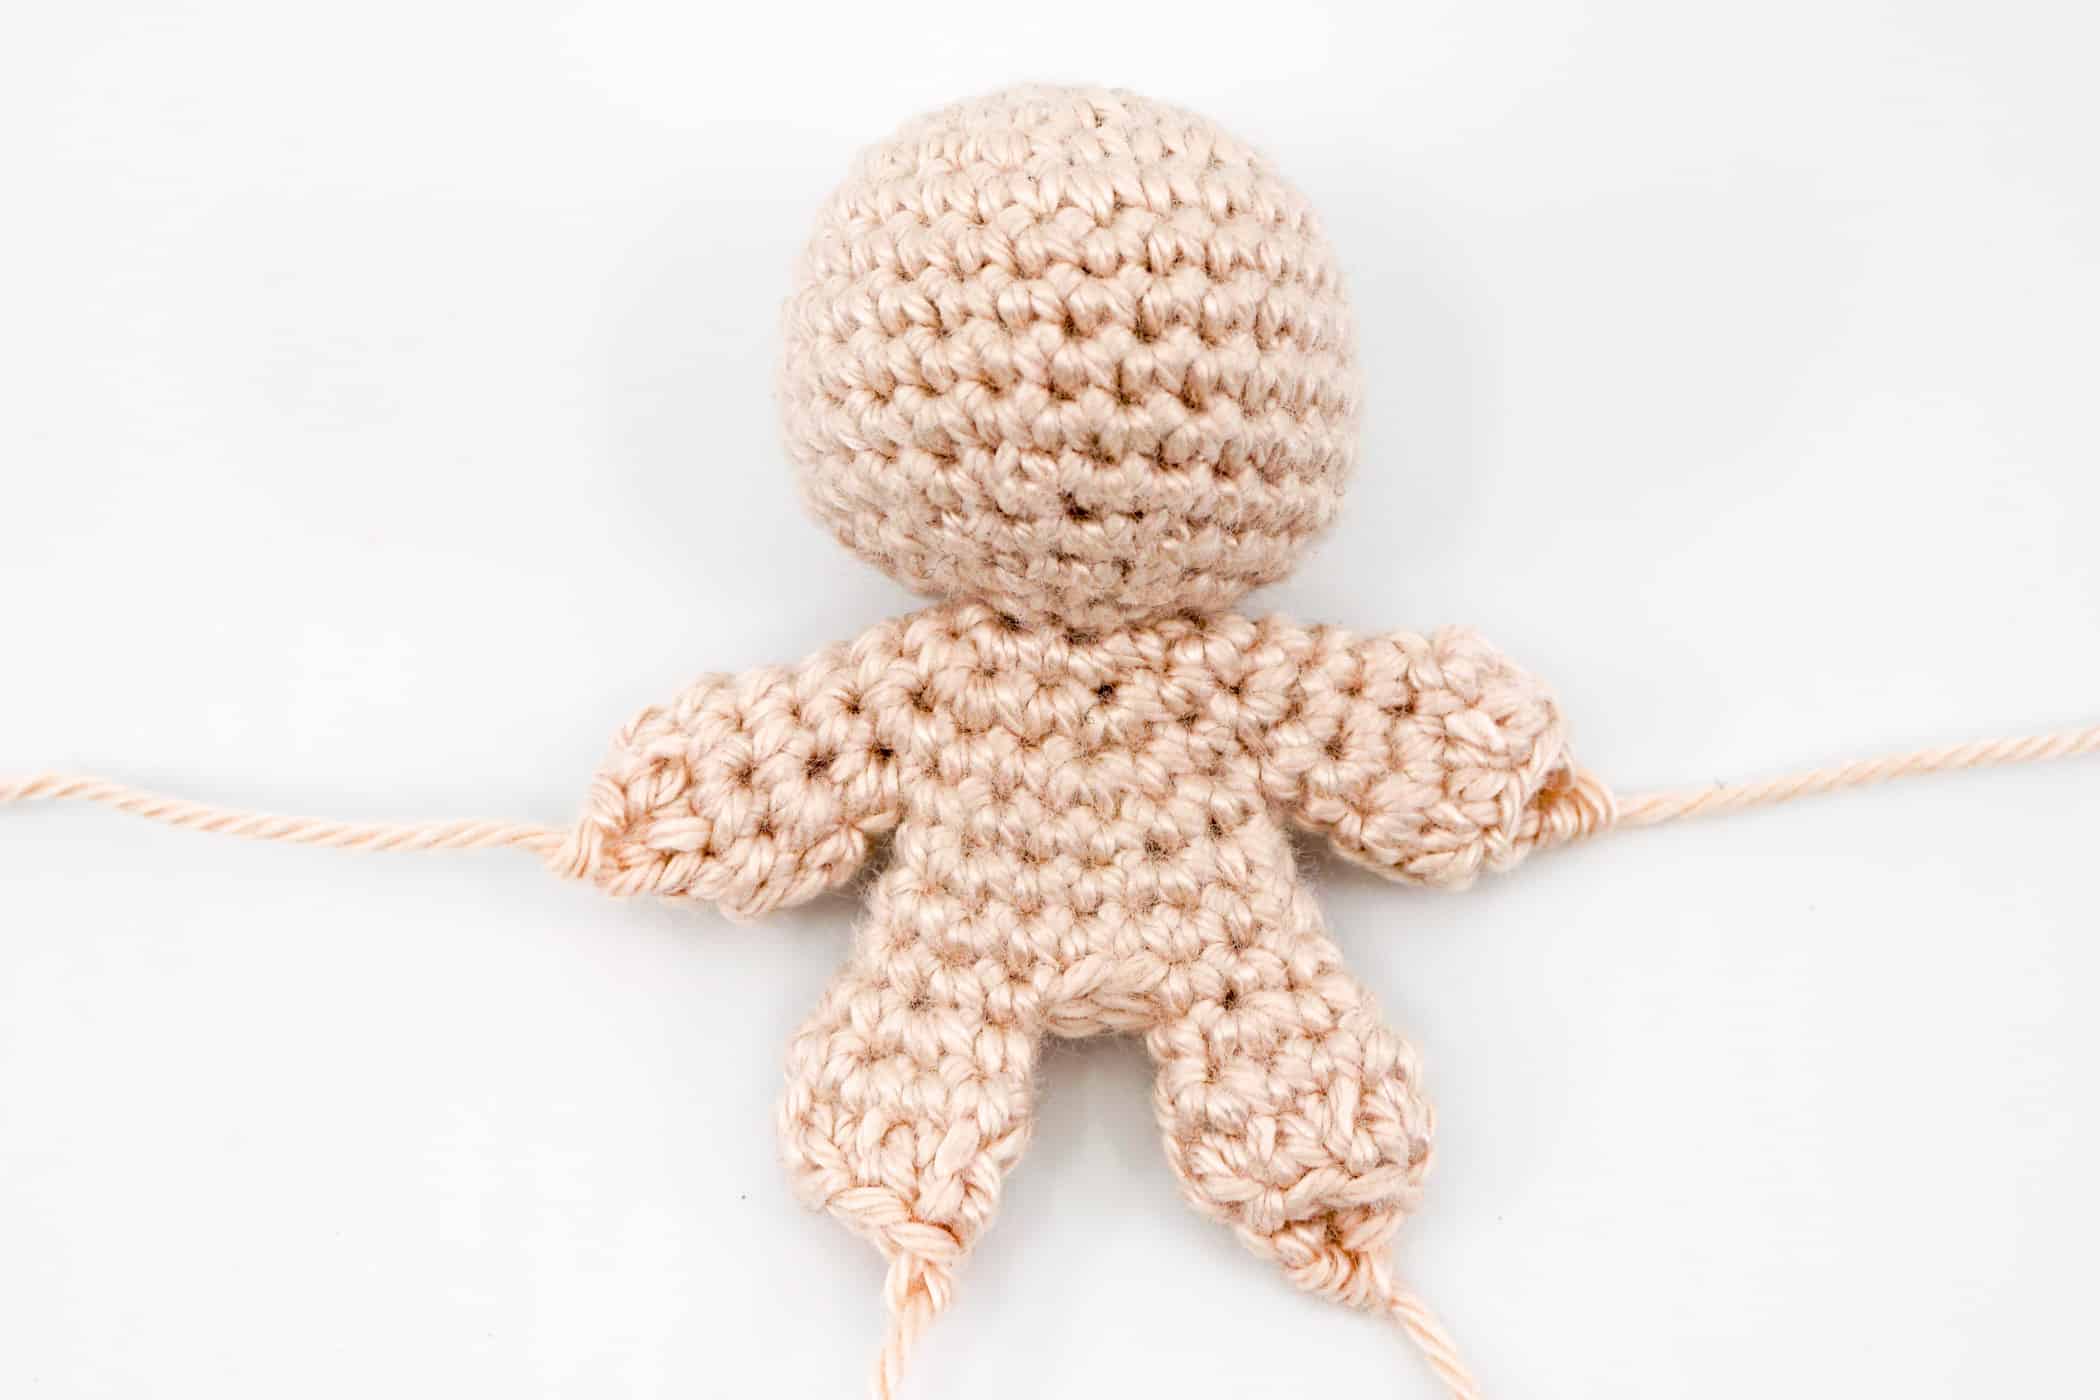
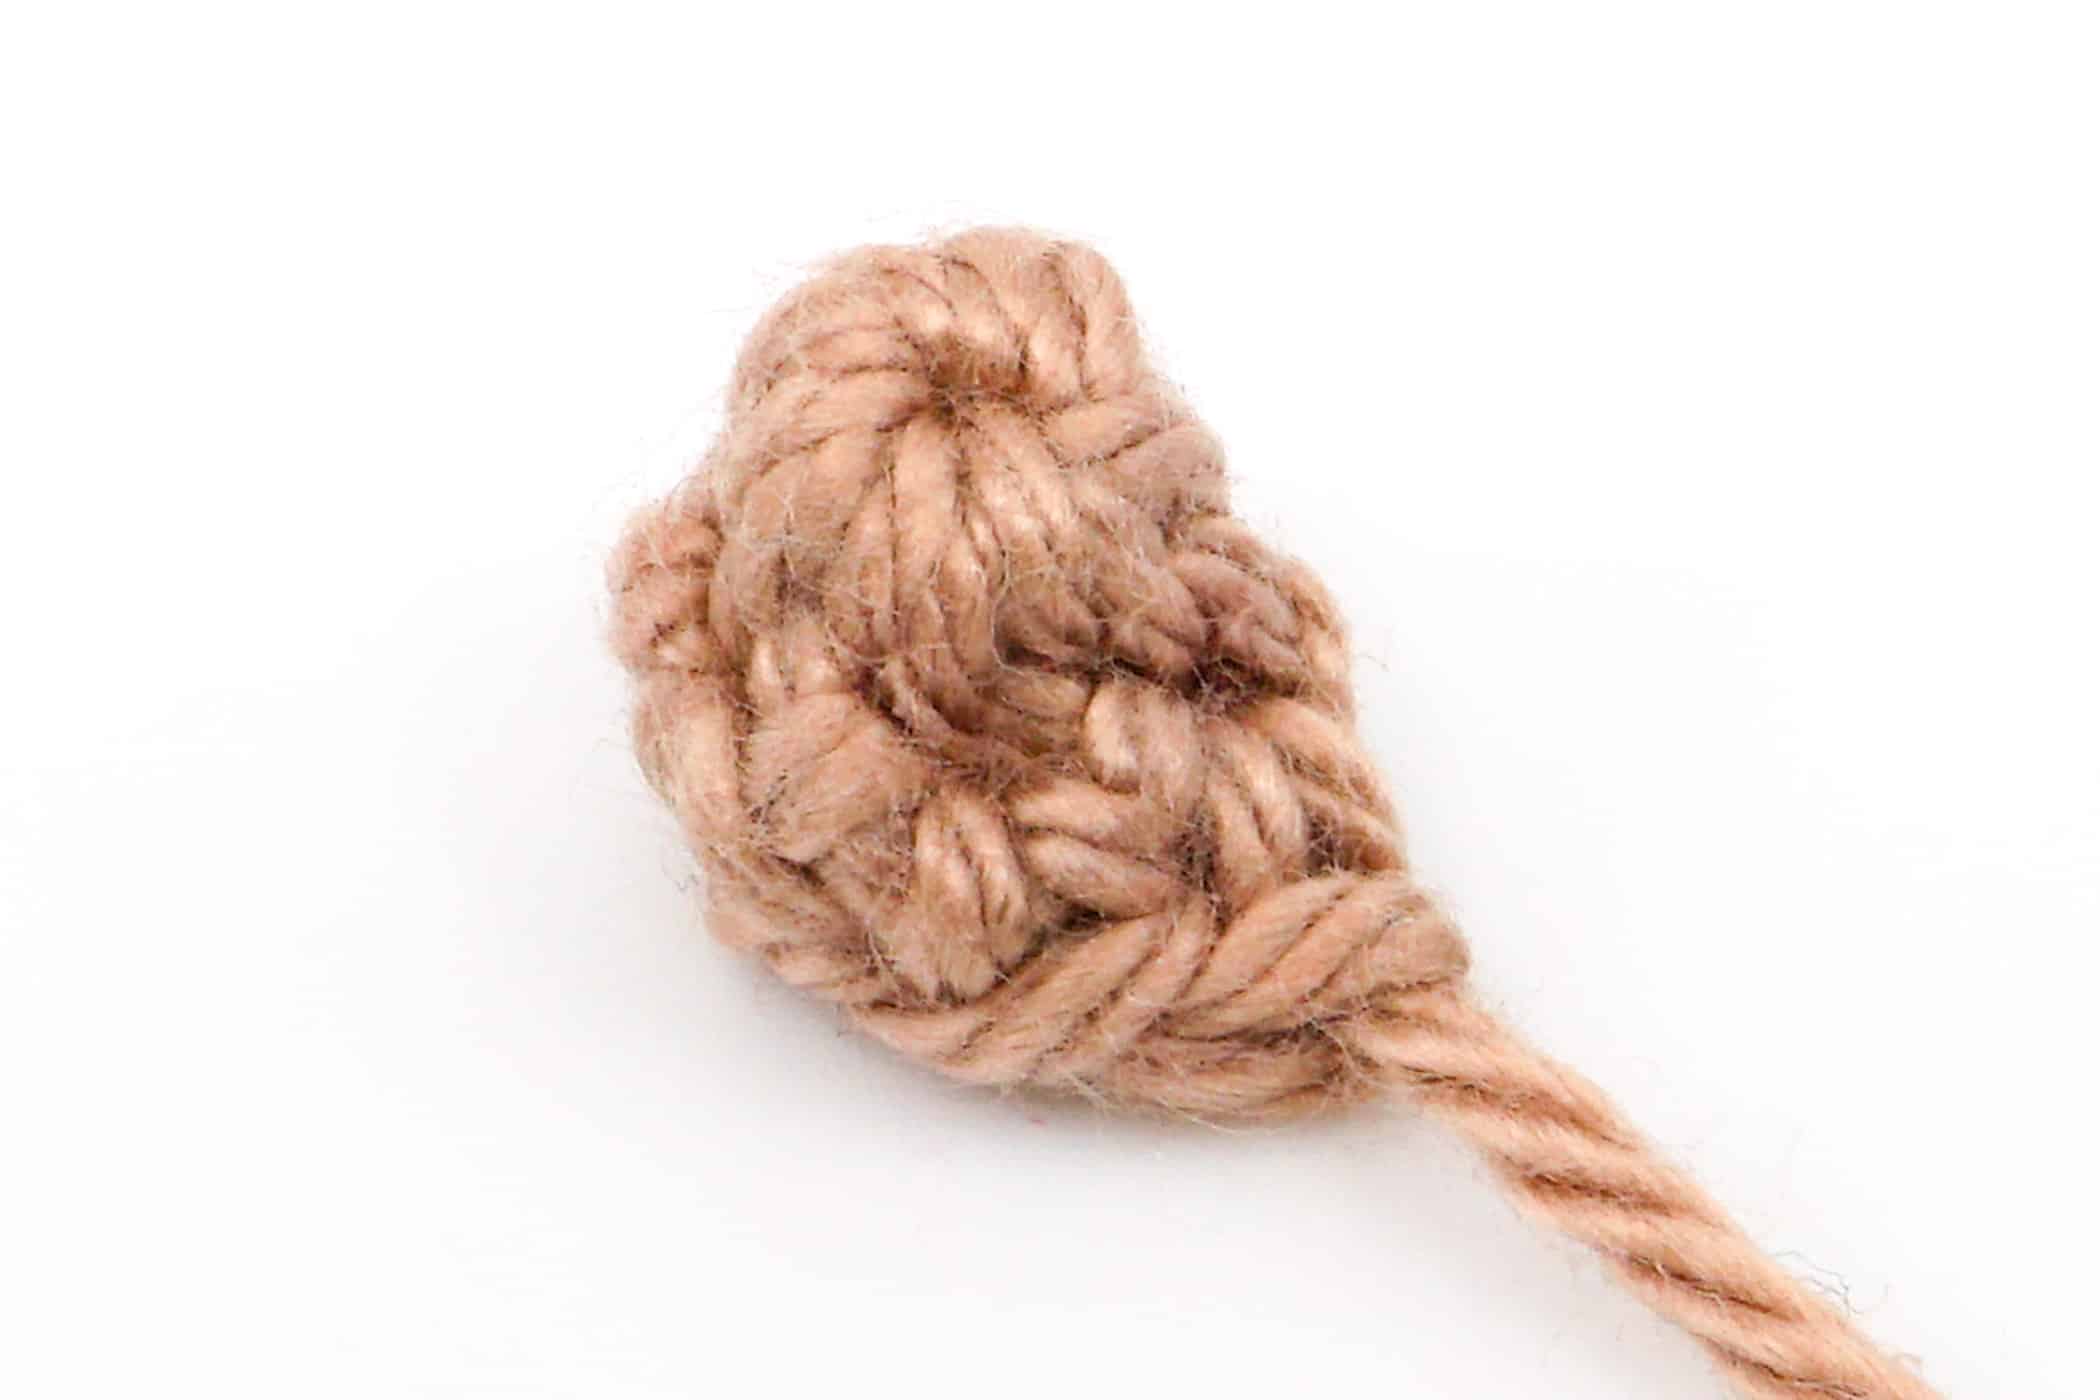
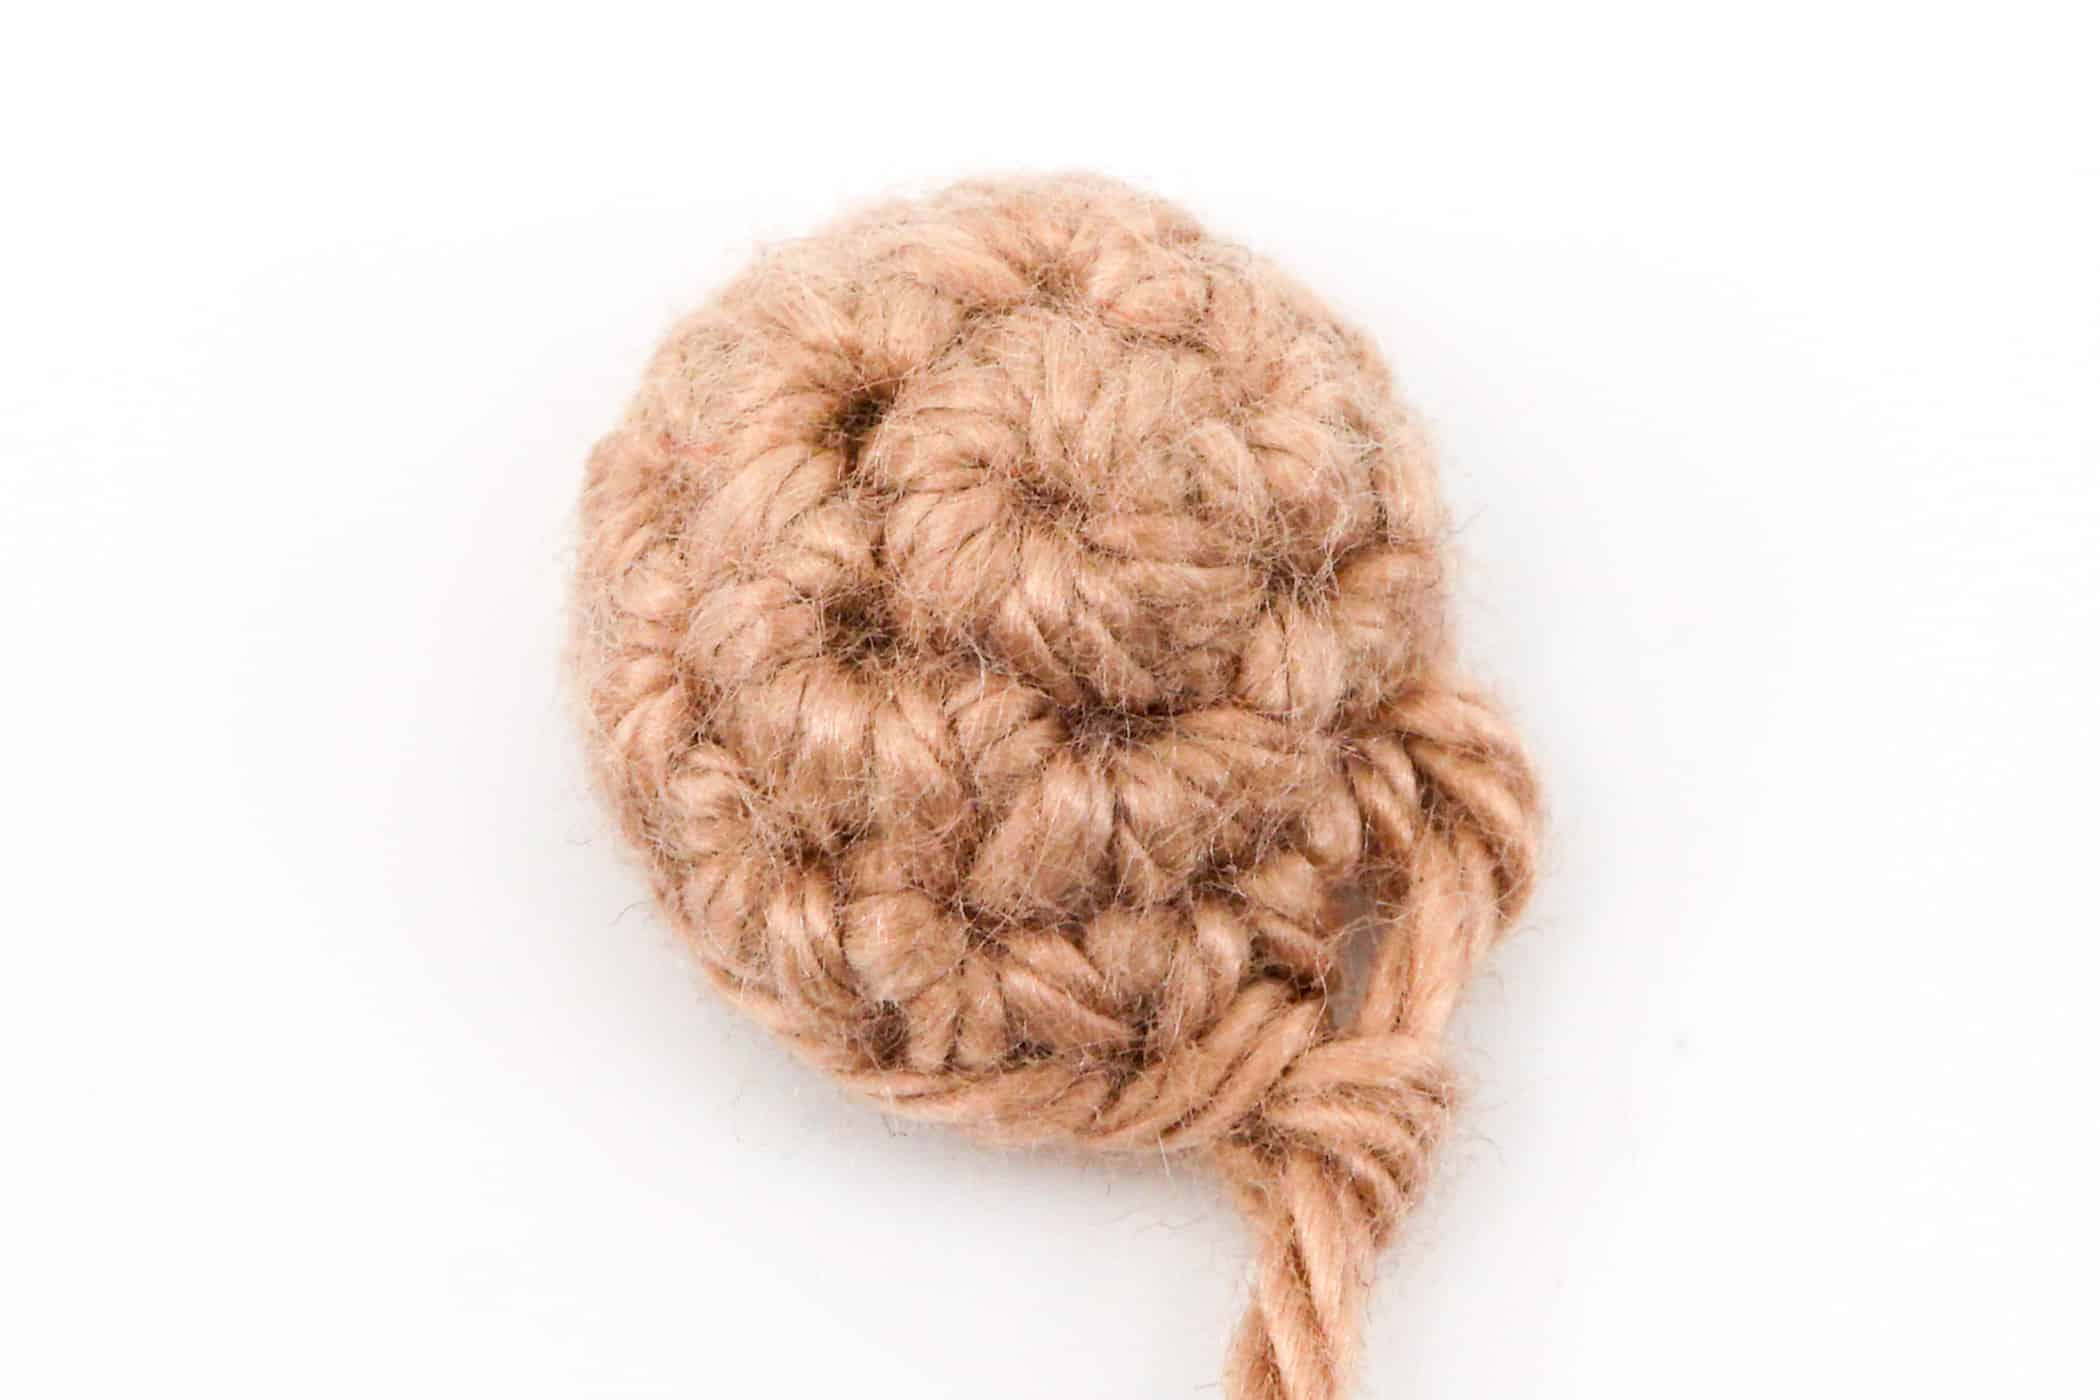
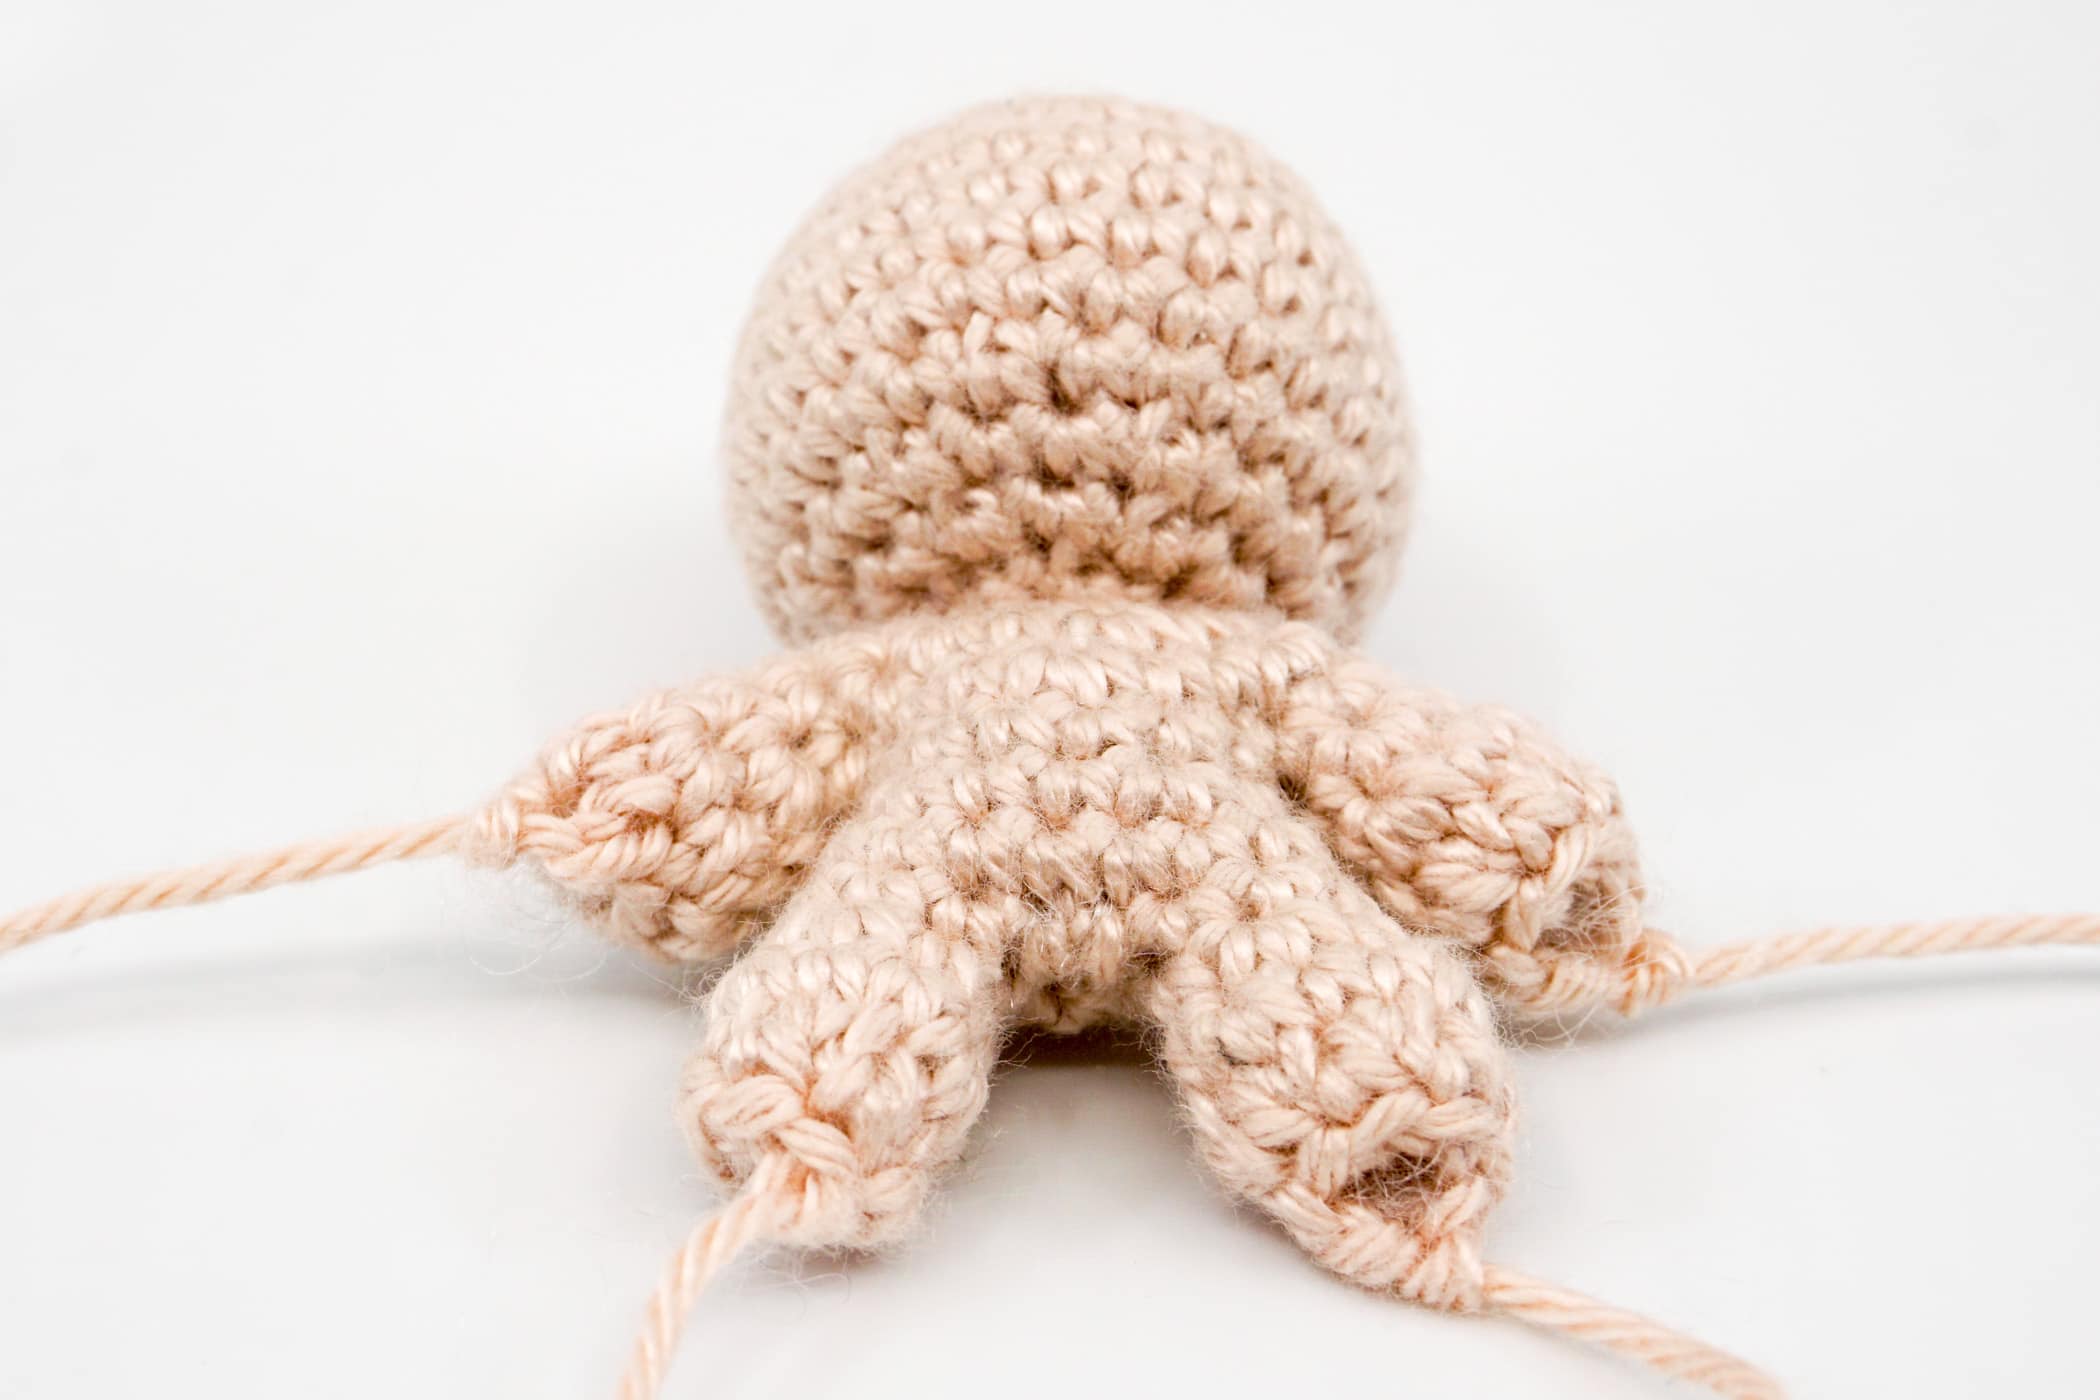
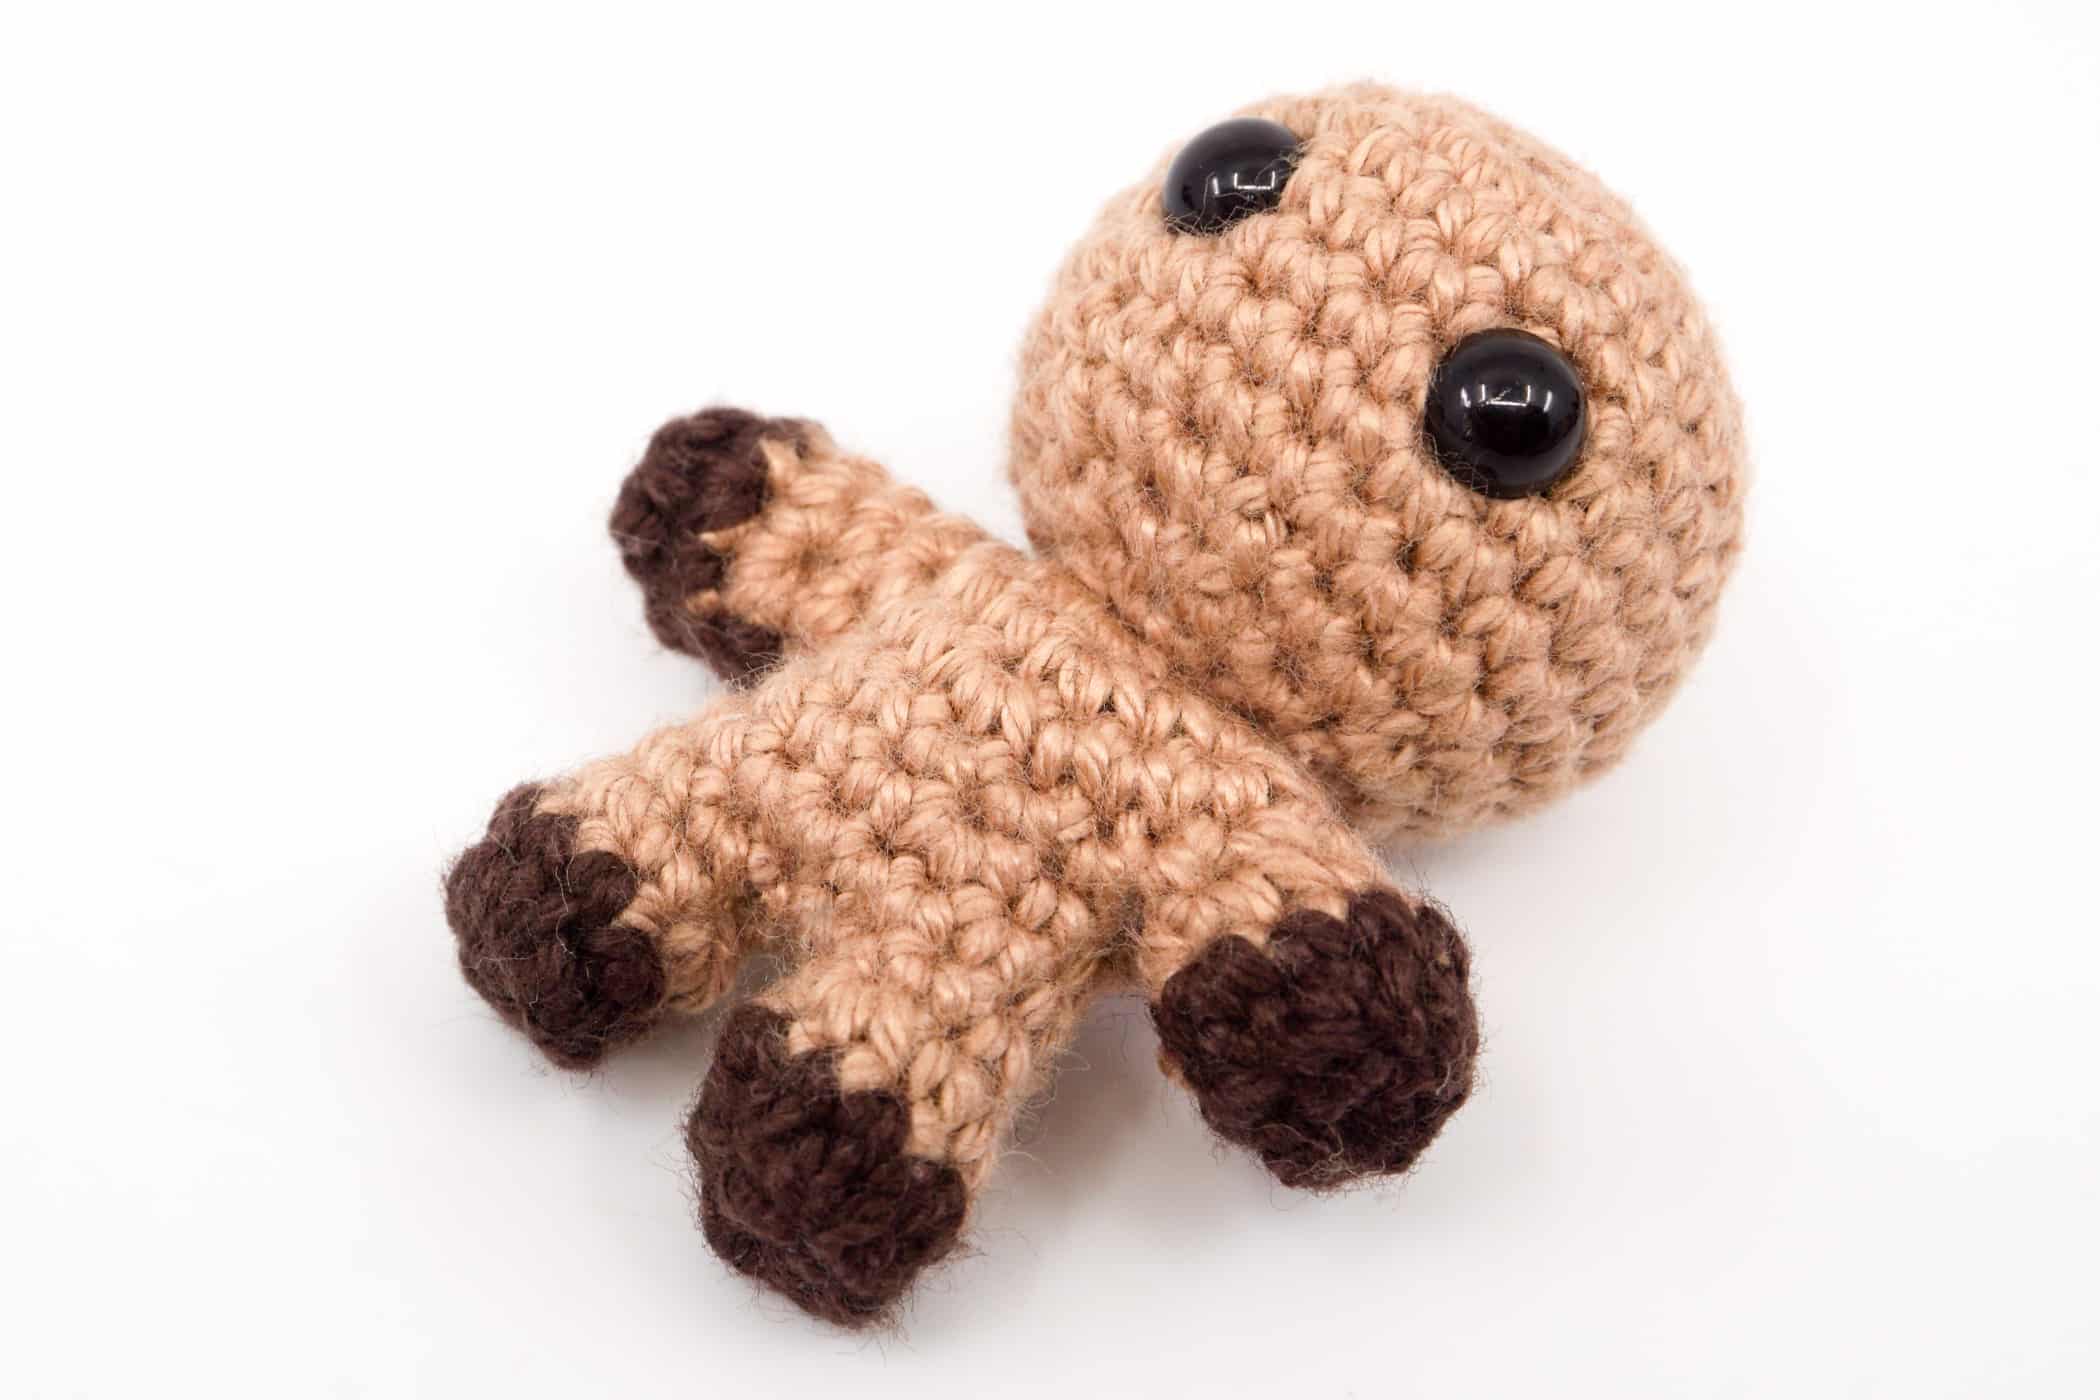
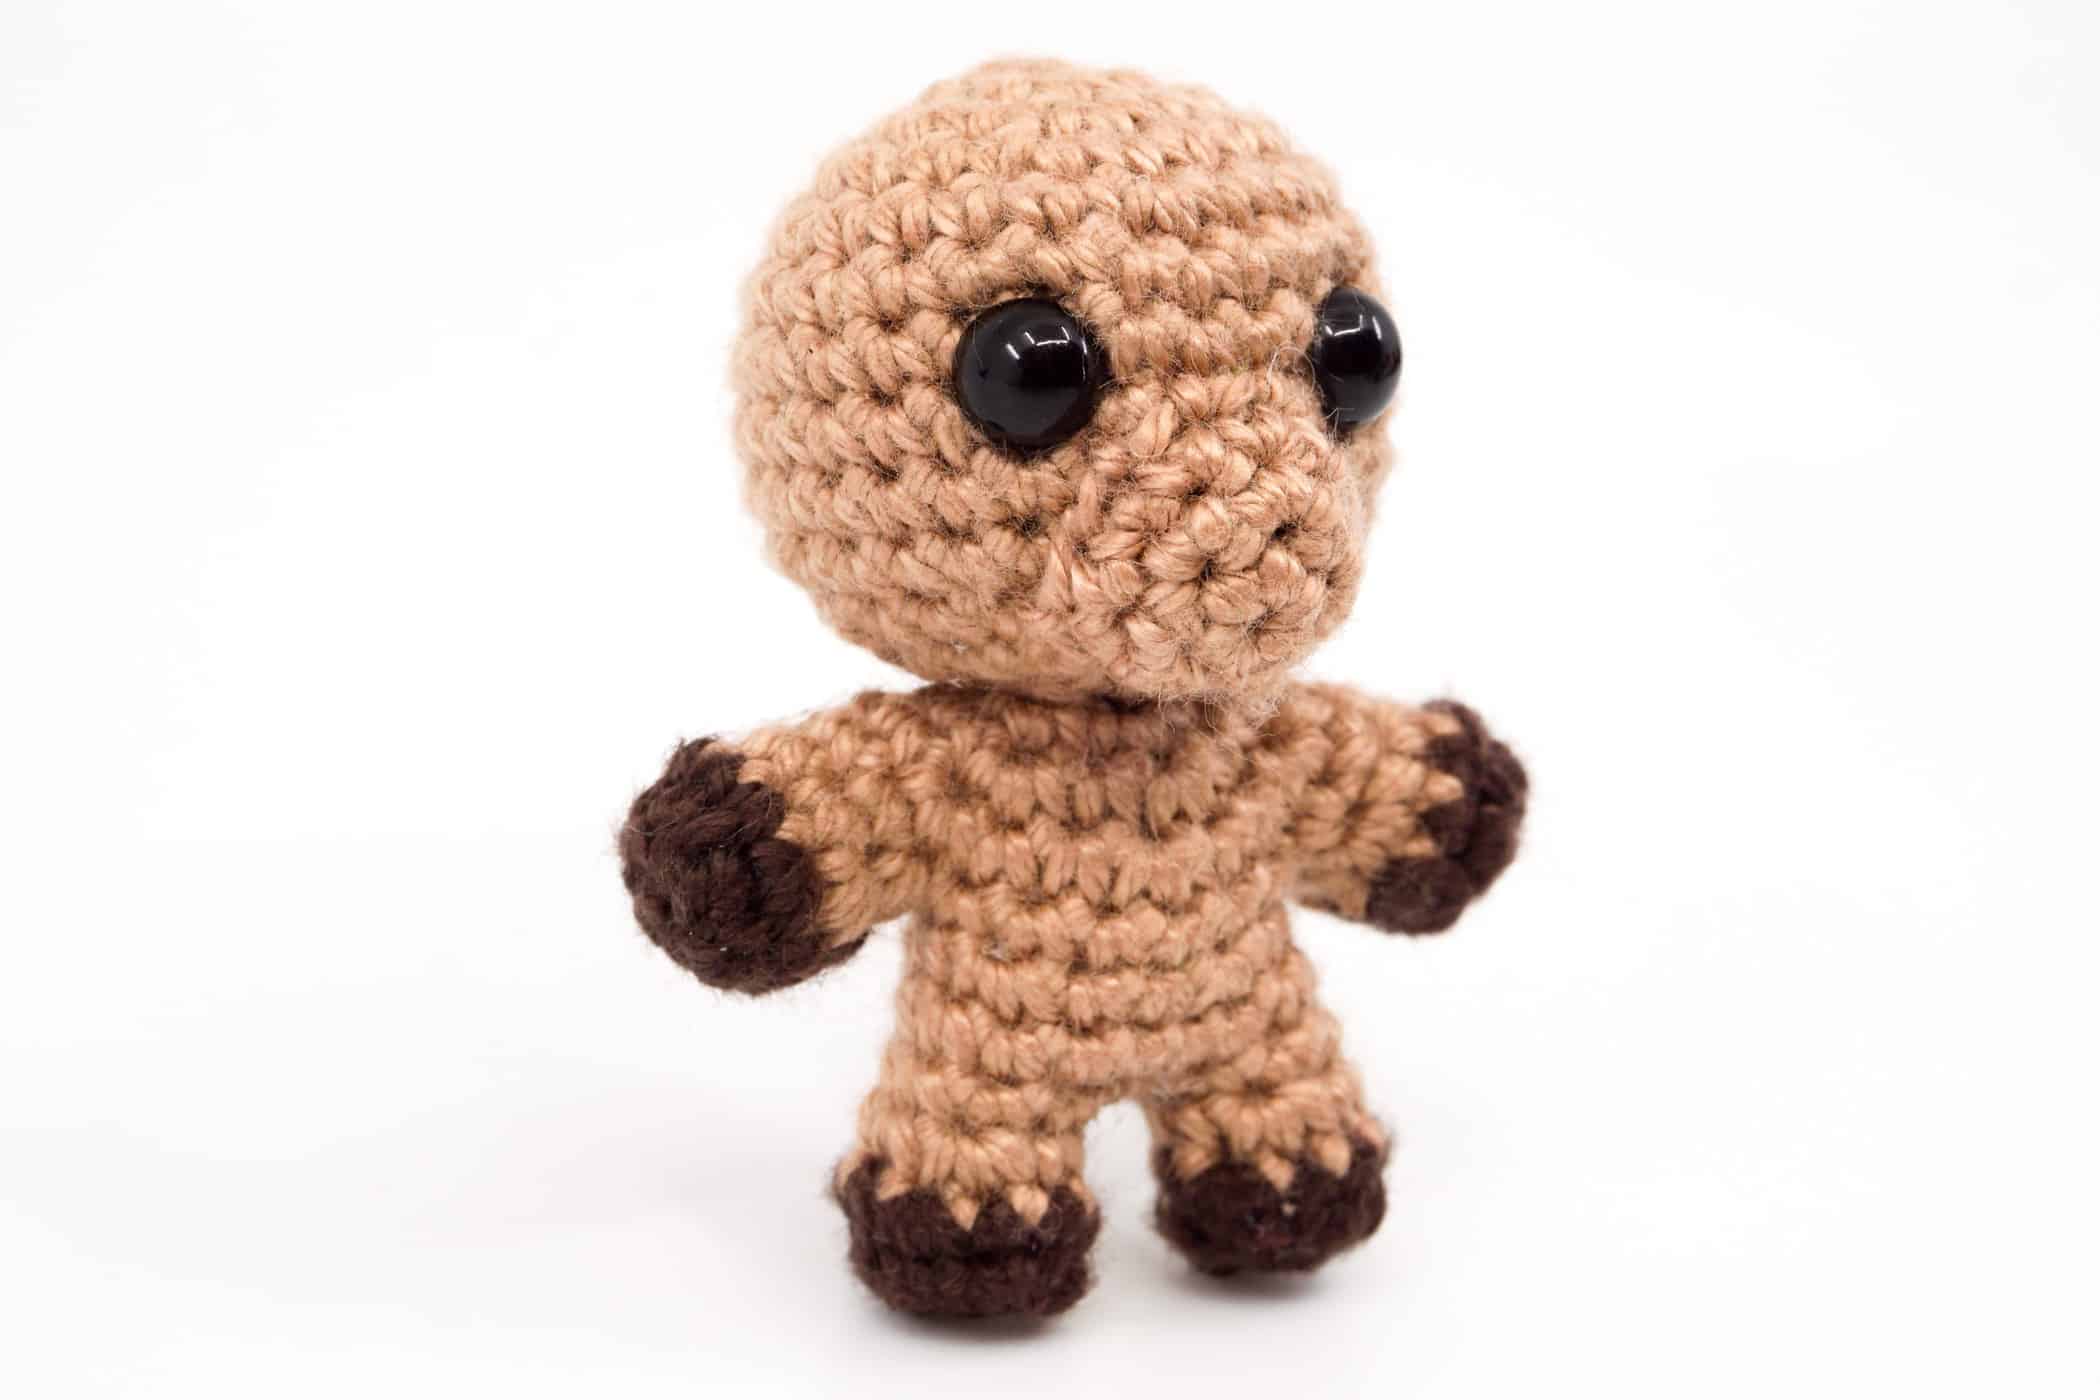
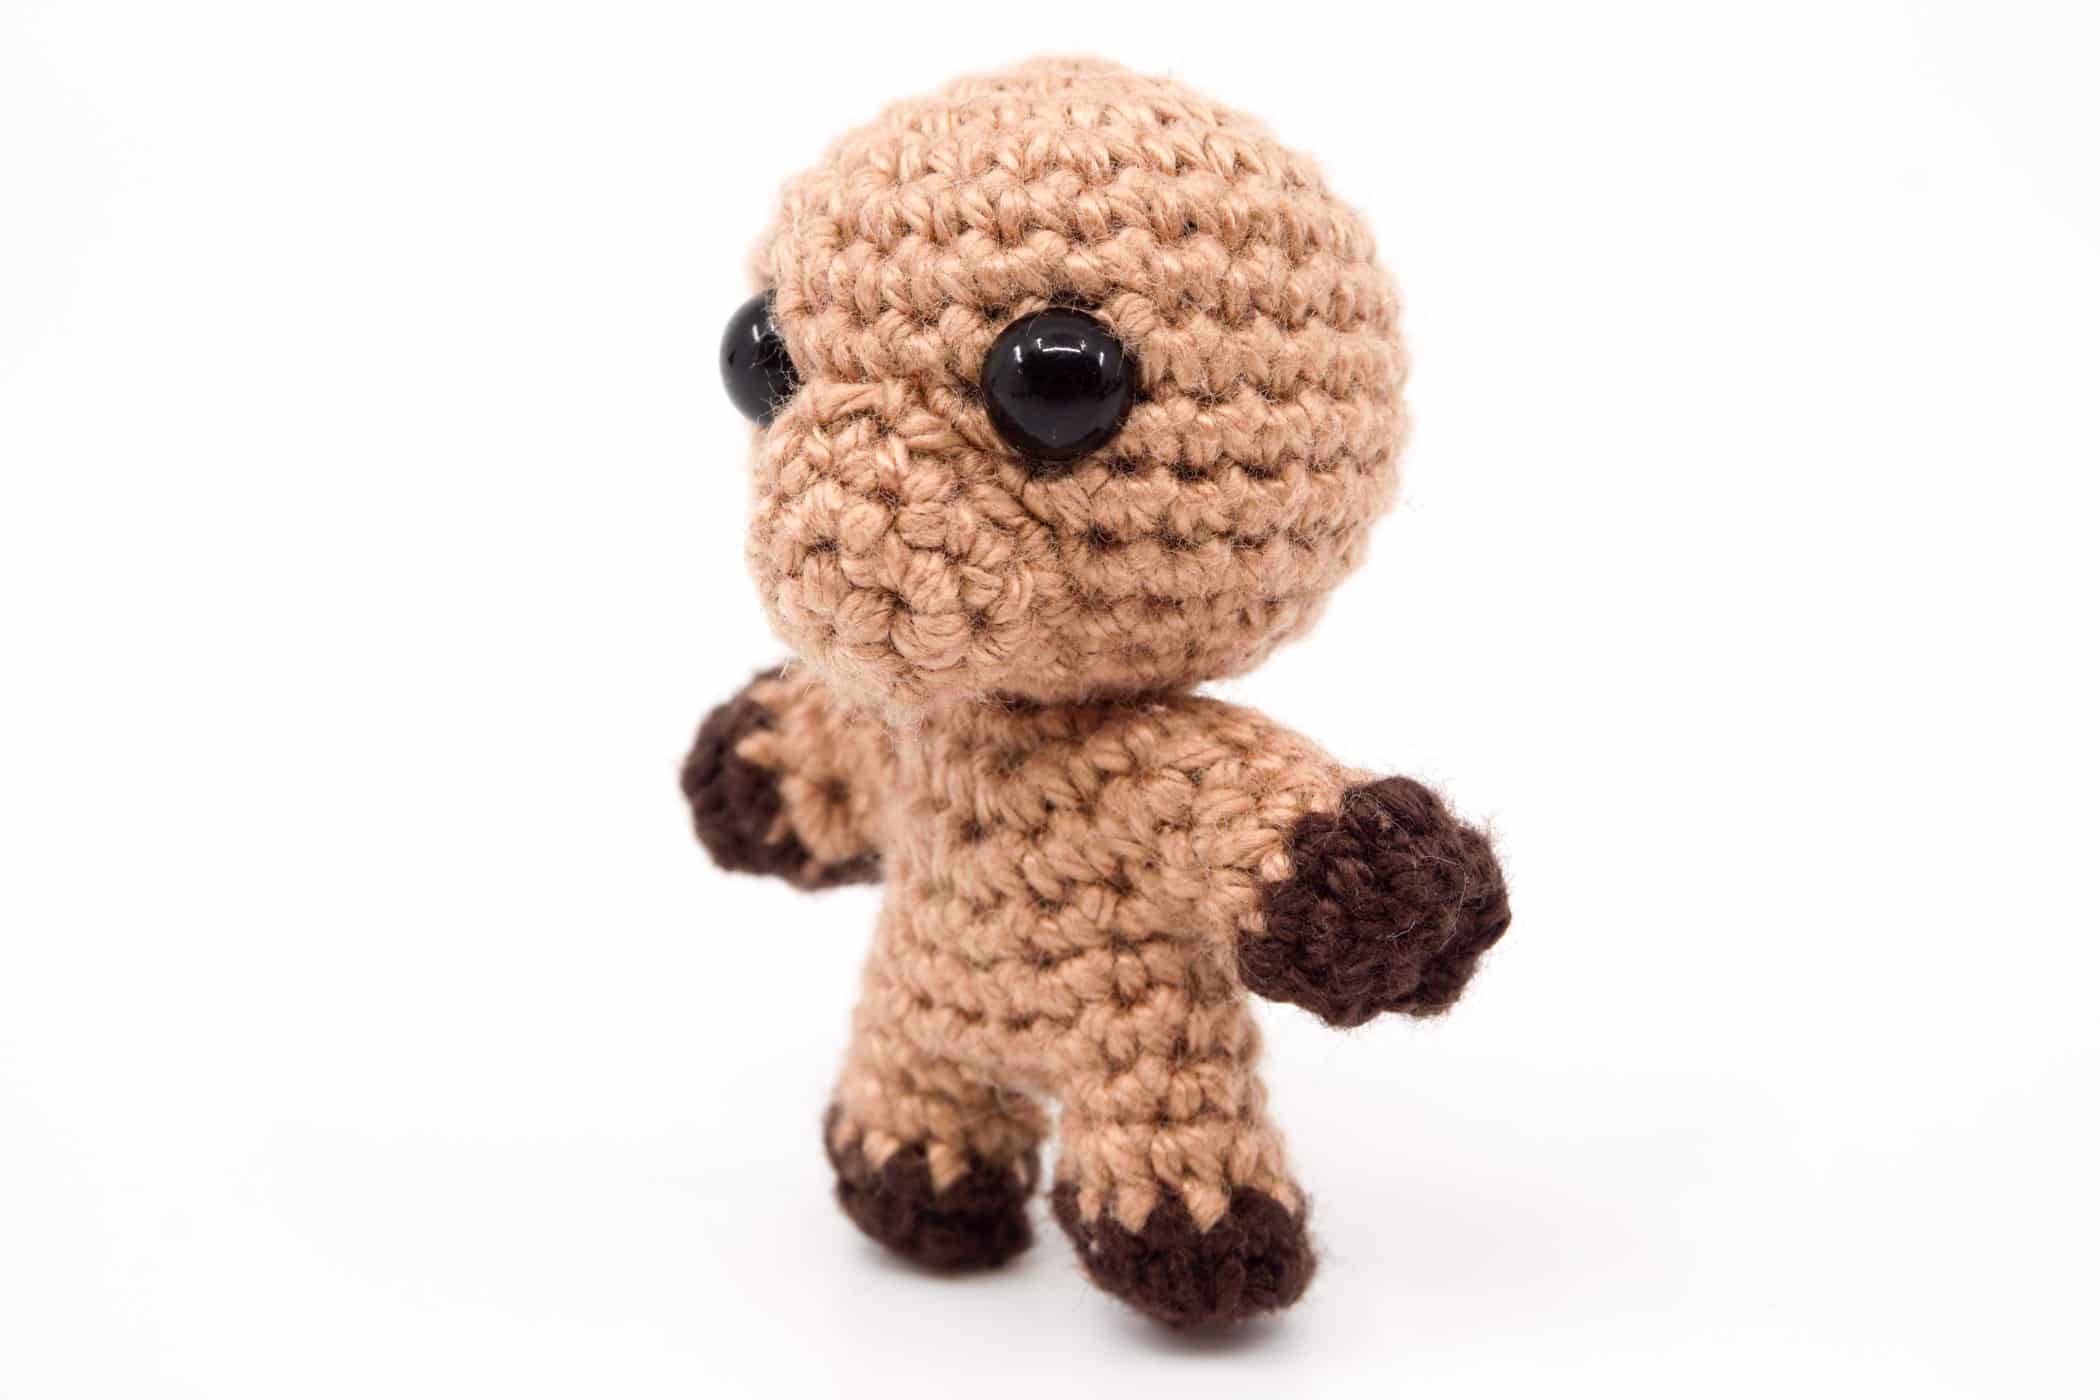
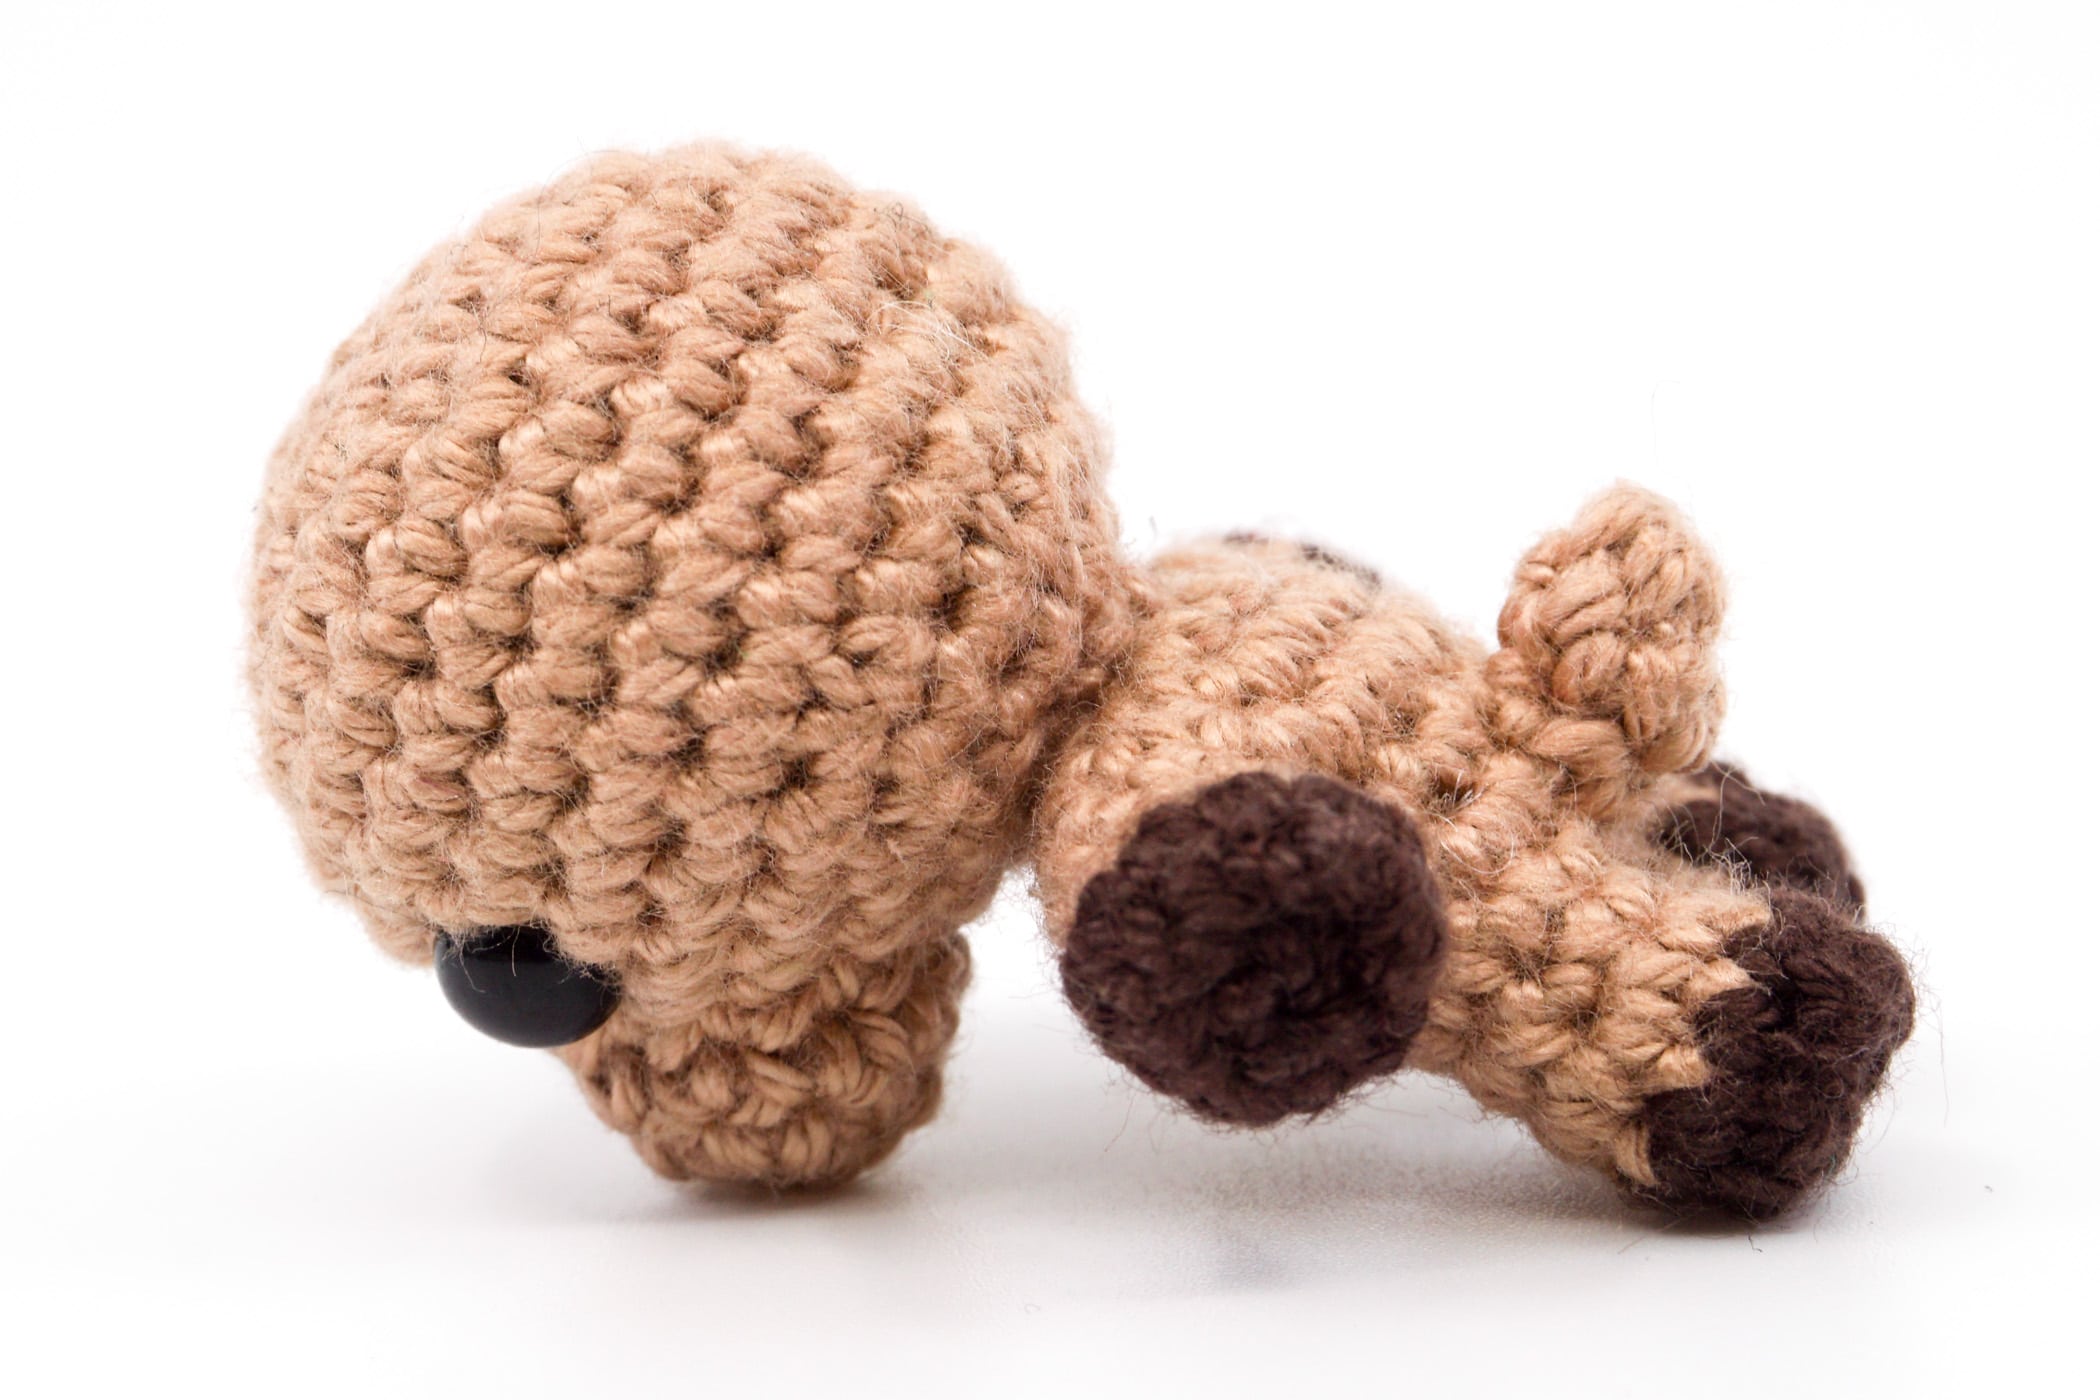
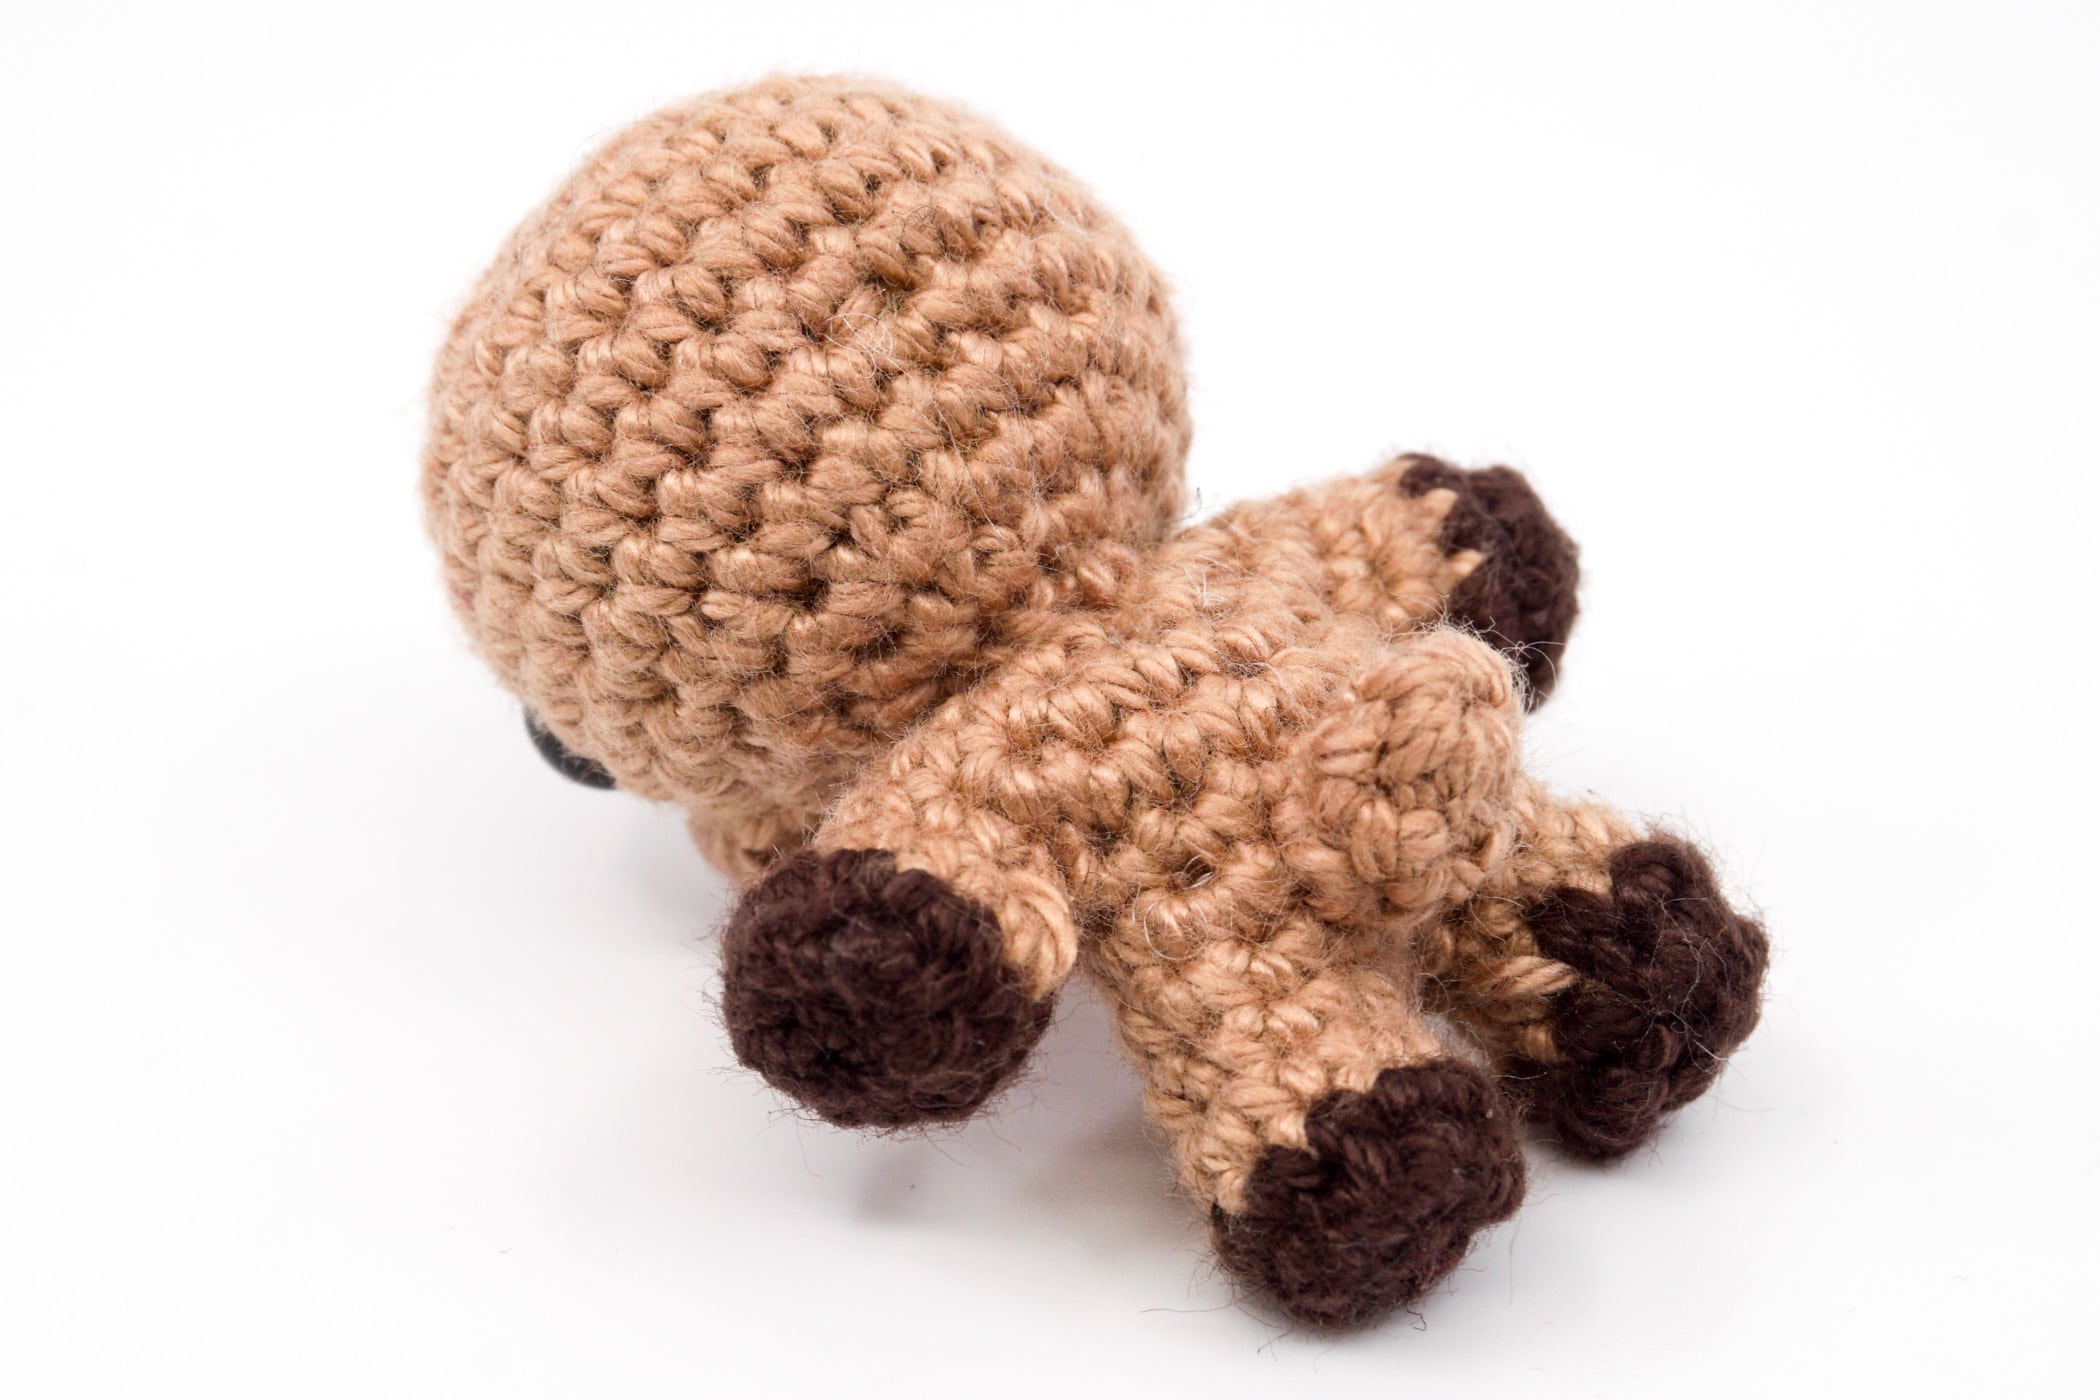
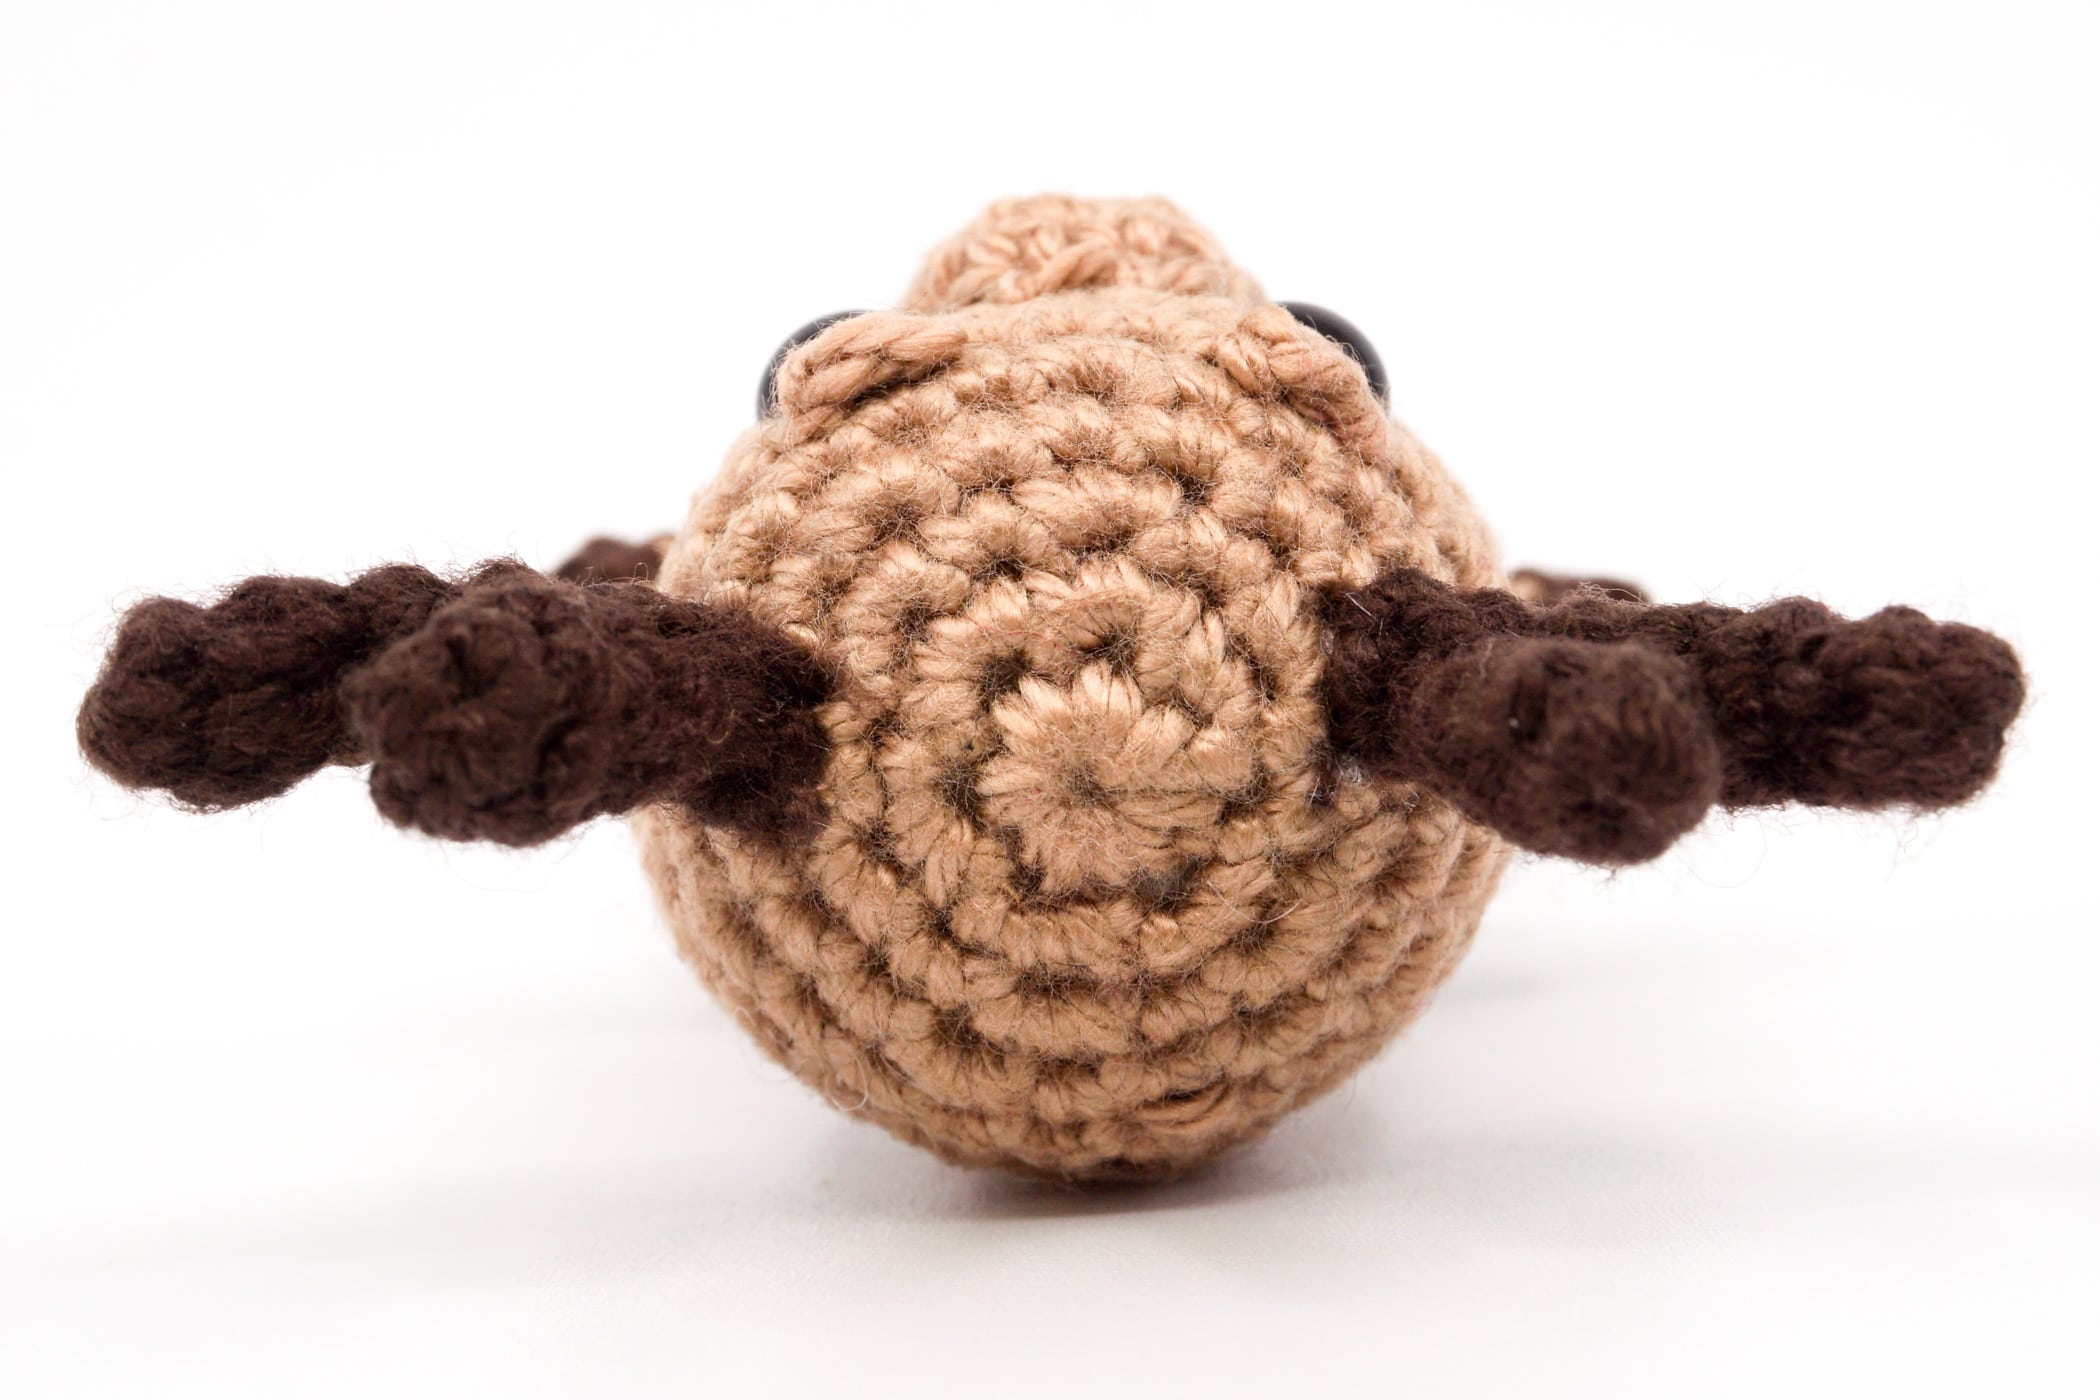
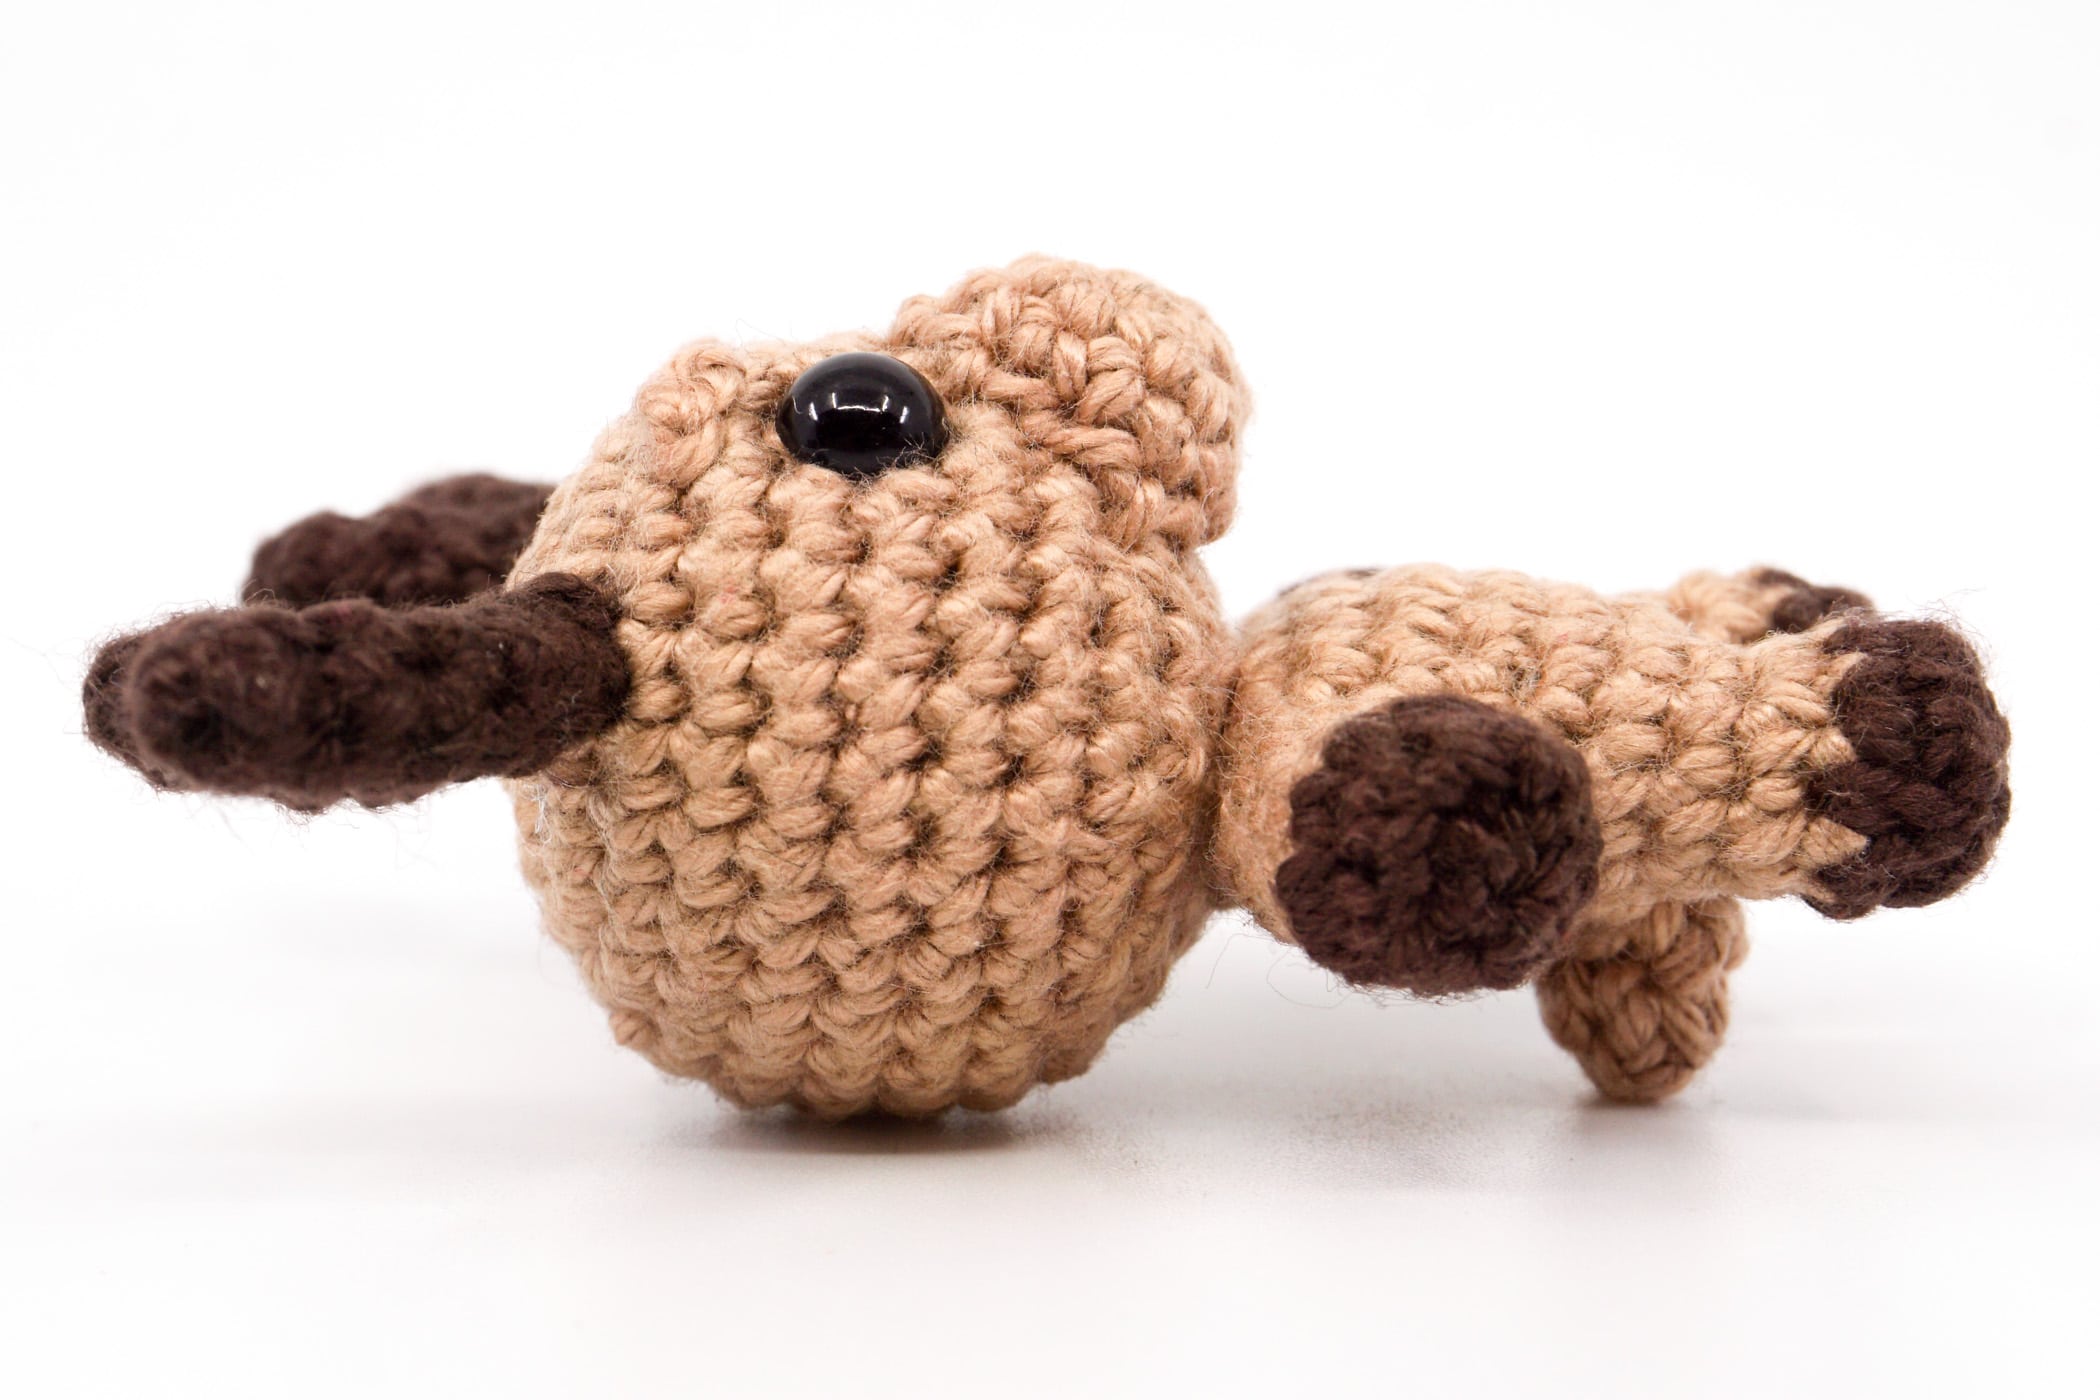
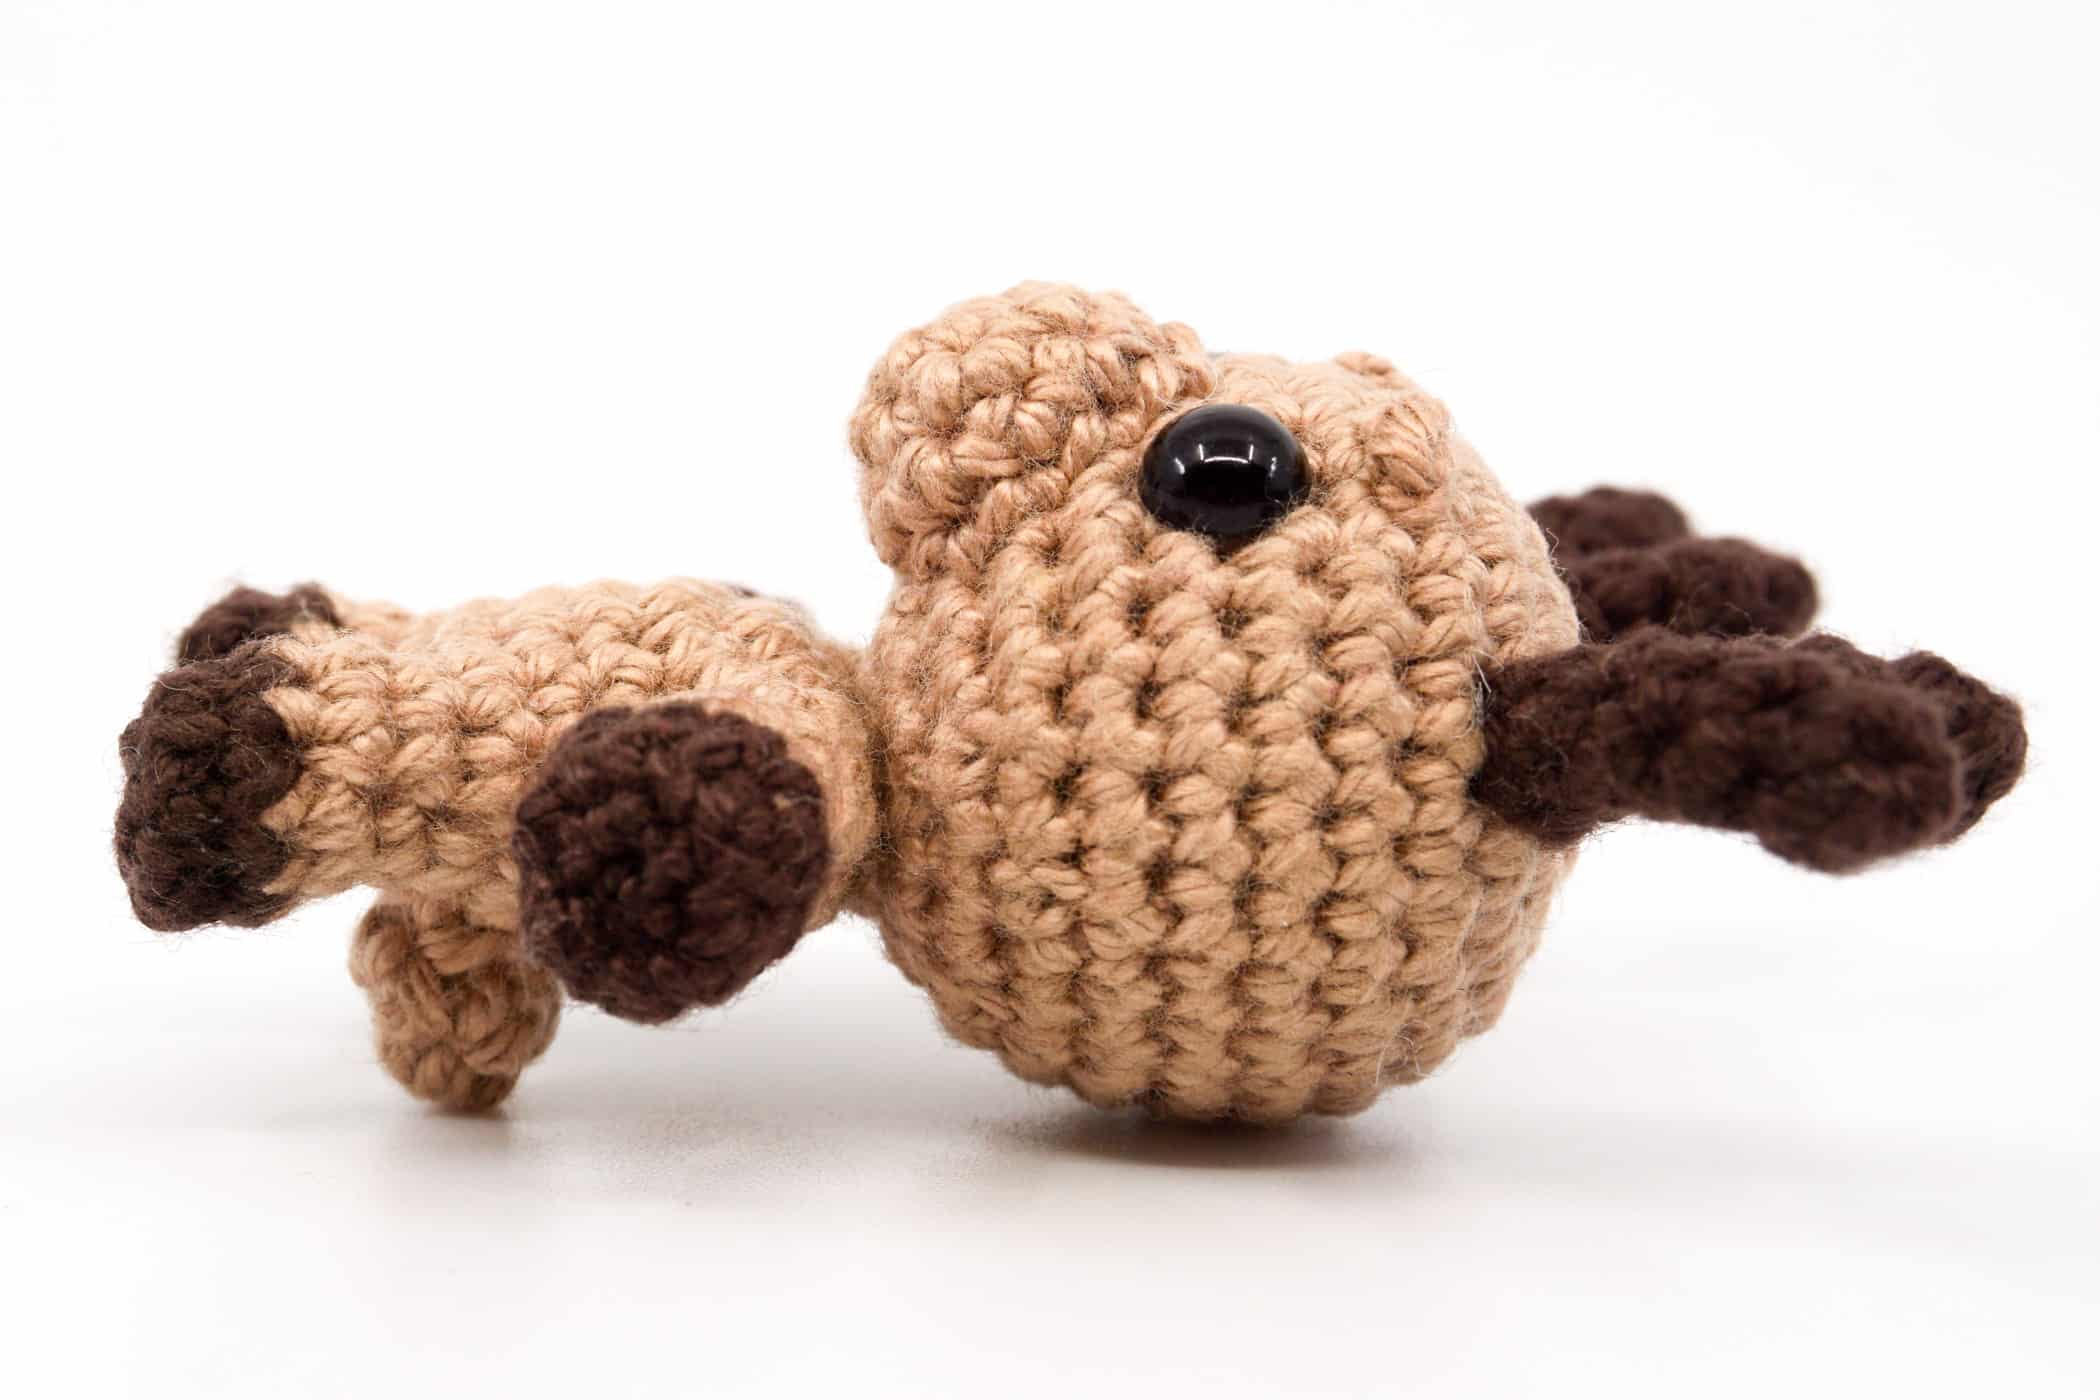
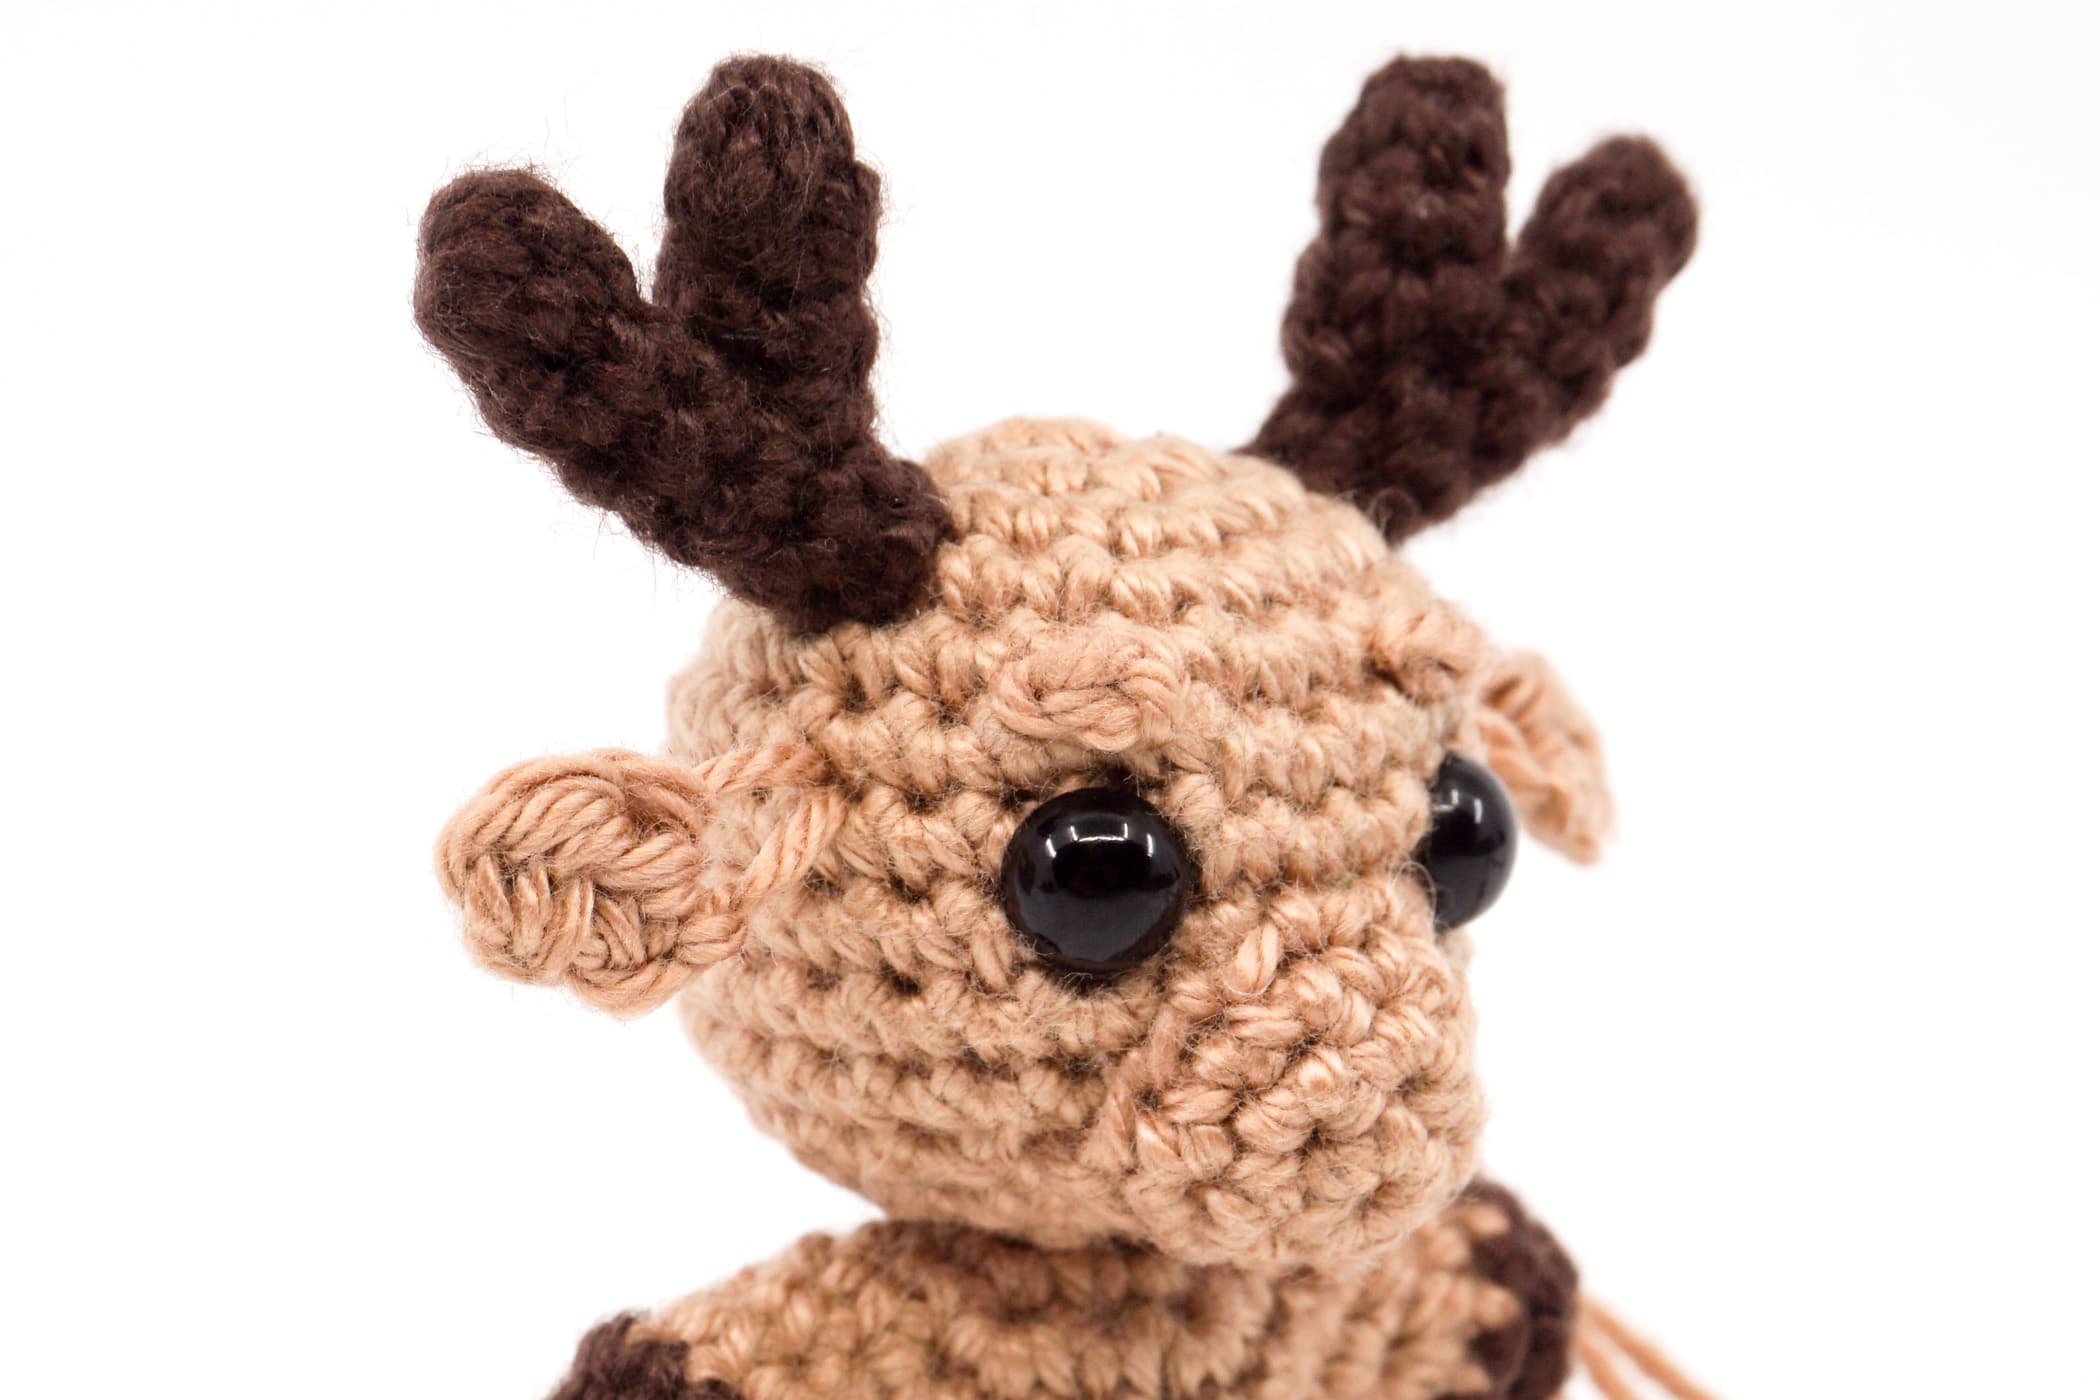
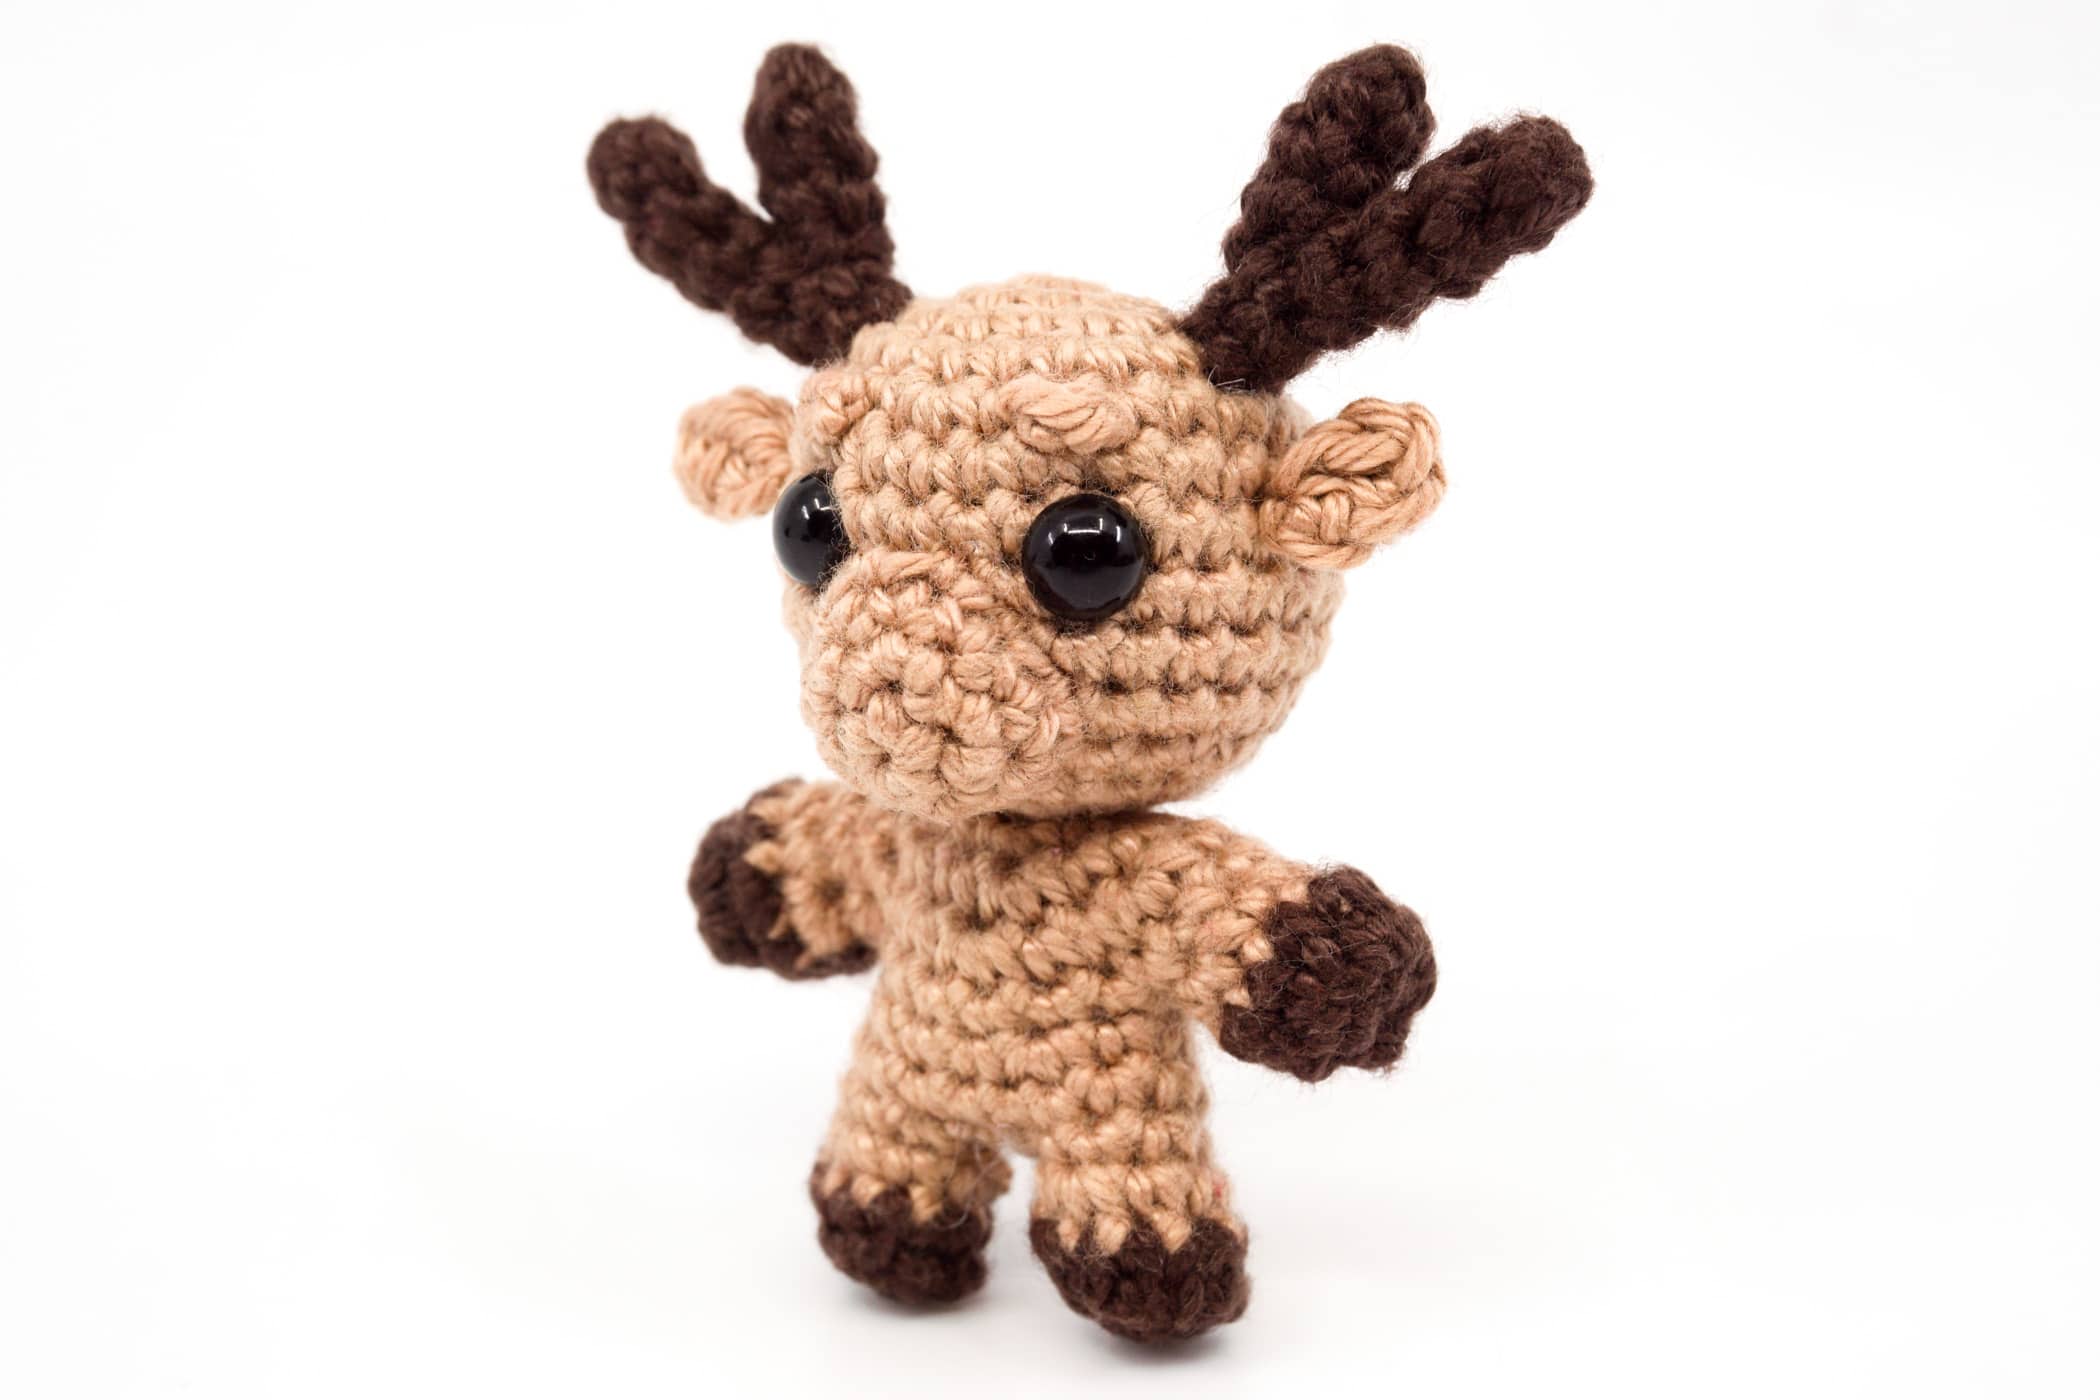
The complete body is crocheted in one piece in the colors Sun-Kissed and Coffee in spiral rounds with single crochet stitches. The following pictures show the finished body.
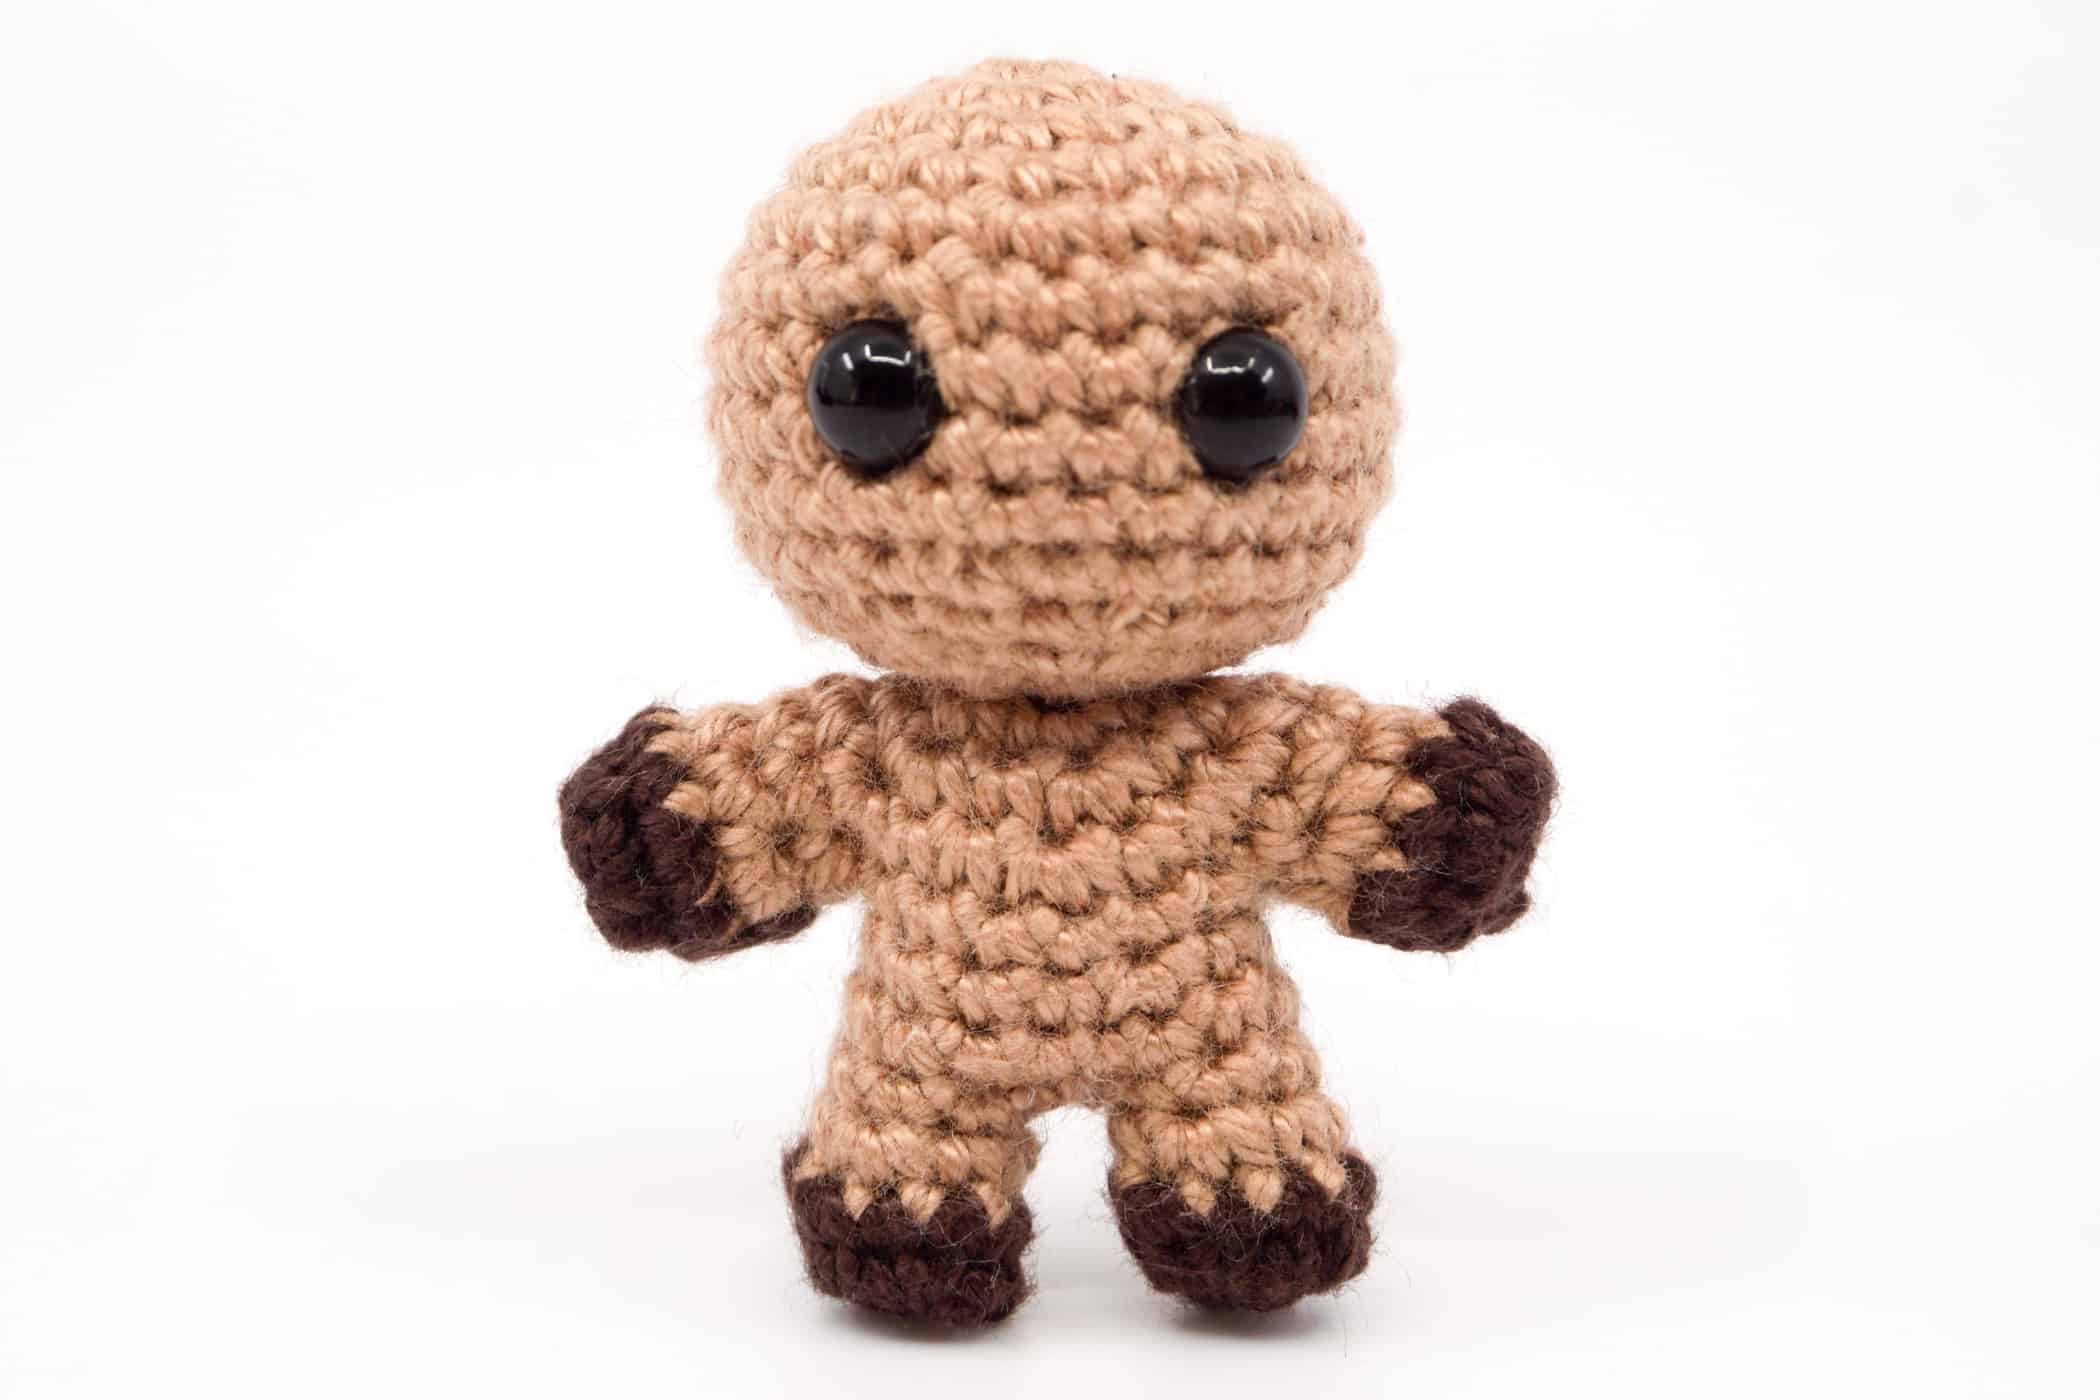

ATTENTION: Since the body needs in some places a little more precise description, the step-by-step pictures for the body were done in a different and better discernable color so that you can see the steps more clearly.
Therefore, always follow the written instructions for the colors to use and for possible color changes, even if the step-by-step pictures for the body are in a different color.
The first part which is crocheted in one piece consists of the head, upper body and the first leg.
Apart from the head, it is recommended to fill all parts of the body with polyfill only after all limbs have been completed.
Use the check boxes to mark your finished rounds, rows and steps.
- Crochet the head in spiral rounds in Sun-Kissed.
- Round 1: 6 sc into the Magic Ring (6 stitches).
- Round 2: [1 increase] repeat till end of the round (12 stitches).
- Round 3: [1 sc, 1 increase] repeat till end of the round (18 stitches).
- Round 4: 1 sc, 1 increase, [2 sc, 1 increase] repeat 5 times, 1 sc (24 stitches).
- Round 5: [7 sc, 1 increase] repeat till end of the round (27 stitches).
- Round 6: Crochet 27 sc (27 stitches).
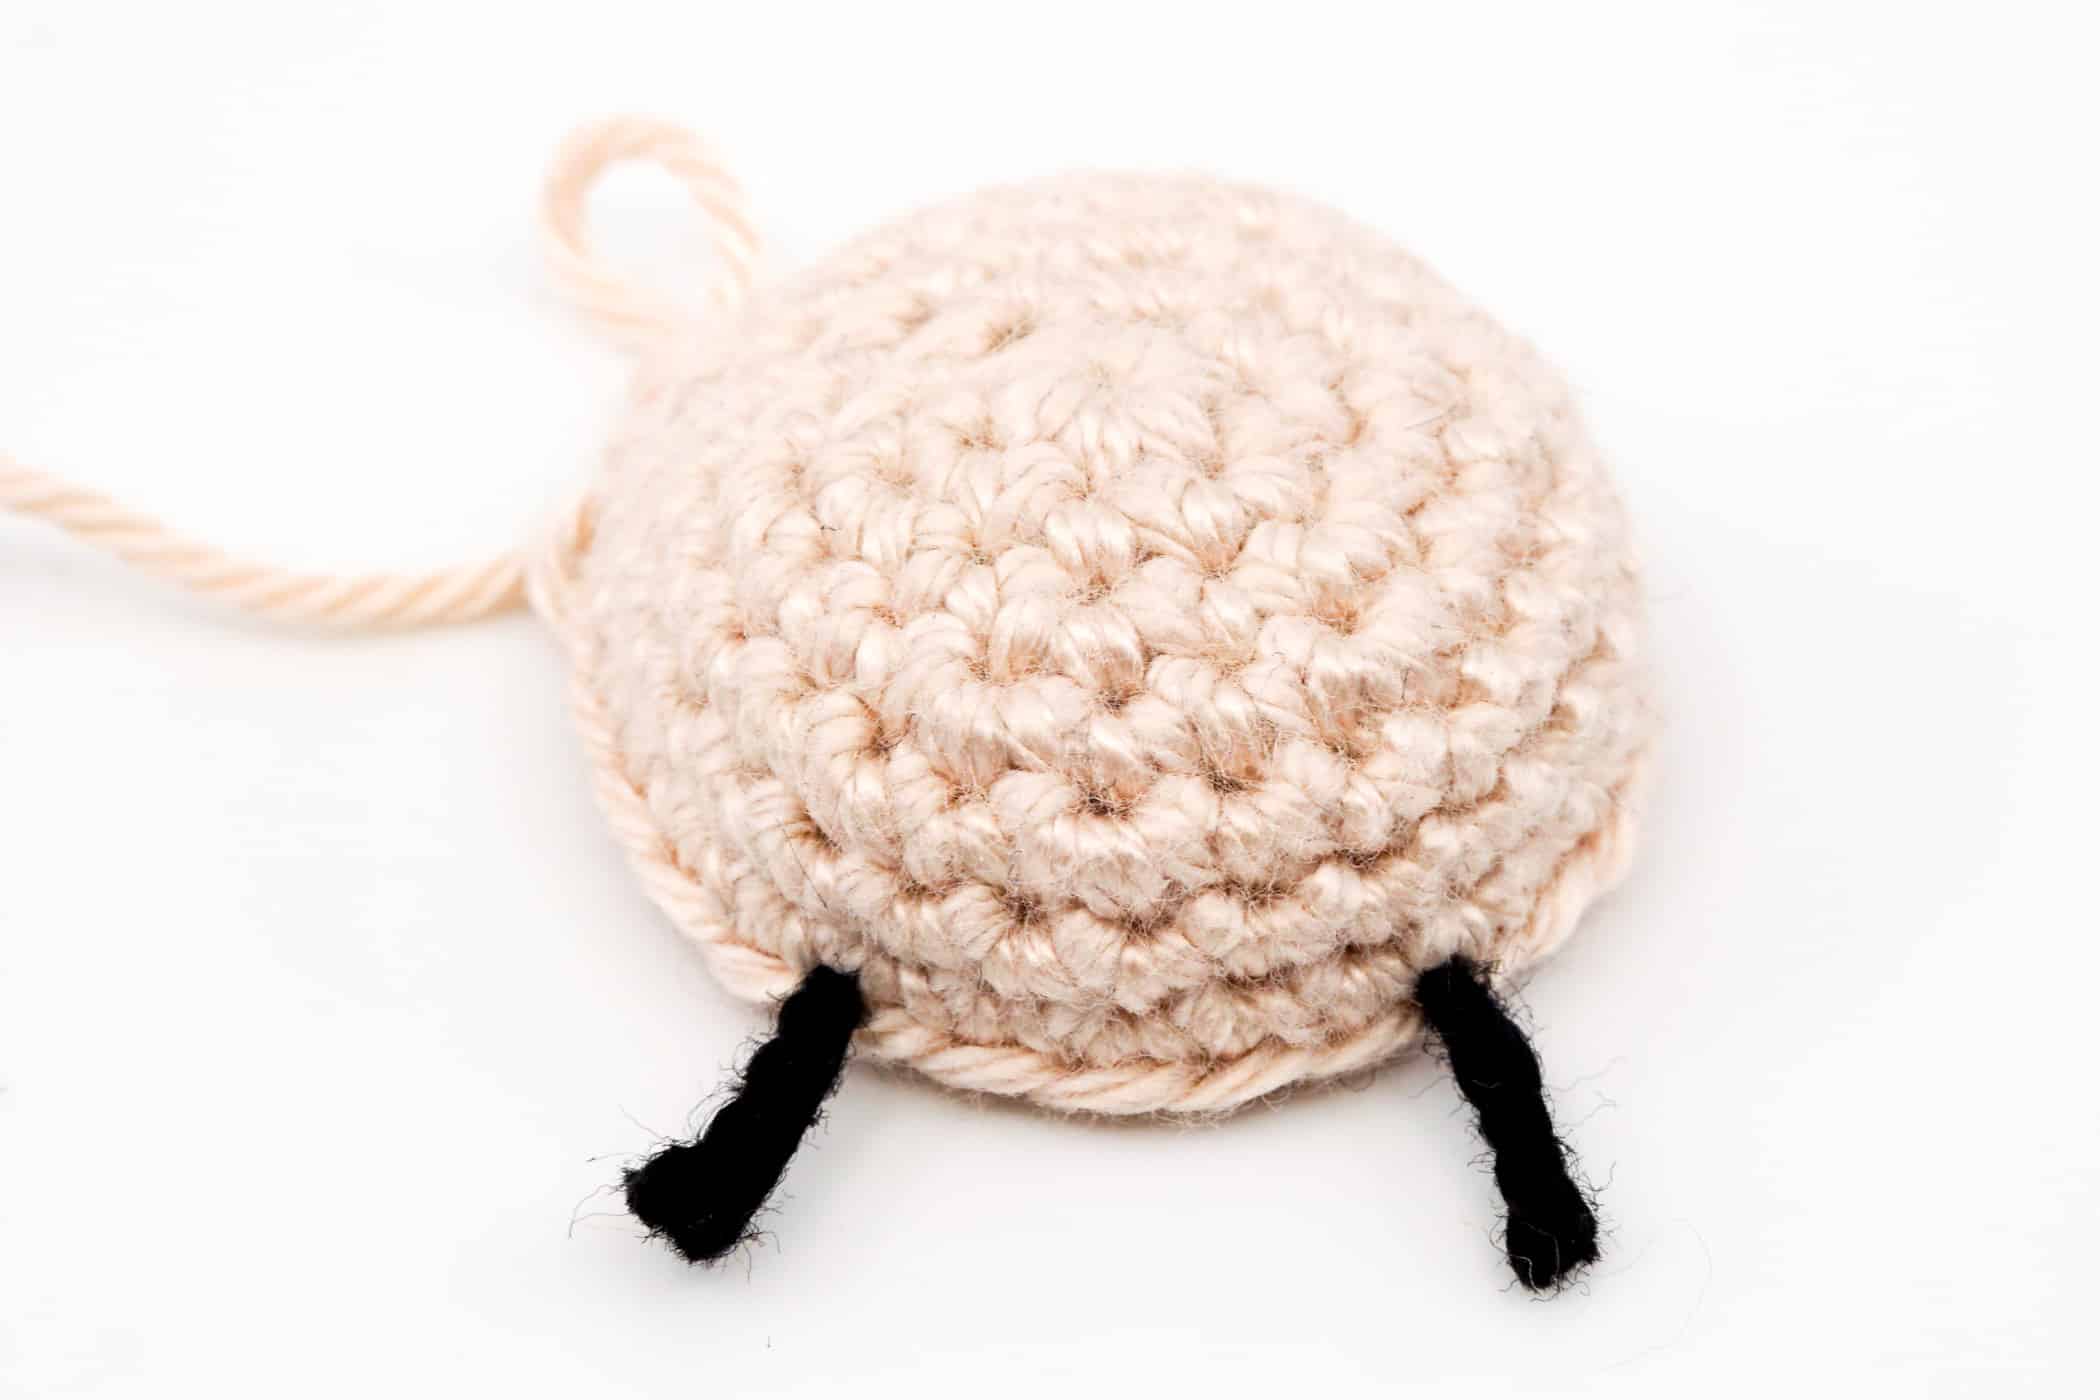
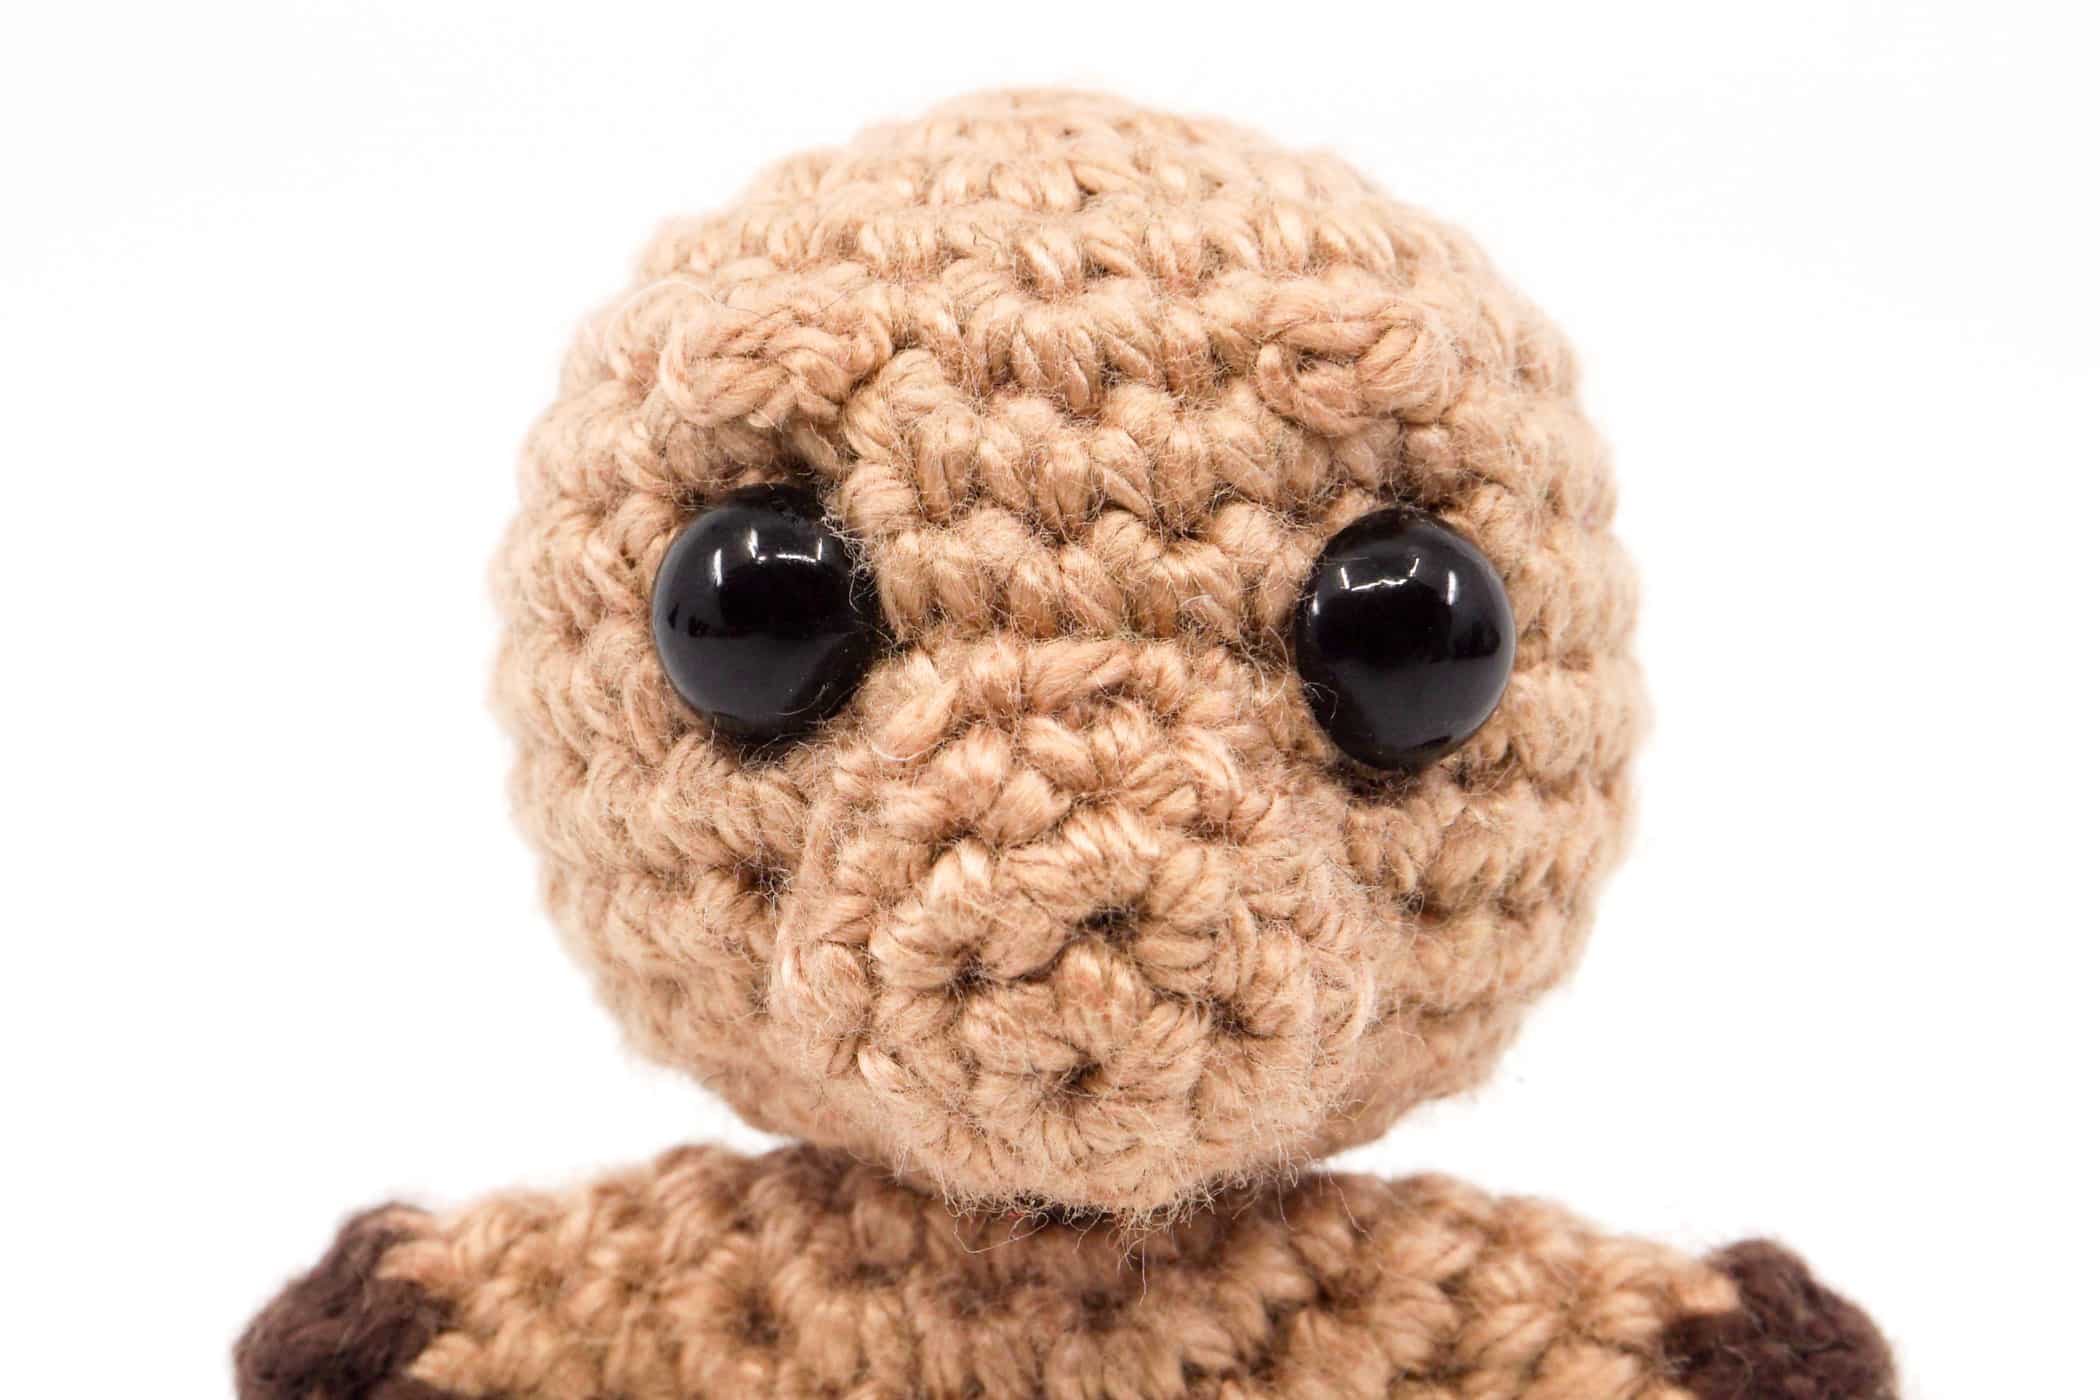
- Round 7: The 2 marker threads that are used in this round will later indicate the places where the safety eyes will be attached. 6 sc, 1 sc with a marker thread, 4 sc, 1 sc with a marker thread, 15 sc (27 stitches).
- Round 8-9: 2 rounds, each round 27 sc (27 stitches).
- Round 10: [7 sc, 1 decrease] repeat till end of the round (24 stitches). If you use safety eyes, attach them now where the threads are.
- Round 11: 1 sc, 1 decrease, [2 sc, 1 decrease] repeat 5 times, 1 sc (18 stitches).
- Round 12: Fill the head with polyfill. [1 sc, 1 decrease] repeat till end of the round (12 stitches).
- Round 13: [1 decrease] repeat till end of the round (6 stitches).
- Round 14: Crochet the complete round into the front loop only. [1 increase] repeat till end of the round (12 stitches).
- Round 15: [1 sc, 1 increase] repeat till end of the round (18 stitches).
- Round 16: Fill the head with polyfill again if there are any unfilled areas. 1 sc, 1 increase, [2 sc, 1 increase] repeat 5 times, 1 sc (24 stitches).
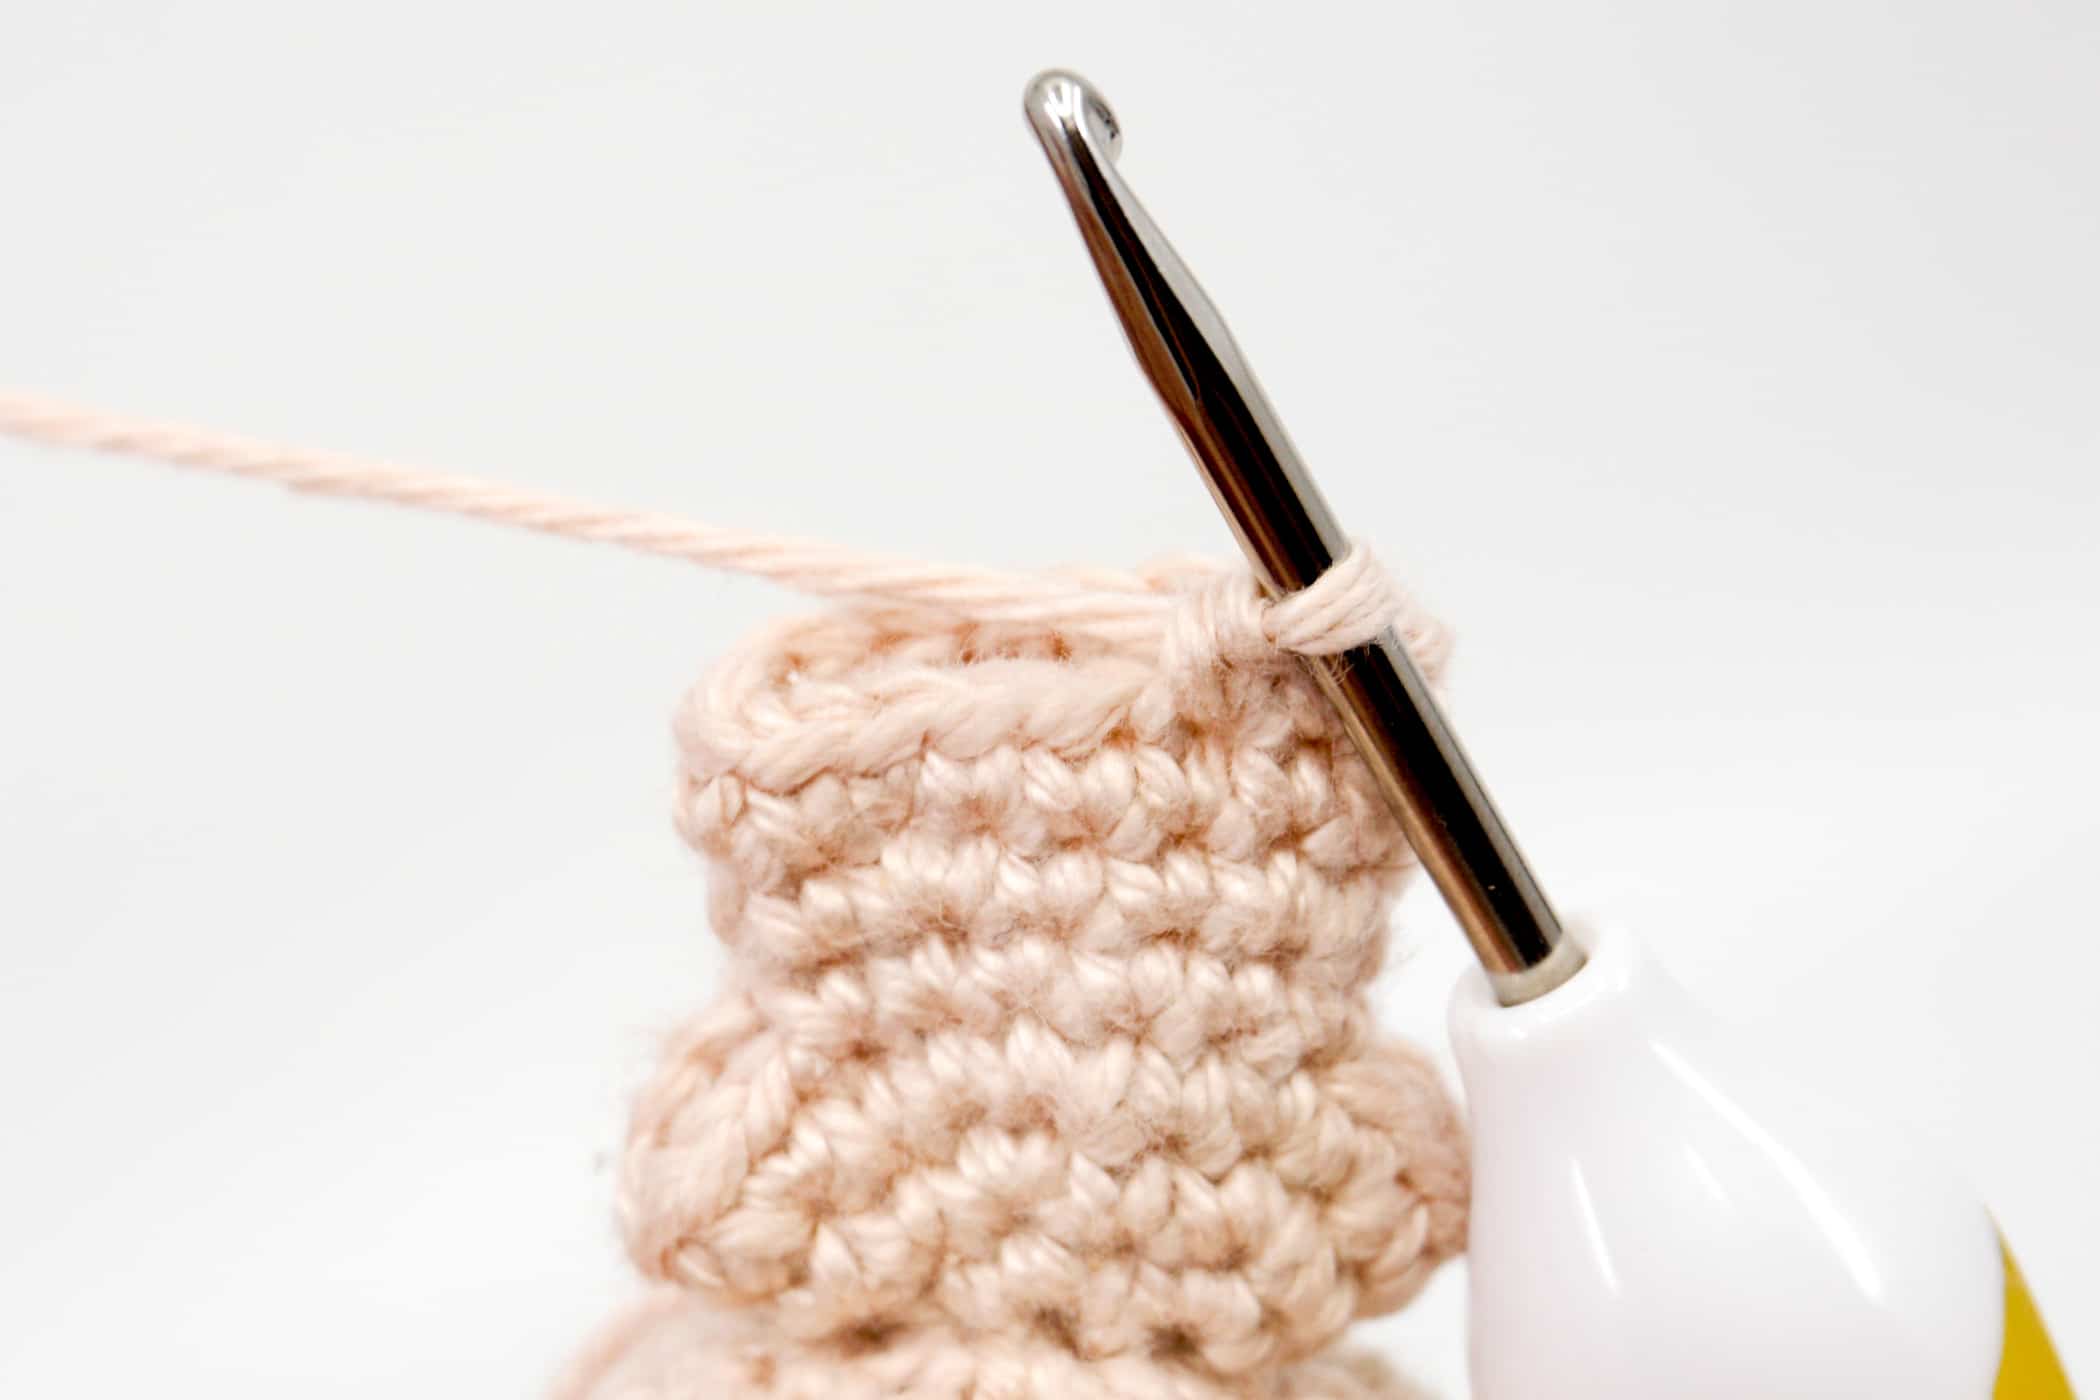
- You now have a circle at the head that counts 24 stitches. These stitches are divided into 3 parts. From the two smaller parts, each consisting of 6 stitches, the arms will be crocheted later and from the larger part, consisting of 12 stitches, the torso.
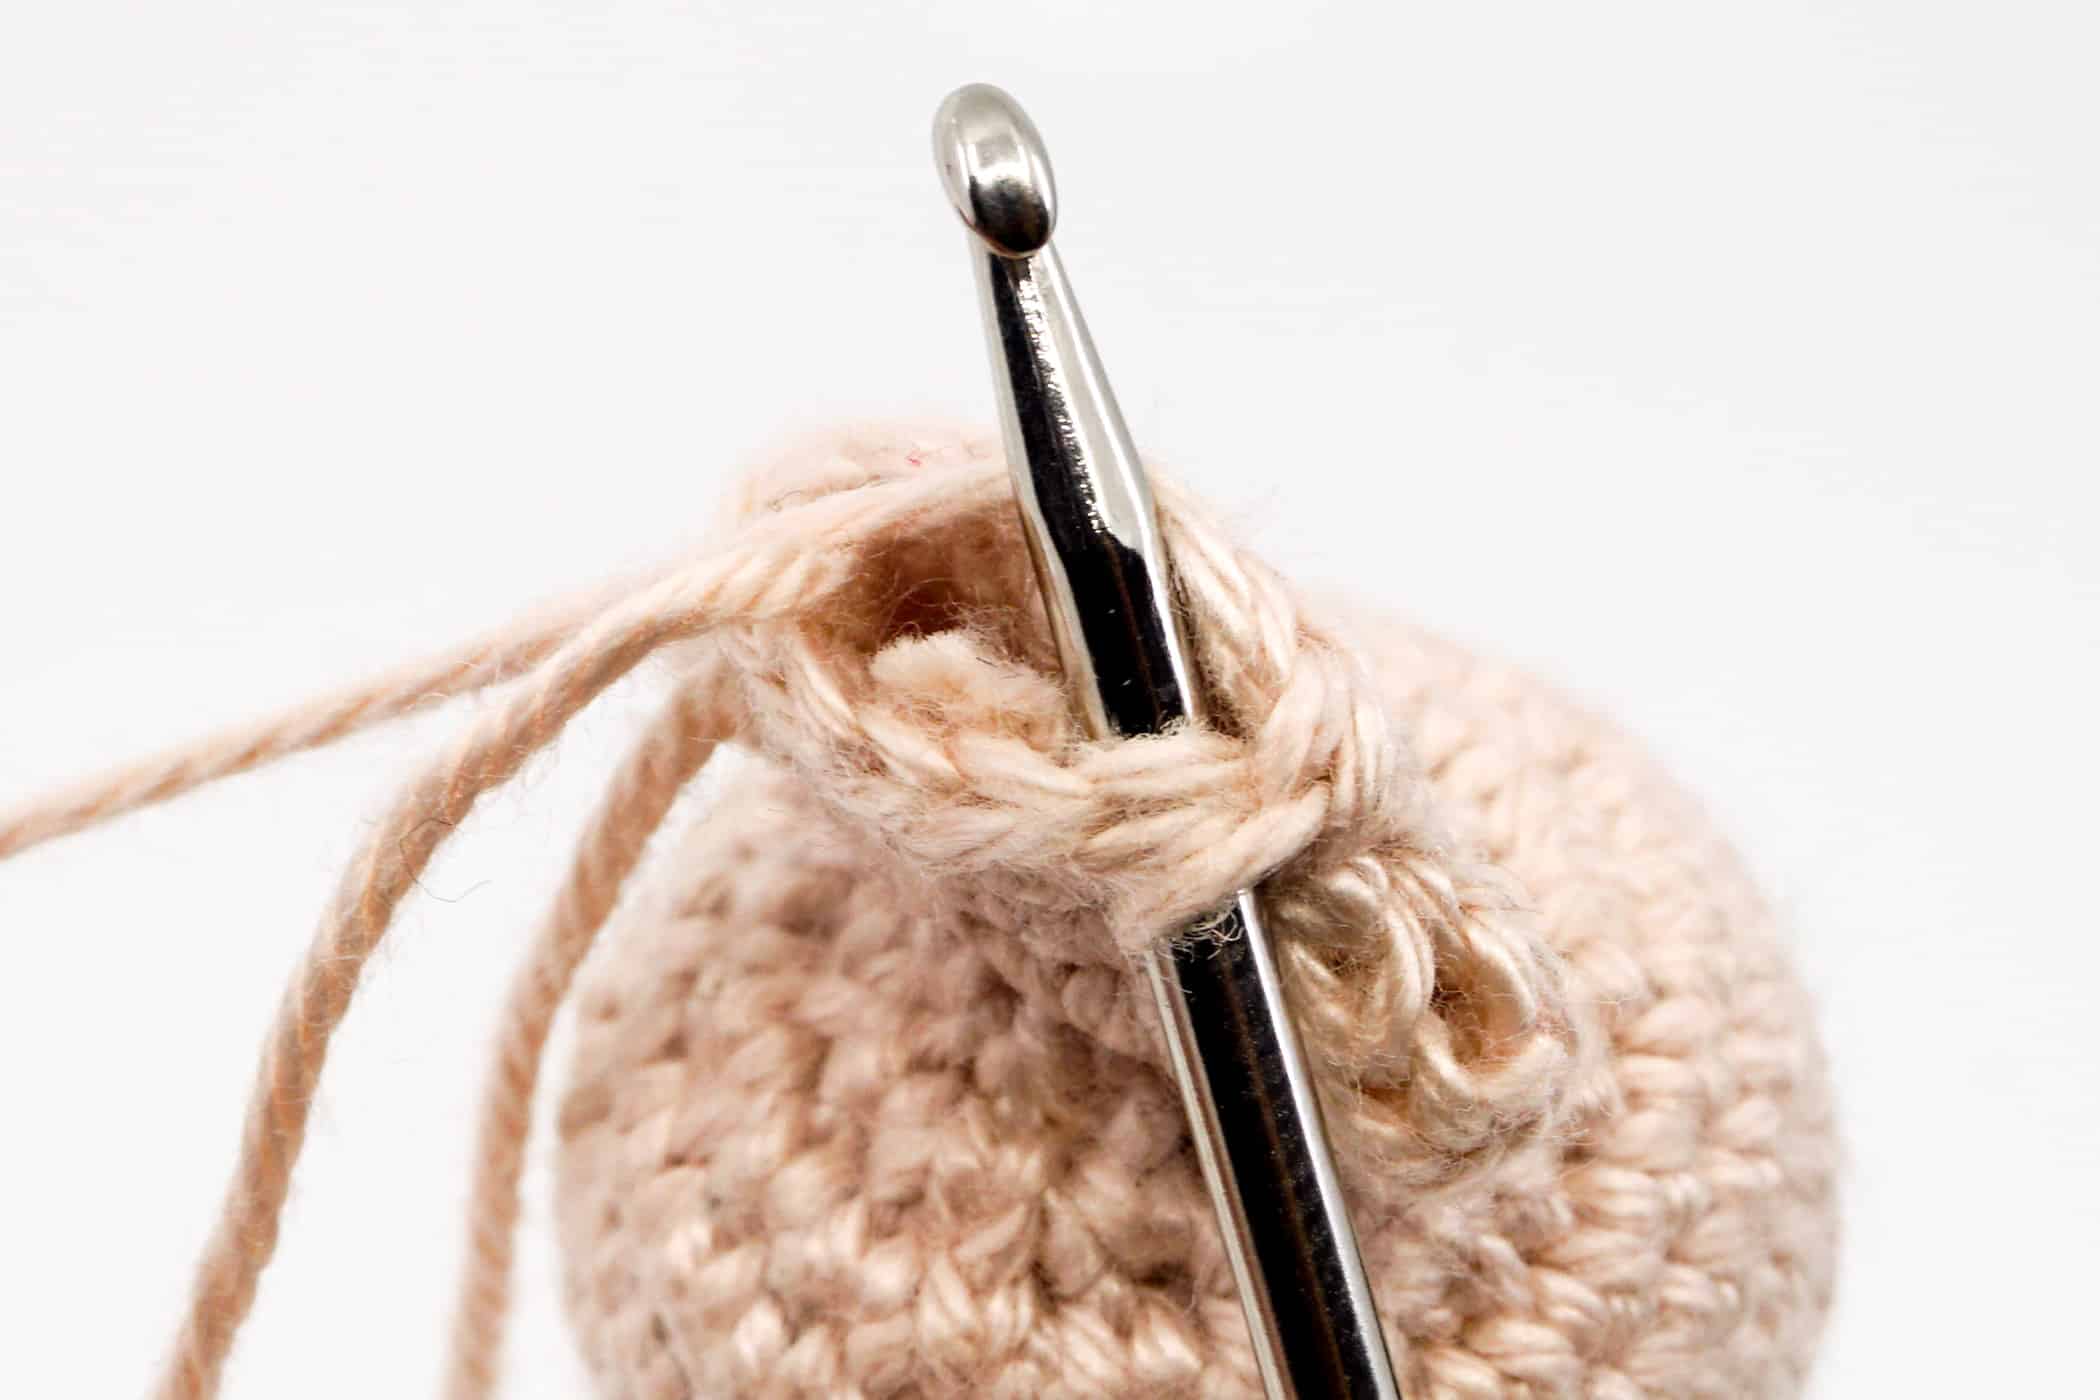
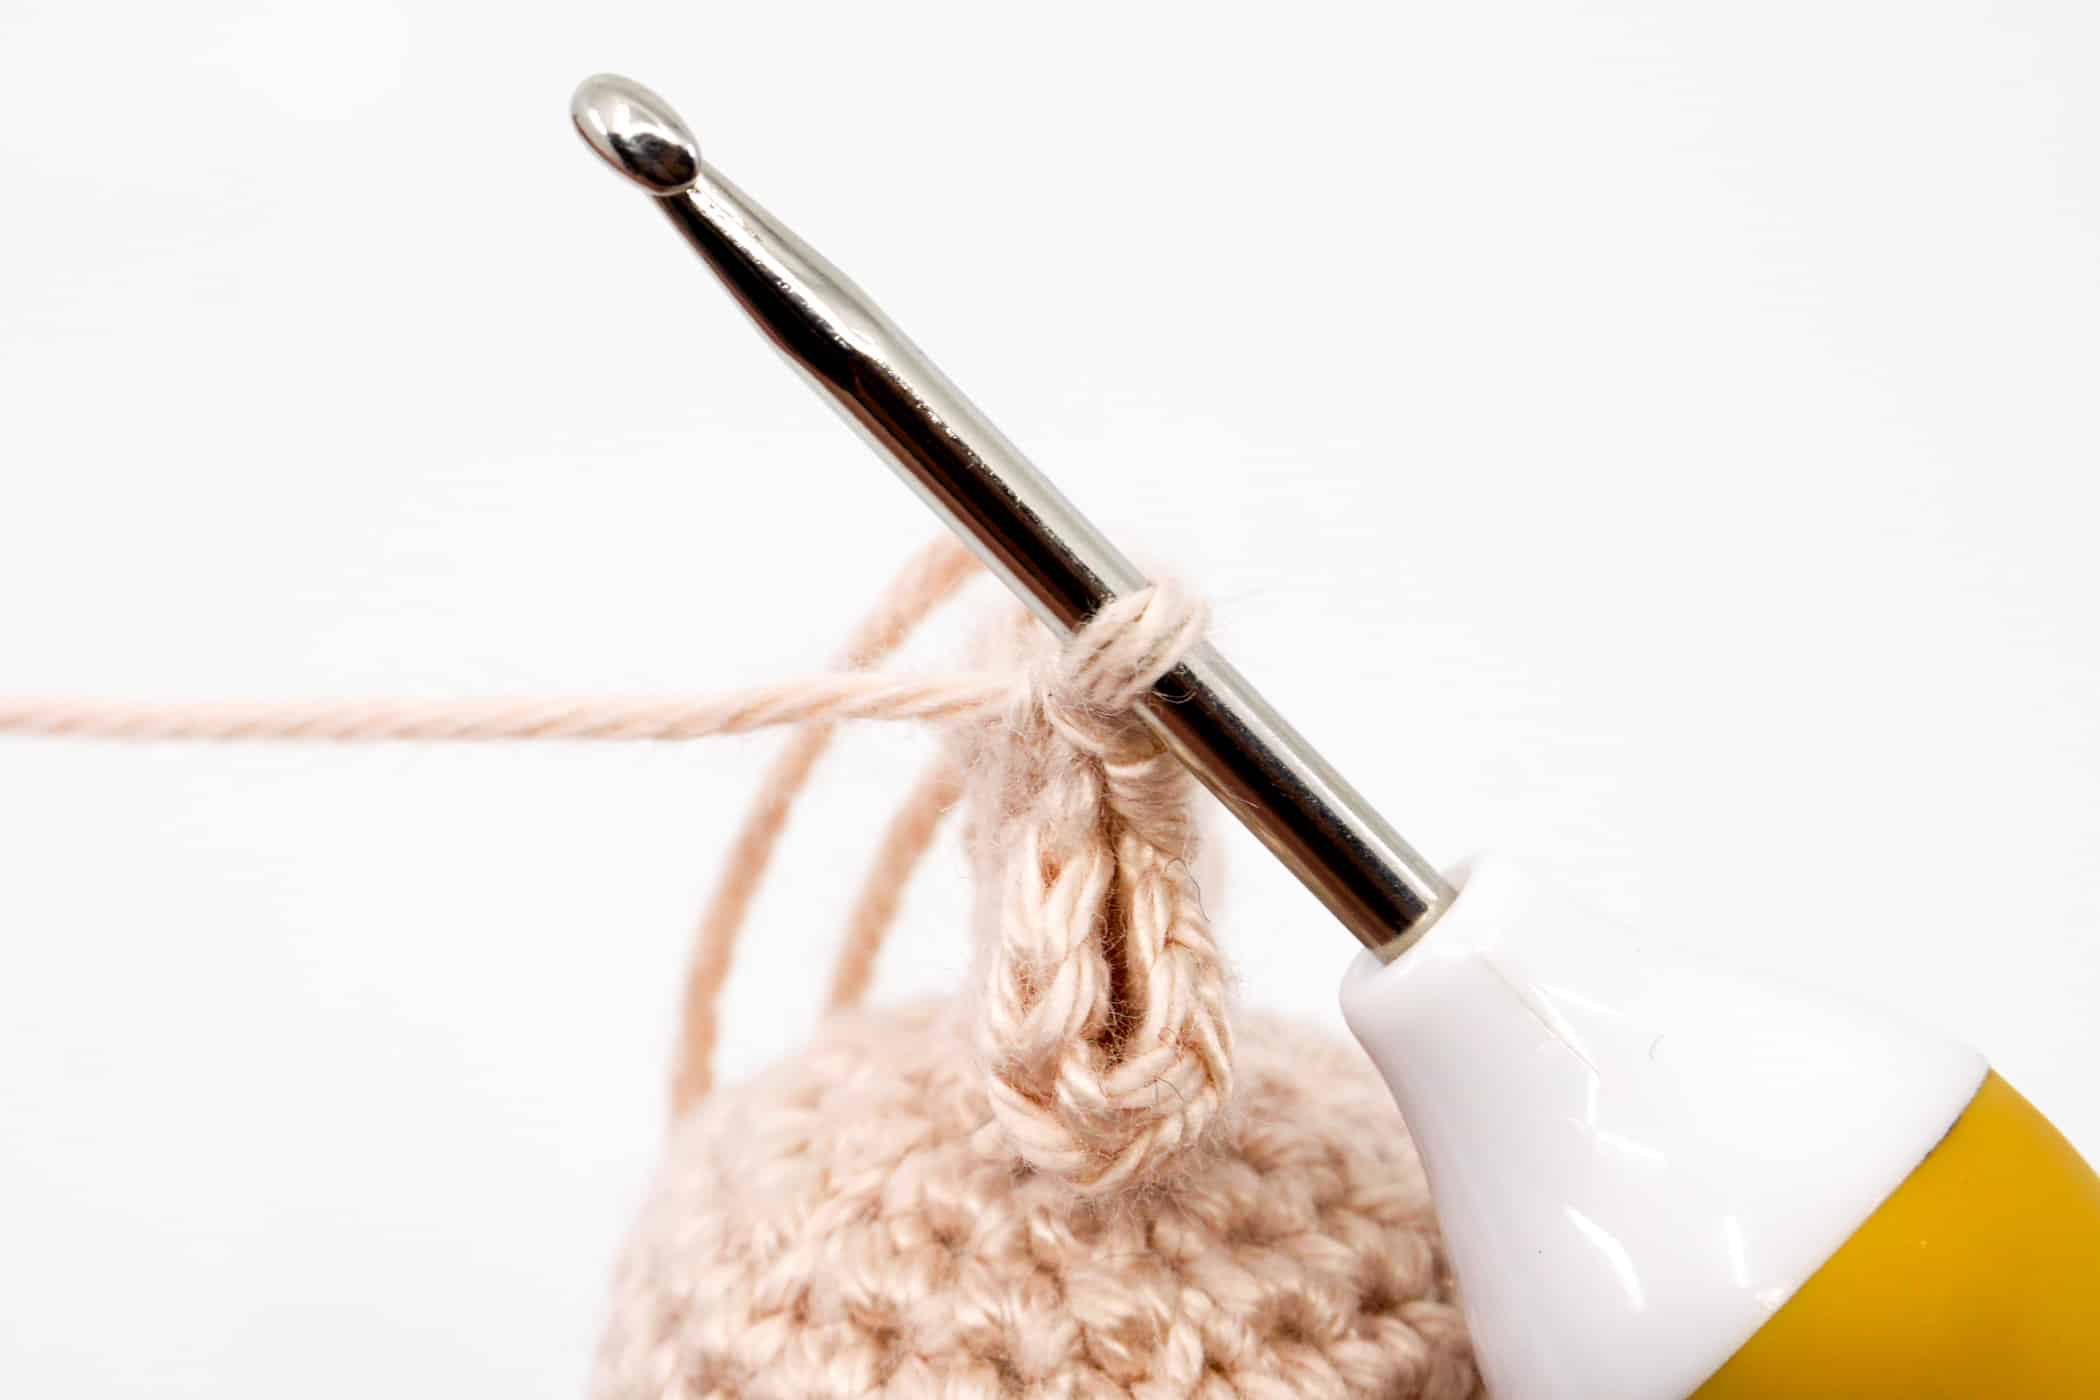
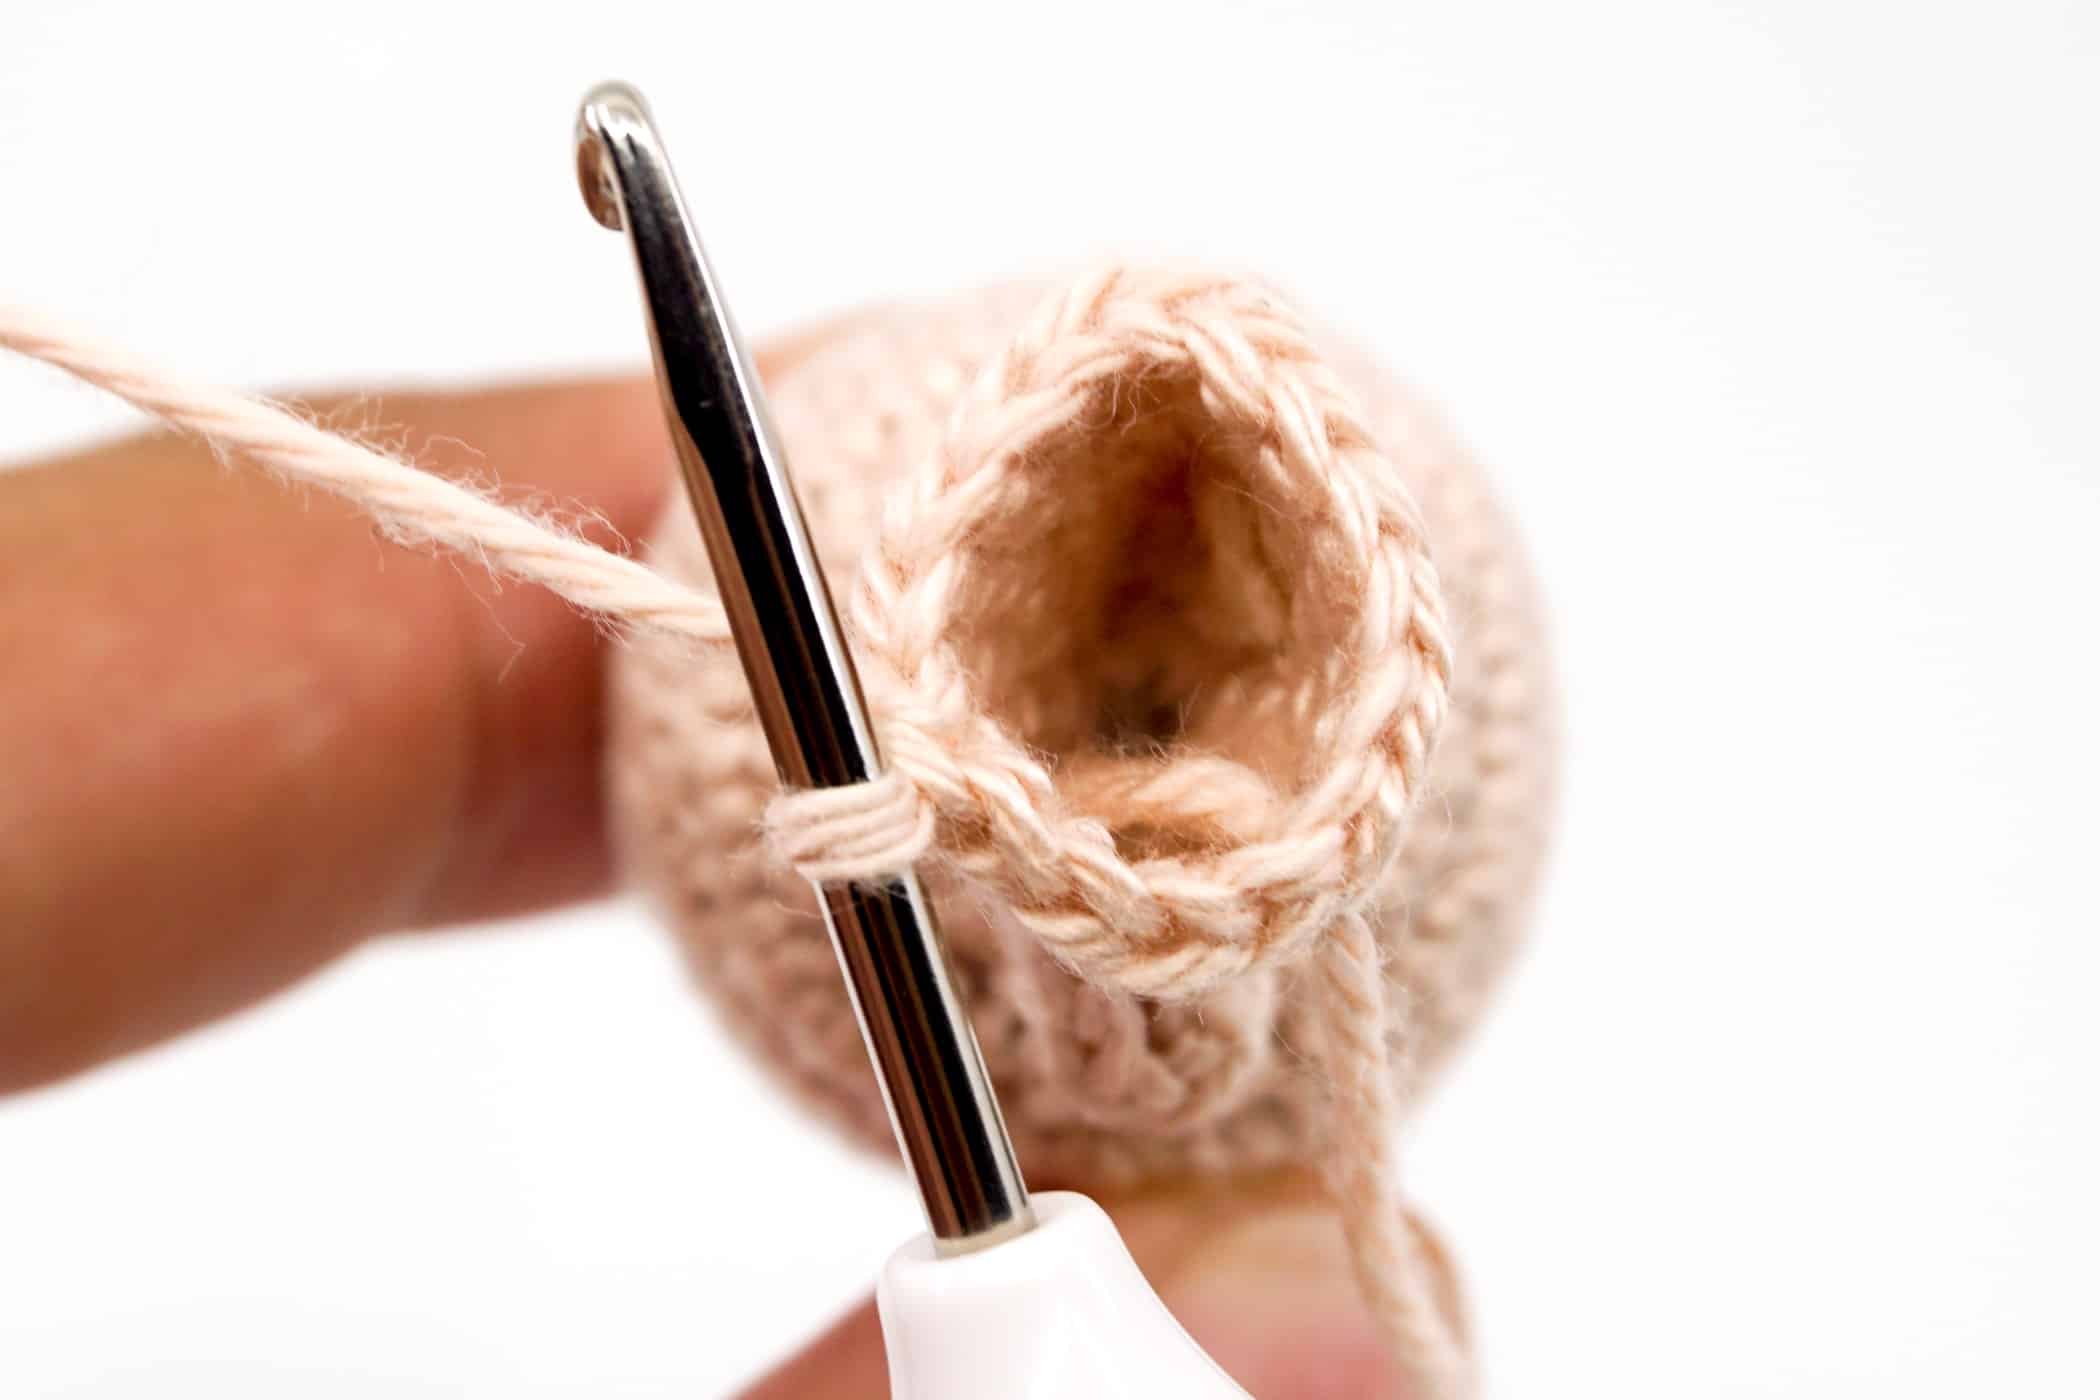
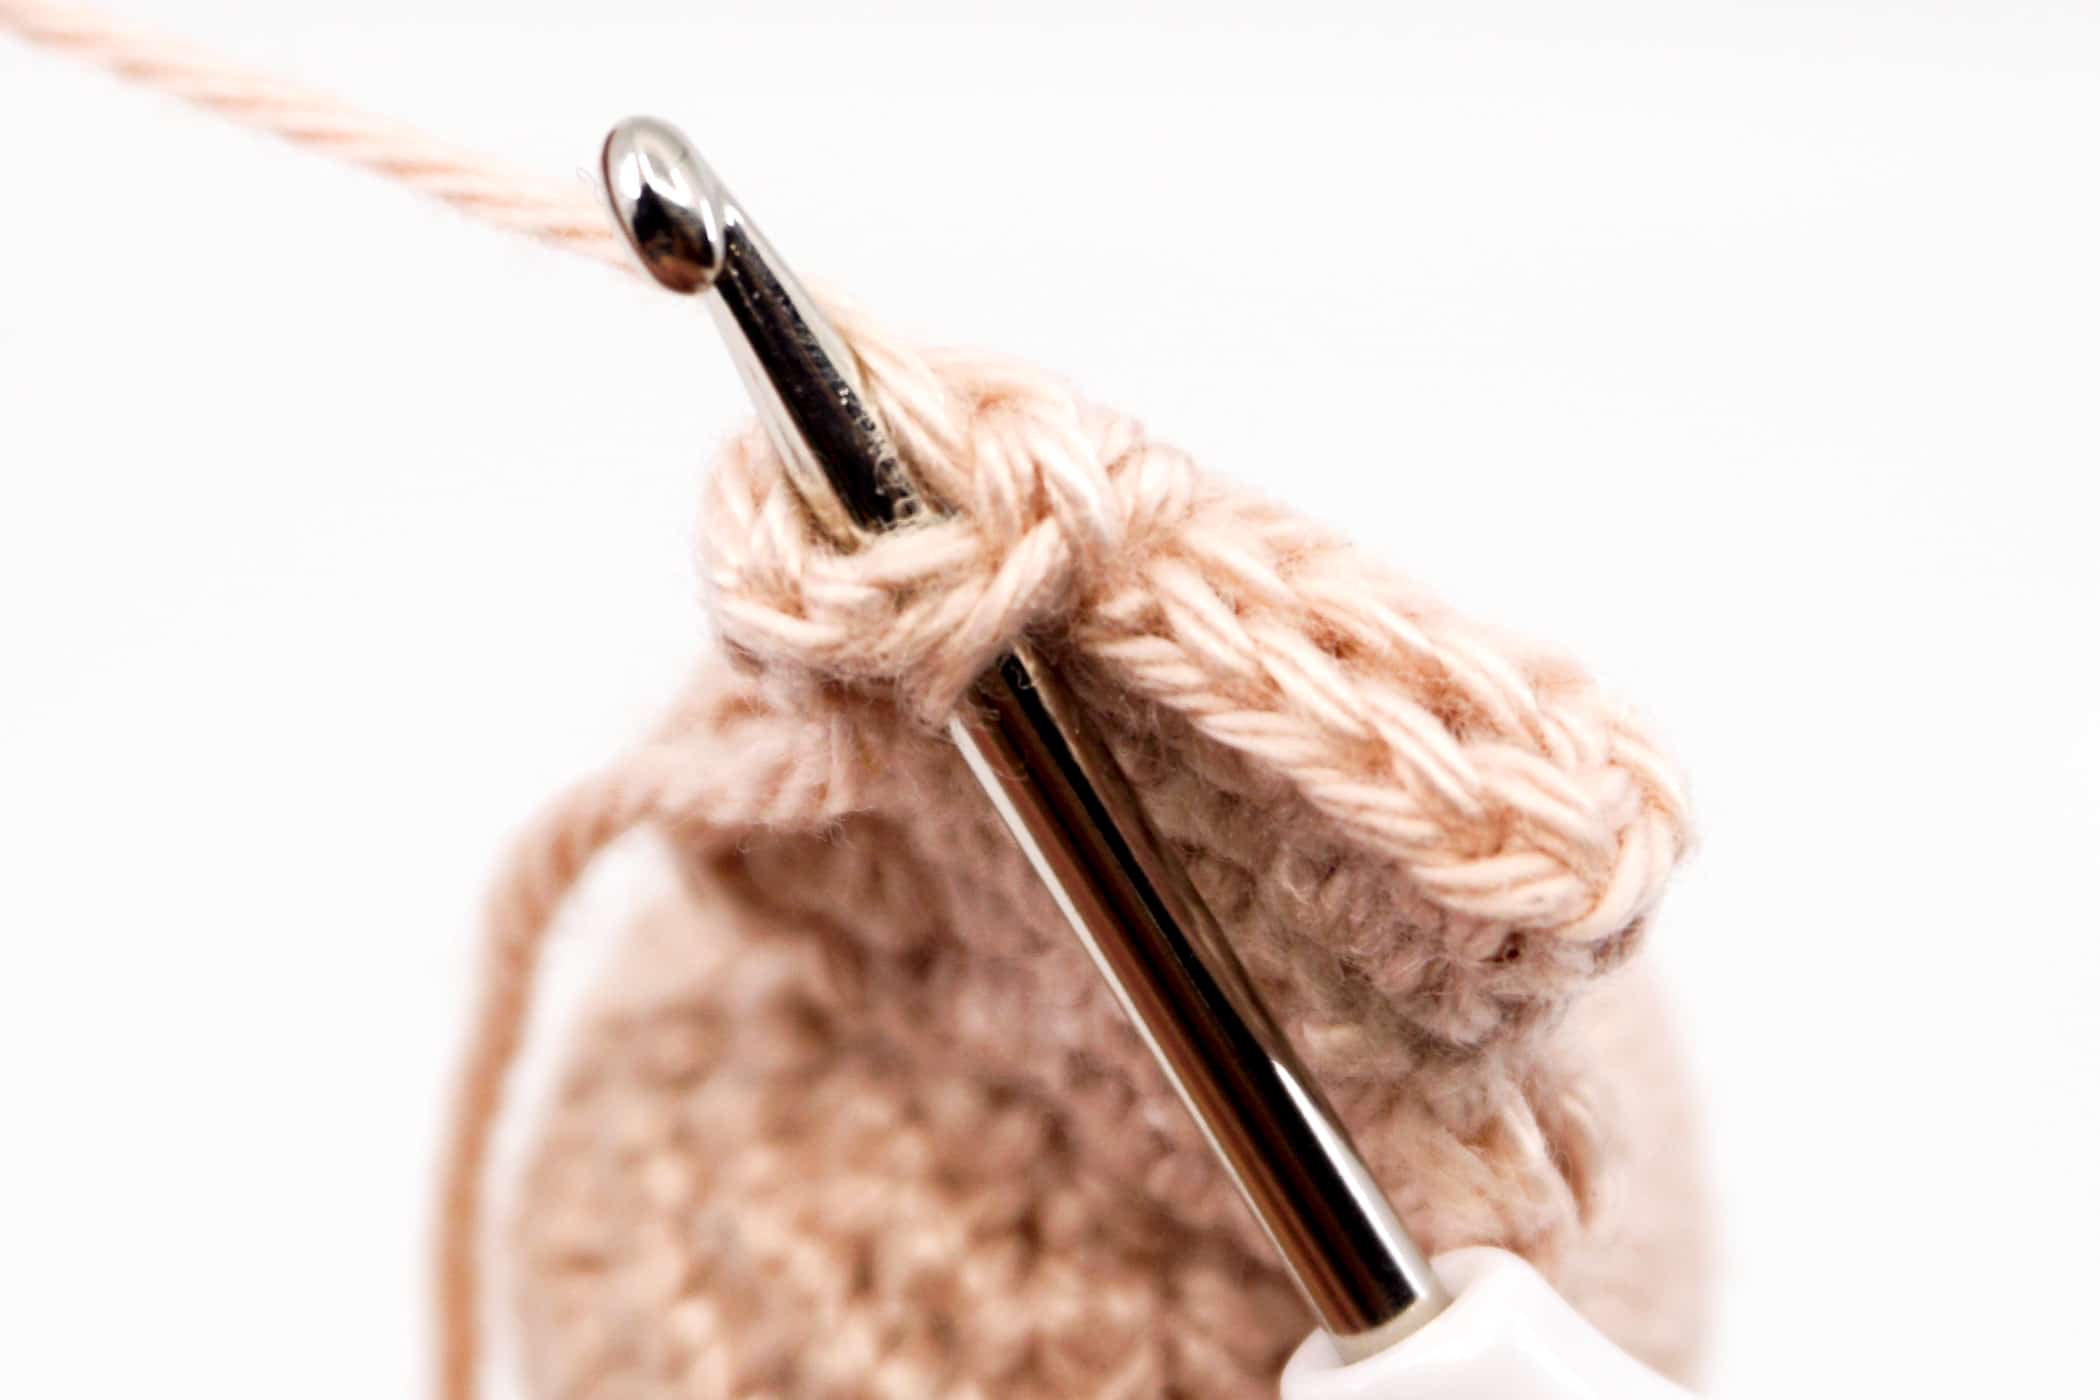
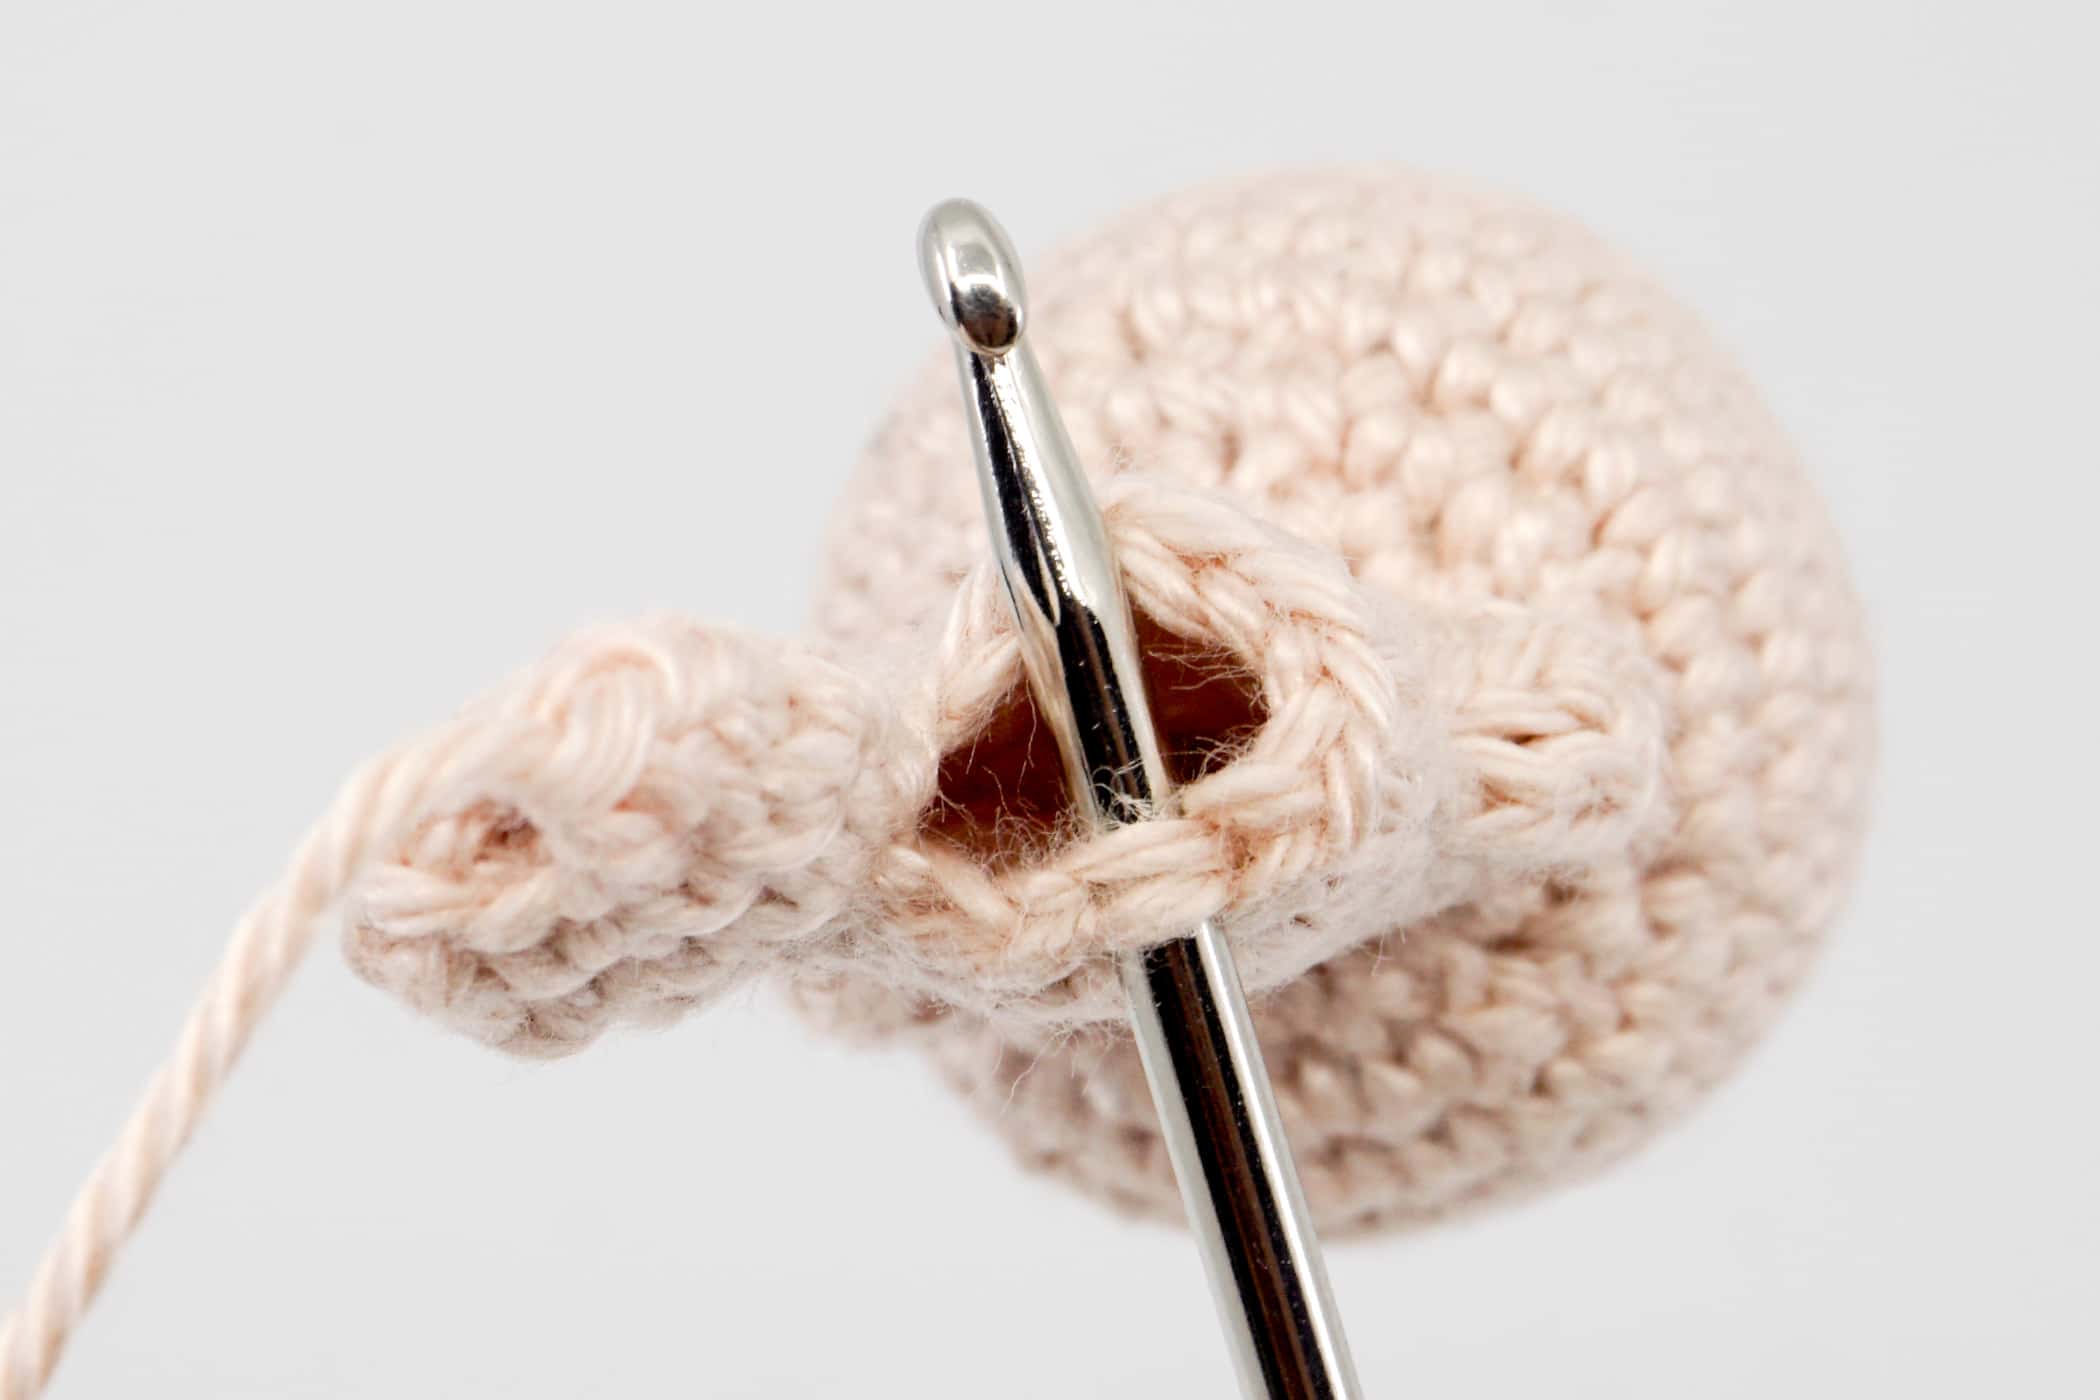
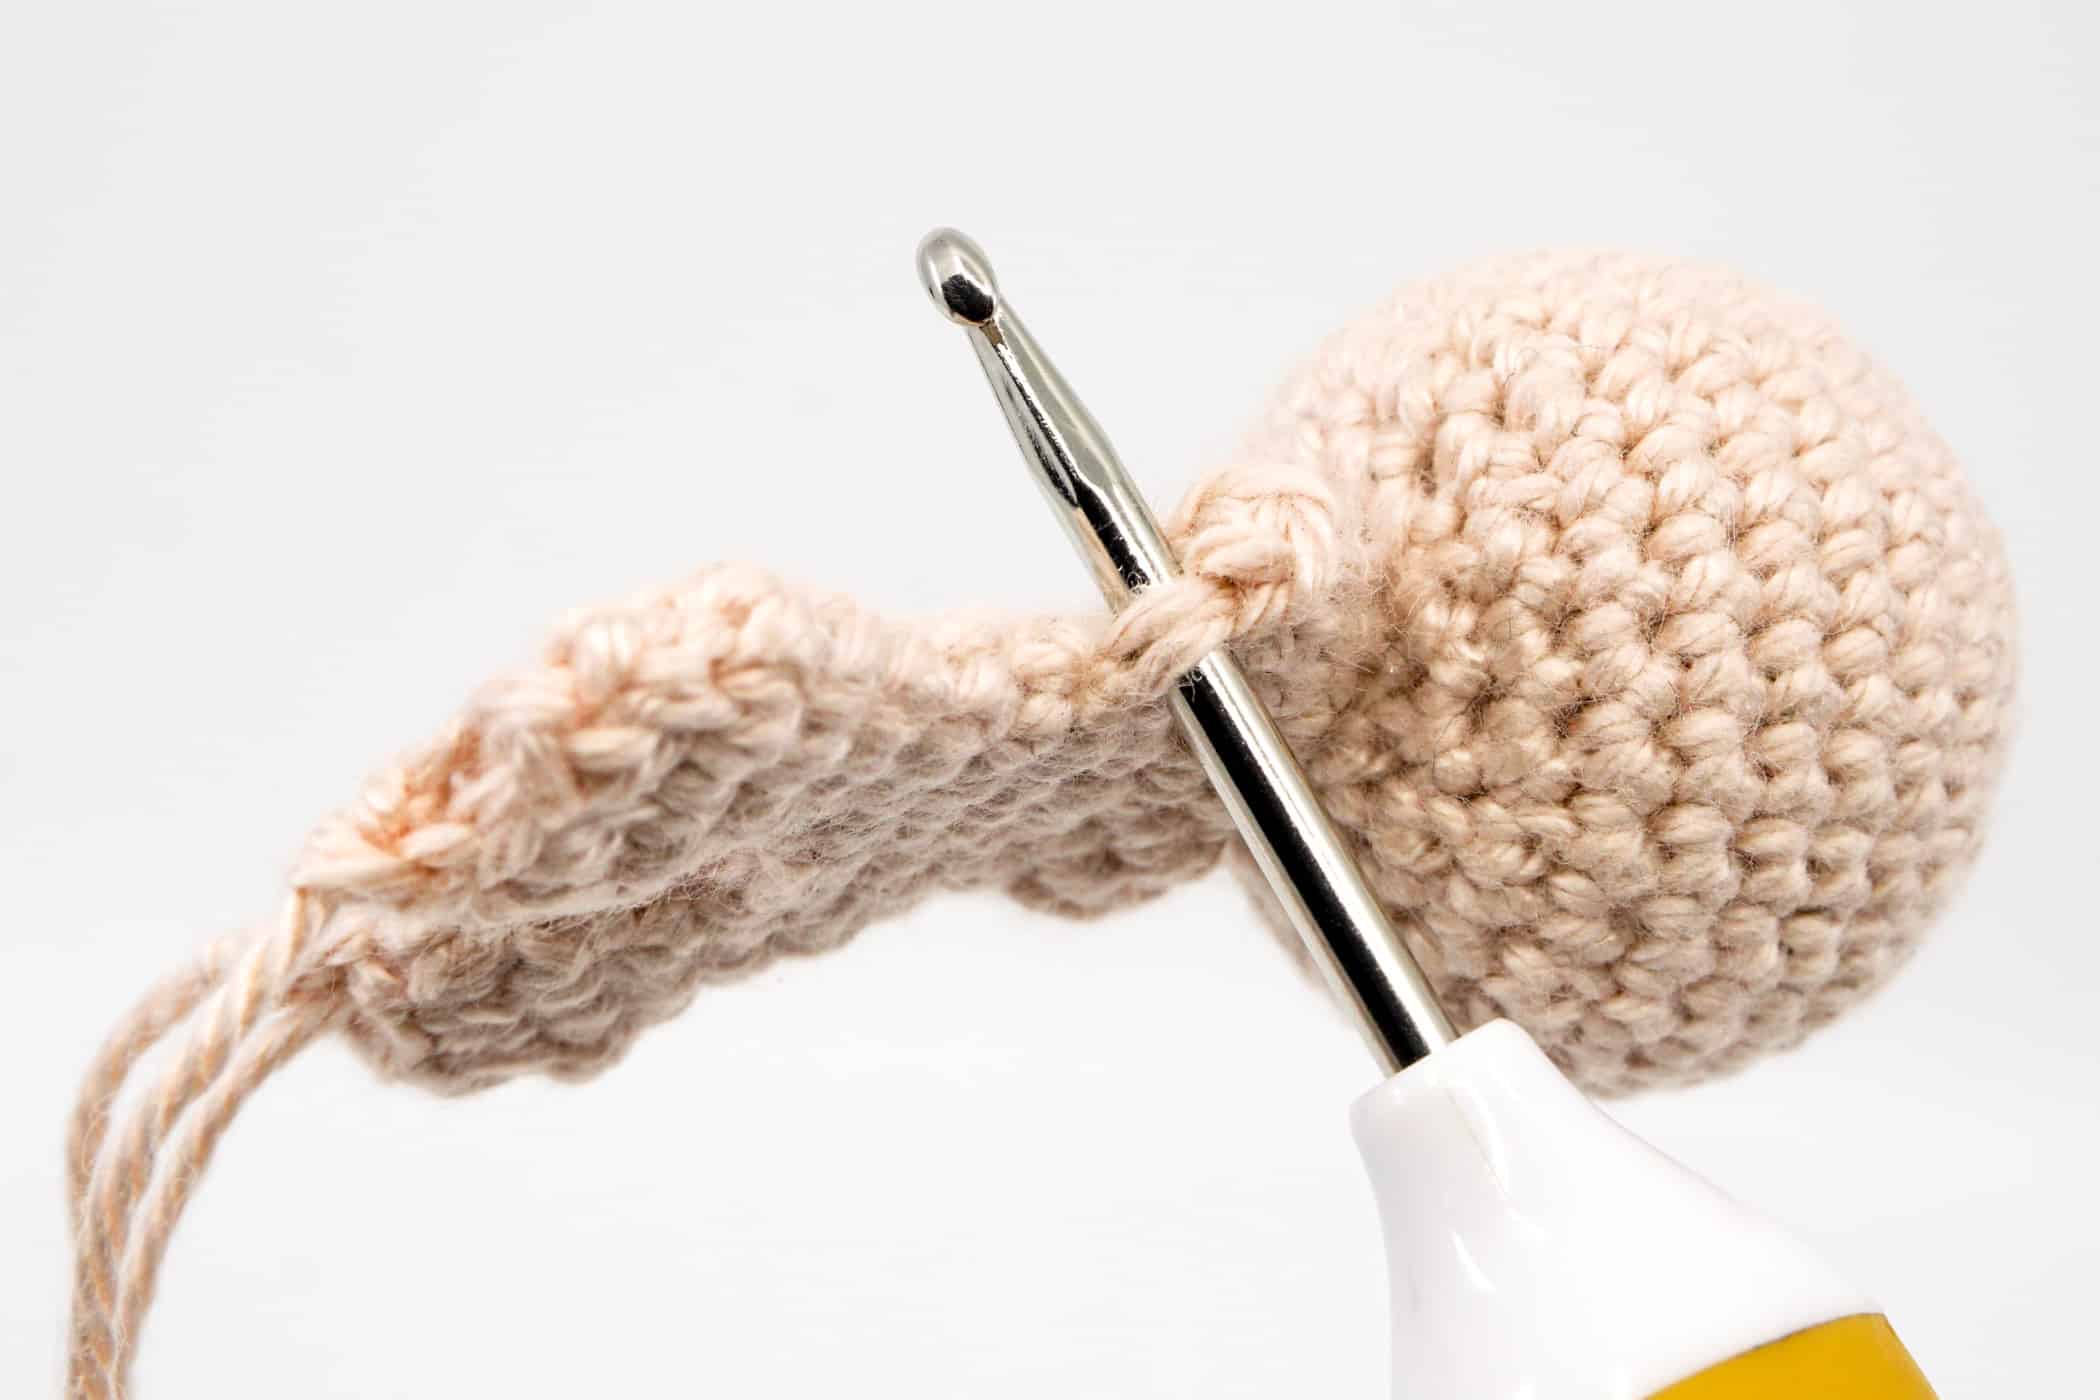
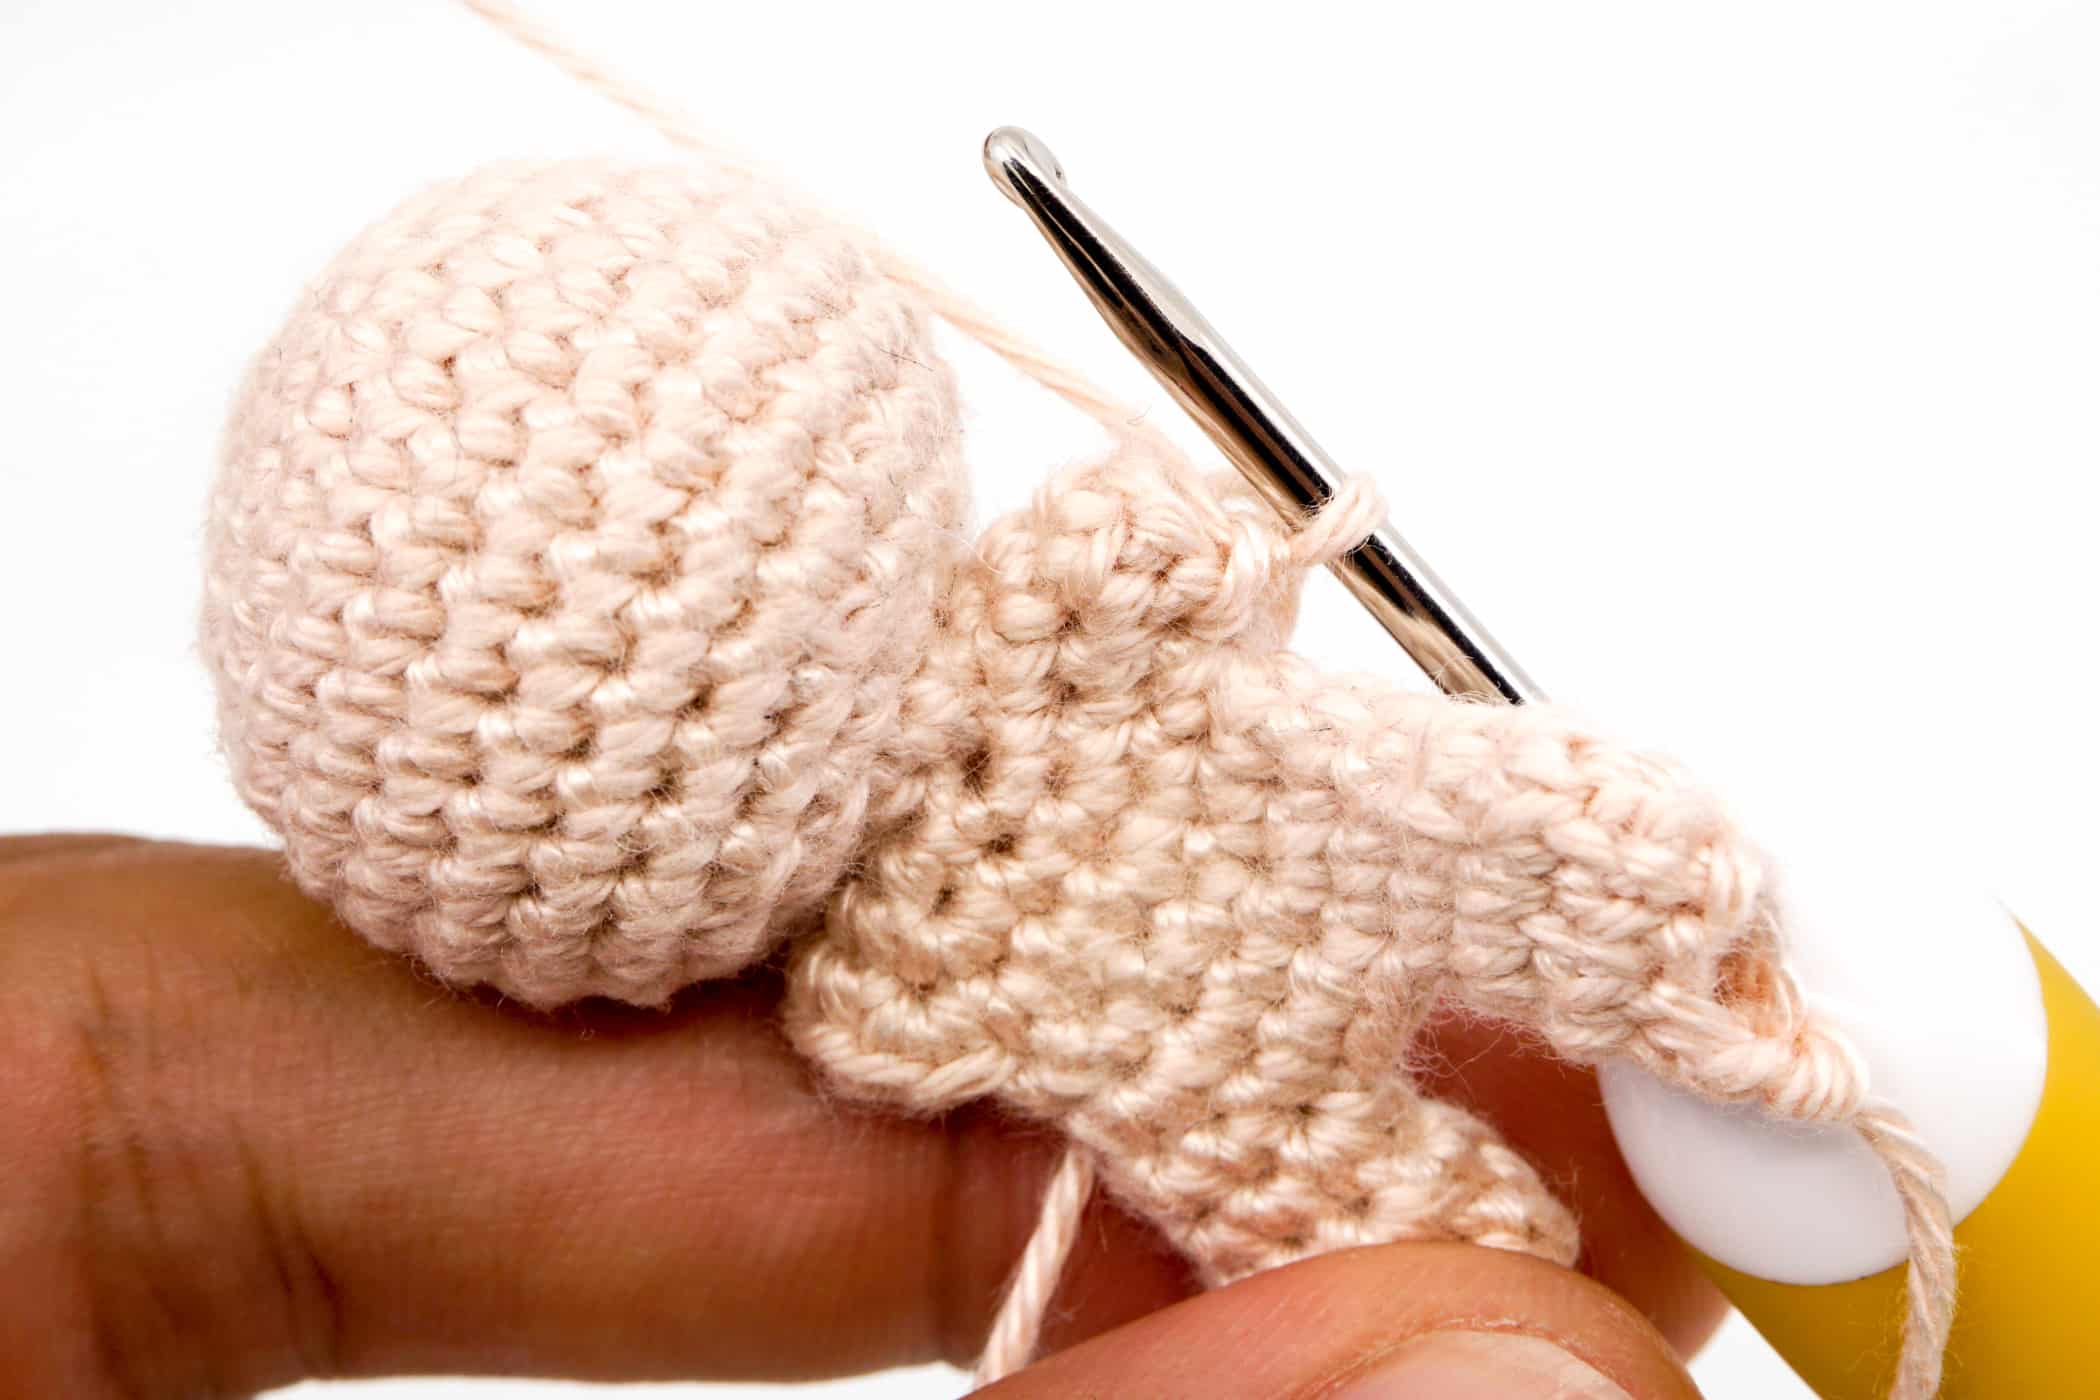
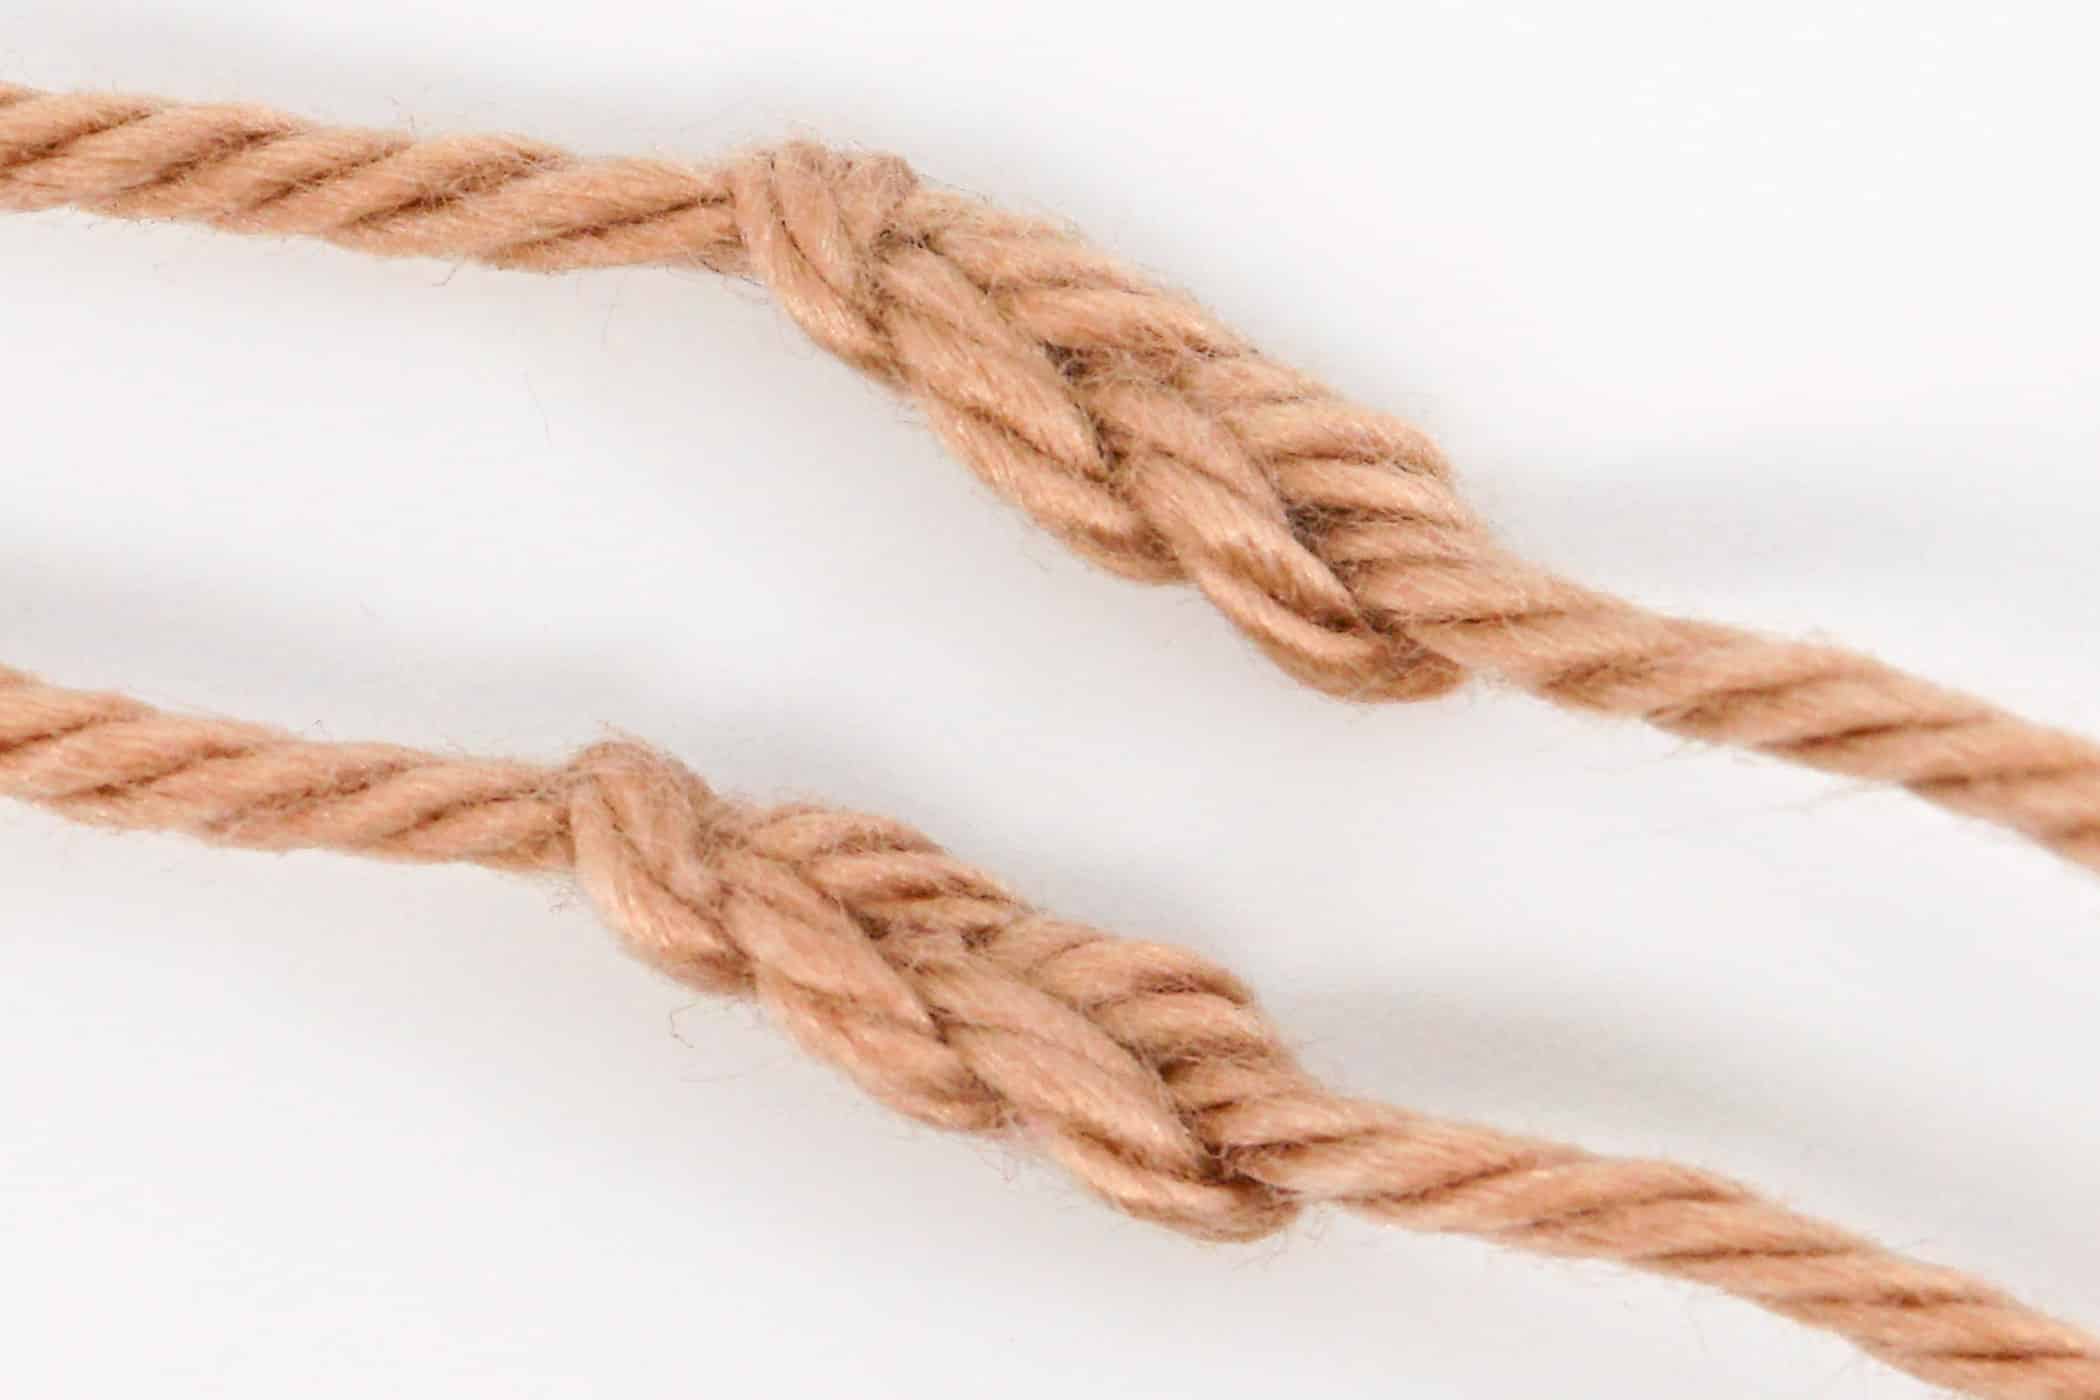
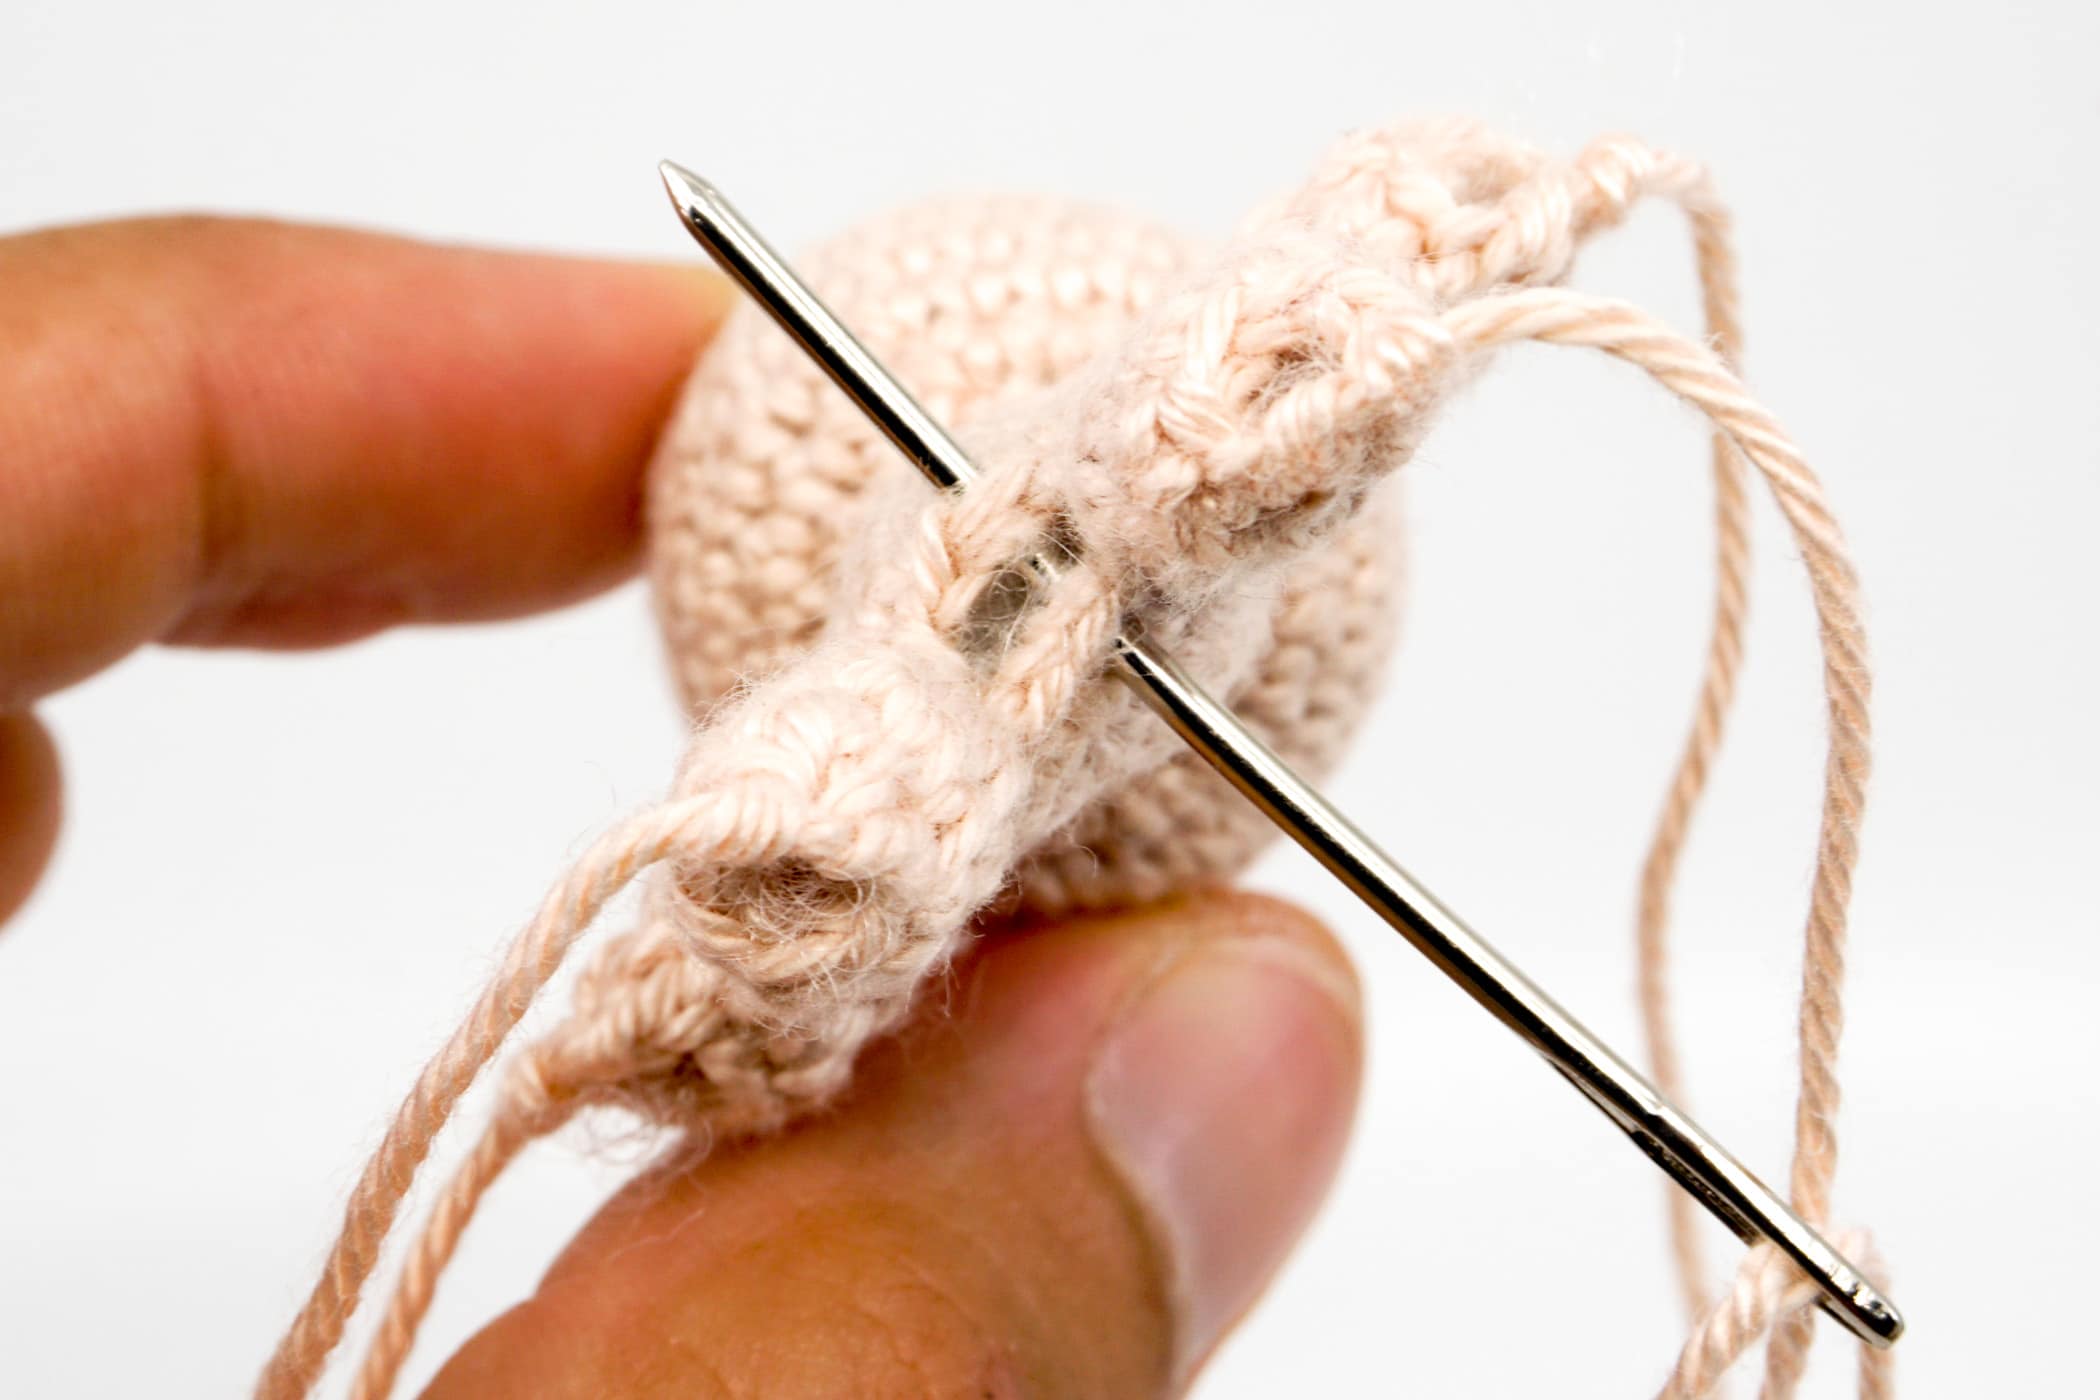
- Round 17: To separate the respective areas, proceed as follows: Separate the 1st arm. One arm area consists of 6 stitches. First, crochet 1 single crochet stitch. Then push through the 7th stitch from the crochet hook with the crochet hook still attached to the last crocheted stitch. To do this, simply skip 6 stitches and then push through the 7th stitch.
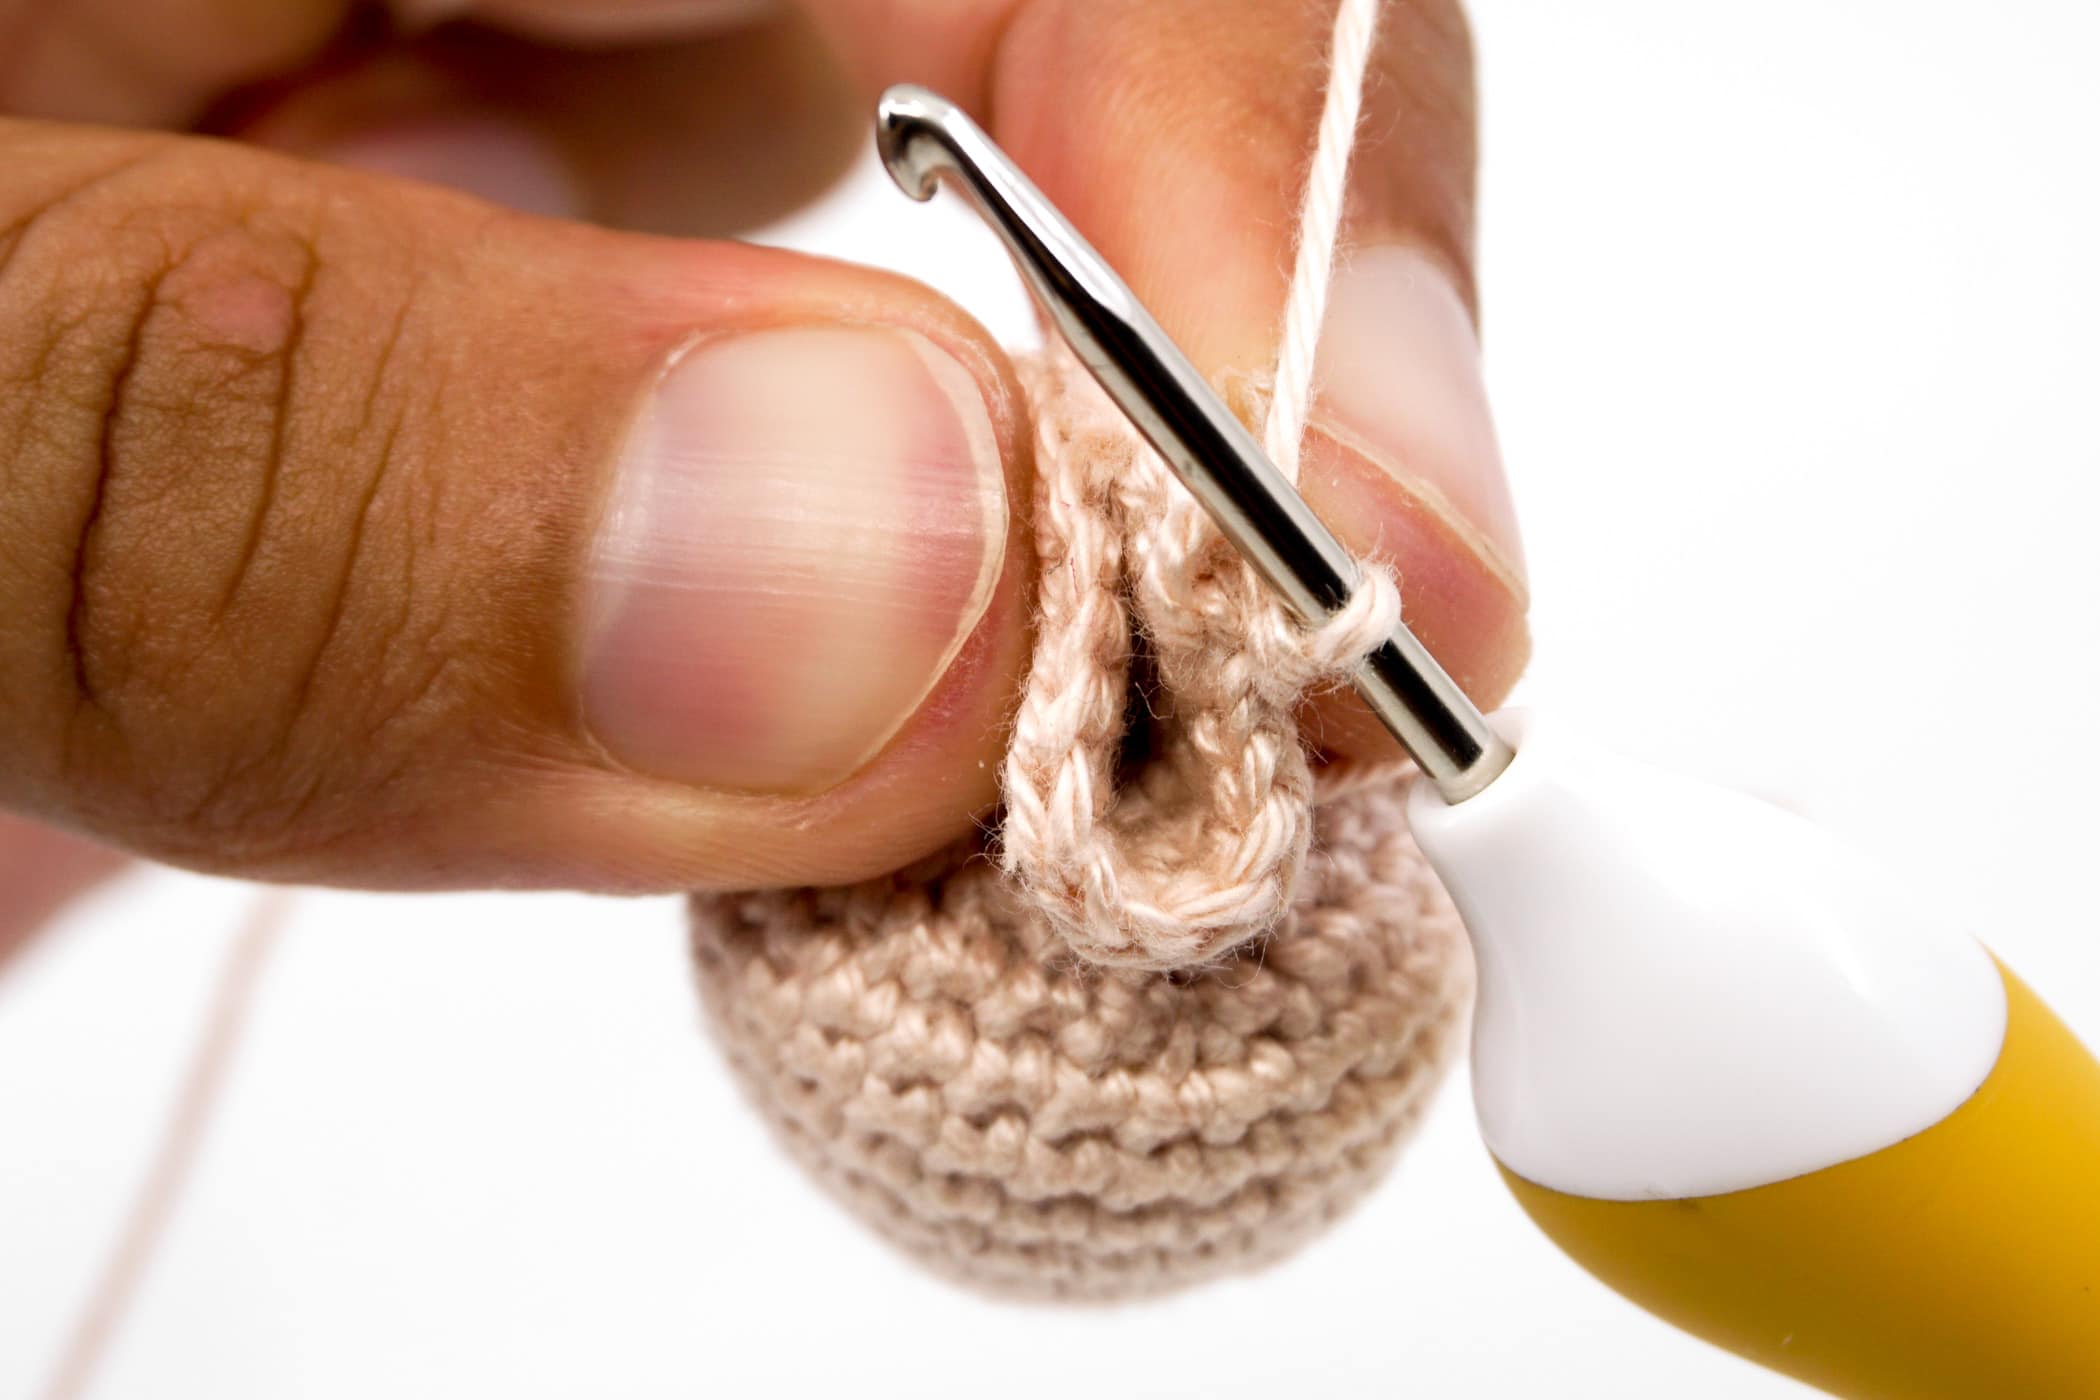
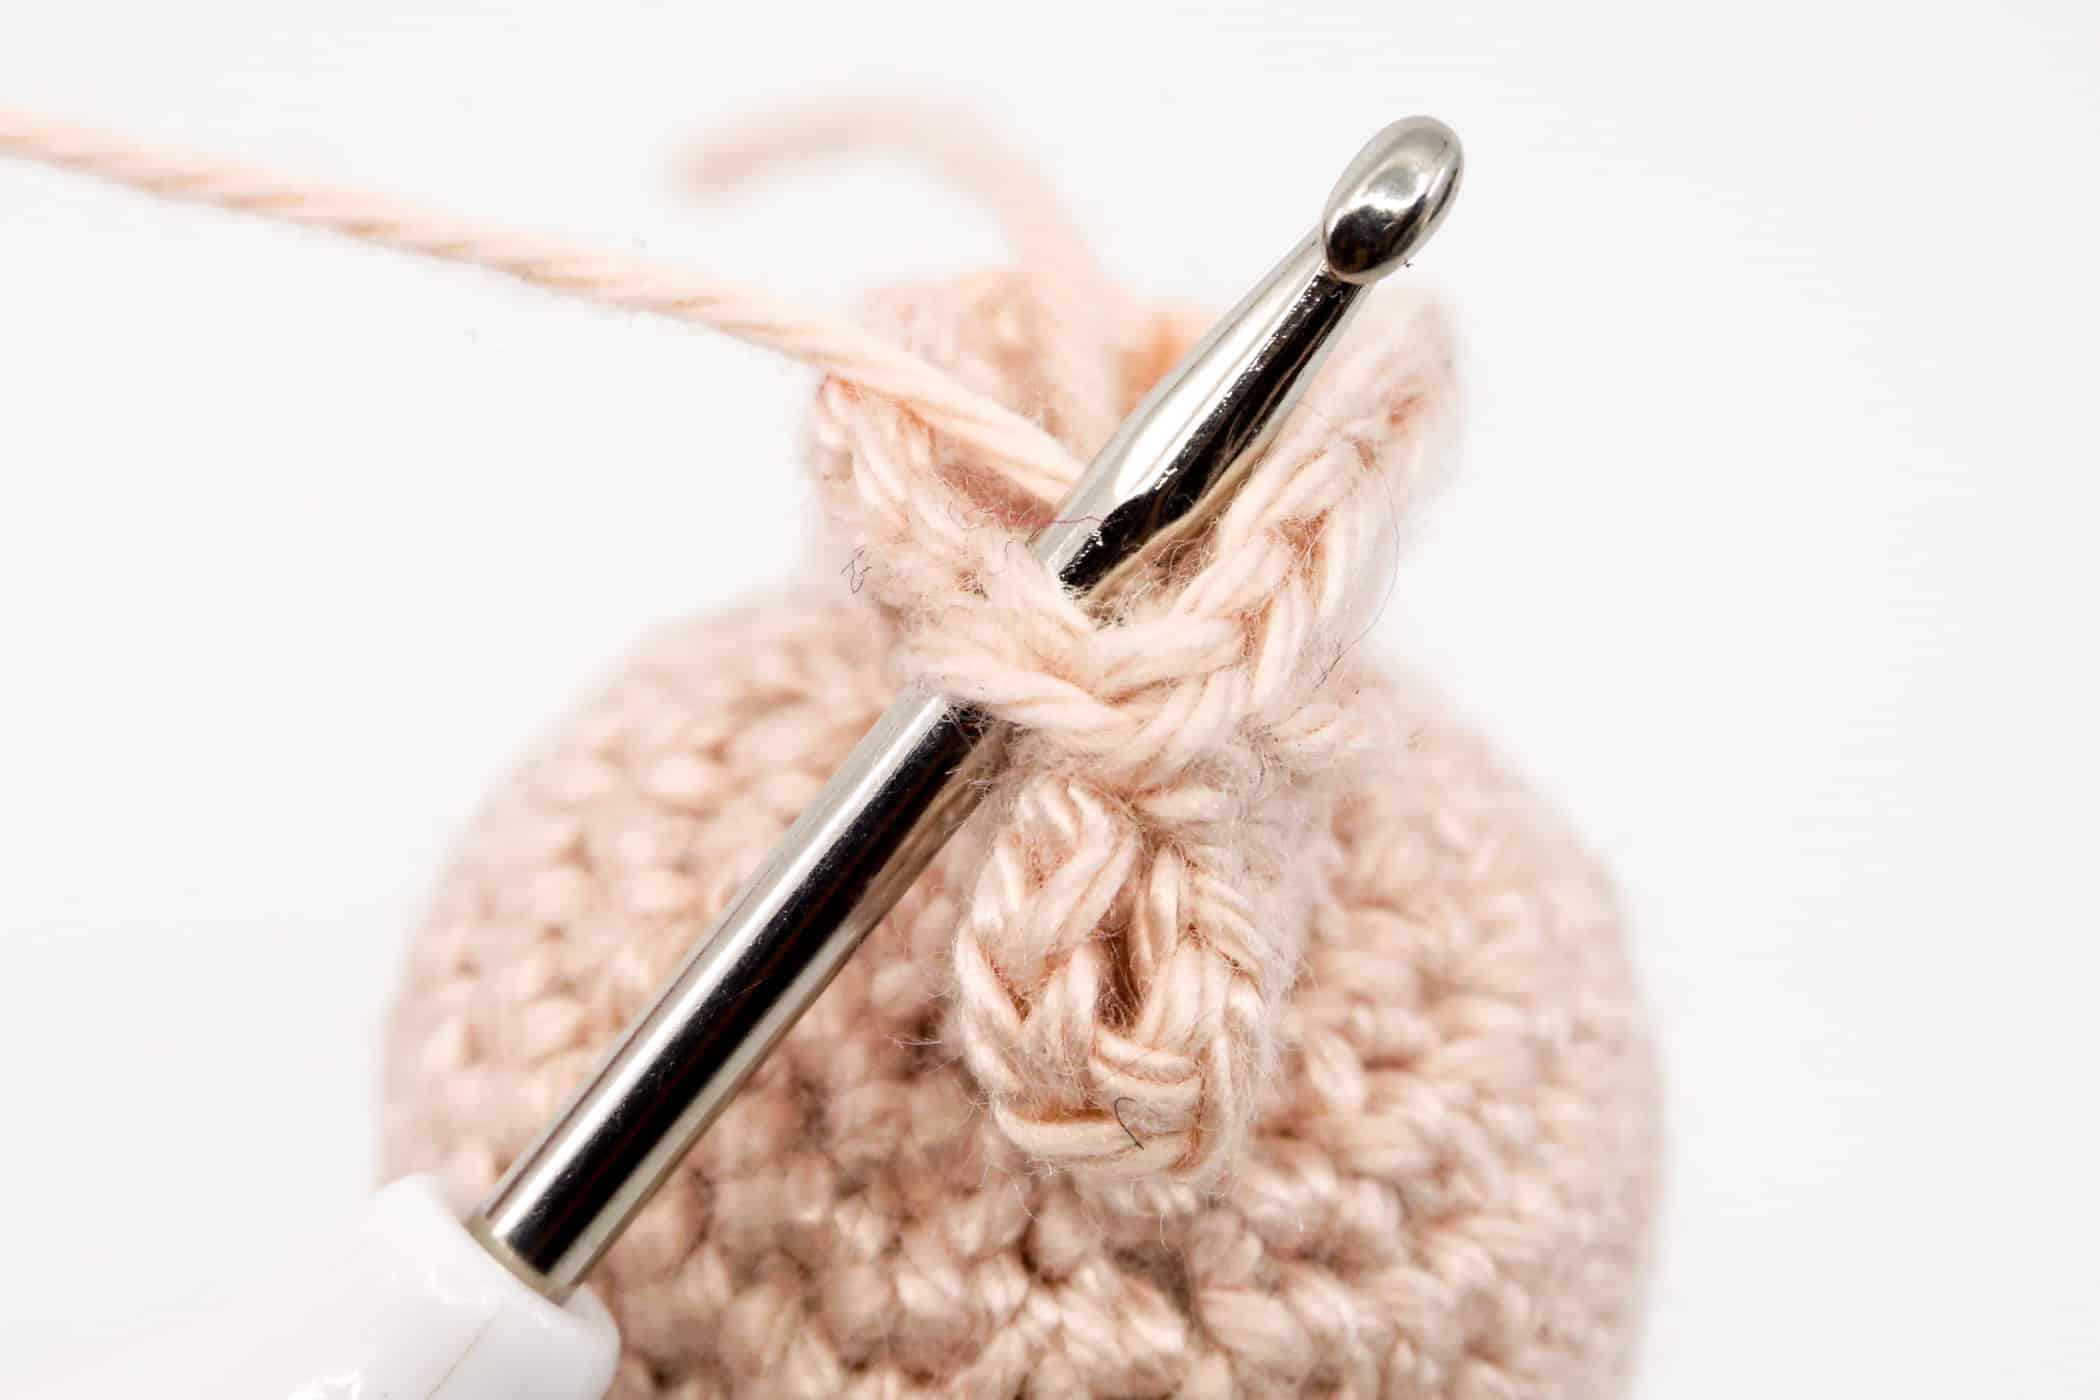
- Tighten the thread and crochet 1 single crochet stitch. With this you have successfully separated the first arm area.
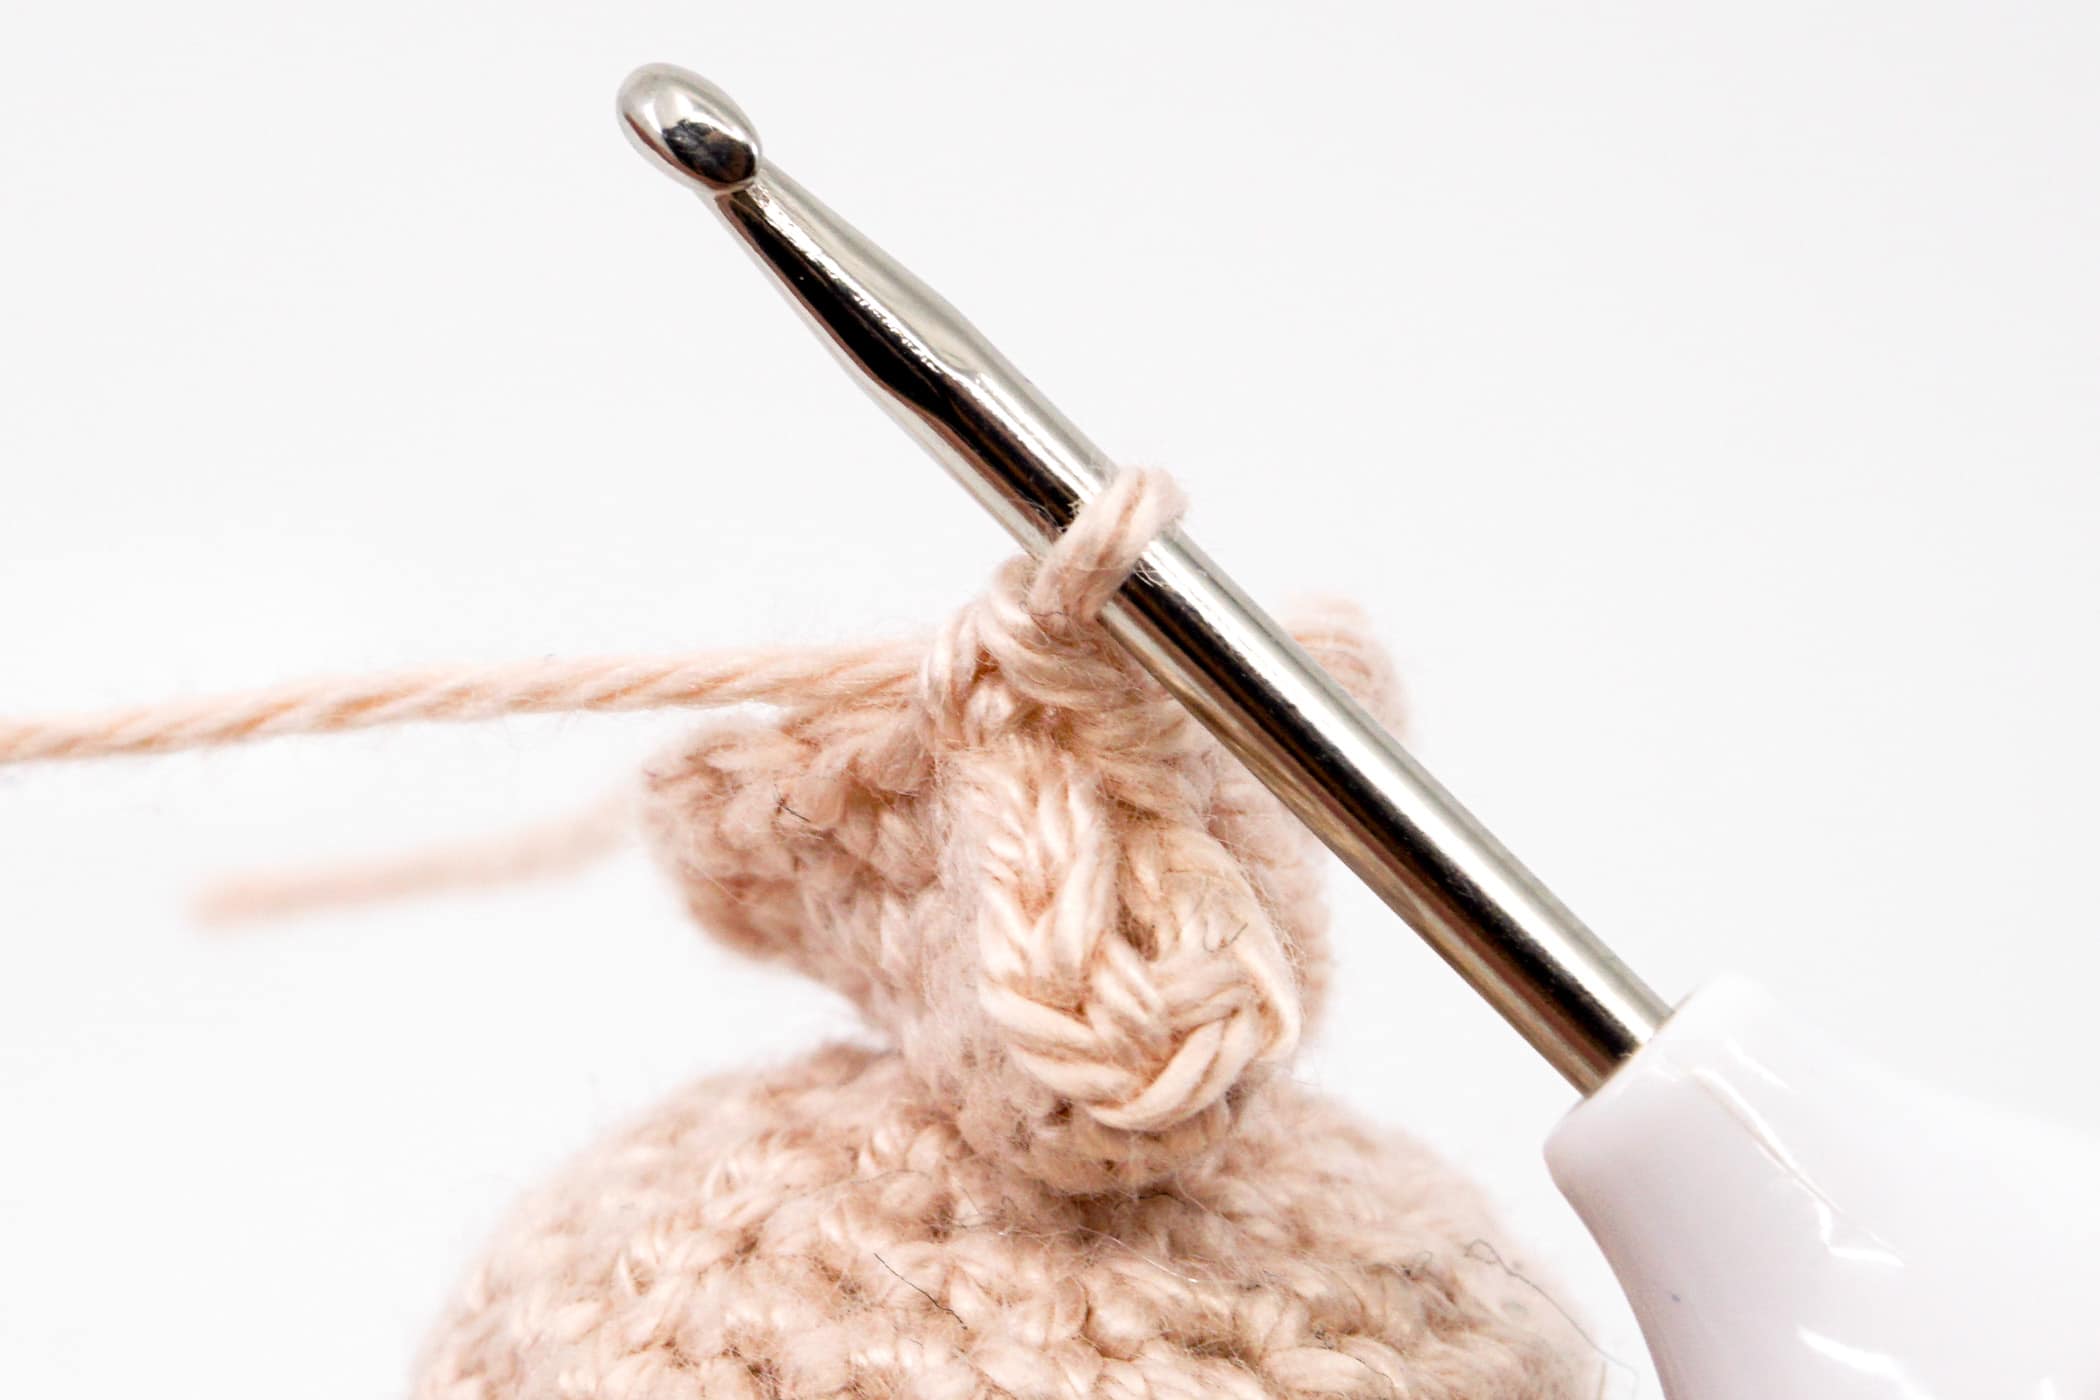
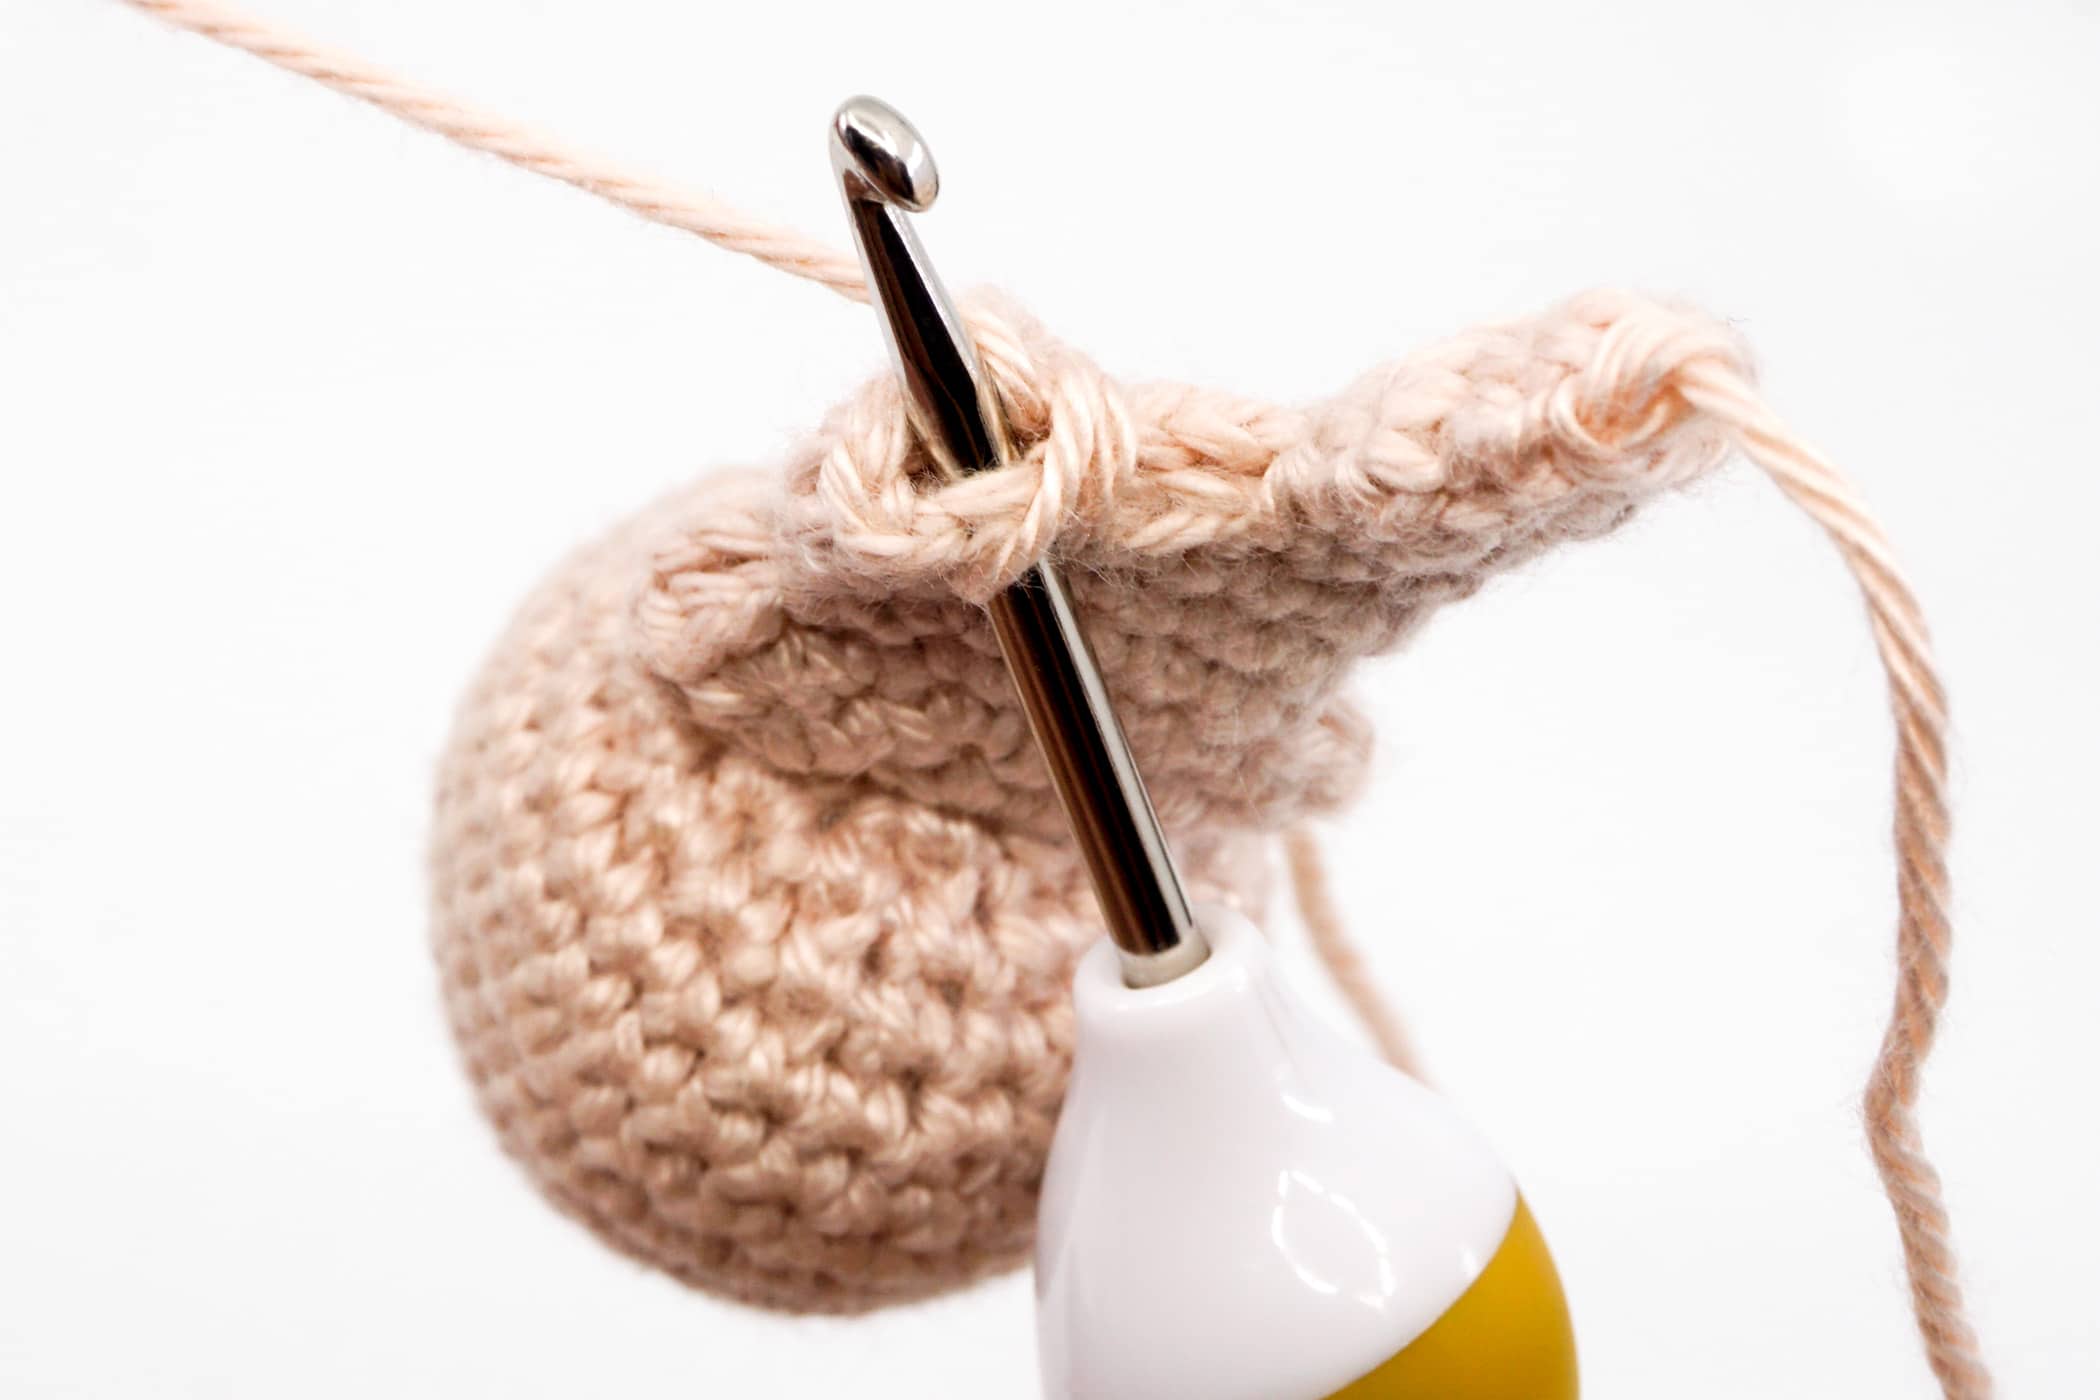
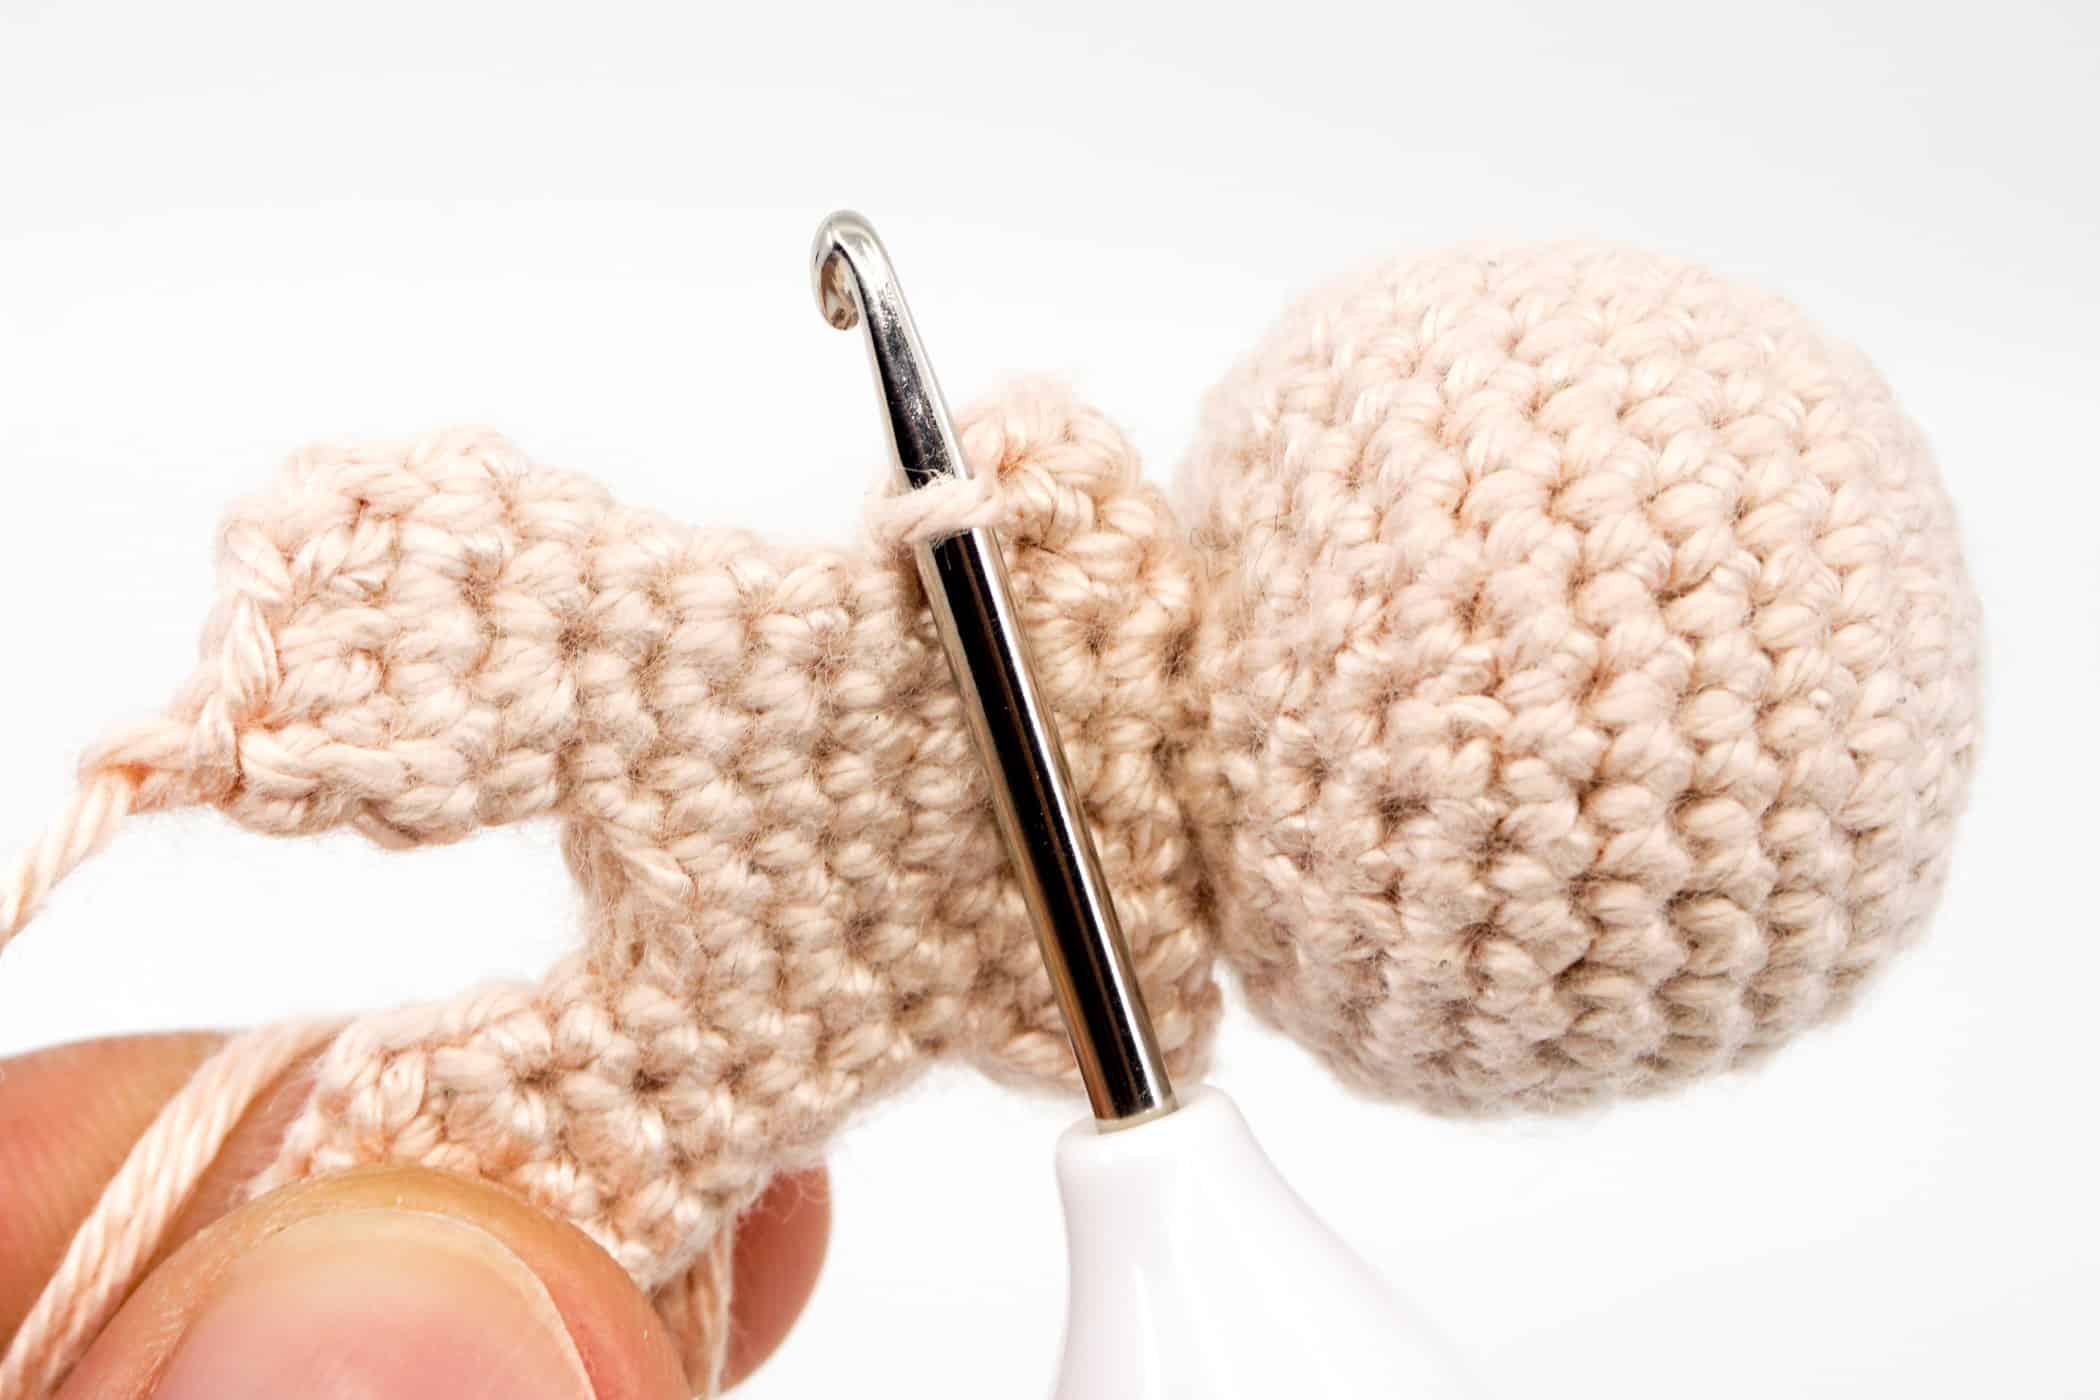
- Now crochet 5 single crochet stitches along the body. Then separate the 2nd arm, also consisting of 6 stitches. To do this, proceed in the same way as for the 1st arm. Skip 6 stitches and push the crochet hook through the 7th stitch. Tighten the thread so that the 6 stitches are separated and crochet 1 single crochet stitch.
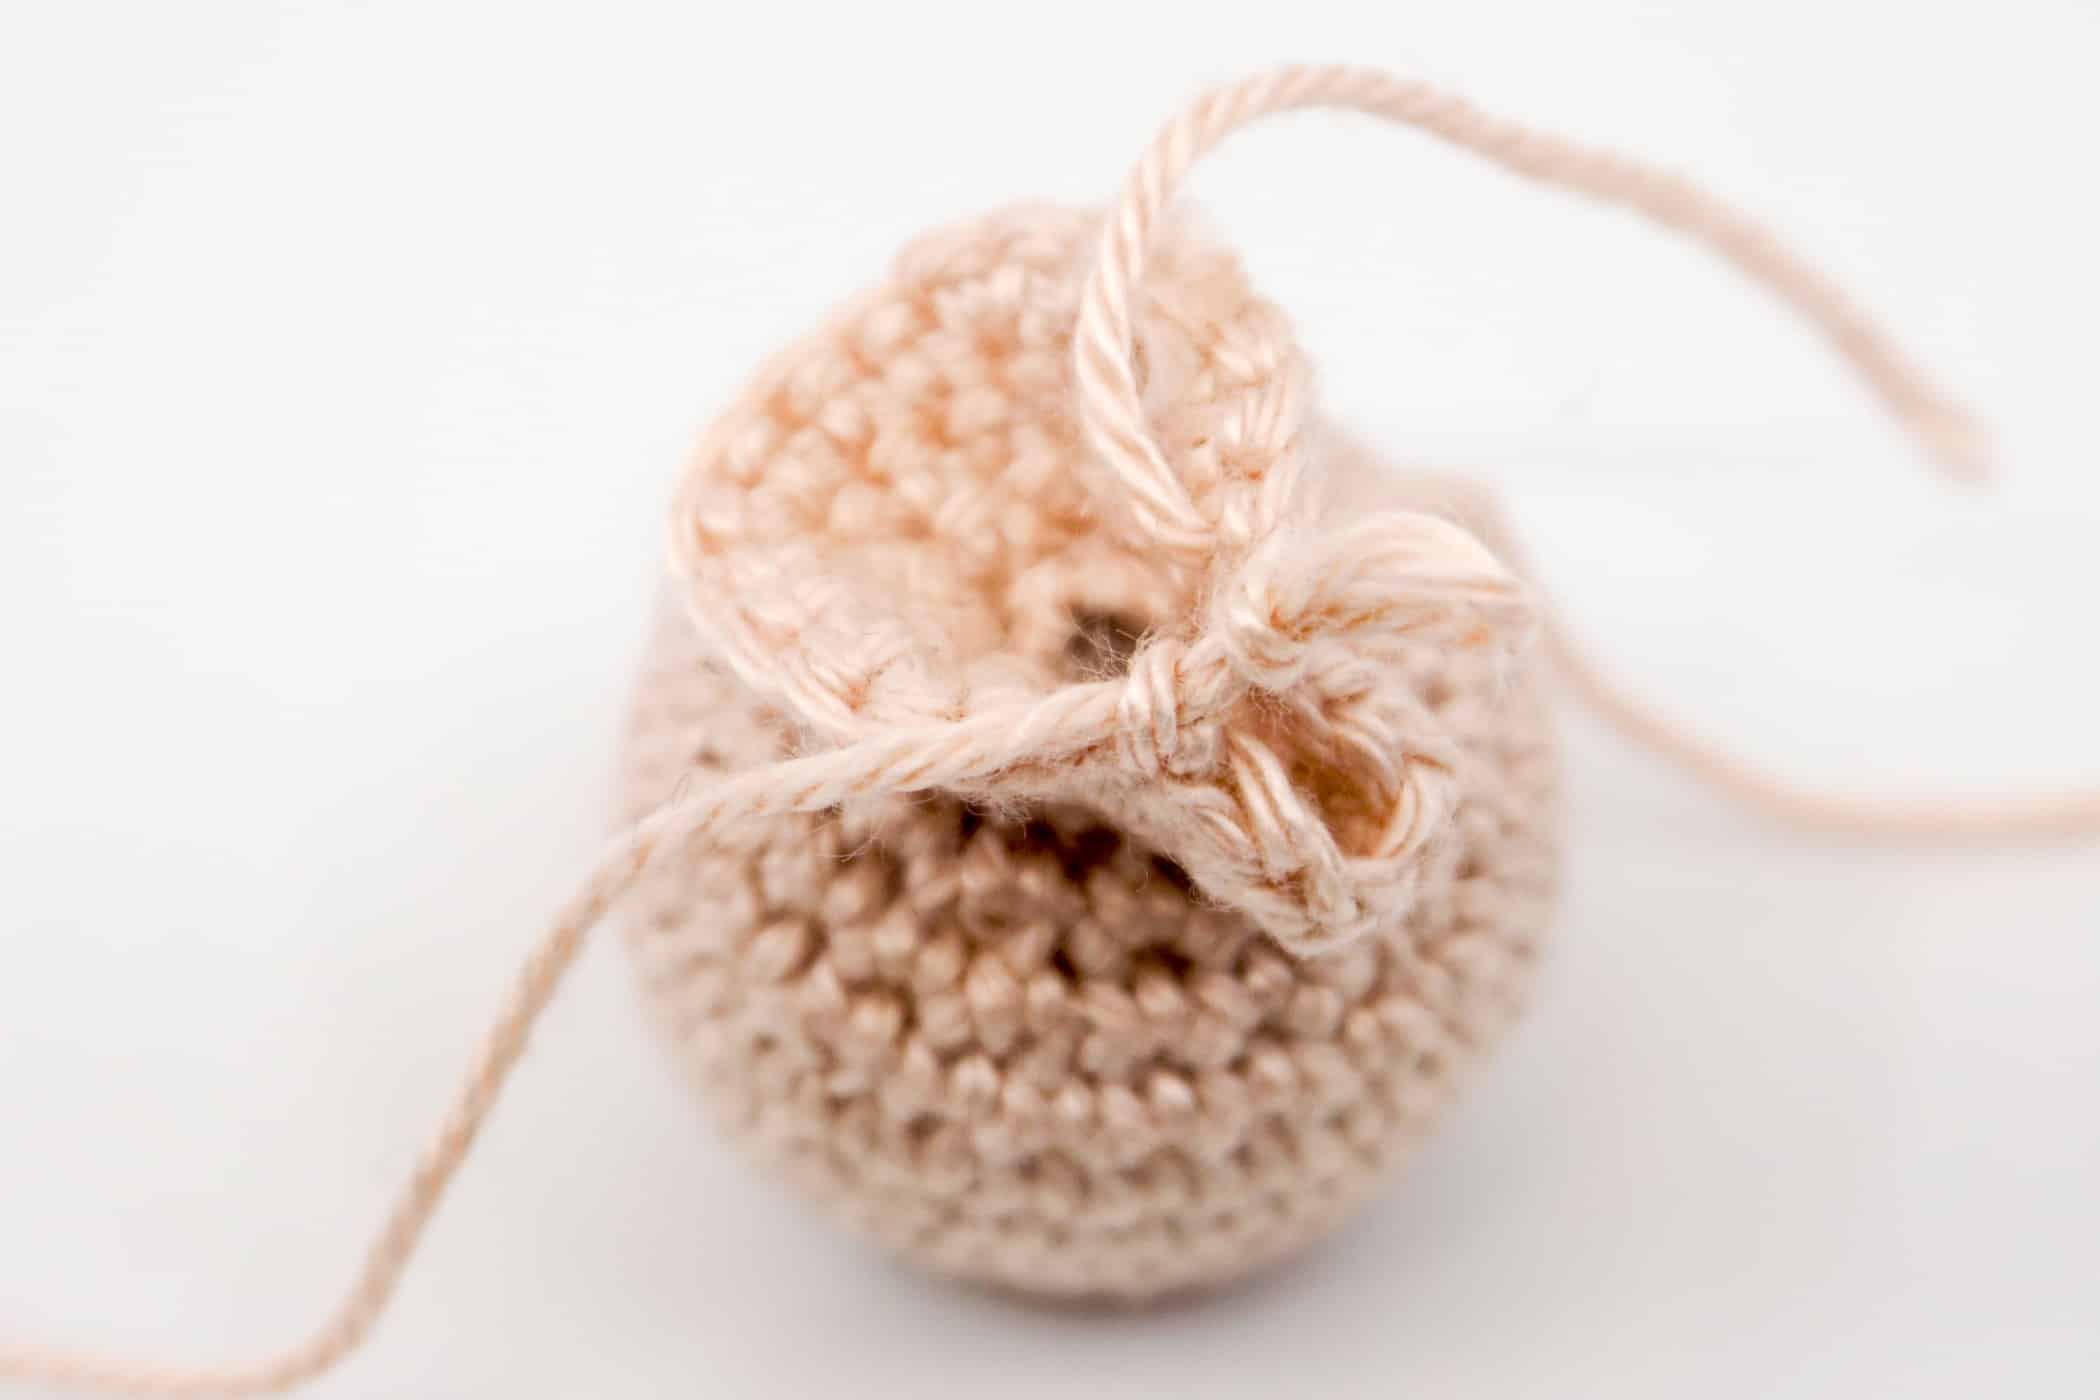
- Then crochet another 4 single crochet stitches. With this you have crocheted a total of 12 stitches and successfully separated both arm areas (12 stitches).
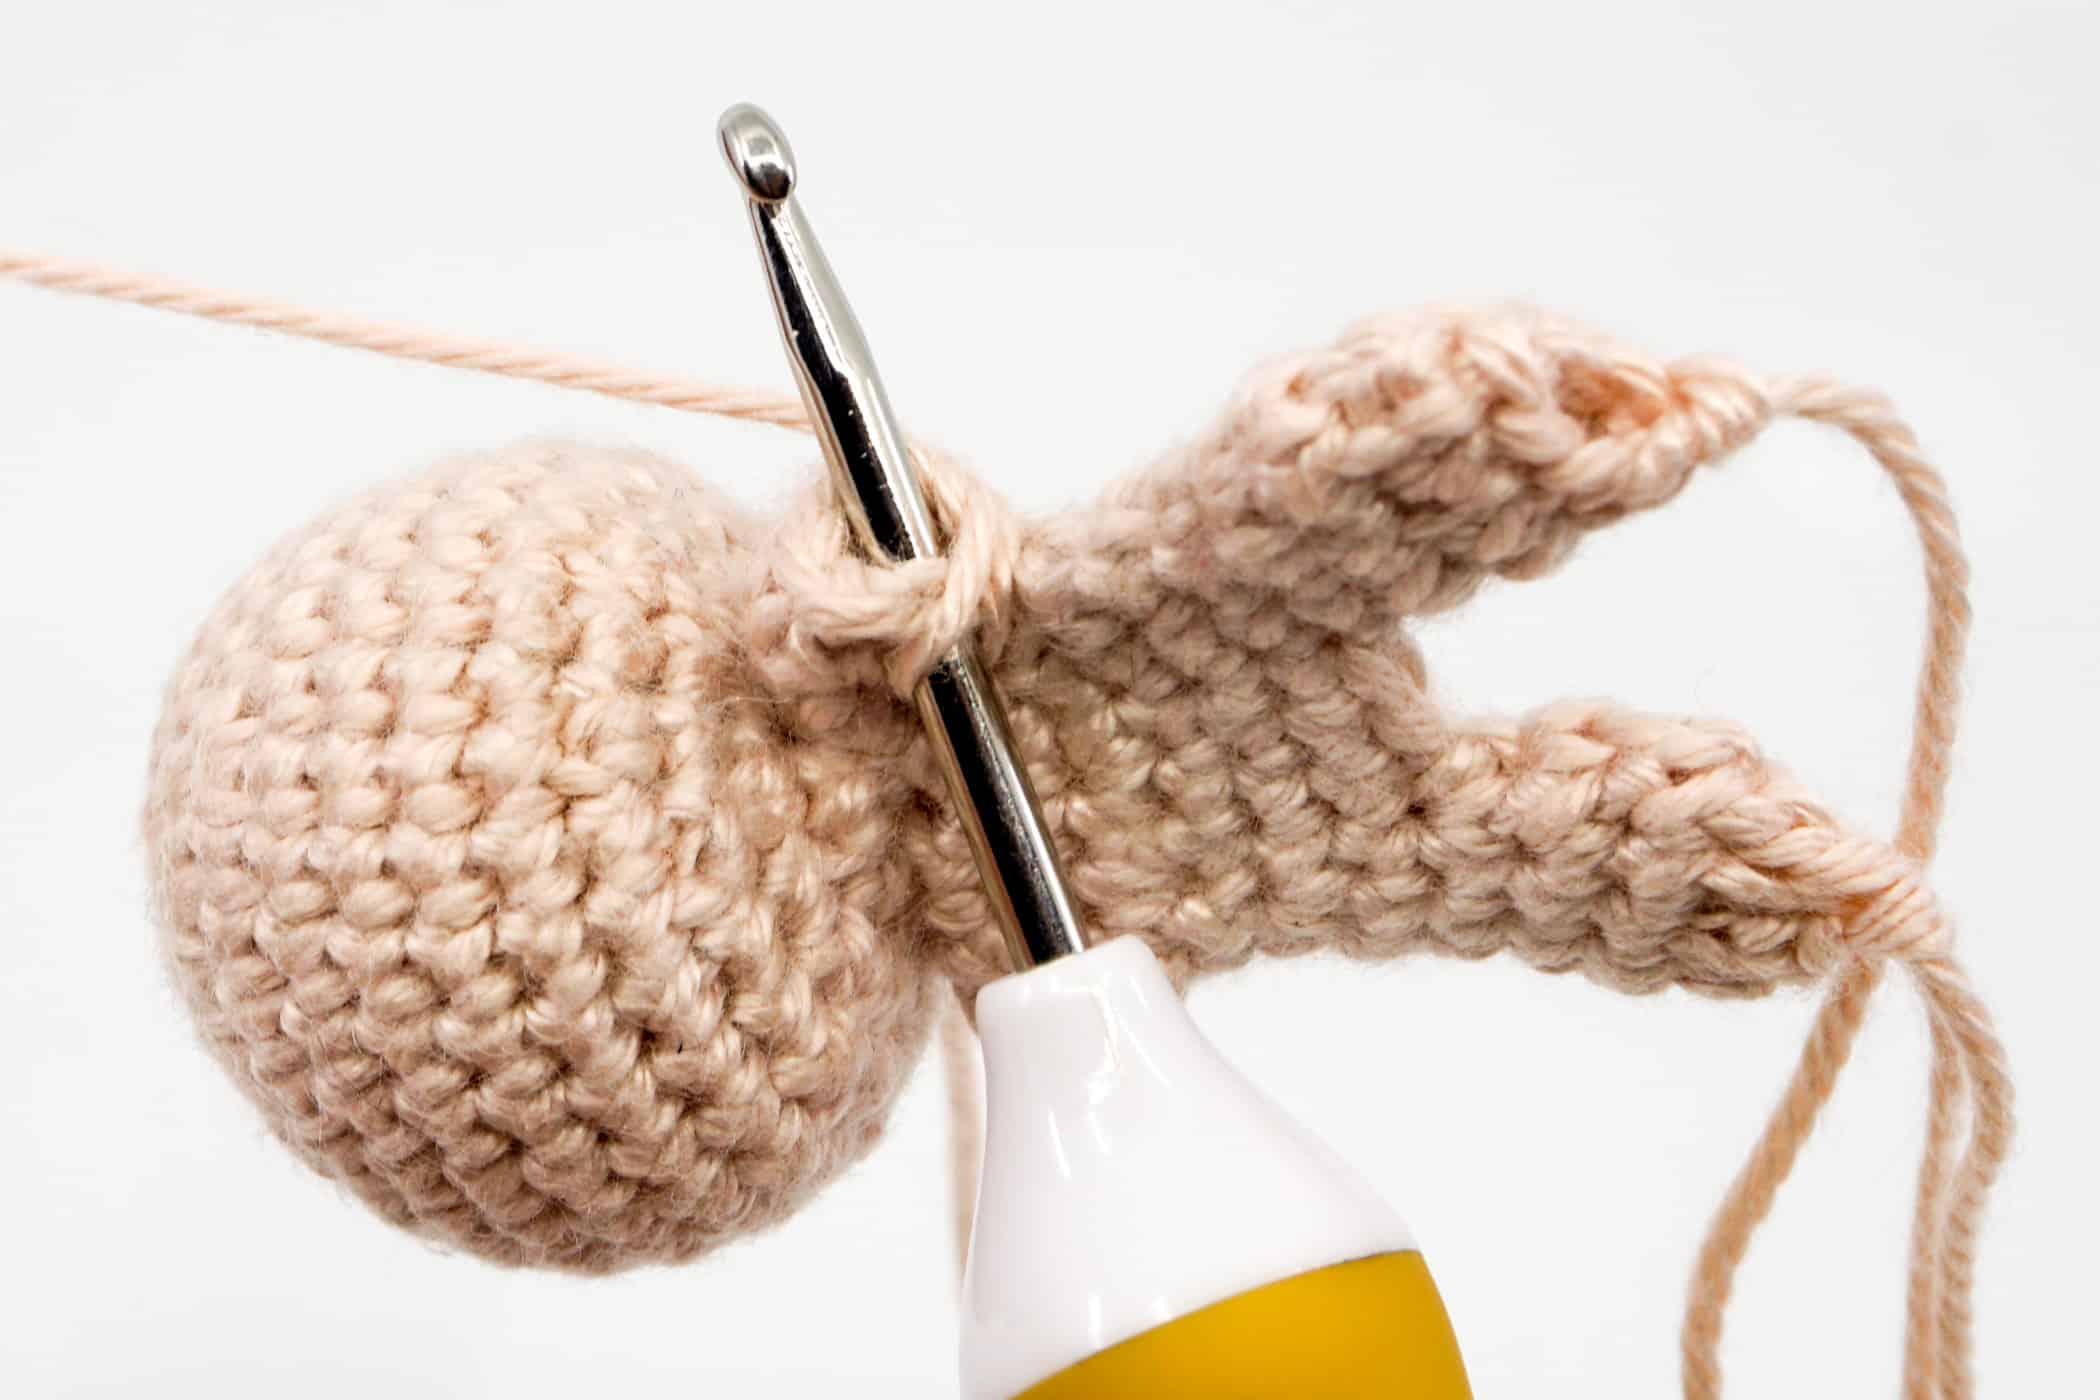
- Round 18: [2 sc, 1 increase] repeat till end of the round (16 stitches).
- Round 19: Crochet 16 sc (16 stitches).

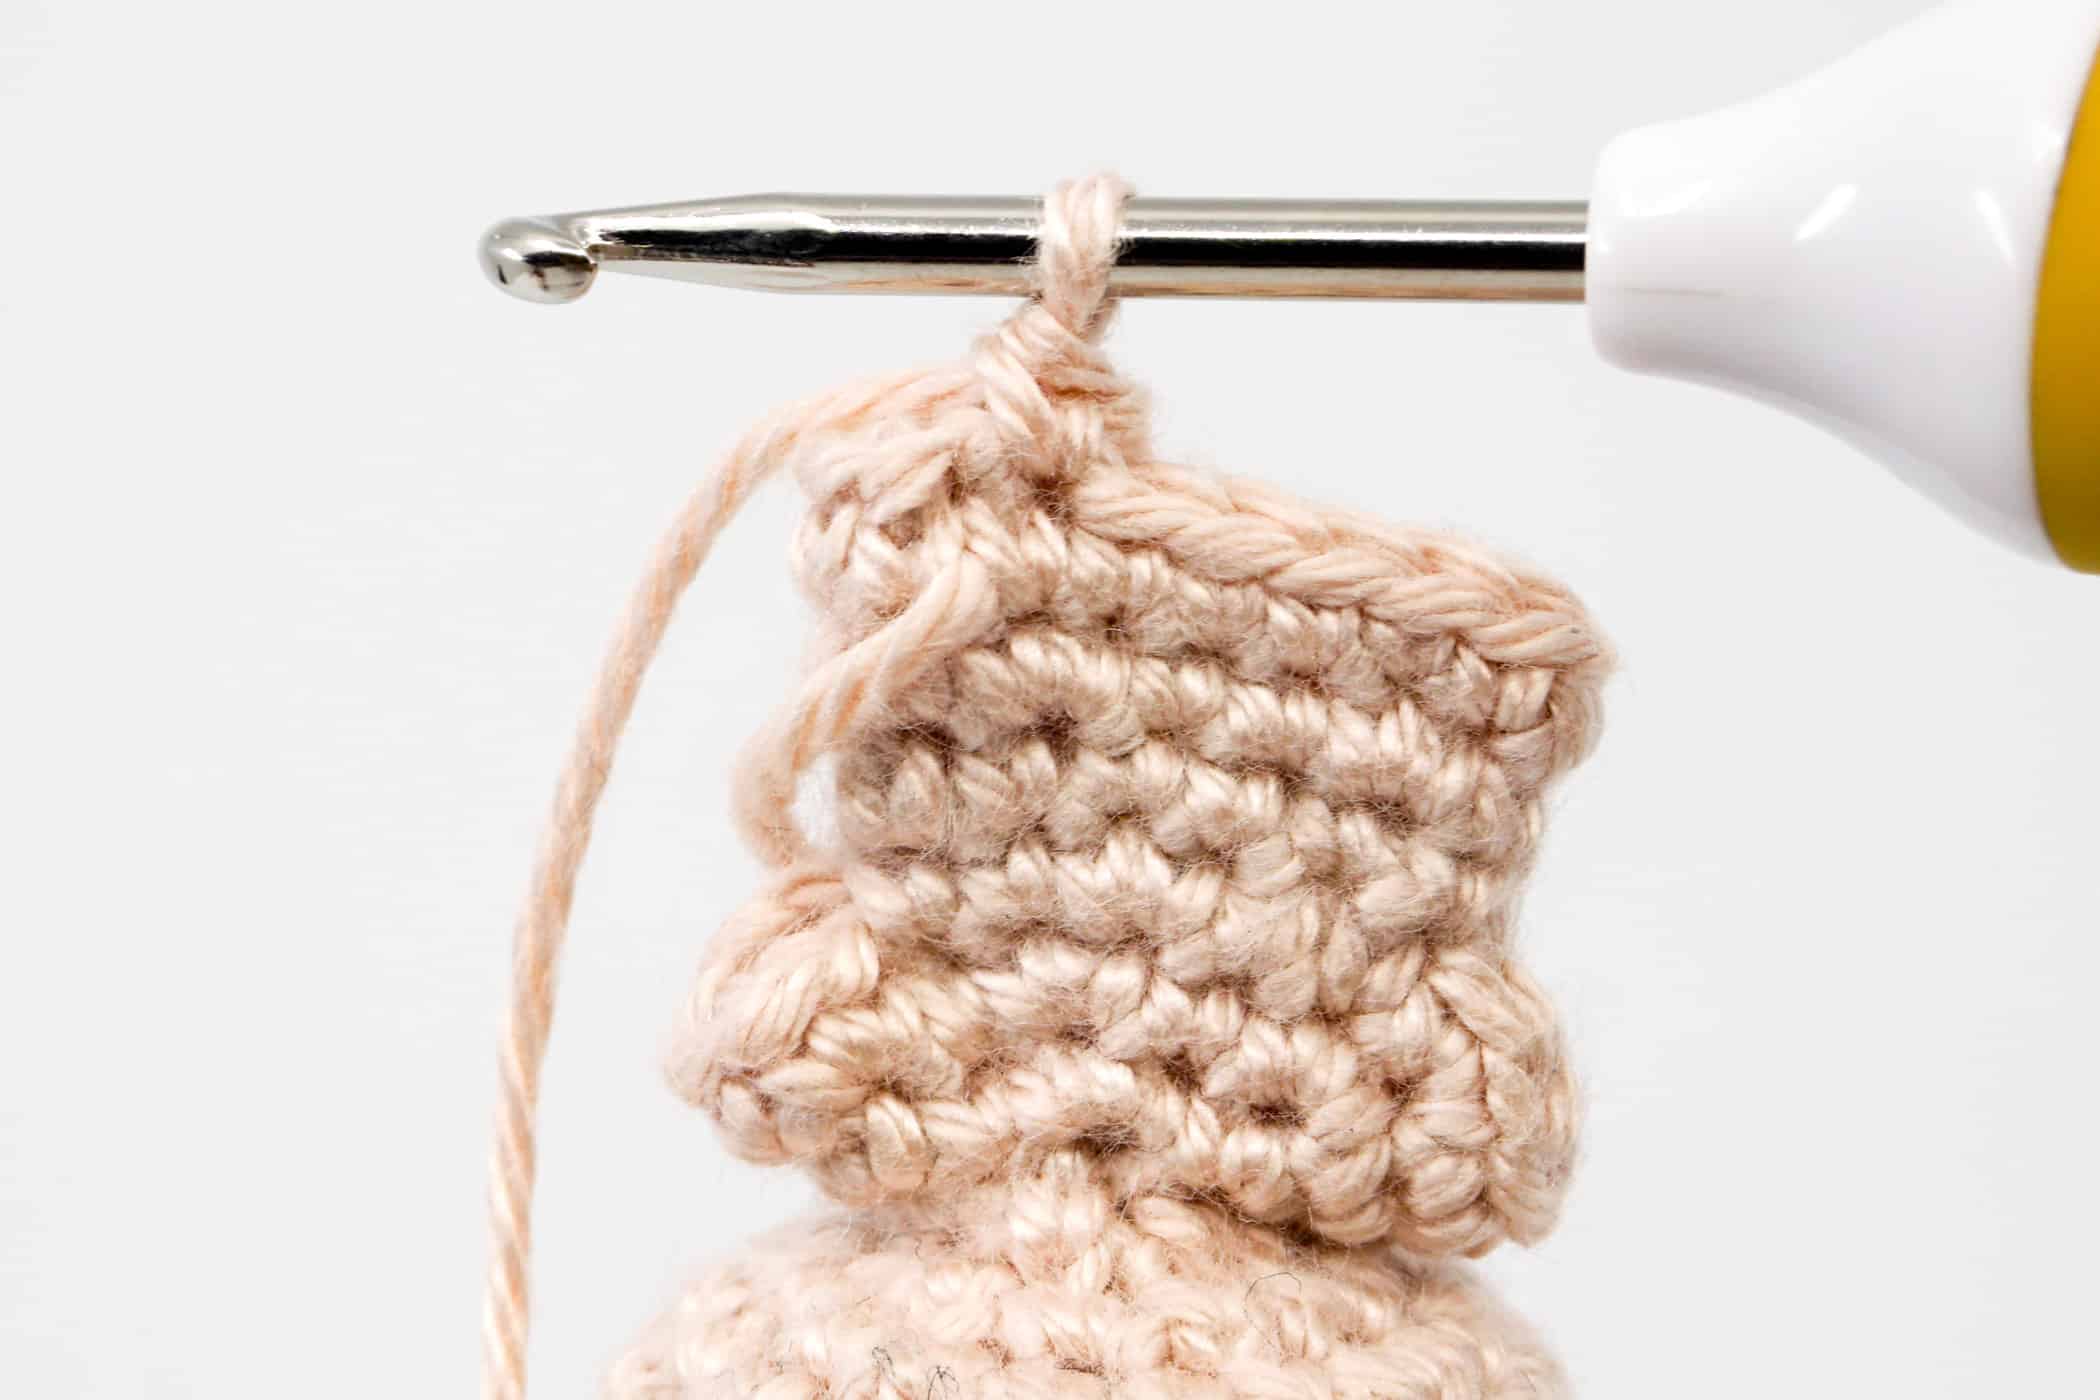
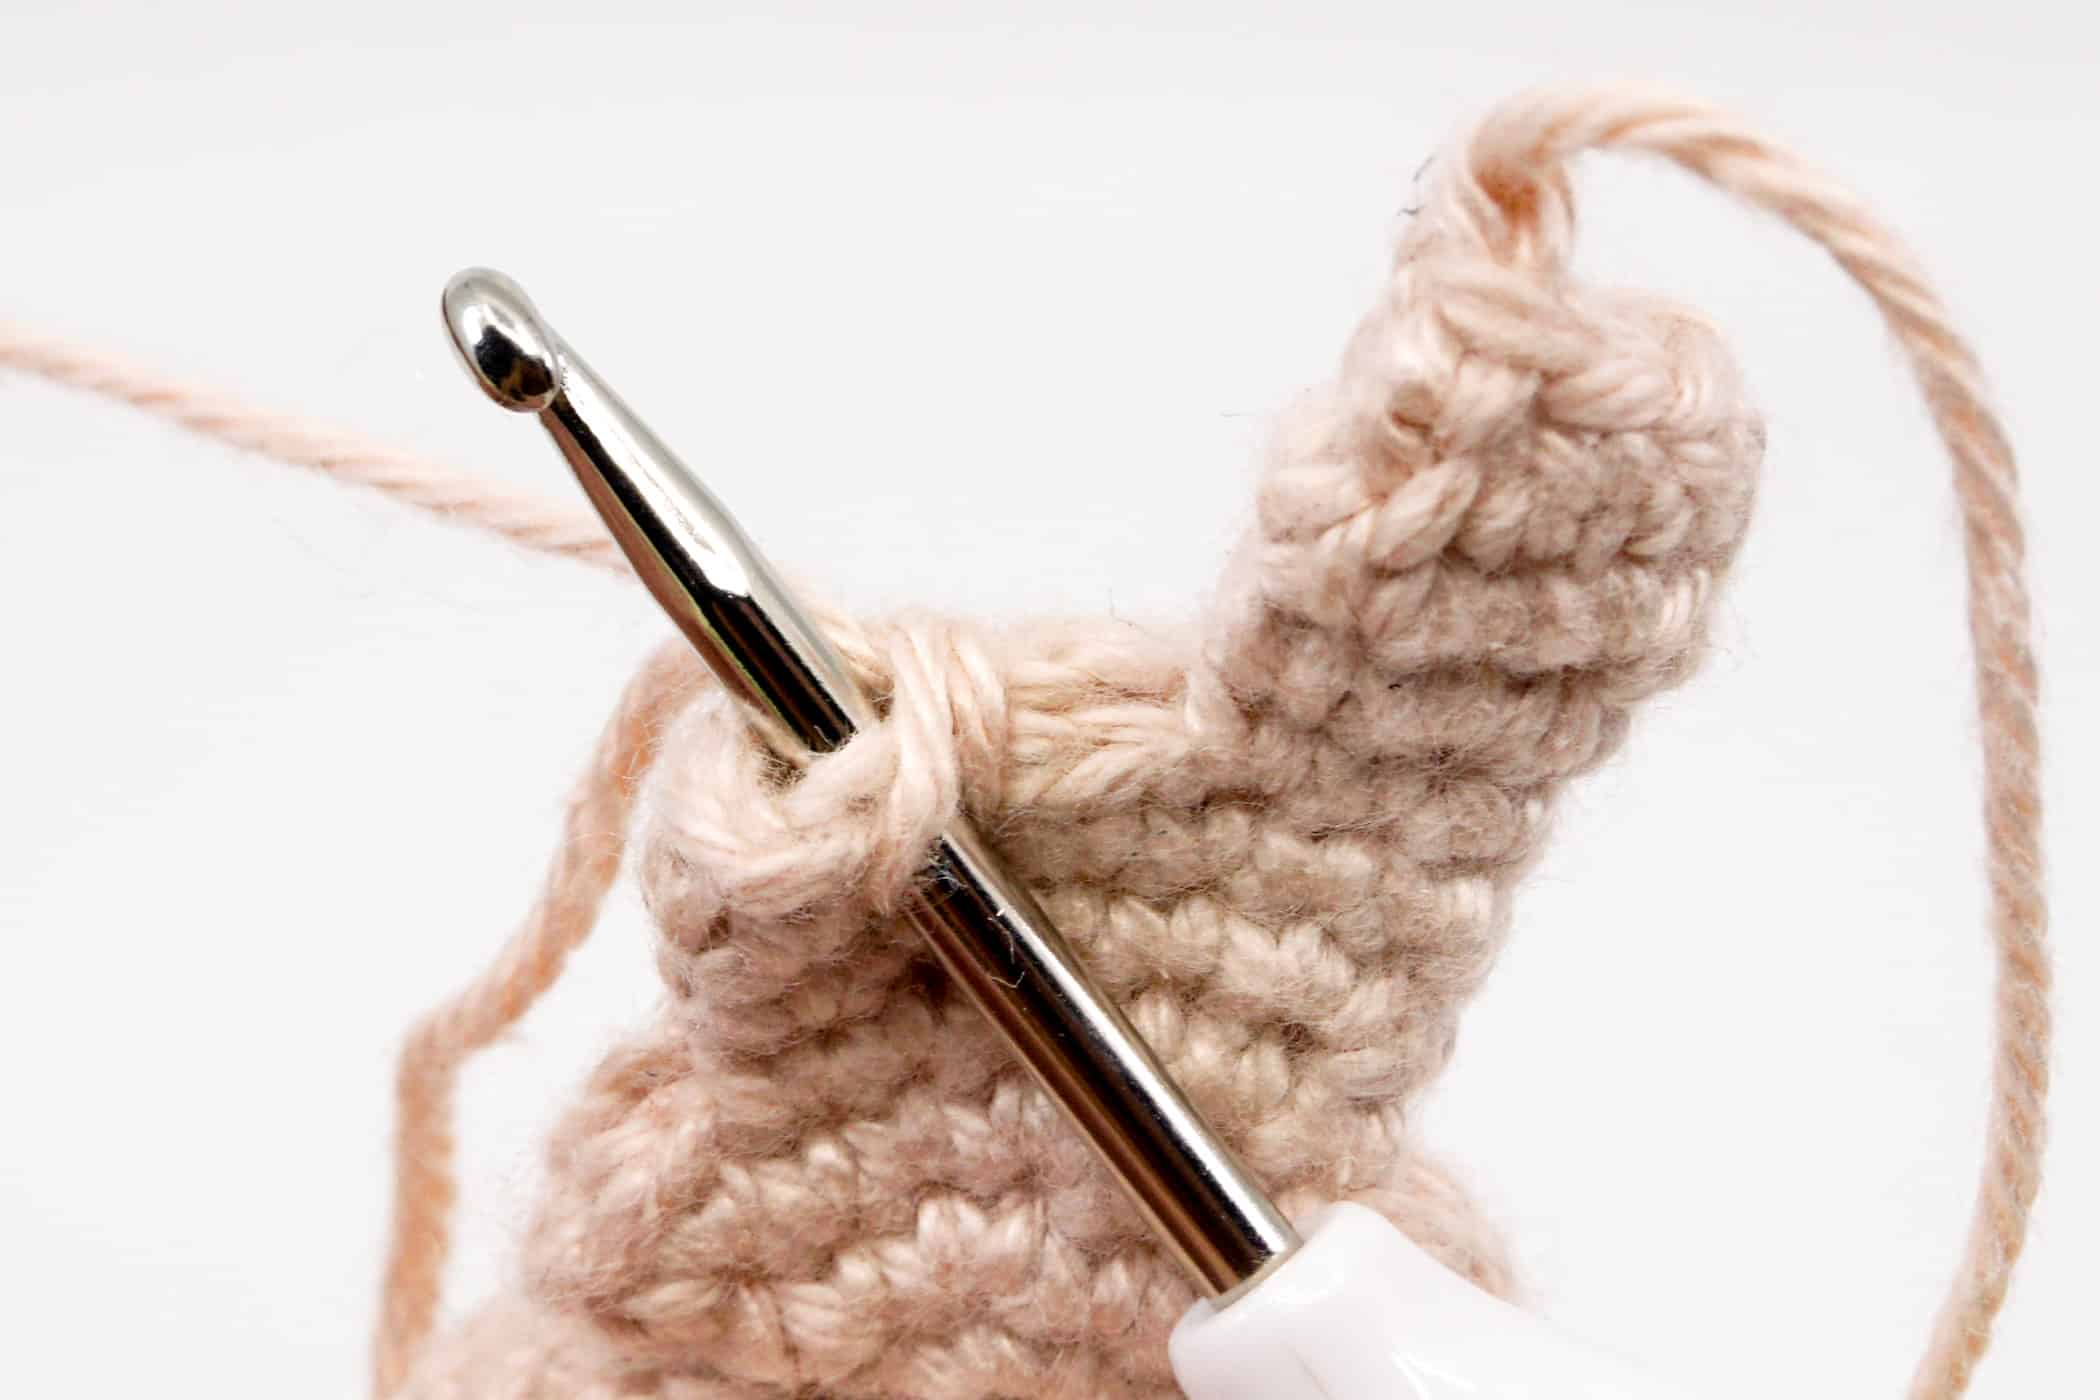
- Round 20: Now crochet the 1st leg. Each leg consists of 6 stitches. First crochet 5 single crochet stitches.
- To separate the 1st leg, push the crochet hook through the 6th stitch counterclockwise from the crochet hook and crochet 1 single crochet stitch (6 stitches).
- Round 21: [1 sc, 1 increase] repeat till end of the round (9 stitches).
- Round 22: Color change to Coffee. 1 sc, 1 increase, [2 sc, 1 increase] repeat 2 times, 1 sc (12 stitches).
- Round 23: [1 decrease] repeat till end of the round (6 stitches).
- Finish: Cut the yarn generously to close the foot later.
Crochet the Second Leg
Continue crocheting the second leg in Sun-Kissed and Coffee in spiral rounds with single crochet stitches.
- Crochet the leg in spiral rounds in Sun-Kissed.
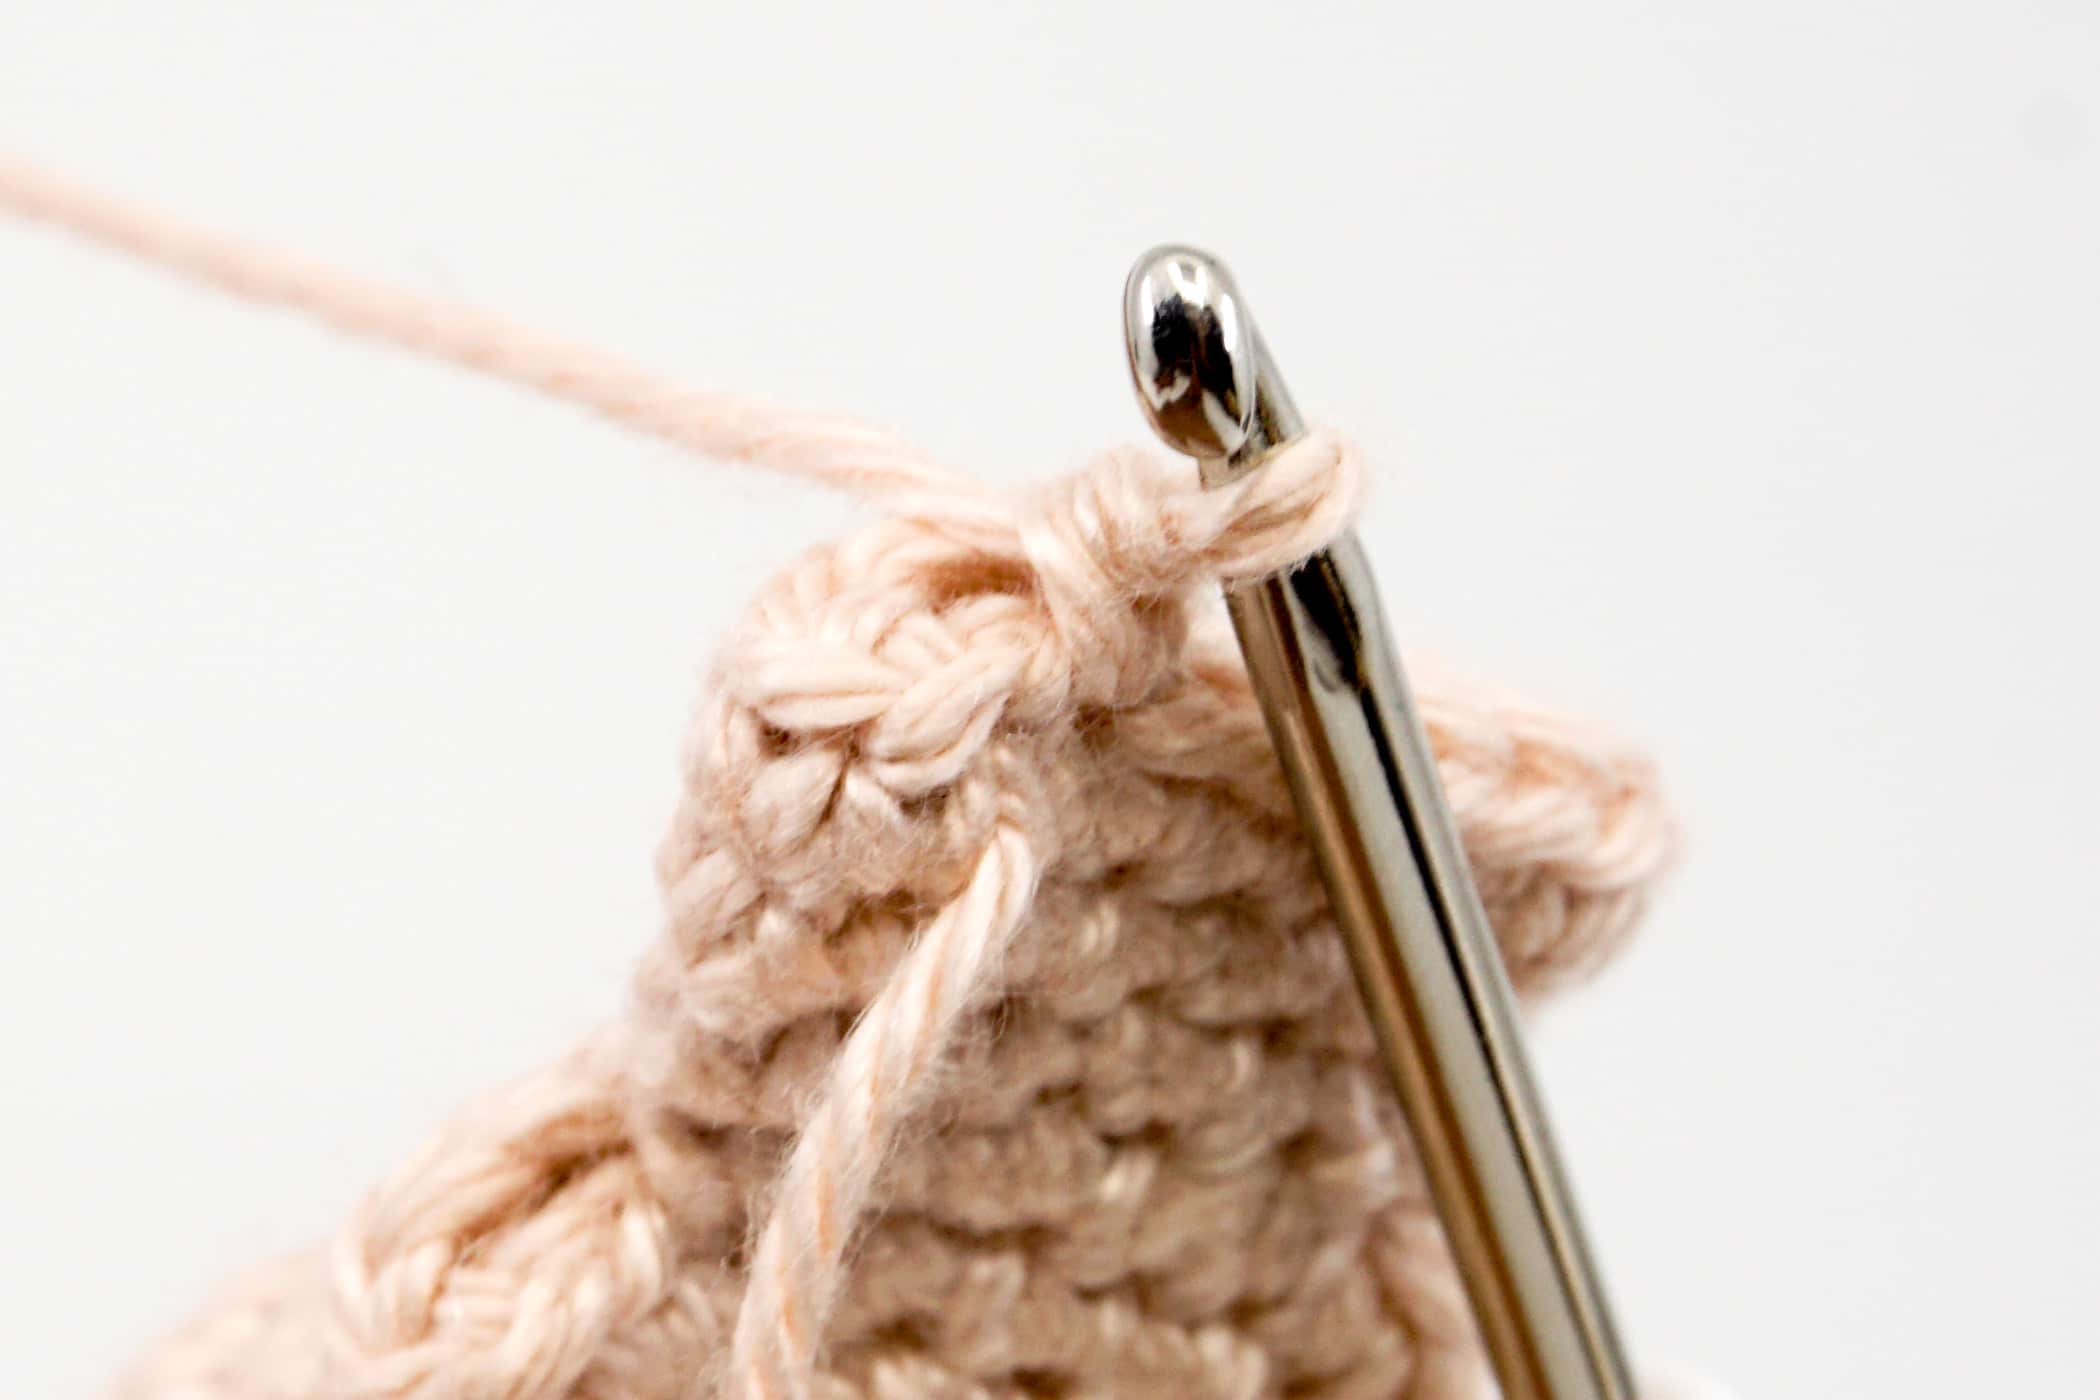
- Round 1: Push the crochet hook through the 3rd stitch from the 1st leg. Yarn over the Sun-Kissed colored yarn and pull it through the stitch you just pushed through.

- Then crochet 1 sc into the 6th stitch counted counter-clockwise from the crochet hook. Then crochet 5 sc, crochet the last sc into the same stitch through which the thread was pulled through (6 stitches).

- Round 2: [1 sc, 1 increase] repeat till end of the round (9 stitches).
- Round 3: Color change to Coffee. 1 sc, 1 increase, [2 sc, 1 increase] repeat 2 times, 1 sc (12 stitches).
- Round 4: [1 decrease] repeat till end of the round (6 stitches).
- Finish: Cut the yarn generously to close the foot later.
Crochet the First Arm
Both arms are crocheted, like the previous part, in the colors Sun-Kissed and Coffee in spiral rounds with single crochet stitches.
- Crochet the 1st arm in spiral rounds in Sun-Kissed.
- Round 1: Push with the crochet hook through the stitch that is directly at the “armpit” of the reindeer. Yarn over the Sun-Kissed yarn and pull it through the stitch you just pushed through. Then push the hook from the front through the opposite stitch at the “armpit” and crochet 1 sc. Crochet another 5 sc. Crochet the last sc into the same stitch through which the thread was pulled through (6 stitches).
- Round 2: [1 sc, 1 increase] repeat till end of the round (9 stitches).
- Round 3: Color change to Coffee. 1 sc, 1 increase, [2 sc, 1 increase] repeat 2 times, 1 sc (12 stitches).
- Round 4: [1 decrease] repeat till end of the round (6 stitches).
- Finish: Cut the yarn generously to close the arm later.
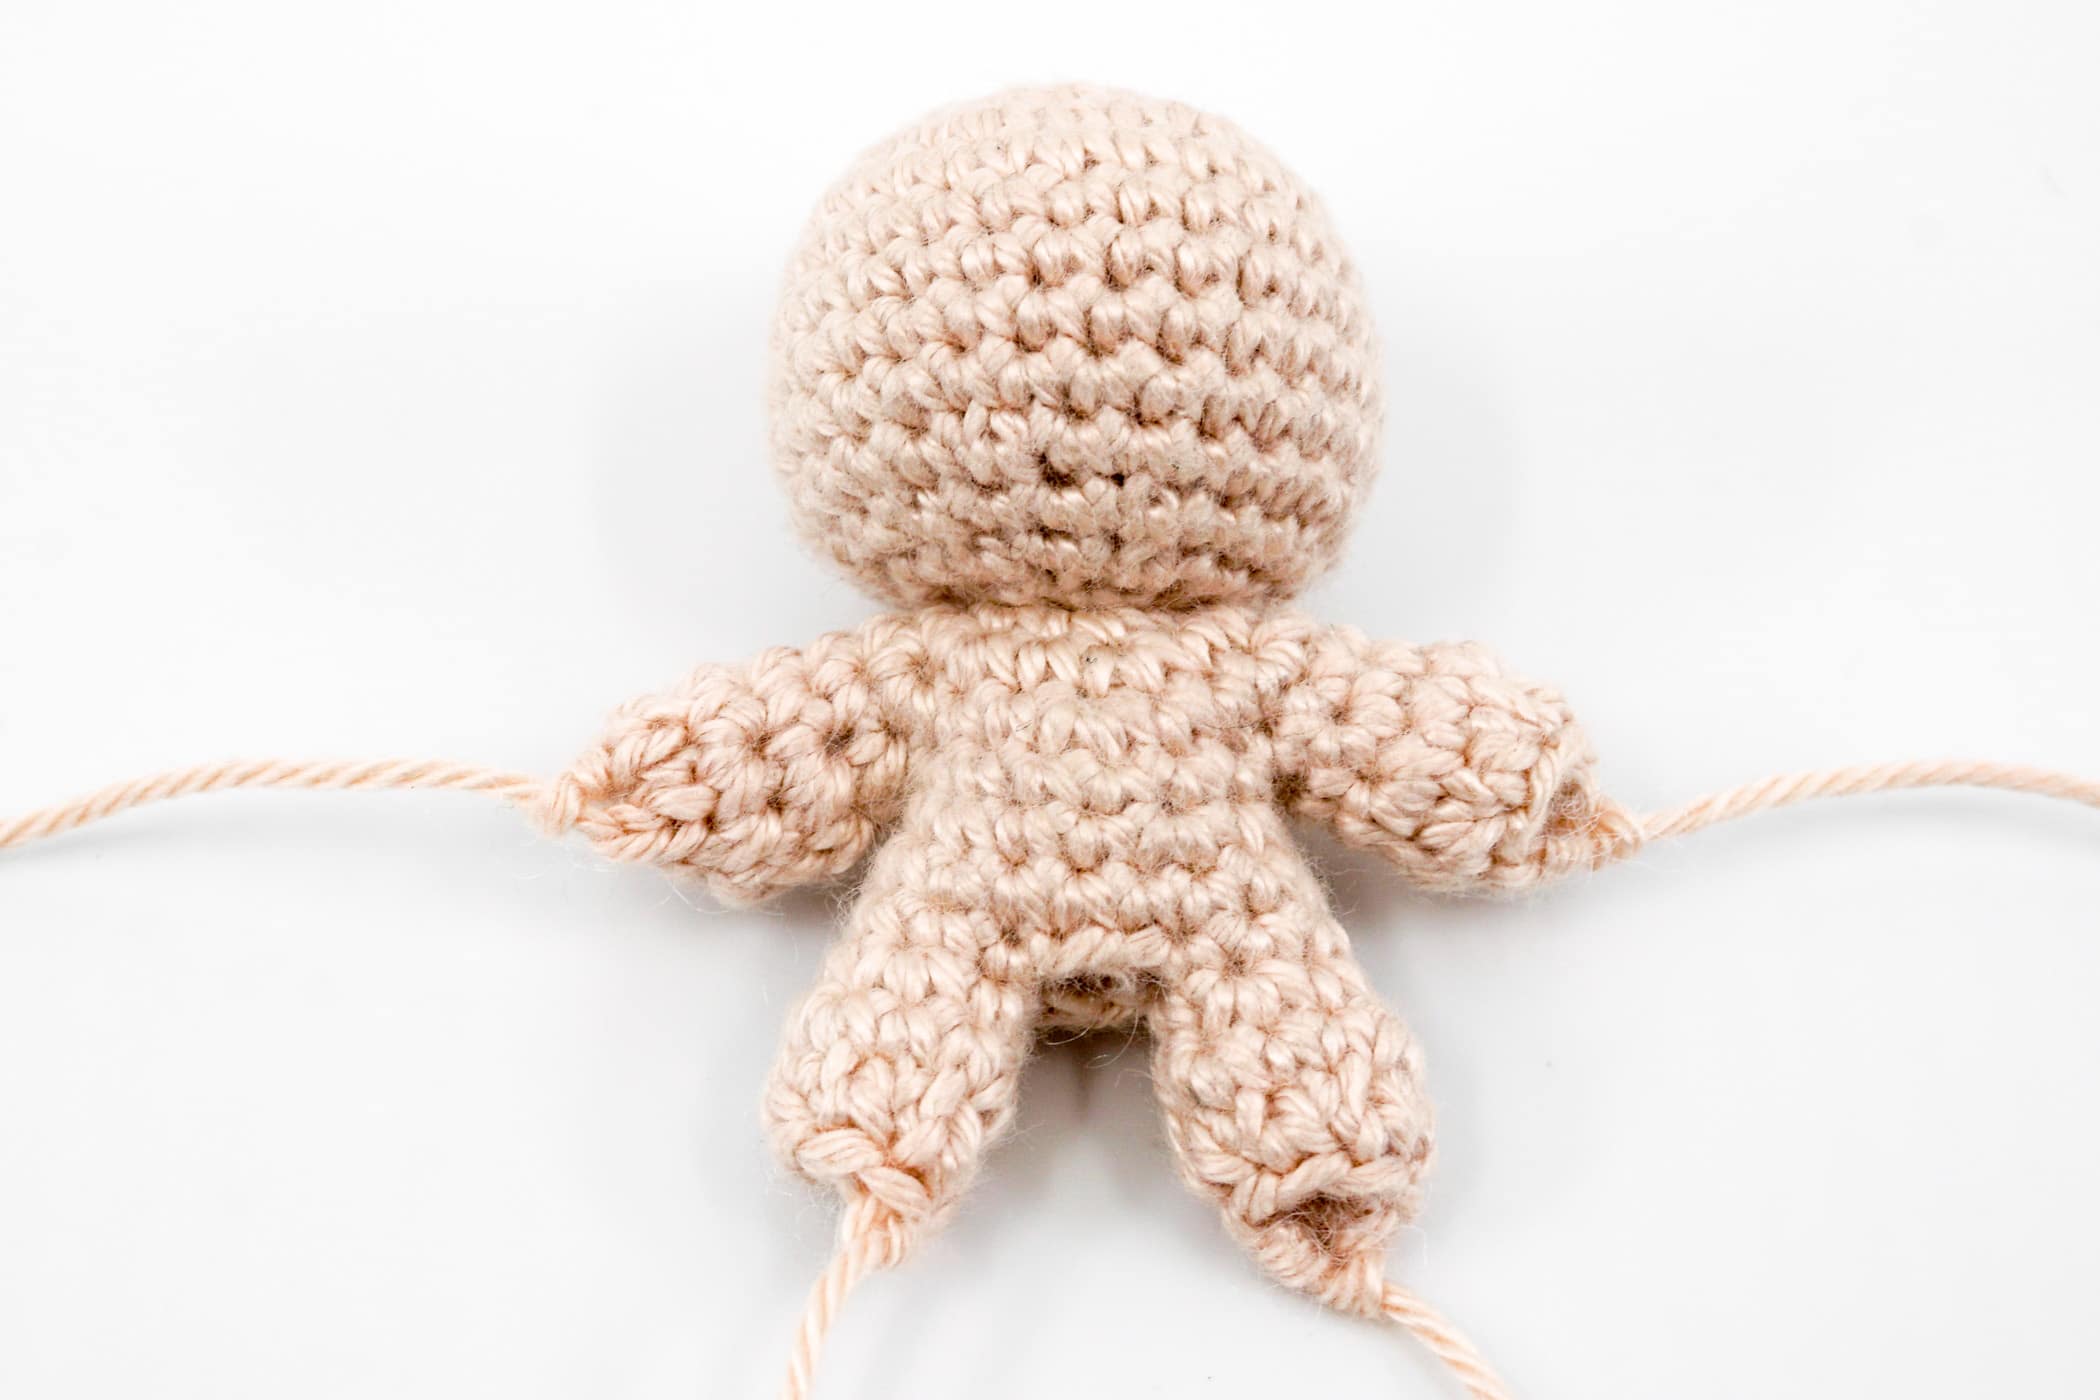
Crochet the Second Arm
The 2nd arm is crocheted in the same way as the 1st arm. The 2nd arm is also crocheted in the colors Sun-Kissed and Coffee in spiral rounds with single crochet stitches.
- Crochet the 2nd arm in spiral rounds in Sun-Kissed.
- Round 1: Push with the crochet hook through the stitch that is directly at the “armpit” of the reindeer. Yarn over the Sun-Kissed yarn and pull it through the stitch you just pushed through. Then push the hook from the front through the opposite stitch at the “armpit” and crochet 1 sc. Crochet another 5 sc. Crochet the last sc into the same stitch through which the thread was pulled through (6 stitches).
- Round 2: [1 sc, 1 increase] repeat till end of the round (9 stitches).
- Round 3: Color change to Coffee. 1 sc, 1 increase, [2 sc, 1 increase] repeat 2 times, 1 sc (12 stitches).
- Round 4: [1 decrease] repeat till end of the round (6 stitches).
- Finish: Cut the yarn generously to close the arm later.
Crochet the Antlers
The antlers are crocheted in two parts in Coffee in spiral rounds with single crochet stitches. Crochet the big and the small piece of the antlers 2 times each.
Big Antler Piece (2x)
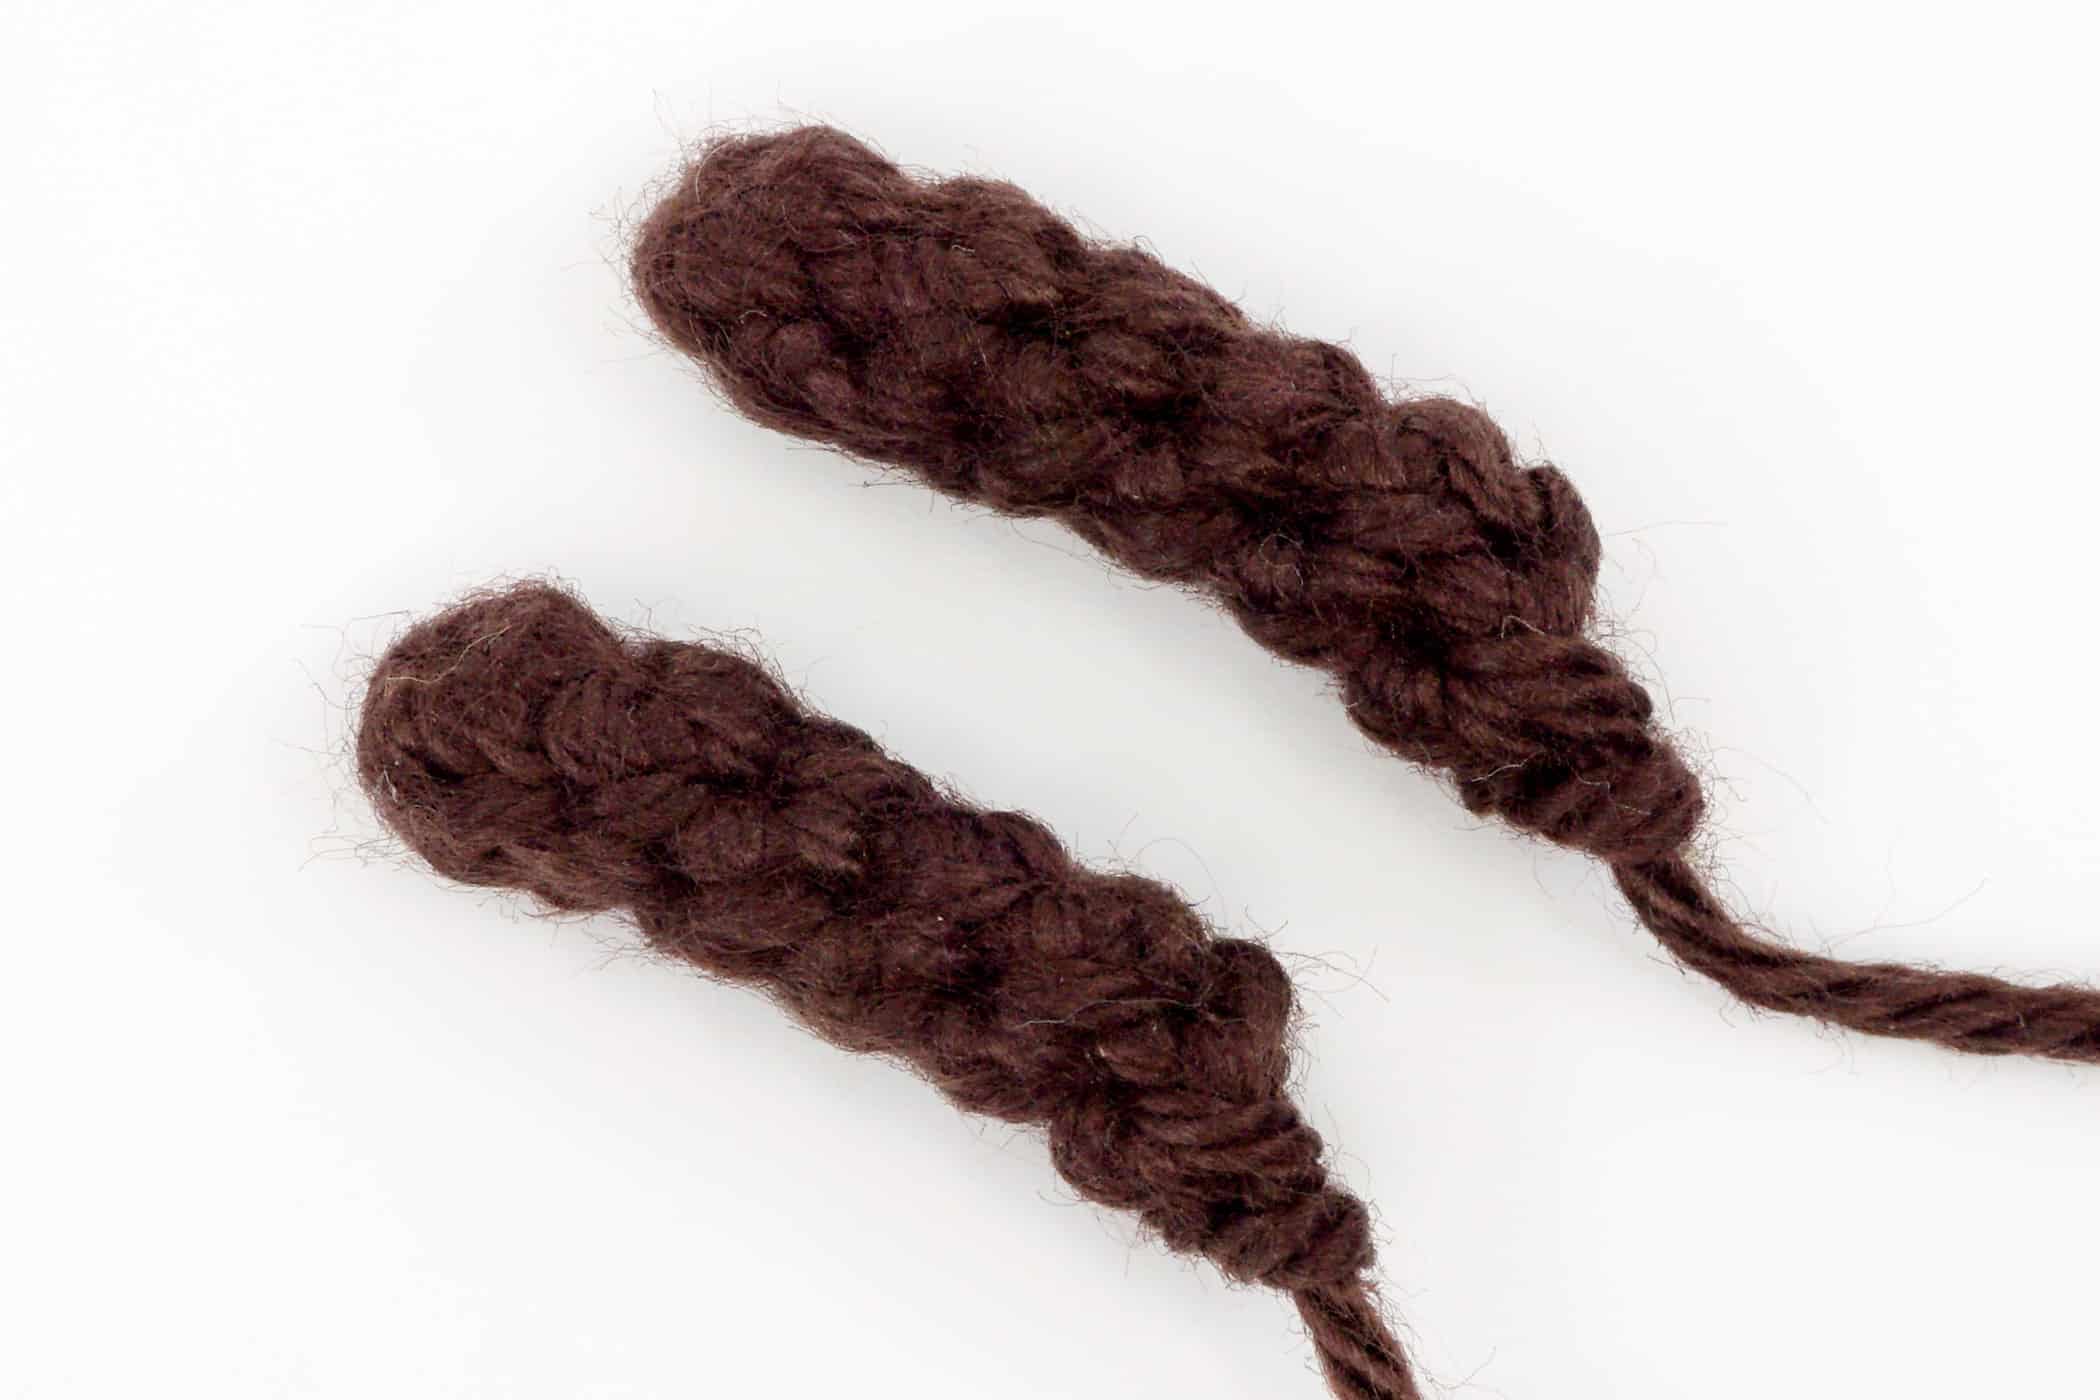
- Crochet the big antler piece in Coffee in spiral rounds.
- Round 1: 5 sc into the Magic Ring (5 stitches).
- Round 2: 1 sc, 1 decrease, 2 sc (4 stitches).
- Round 3-6: 4 rounds, each round 4 sc (4 stitches).
- Finish: Cut the yarn generously and leave a long tail for sewing.
Small Antler Piece (2x)

- Crochet the small antler piece in Coffee in spiral rounds.
- Round 1: 5 sc into the Magic Ring (5 stitches).
- Round 2: 1 sc, 1 decrease, 2 sc (4 stitches).
- Round 3: Crochet 4 sc (4 stitches).
- Finish: Cut the yarn generously and leave a long tail for sewing.
Crochet the Ears (2x)
The ears are crocheted in Sun-Kissed in rows with chain stitches and half double crochet stitches. Crochet a total of 2 ears.
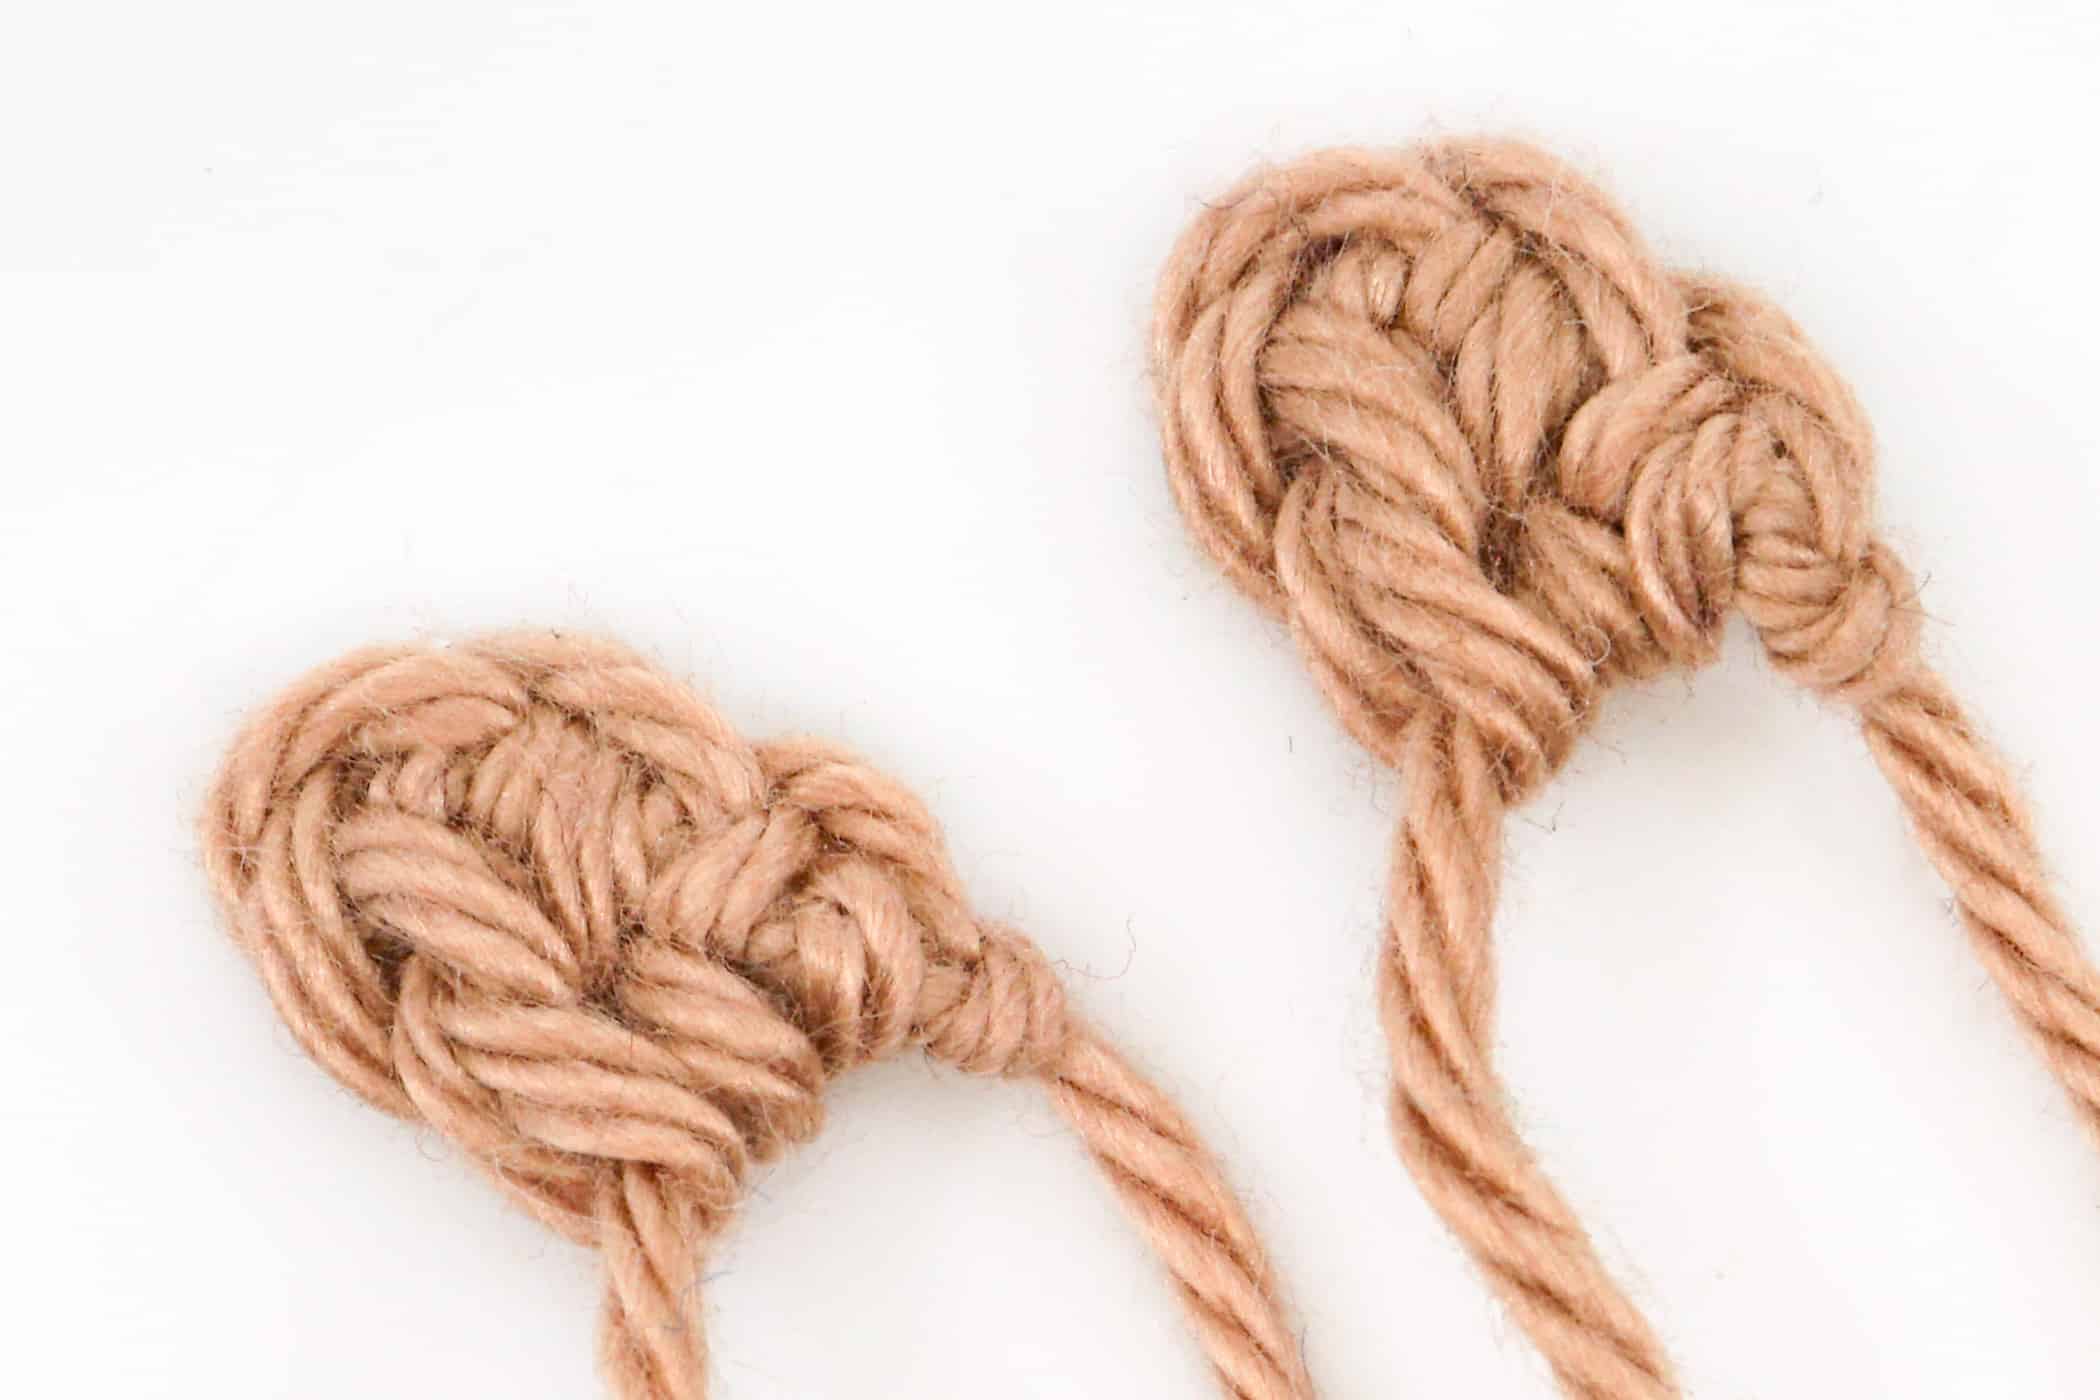
- Crochet the ears in Sun-Kissed in rows.
- Row 1: 3 chain stitches (3 stitches).
- Row 2: 1 half double crochet into the 2nd stitch from the hook, 1 half double crochet (2 stitches).
- Finish: Cut the yarn generously and leave a long tail for sewing.
Crochet the Tail
The tail is crocheted in Sun-Kissed in spiral rounds with single crochet stitches.
- Crochet the tail in Sun-Kissed in spiral rounds.
- Round 1: 5 sc into the Magic Ring (5 stitches).
- Round 2: Crochet 5 sc (5 stitches).
- Finish: Cut the yarn generously and leave a long tail for sewing.
Crochet the Muzzle
The muzzle is crocheted in Sun-Kissed in spiral rounds with single crochet stitches.
- Crochet the muzzle in Sun-Kissed in spiral rounds.
- Round 1: 5 sc into the Magic Ring (5 stitches).
- Round 2: [1 increase] repeat till end of the round (10 stitches).
- Round 3: Crochet 10 sc (10 stitches).
- Round 4: Crochet only 1 sc.
- Finish: Cut the yarn generously and leave a long tail for sewing.
Crochet the Eyebrows (2x)
The eyebrows are crocheted in Sun-Kissed in rows with chain stitches. Crochet a total of 2 eyebrows.
- Crochet the eyebrows in Sun-Kissed in rows.
- Row 1: Crochet 2 chain stitches (2 stitches).
- Finish: Cut the yarn generously and leave a long tail for sewing.
Assembling
Fill the Body: After you finished crocheting the body of the reindeer, it is necessary to fill it and close the openings. First use the openings at the arms and legs to fill the body with polyfill and then the respective limbs.
Close Openings: After you have filled the entire body with enough polyfill, it is time to close the openings. First, using a thread in Sun-Kissed, sew together the 4 stitches in the crotch of the reindeer.


Then close the arm and leg openings.

Muzzle: Sew the muzzle to the head centered below the eyes.
Eyebrows: Attach the eyebrows right and left, 1 stitch row above the eyes, onto the head.
Tail: Sew the tail centered, just above the legs, onto the back of the body.

Antlers: Sew the small piece of the antler to the lower part of the larger piece, near the opening.

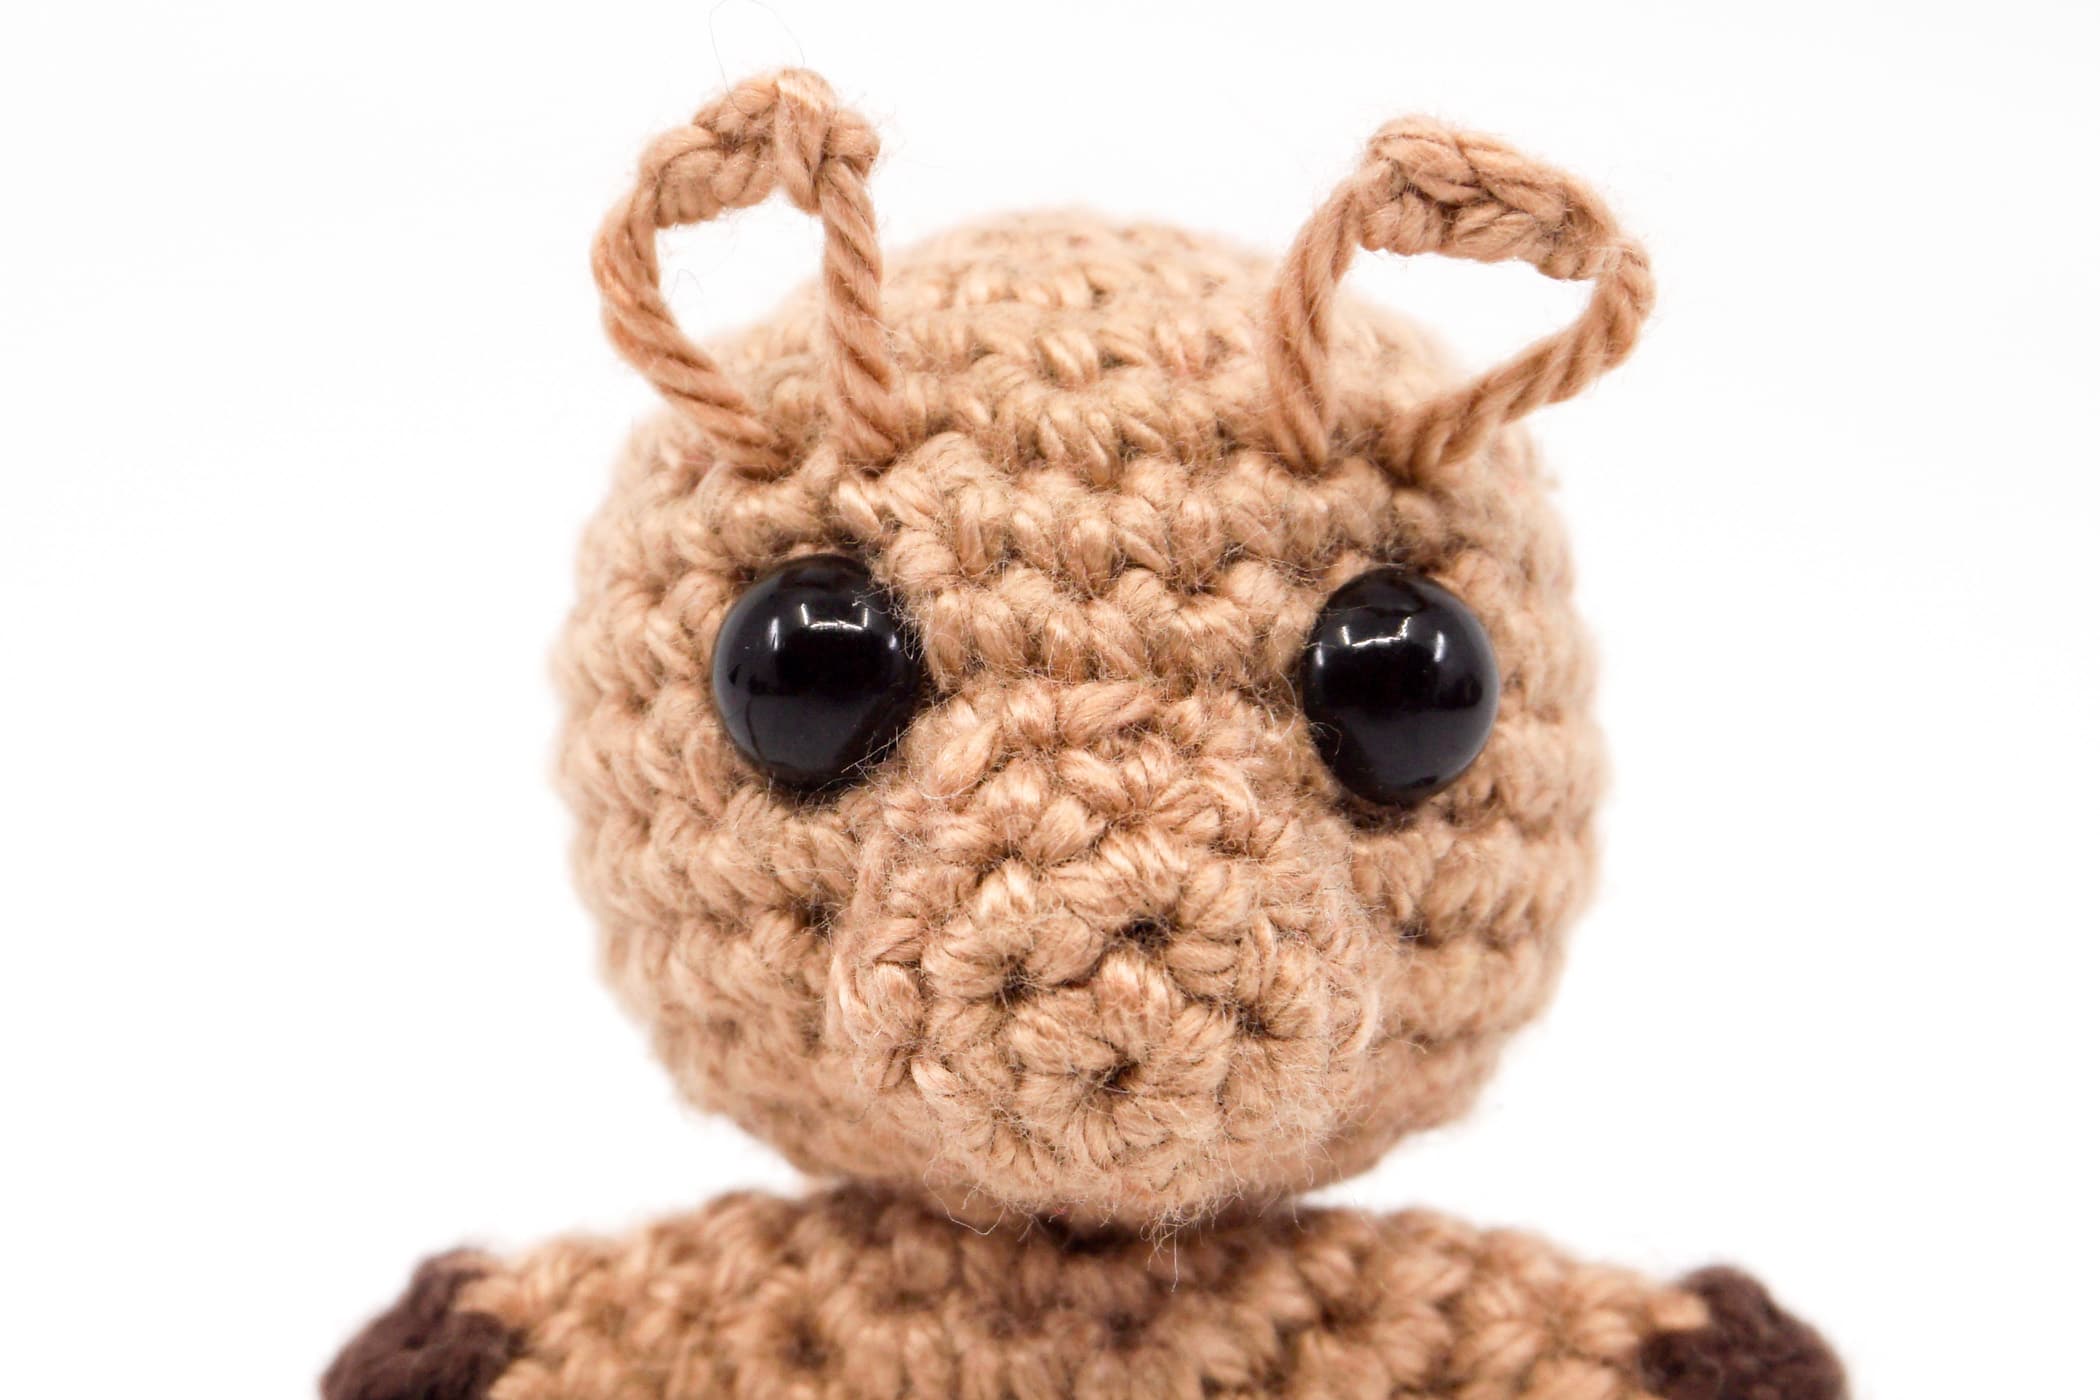
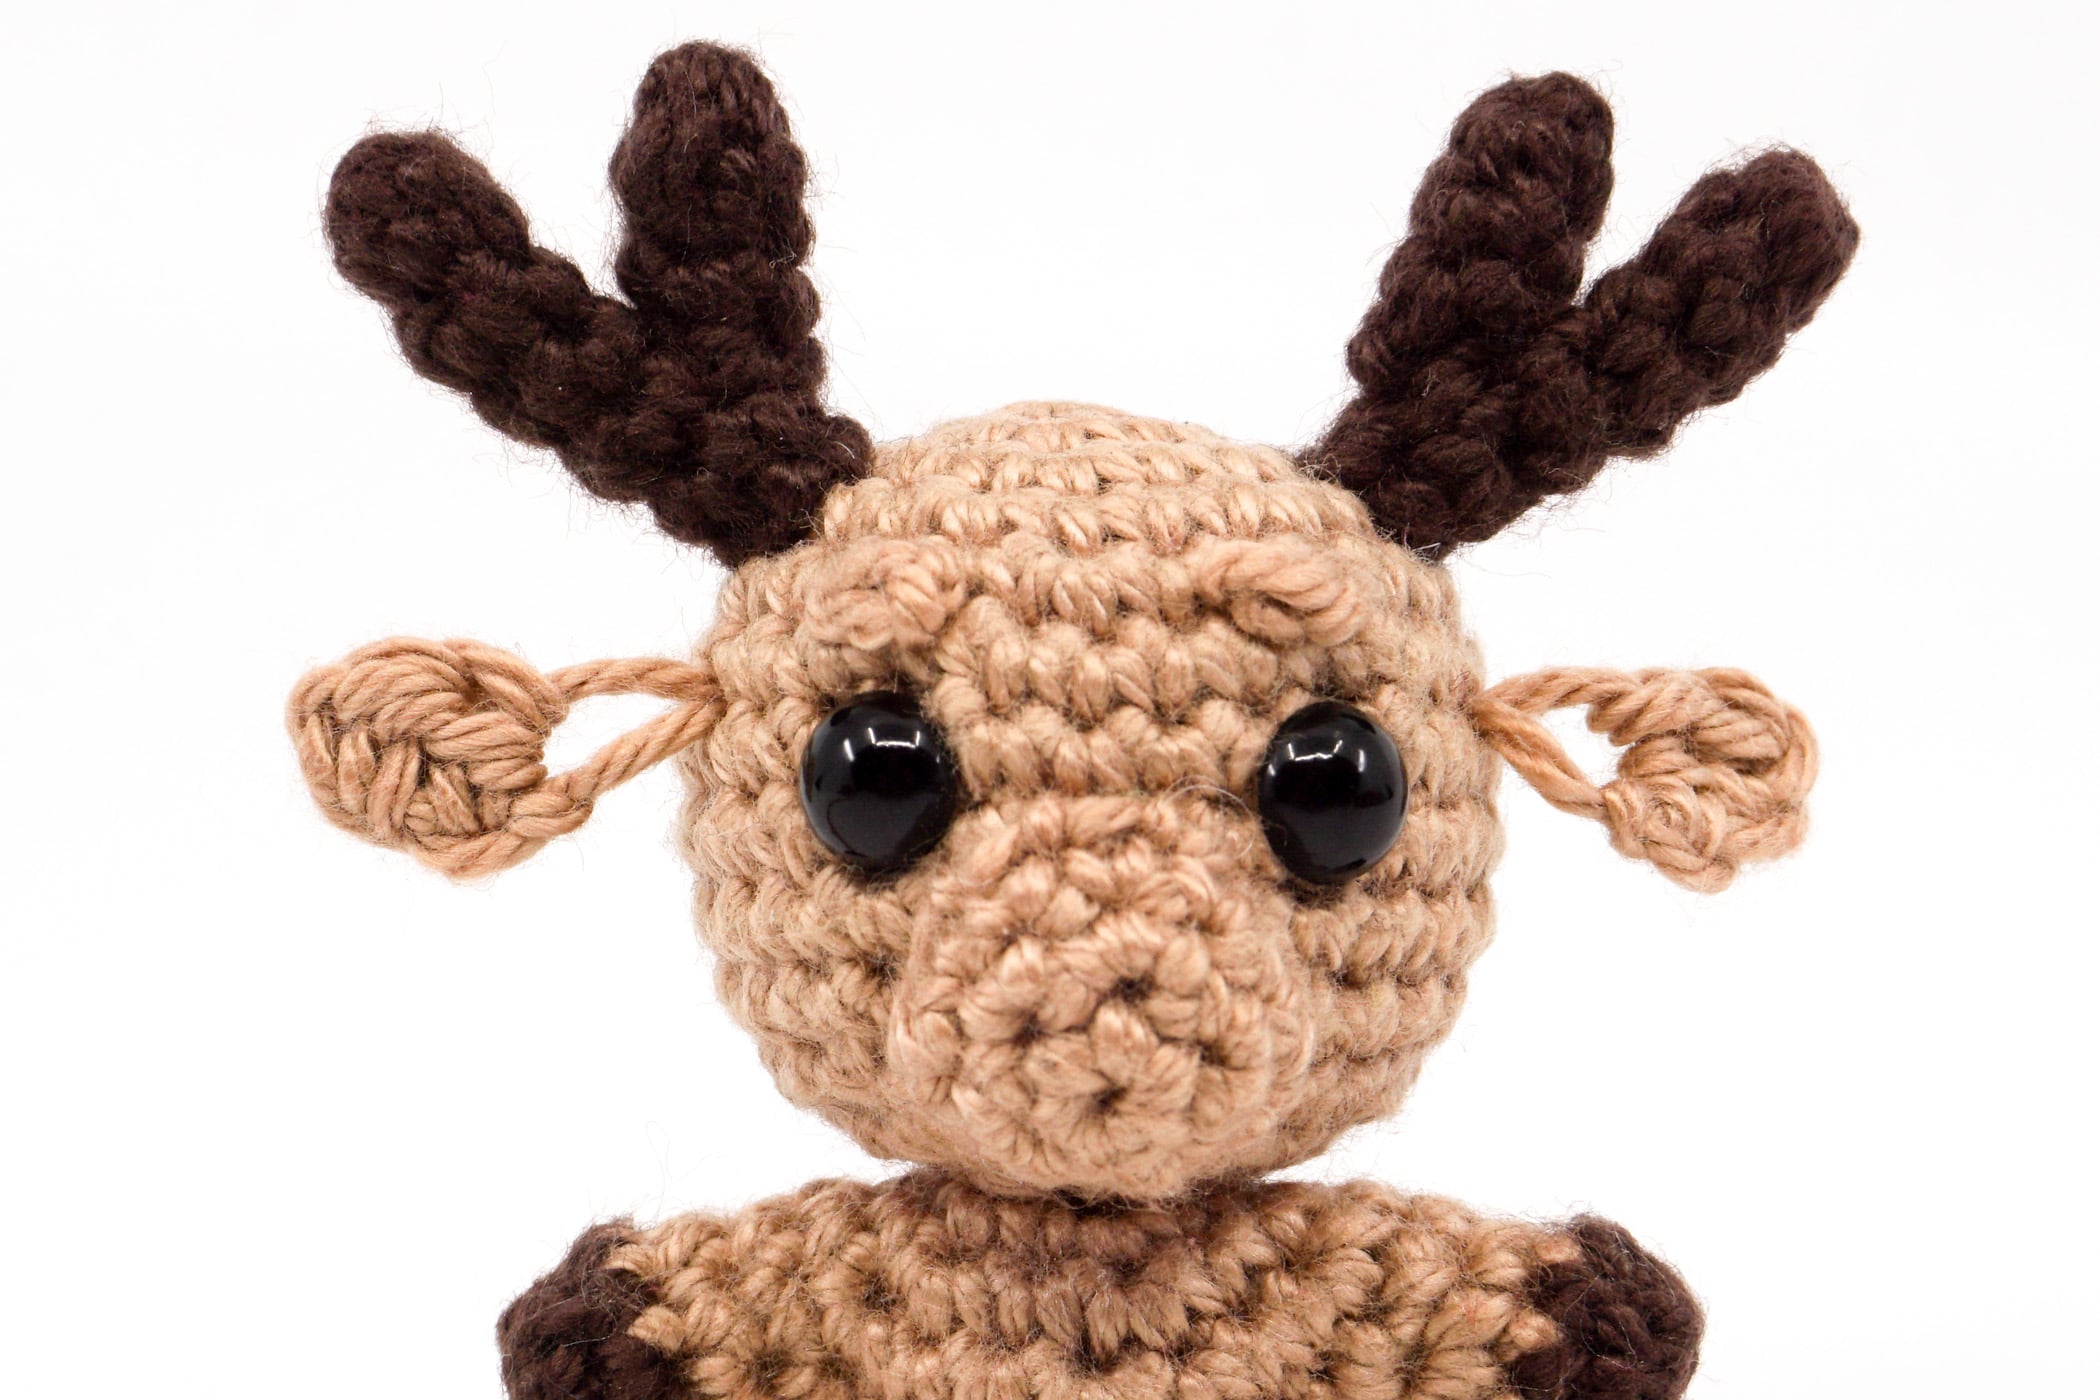
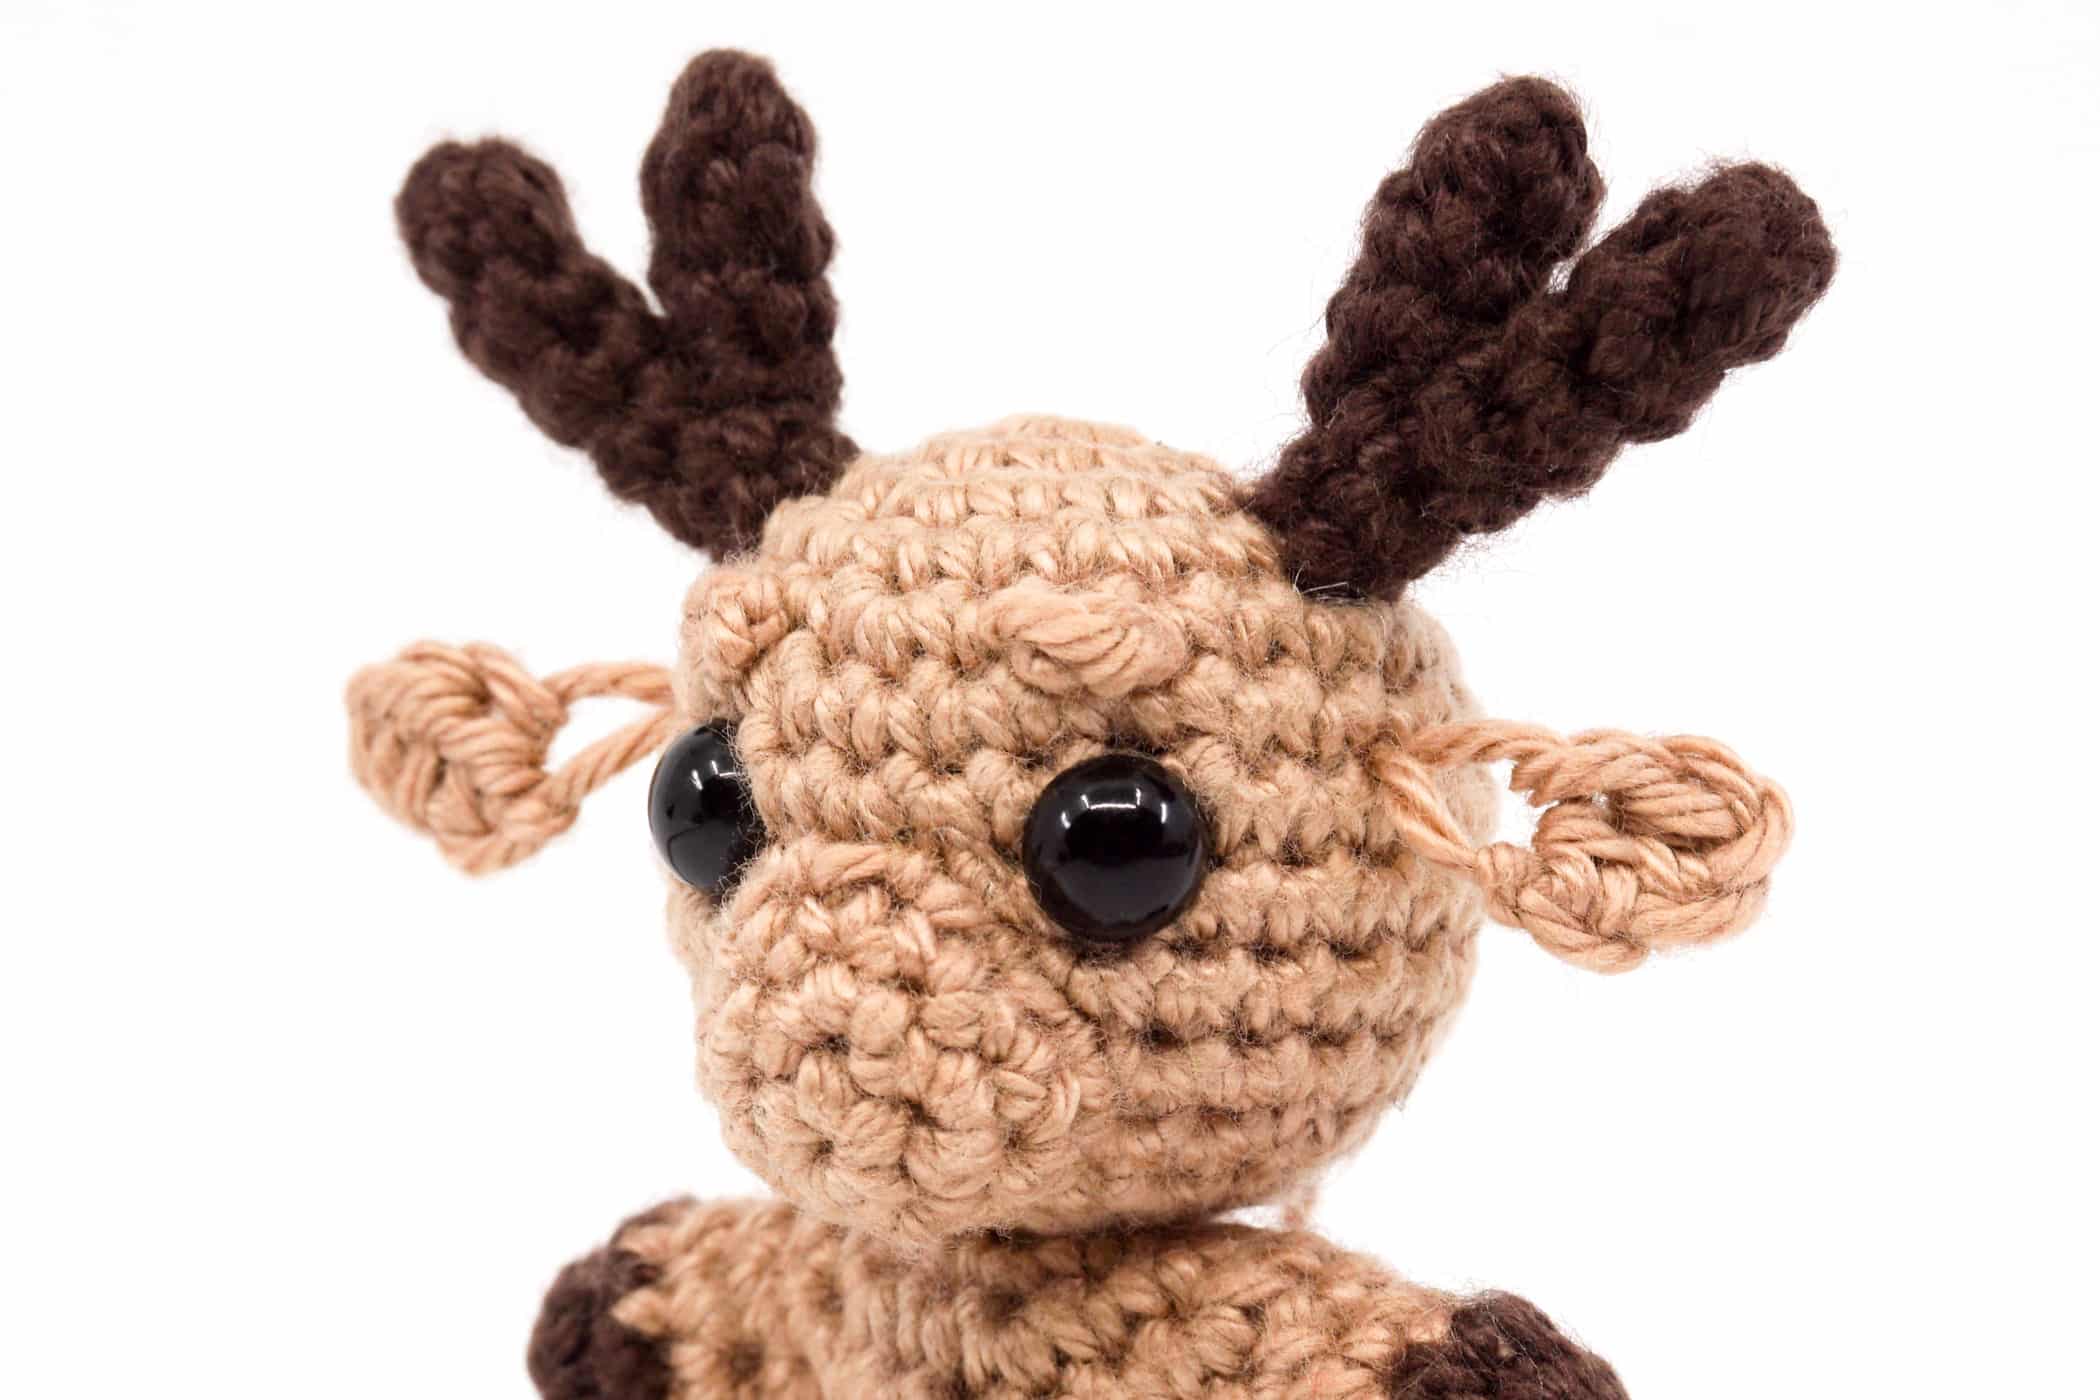
Then sew the two finished antlers left and right 2 to 3 stitches from the center of the head onto the head.
Ears: Attach the ears about 1 to 2 stitches below the antlers onto the head.

Nose: Embroider the nose with a Cherry colored thread. Embroider the nose on the middle of the already sewn on muzzle. To do this, pull the thread horizontally several times from one stitch through the next, skipping 1 stitch between those stitches.
DONE!